Onboarding Toolkit
Everything you need to get started with Frontegg
Getting Started with Frontegg
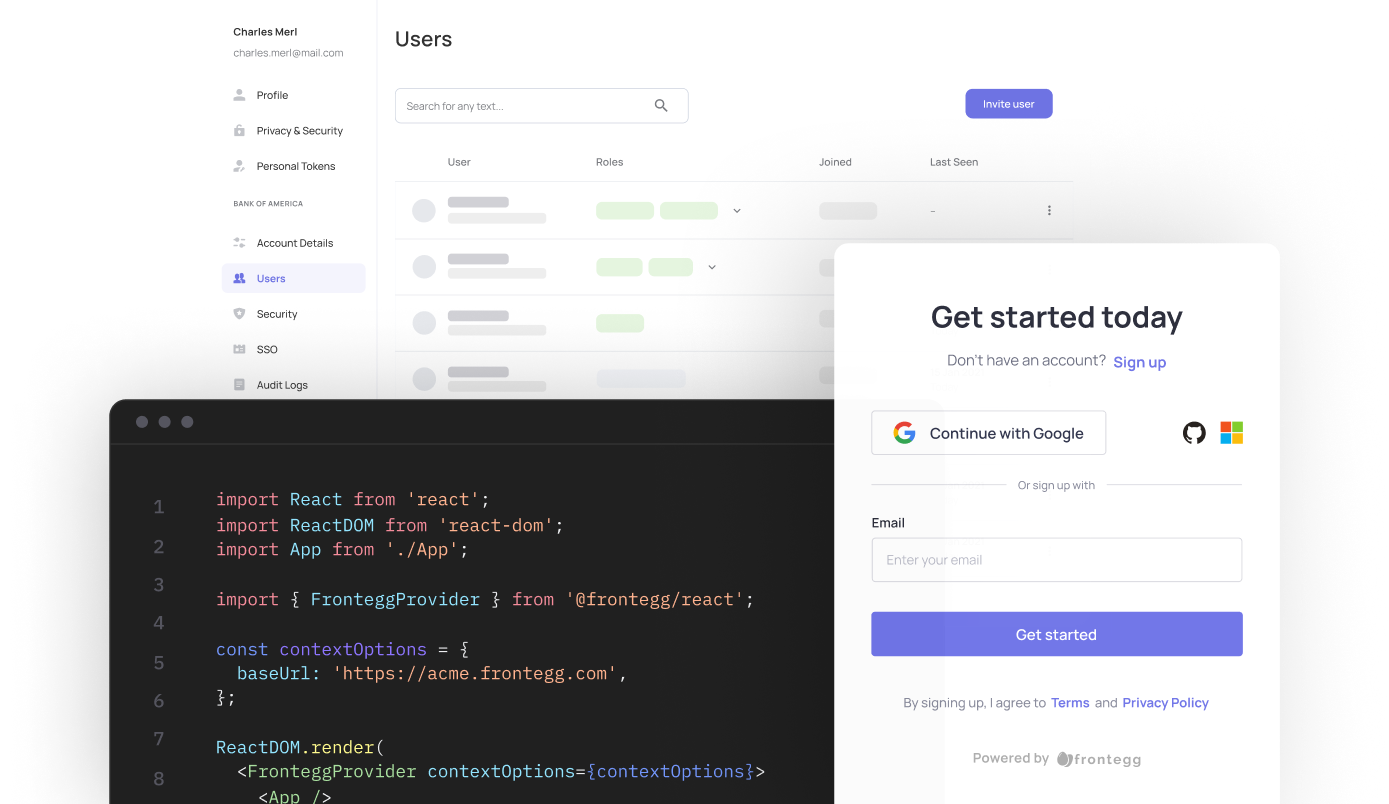
Welcome to Frontegg, your gateway to seamless user management, enhanced security, and exceptional user experiences! This onboarding toolkit provides an easy step-by-step map that you can use as a reference throughout your integration process— from the initial integration of our platform into your application to implementing its powerful features. You can learn more about each step in its relevant guide:
-
Step 1: Sign up and create a Frontegg account.
-
Step 2: Integrate your app with Frontegg's Login box. See Login Box Integration
-
Step 3: Integrate your app with Frontegg's Admin Portal (optional). See Admin Portal Integration.
-
Step 4: Enter your company information and customize your Login Box styles (optional).
-
Step 5: Enable Authentication methods, user Entitlements, Security Settings, and more in your Login Box
-
Step 6: Complete 3rd party integration and add their required data within your Backoffice section.
-
step 7: Adjust and manage settings in the Admin Portal (some of the data from the previous step will be needed).
-
Step 8: Go to your Development environment and set custom roles and user entitlements, Subscribe to Webhooks, Prehooks, and more.
-
Step 9: Push changes from your Development.
-
Step 10: Copy the required setting from Development to Production (see what values are copied and which aren't here.
-
Step 11: Add Custom Domains to minimize cookie issues (optional).
-
Step 12: Test and deploy your changes to production.
Step 1: Sign up For Frontegg
Start by configuring your Login Box. The Login Box is what your customers use to log in to your application. You can configure how it looks and how it works.
In the steps below, you will:
- Create your Frontegg account
- Enter your company name
- Customize the styles for the Login Box
- Select your authentication flow
- Enter your security settings
Sign up for Frontegg and start creating your Login Box.
Step 2: Create a Frontegg Account
To start configuring your Login Box, sign up for Frontegg.
After signing up, follow the on-screen prompts and our new customer journey will guide you through the next steps.
Step 3: Enter Your Company Name
Enter your company name.

Step 4: Customize Styles
Tailor the Login Box to your brand so that it fits seamlessly into your application; You can choose your brand's color scheme and logo so the login box reflects your brand guidelines.

Add Your Logo to Increase User Sign-ups
Adding your logo is optional, but we recomment adding it as it helps to increase the number of new user signups via your login box.
Step 5: Select Authentication Methods
Set how users log in to your application.
Choose from multiple OAuth options.
We offer passwordless, enterprise SSO, popular social logins, and password login.
Best Practices
The default configurations are the best practices and what we recommend.

Go passwordless!
Select magic code or magic link to start using Passwordless Authentication
Note that If you go passwordless, then password protection features will not be relevant to you.
Step 6: Set Security Settings
Protect your visitors from fraud and password theft with security features designed and built by experts.
Select which Security features you want from our extensive list of options e.g., MFA by choice, Device Fingerprinting, Session Management, Recaptcha, and more.
You now have a Frontegg account and a personalized Login Box.
Great! The next step is to integrate the Frontegg Builder into your application.
Your 30-day free trial starts now.
During the free trial, you will have access to all the professional features in the Scale and Starter plans. Learn more about our plans on Frontegg's pricing page.
Next Steps: Integrate Login Box
With signup complete, the next step is to integrate and test the Login Box in a development environment.
After integrating and testing your Login Box, proceed to your Admin Portal Integration.
Admin Portal Integration
After Integrating your Login Box with your application, it's time to add your Admin Portal. Follow its step-by-step instructions for easy setup. After adding the Admin Portal to your application, go to your portal's admin section, configure settings, and grant access to users based on their roles and permissions.
After integration is complete, users can access their profile information as well as various role-based features directly from your application.
User Entitlements
Learn more about designating users with Roles and Permissions.
Environments
After signing up and integrating, It's time to become familiar with your Frontegg Environments.
Frontegg environments allow you to efficiently and effortlessly manage your development and production flows— you can test features and capabilities in your development environment and seamlessly deploy them live to production.
Each Frontegg environment acts as a separate entity
Note that you can configure and manage accounts, users, activity logs, authorization, authentication, hooks, emails, and more in each environment without the changes affecting the other environments.
Entitlements
Made for developers and non-technical team members, our Entitlements Engine provides fine-grained feature authorization and powerful context-based Identity solutions for app builders of all types. Frontegg Entitlements Engine is a comprehensive authorization solution that goes beyond traditional roles, permissions, and groups, incorporating Entitlements to provide context-aware access control through the combination of RBAC and ABAC, empowered by our proprietary technology. This feature allows both technical and non-technical stakeholders to effectively manage feature-level permissions (feature flagging), customize subscription plans and driving additional revenue for vendors.
Authentication
Design and configure the authentication experience for your application for each environment. Learn more about Authentication
Frontegg's user authentication offers multiple Features to make it easy and secure for your users to sign up and sign into your application.
Further Exploration
After signing up, integrating the Login Box and Admin Portal, and configuring your environments, start working with other Frontegg features to enhance user experience and make your business more efficient.
While exploring the Frontegg Portal and our documentation, be sure to check out the following:
Updated about 1 month ago