Enabling Passkeys
Enabling passkeys adds an extra layer of security to your account. Instead of relying solely on traditional password-based authentication, passkeys introduce an additional element, such as a hardware token or biometric data, making it harder for unauthorized access to occur. This enhanced security measure helps protect sensitive information and ensures a safer online experience.
Passwordless Authentication
Learn more about Passkeys Authentication in the Authentication section.
What are passkeys?
Passkeys' authentication method includes the use of biometrics such as Touch ID, Face ID, and security key. It relies on the authentication method available on a user’s device. When you use your device's security features, you can ensure that your information is secure and easier for you to manage than both passwords and all the current methods of two-factor authentication.
Apple, Google, and Microsoft collaborated to create passkeys as a way to enhance authentication. By that, they allowed the consumer-standard FIDO and WebAuthN to be used.
The main benefits of passkeys are:
- Quicker - Biometrics make login quick and simple.
- Safer - Passekys are often tied to a specific device or user. This makes it more difficult for hackers to gain access to user accounts and sensitive information.
- Easy to use - Passkeys can be more convenient for users, as they do not have to remember complex passwords or visit an email box/ phone to get a one-time code.
- Synced with other devices - Passkeys allow users to access their sign-in credentials on many of their devices, even new ones, without having to re-enroll every device on every account.
How to add passkeys as a way of authentication?
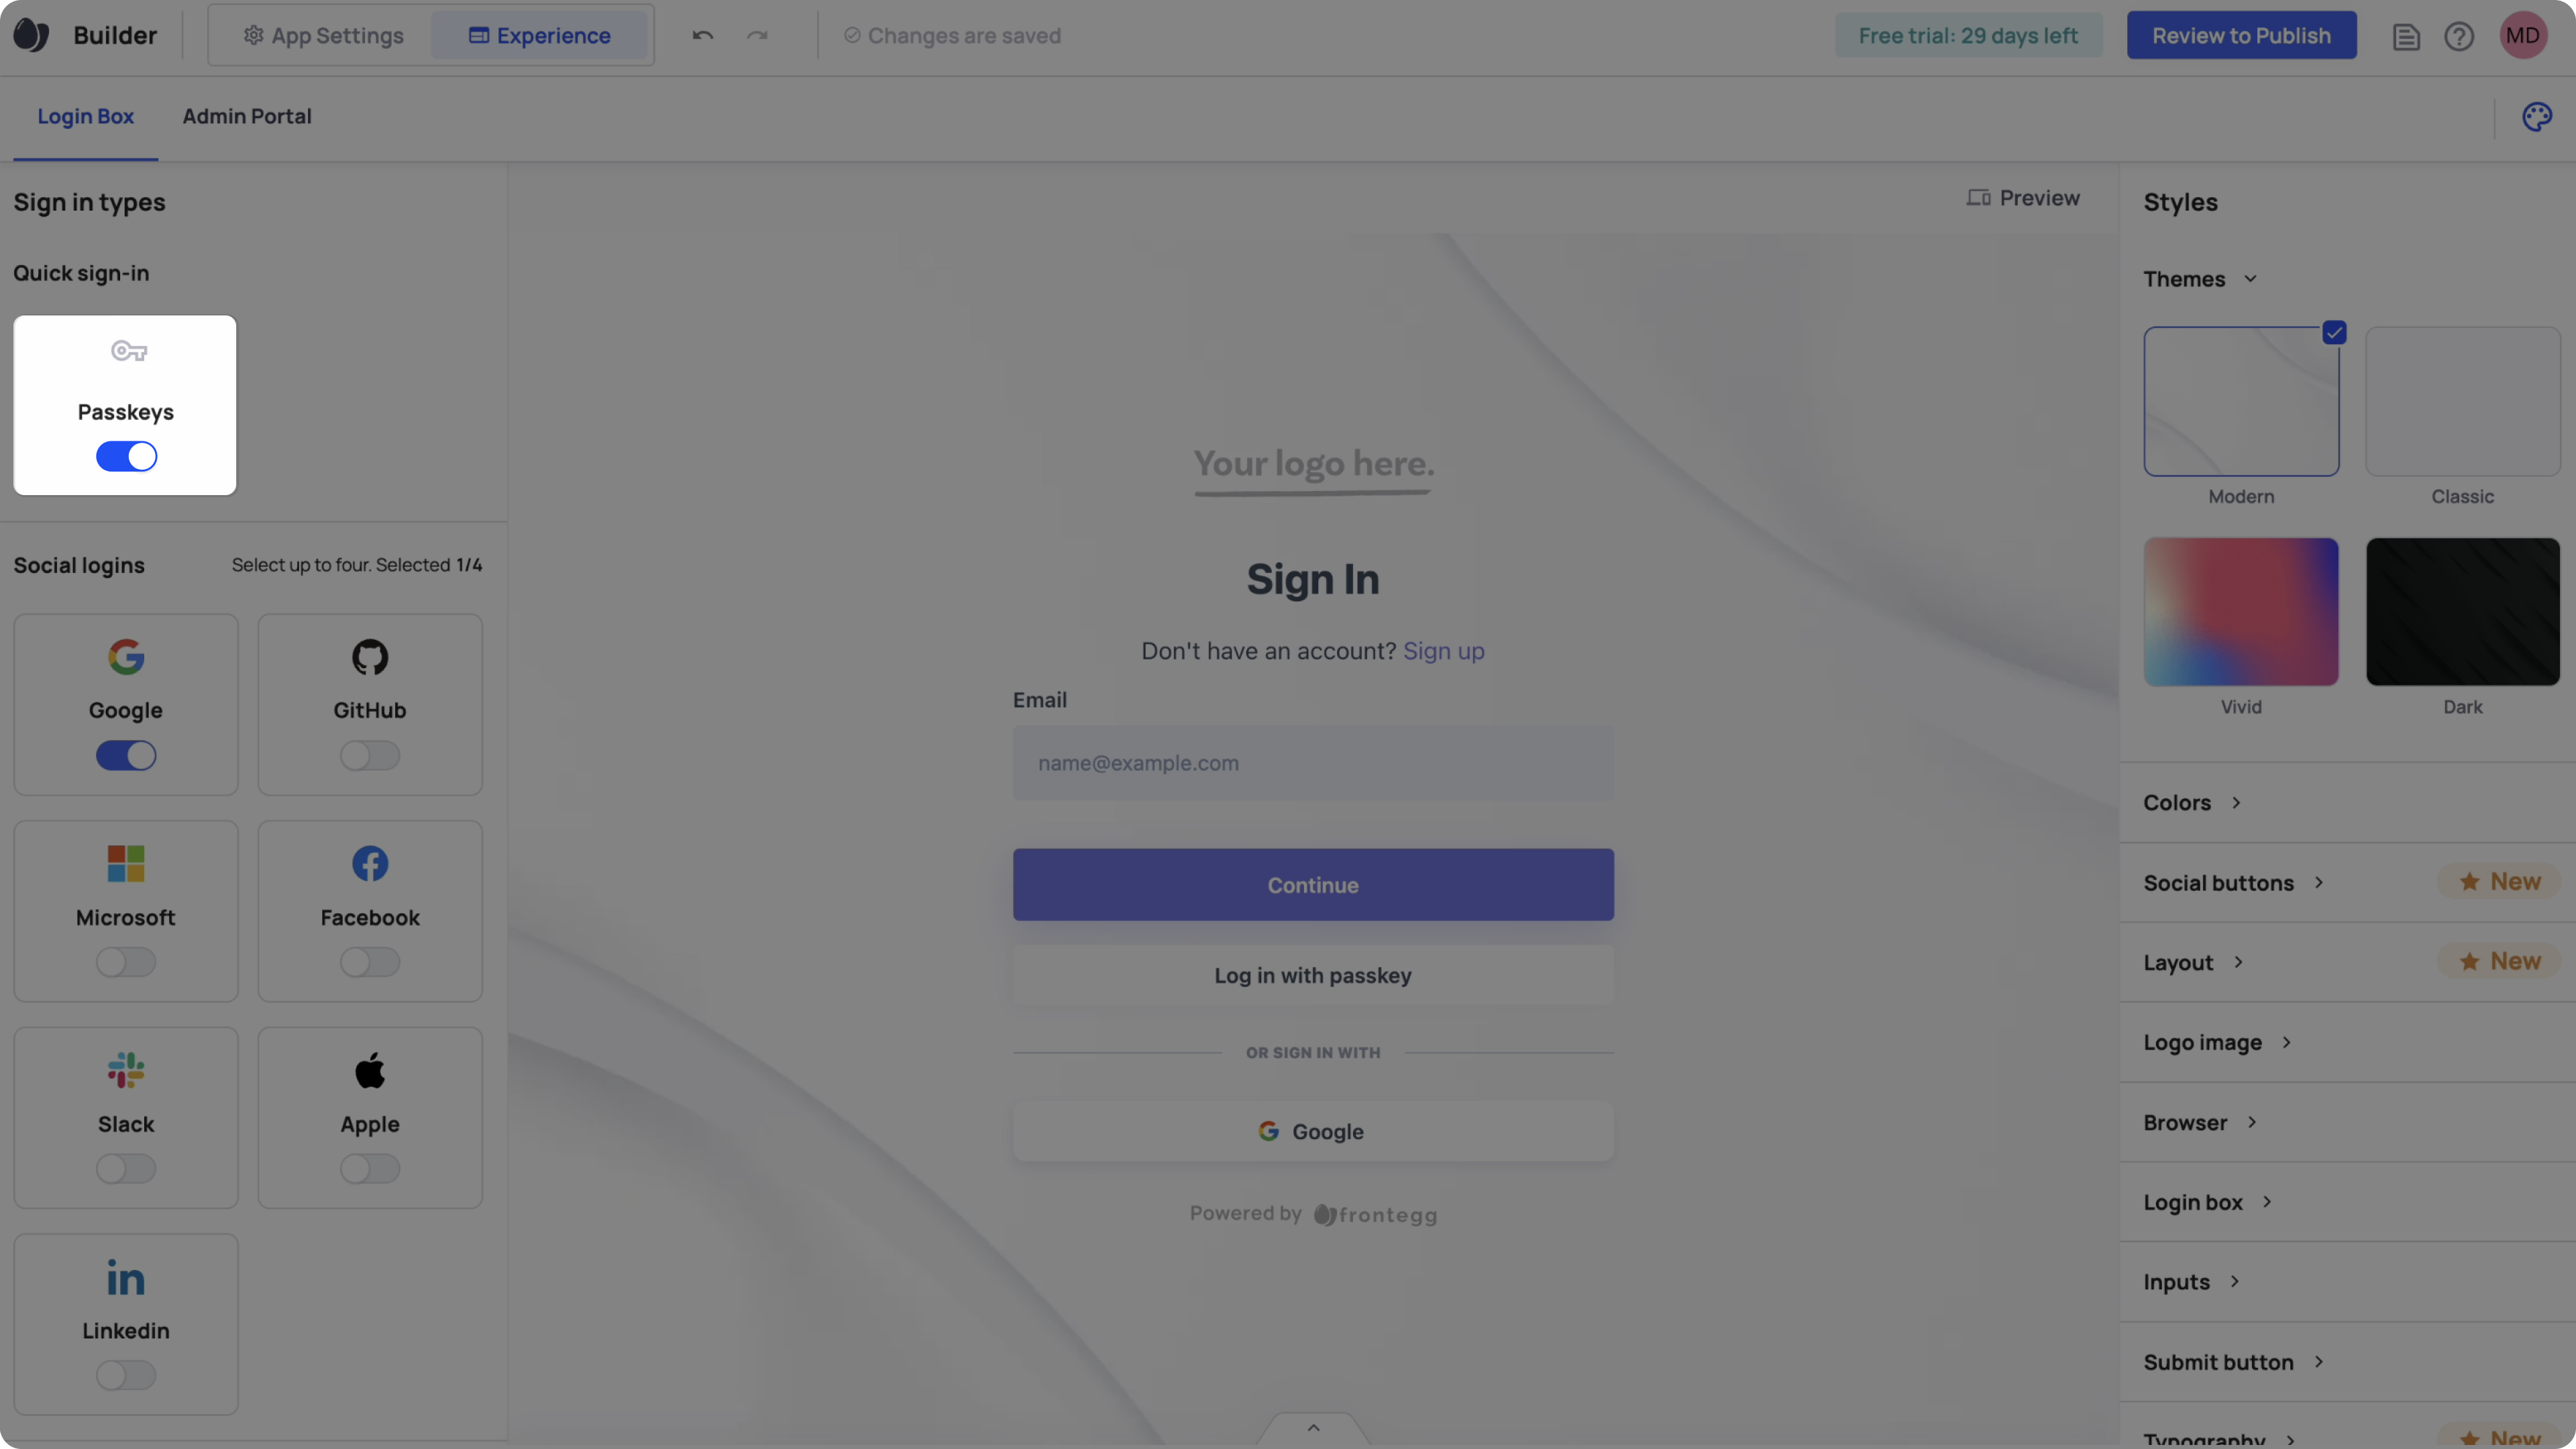
Step 1 - Add passkeys to your sign-in page
- Go to the builder
- Go to the experience tab
- Choose the Login box section
- Enable the _Passkeys _toggle
This is how your sign-in page would look with the Sign in with passkey button:
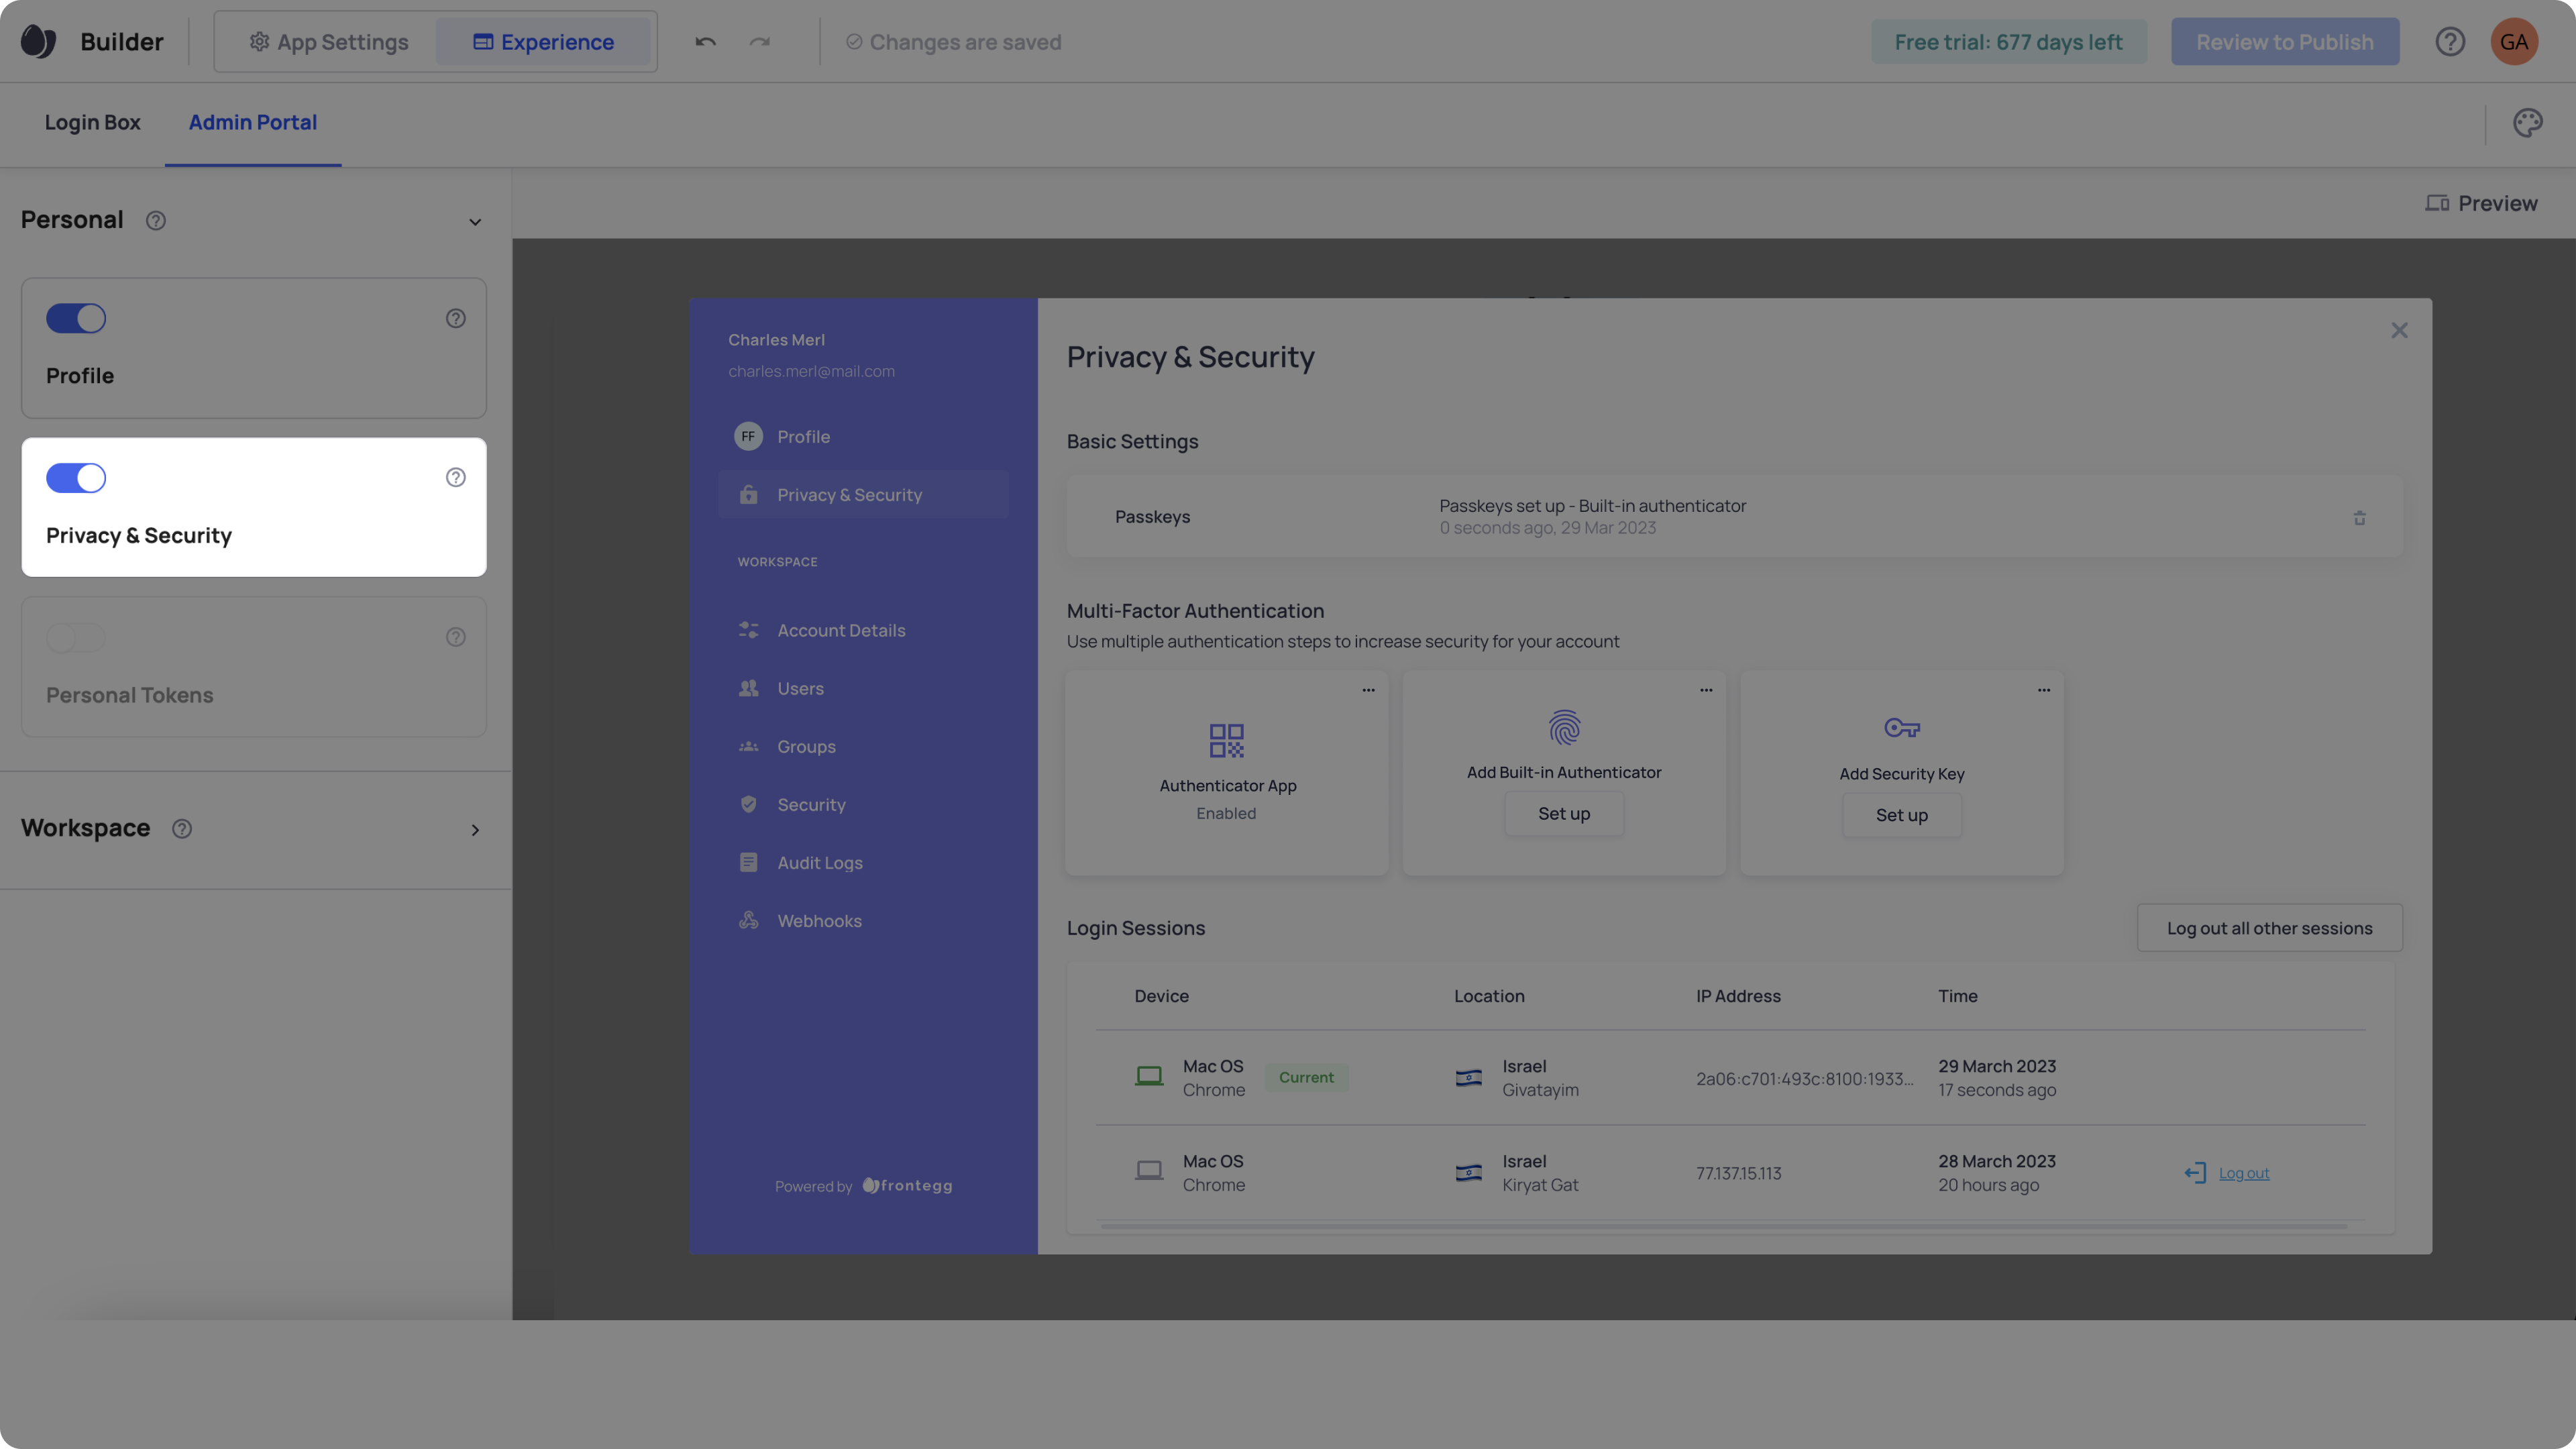
Step 2 (optional) - Add an option to set up passkeys within the Admin Portal.
In order to let your users manage passkeys within your app in the Admin portal, follow the next steps;
- Go to builder
- Go to the experience tab.
- Choose the Admin portal tab.
- Enable “Privacy & Security” tab. (see note)
For more information about integrating the Admin portal click here.
Limitations while testing locally
You cannot add your passkeys from the Privacy & Security if you running the app locally (e.g., on http://localhost:3000).
To set a passkey from your Privacy & Security tab, you need to have your own Custom Domain.
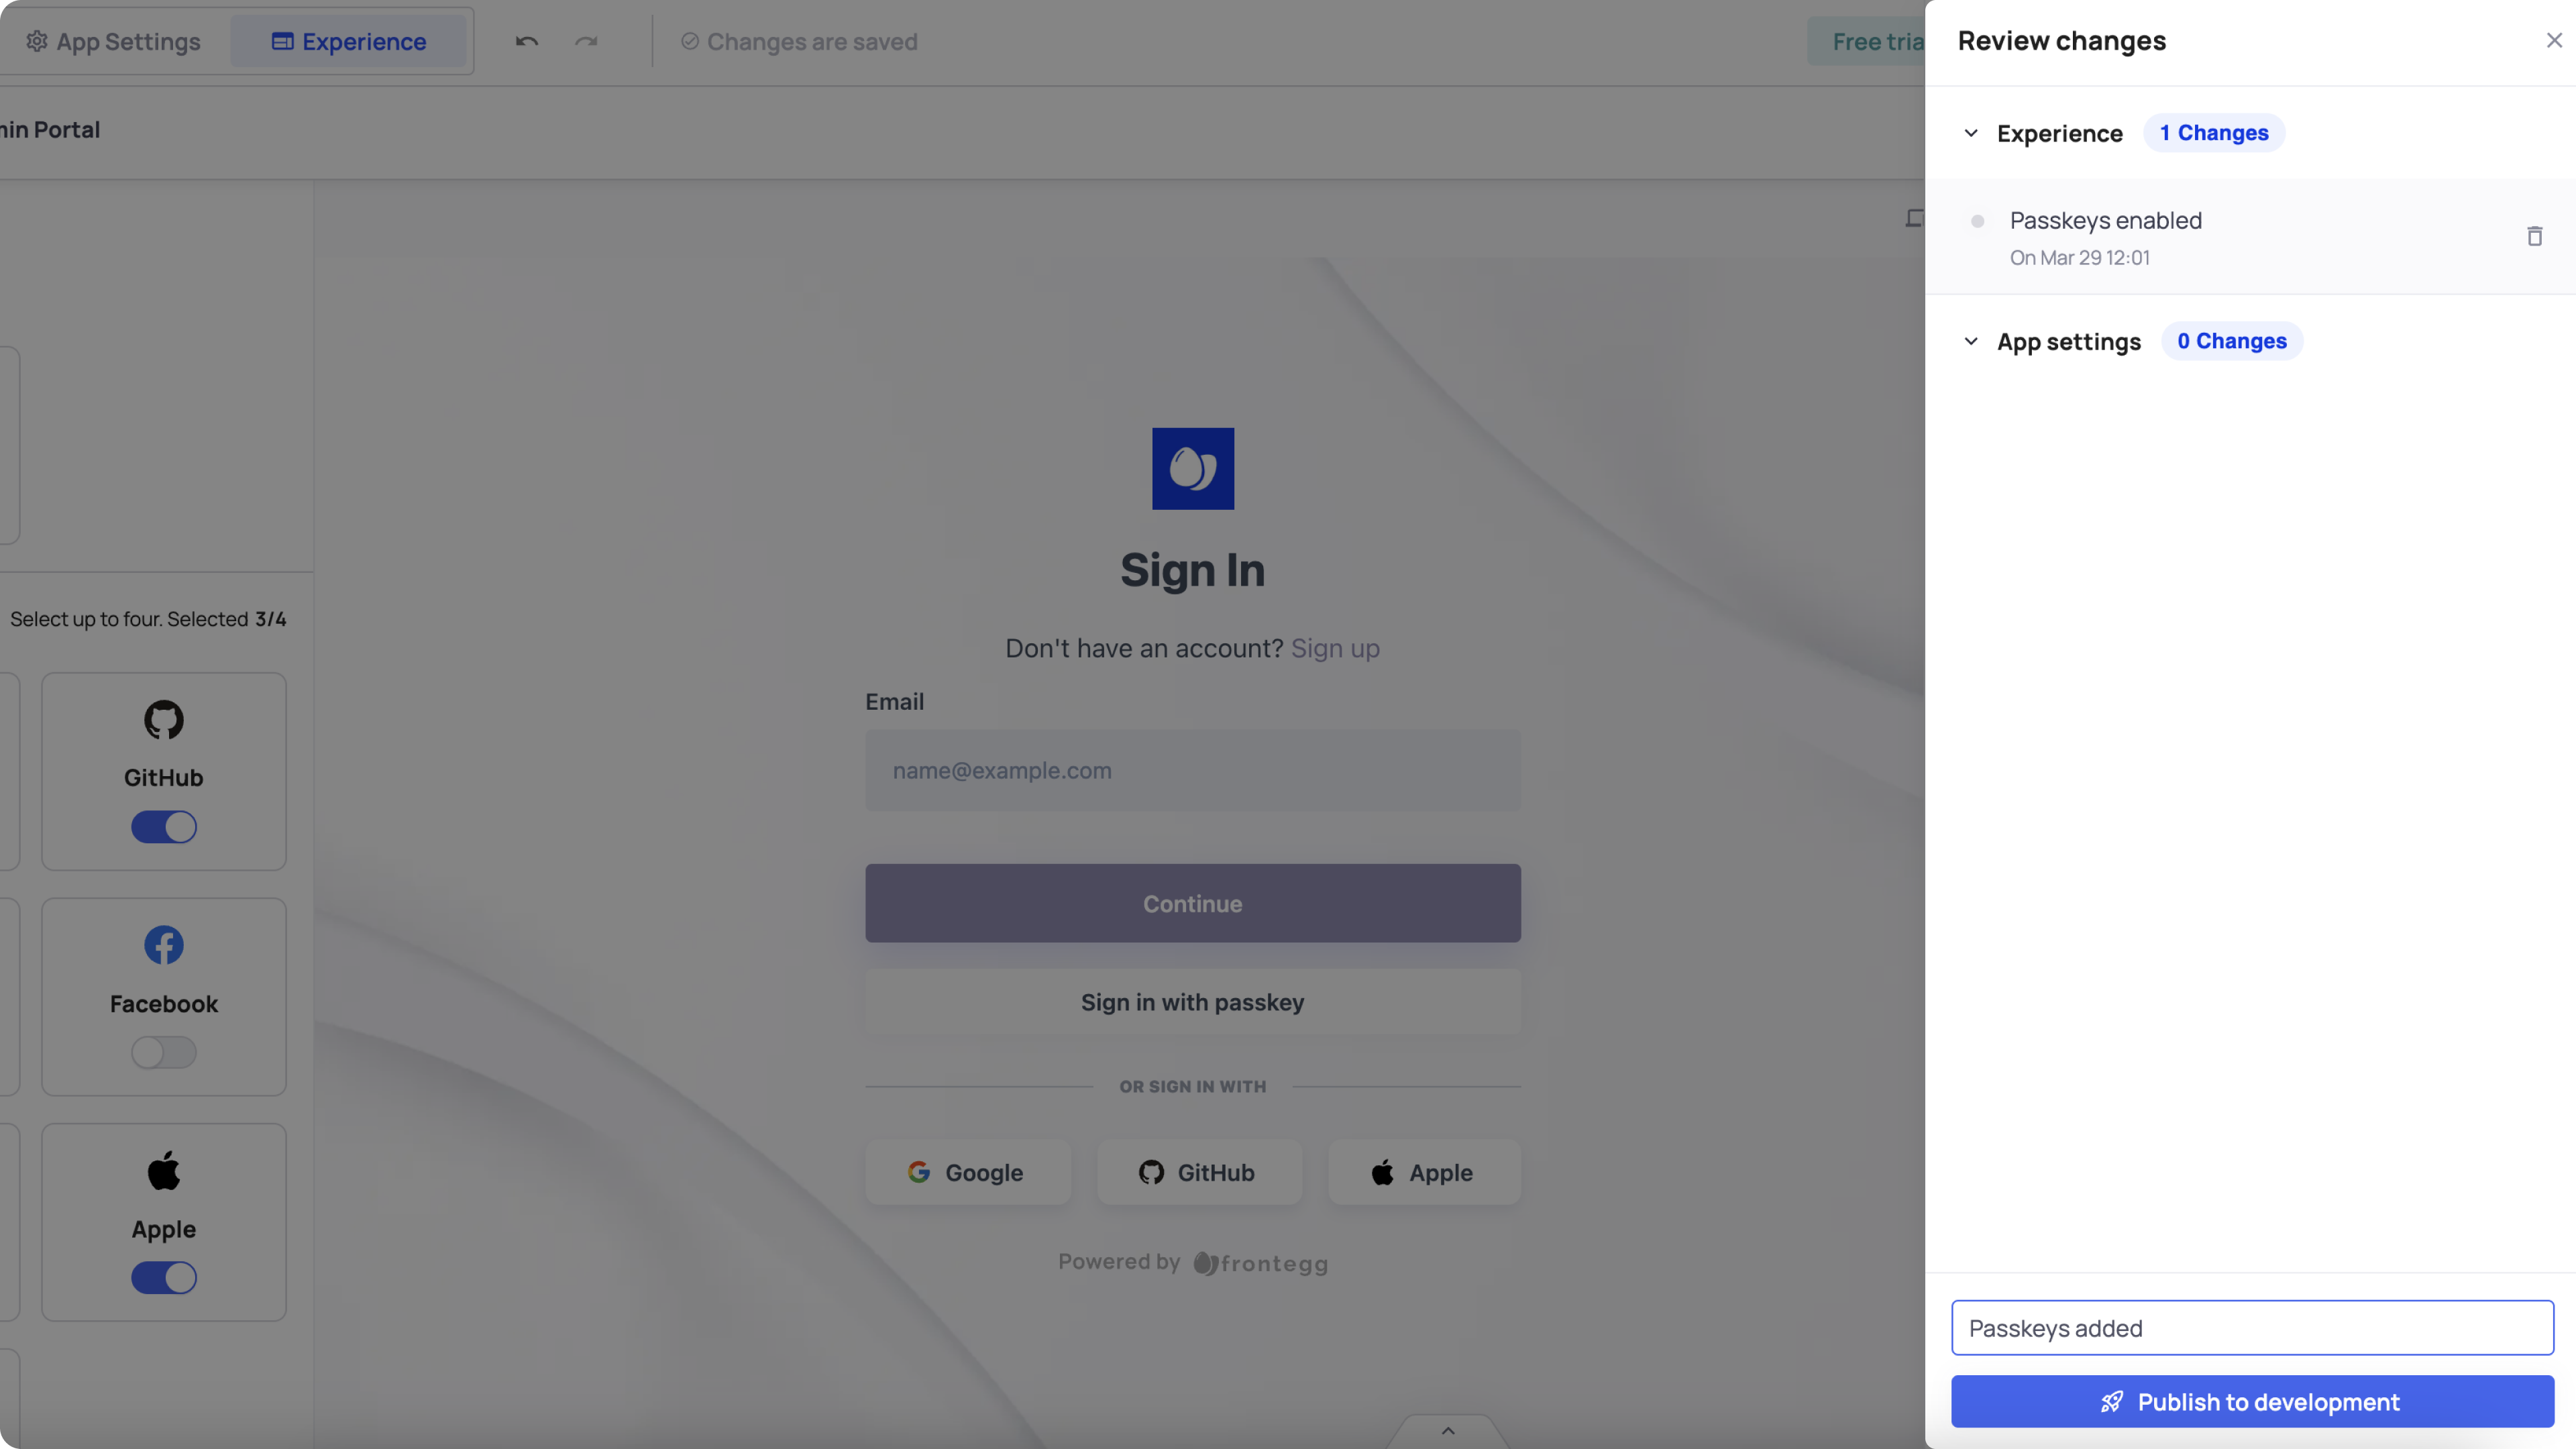
Step 3 - Publish
- Click the Review to publish button.
- Add a comment and click on Publish to development".
Your changes are now ready in your Development environment. To test it further, go your Development environment and push your changes to deploy them. Learn more about your environments here.
User Login Flow with Passkeys
Once the passkeys are added to the sign-in page, users will be able to follow these steps to set up passkeys
- User will sign in to their account
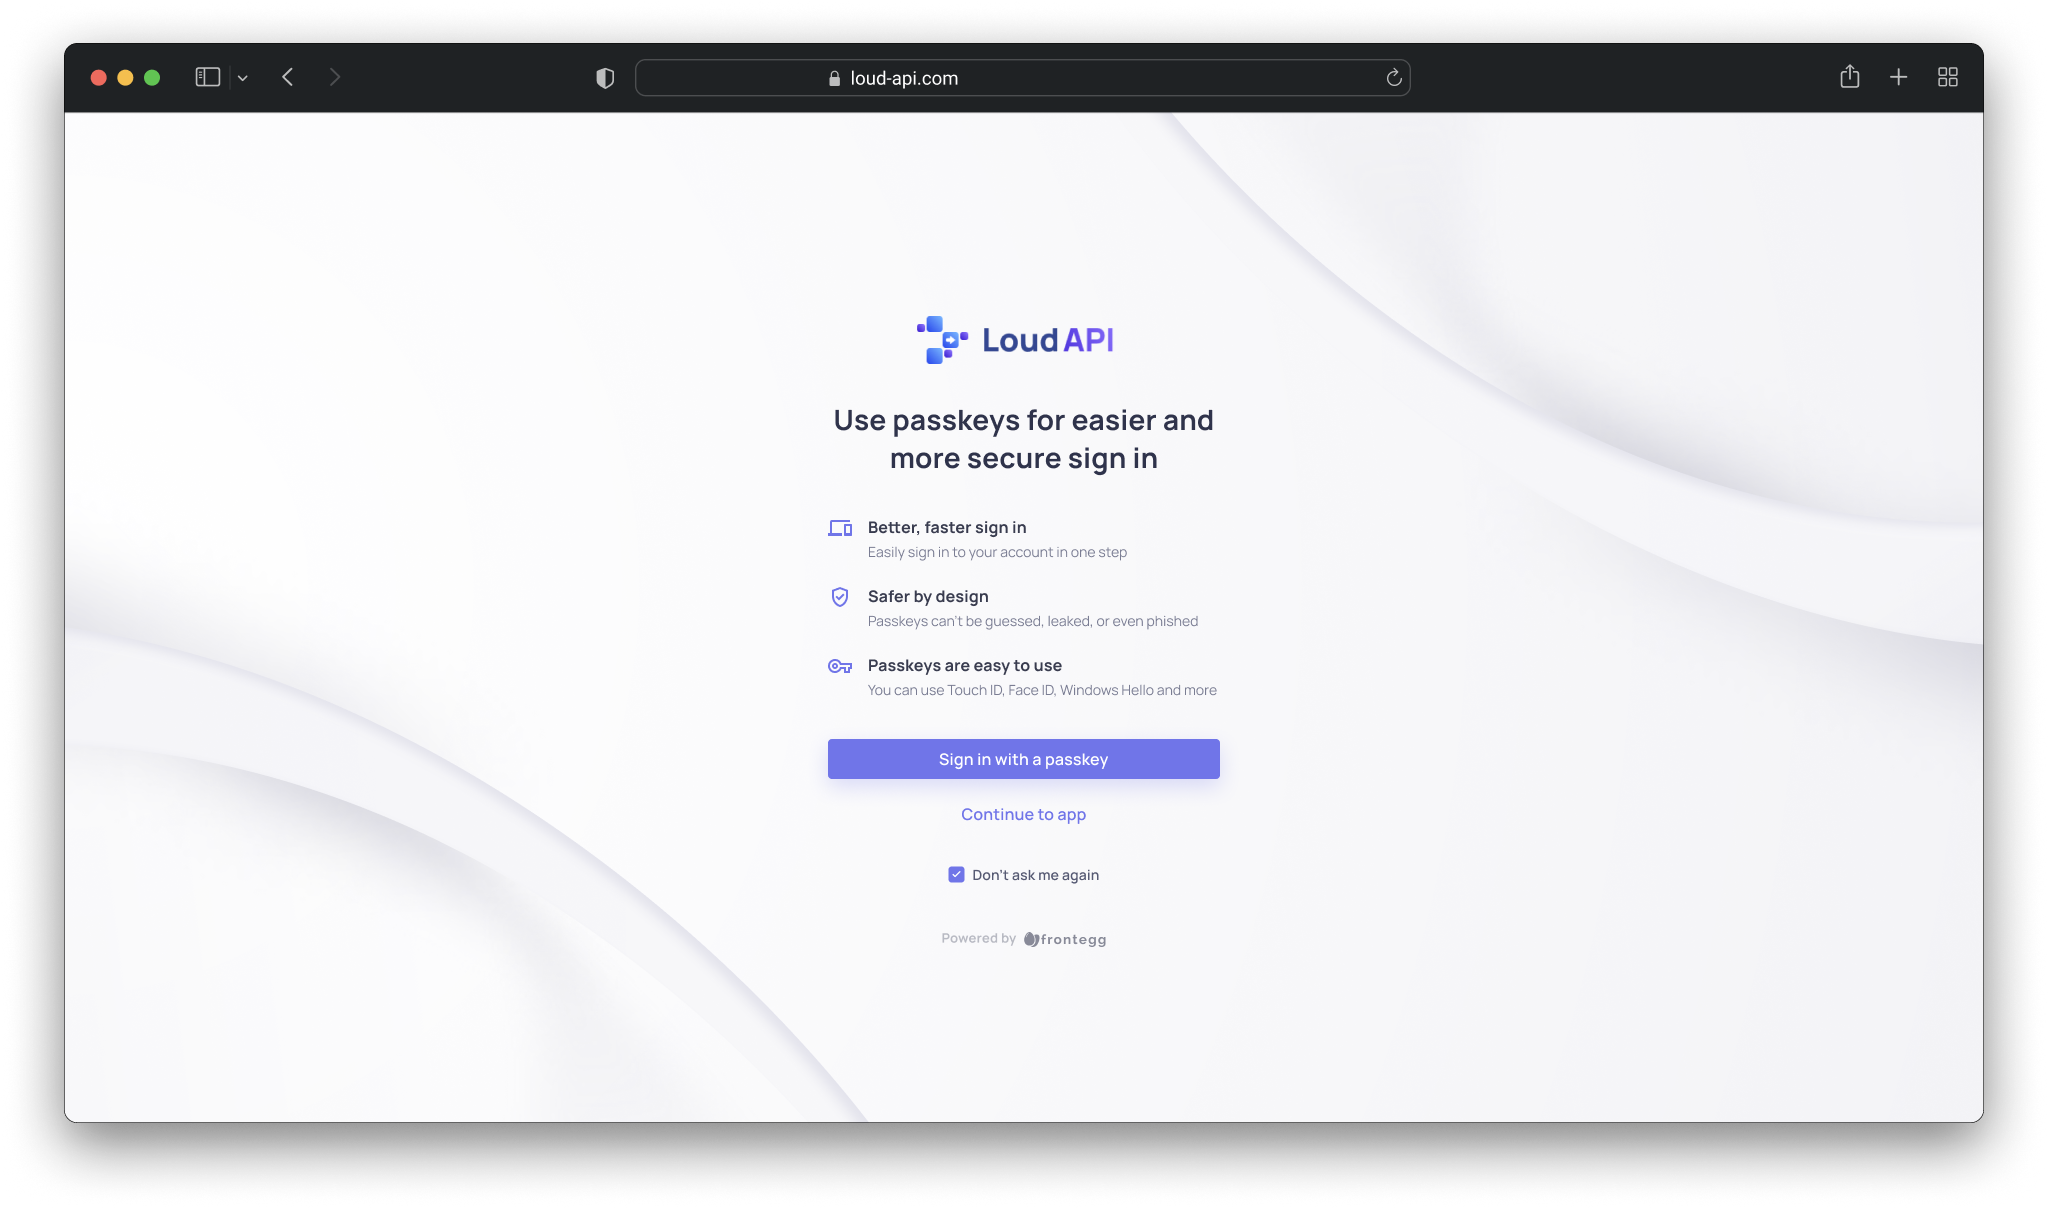
- User will go to Passkeys set-up page
- User will set up passkeys by clicking the Use passkey button and following their device instructions.
- Users can decide whether they want to see the prompt again— They will see it only once by default.
- Manage passkeys within the Admin Portal
- Go to the “Privacy & Security” tab
- Click the "set up passkeys" button if passkeys are not set up already
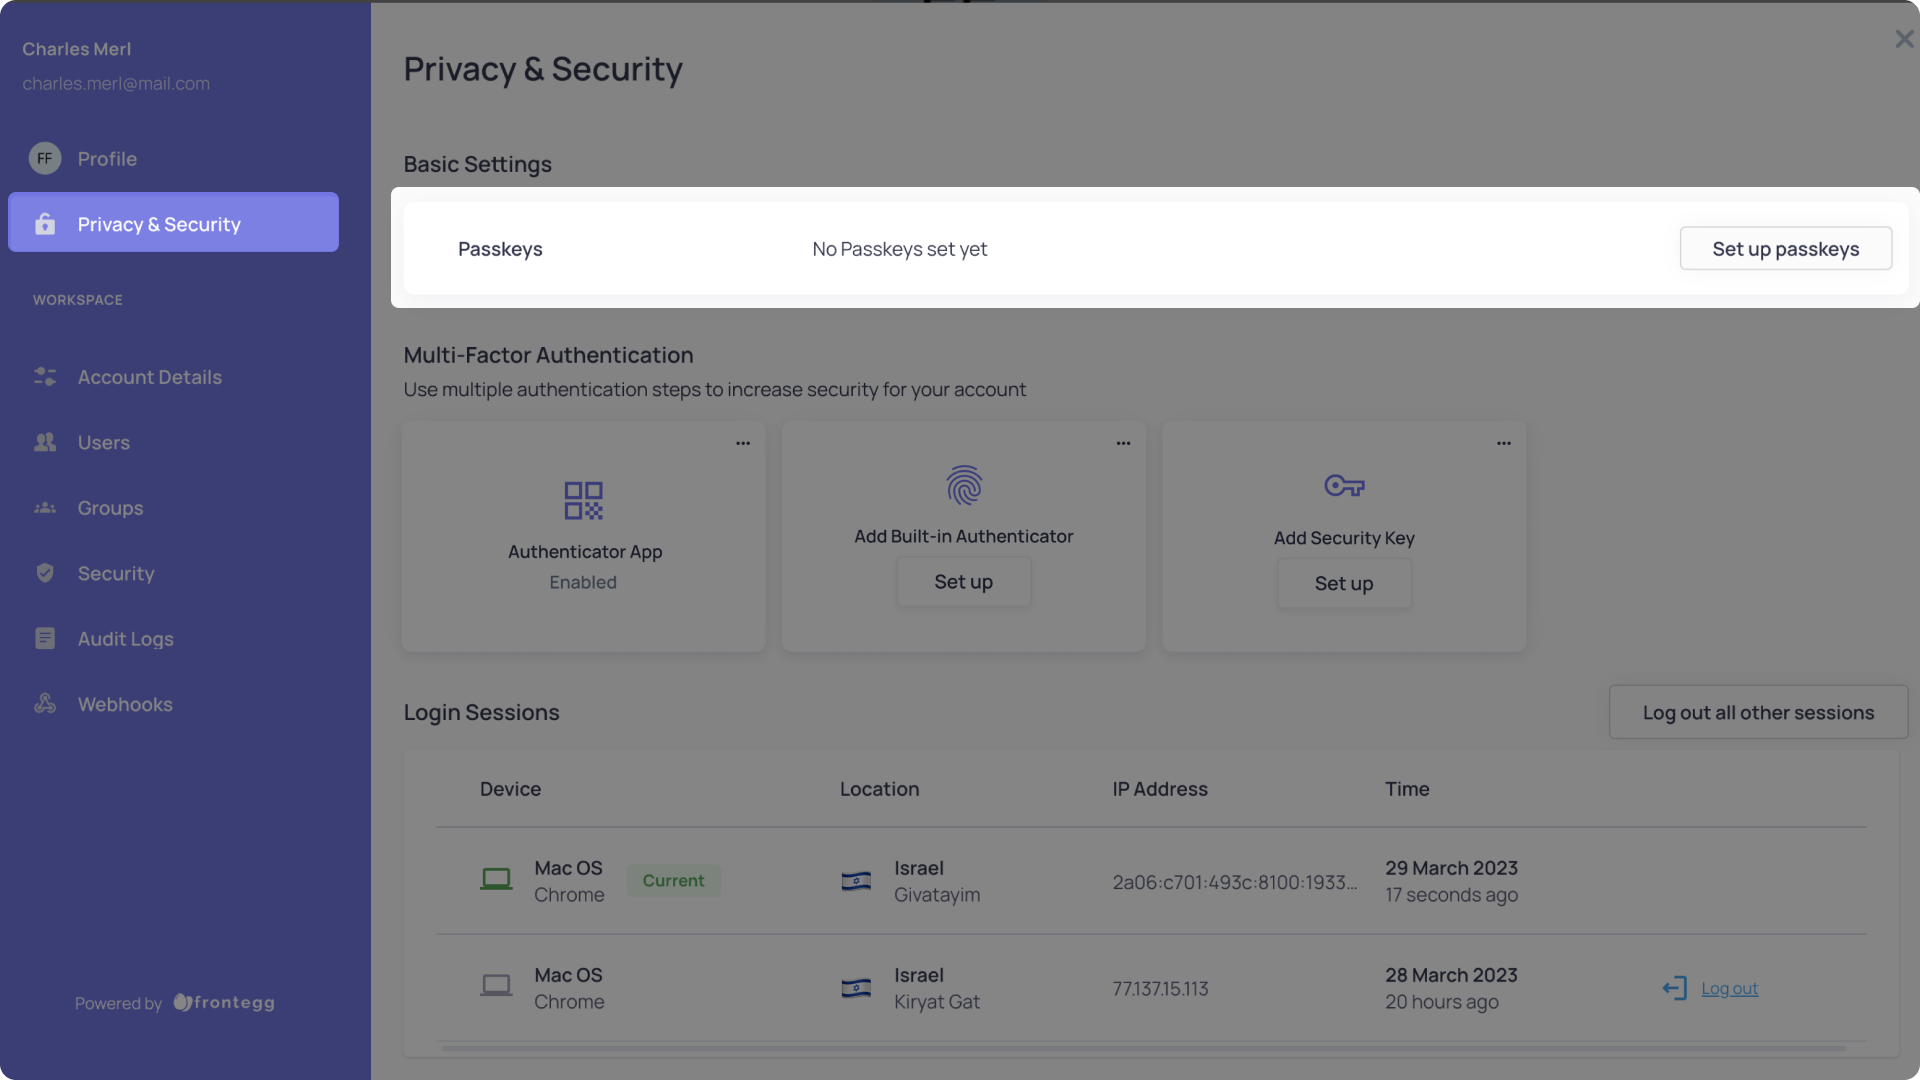
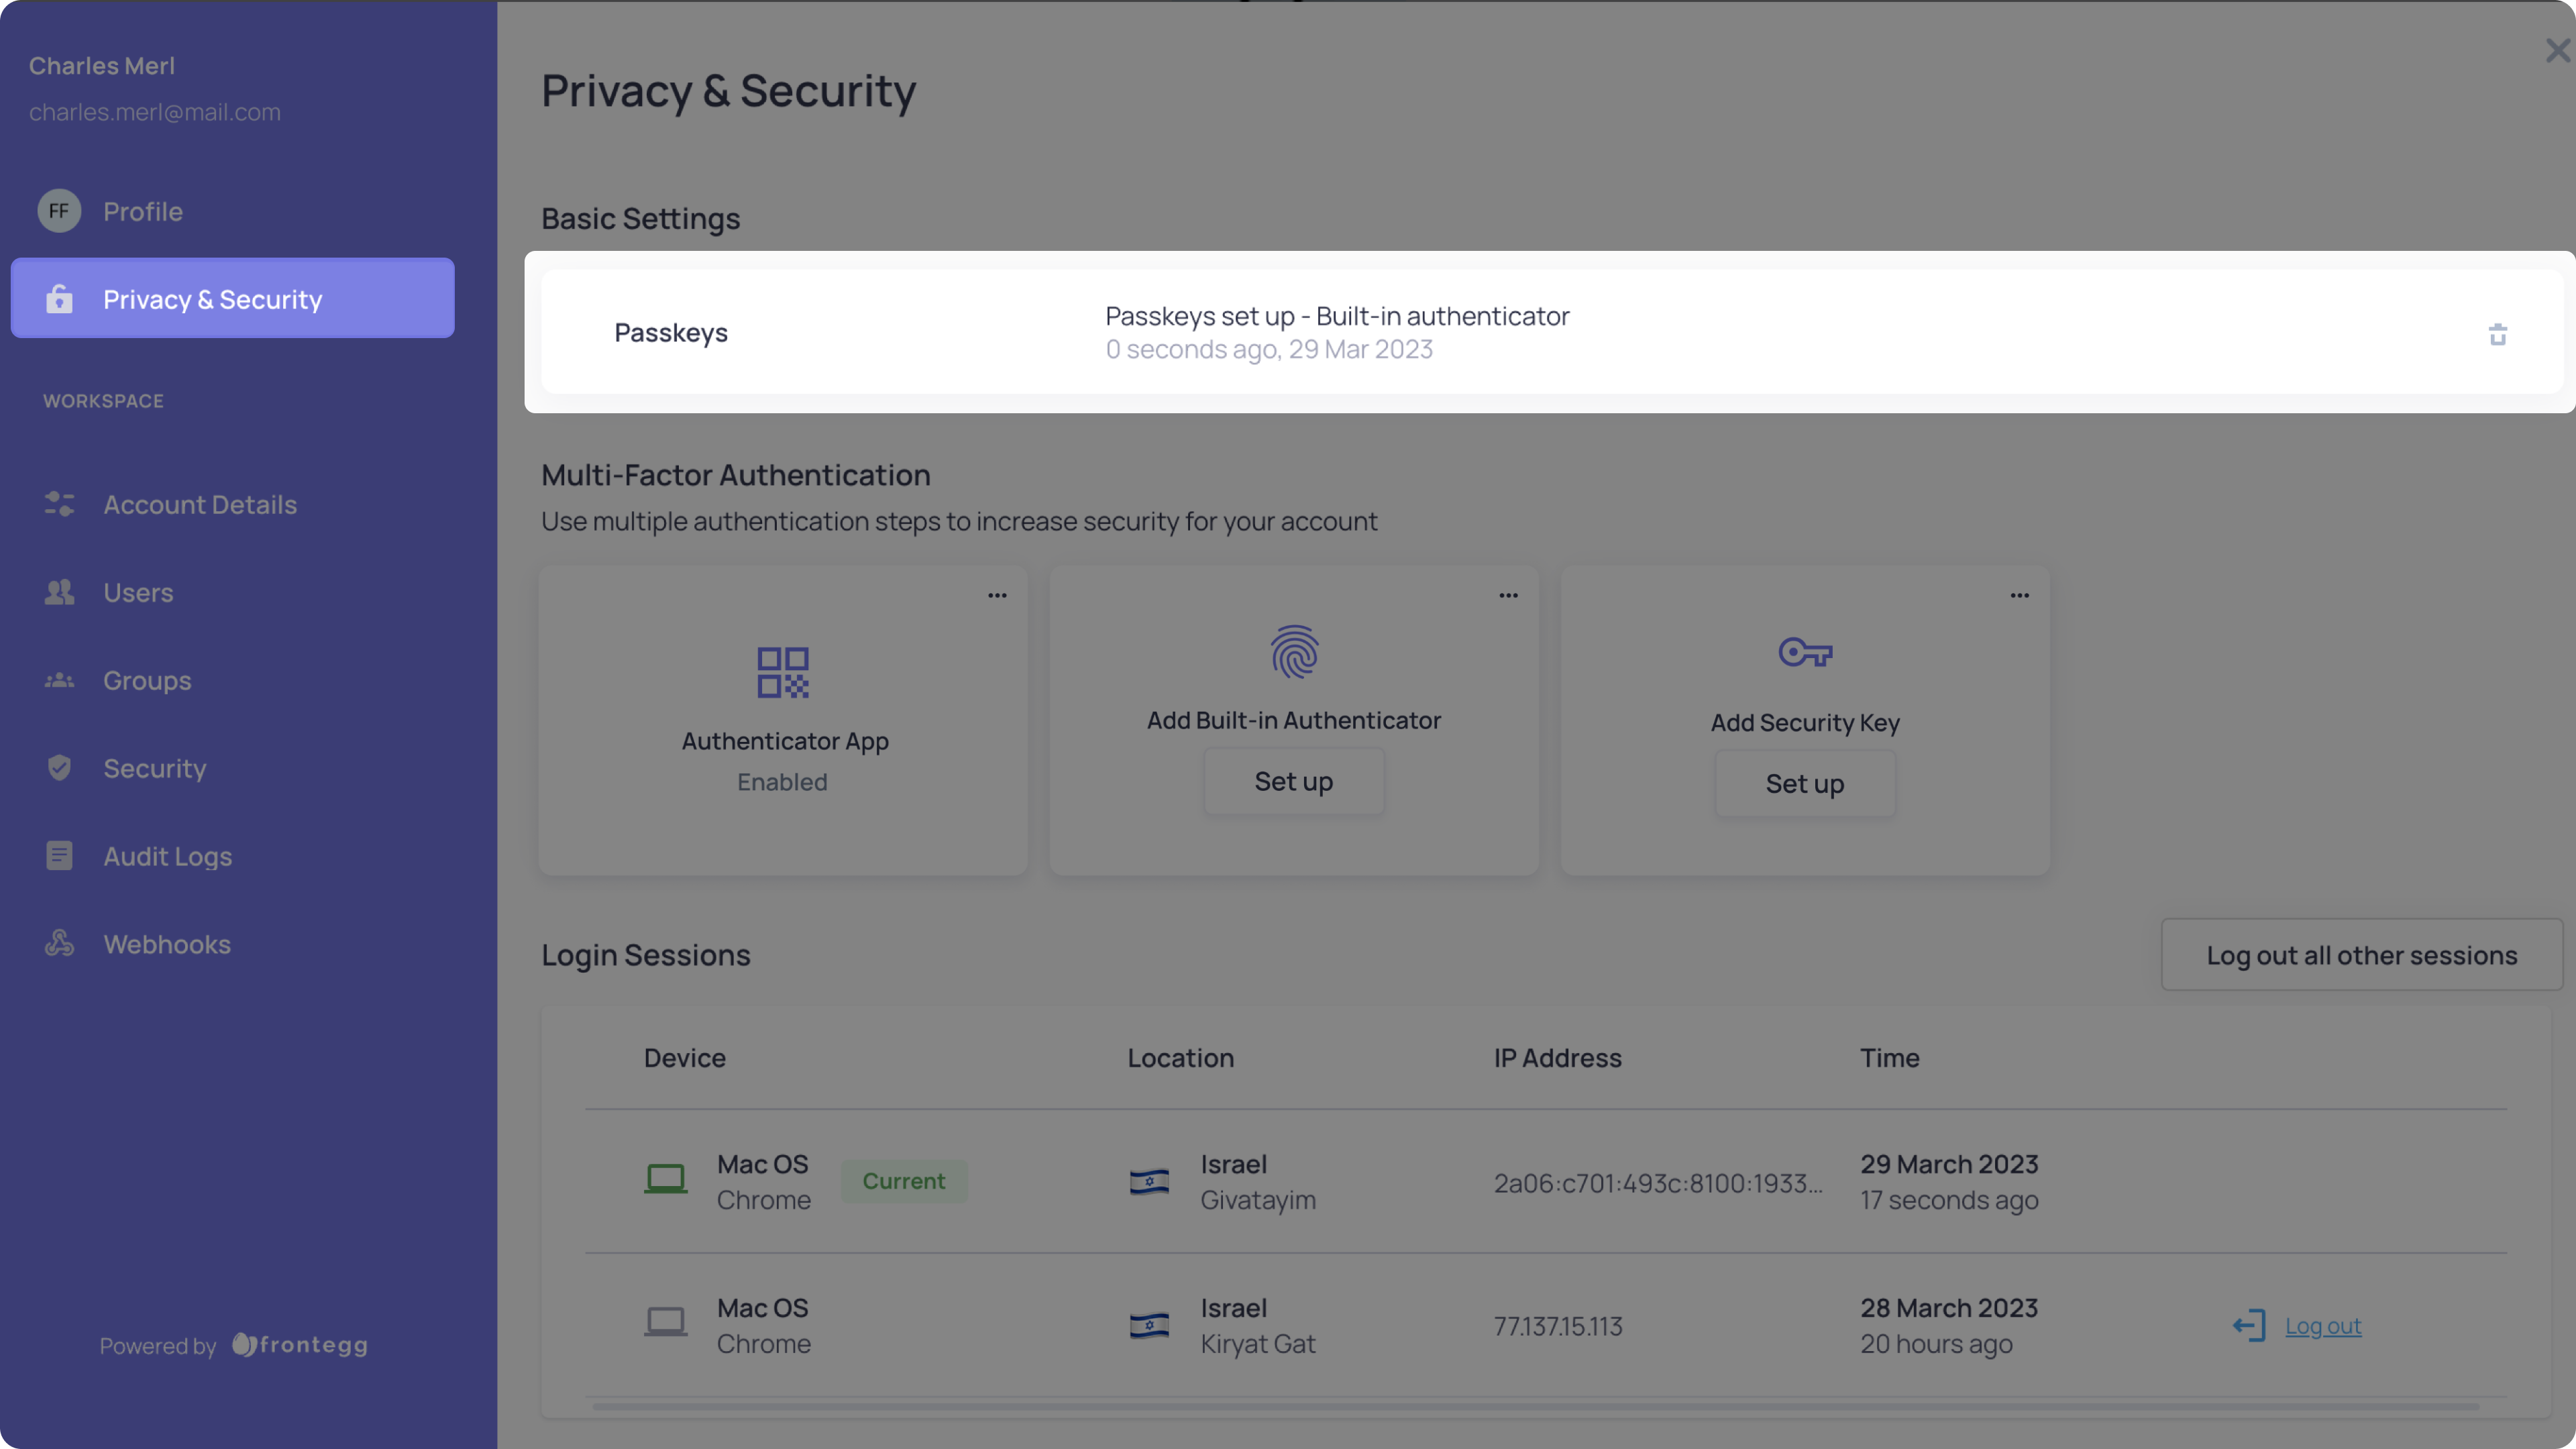
Once the passkeys are set users can
- Delete passkey by clicking the trash icon
- View the last time passkeys were added.
Once the user set up passkeys (one of the two ways) then on their next sign-in they can enter the App by clicking “Sign in with passkey” on the Sign-in page.
| Passkeys Restrictions |
-
MFA; Multi factor authentication is used to ensure second authentication method that is different from the main authentication. Our MFA methods include Authenticator apps, built in authenticators, SMS, and security key. In order to avoid a double use of WebAuthN authentication, we enforce different authentication methods.
- On the builder - You won't be able to add passkeys if you don't add "SMS" / "Authenticator apps" as MFA options for your users.
- On the sign-in flow - If users authenticated with "built in authenticators" / "security key" as a MFA method, they won't be able to view the prompt passkeys page.
- On the Admin Portal - If MFA is forced, users won't be able to set up Passkeys if they didn't set up SMS/Authenticator apps as MFA methods.
-
SSO sign-in; Users that logged in with SSO won’t be able to set up passkeys. SSO is considered a secured authentication and when enabled it means that a user must sign in with SSO.
- On the sign-in flow - passkeys prompt page won't be visible
- On the Admin Portal - Passkeys section won't be visible.
Demonstration of login flow
- Set up passkey page - gif
- Sign in
- Set up passkeys within the passkeys set-up page
- Sign out
- Sign in with passkey
.gif")
Update version
The feature is available from version
@frontegg/[email protected]
@frontegg/[email protected]
@frontegg/[email protected]
@frontegg/[email protected]
Going live checklist
- Add passkeys as an authentication method to the builder
- [Optional] - add Security & Privacy tab to the Admin portal to enable management of passkeys within the app
- Publish changes to development
- Update your app version to the version mentioned above
- Test passkeys on your development environment
- Push changes to production (or other env)
Updated 8 months ago