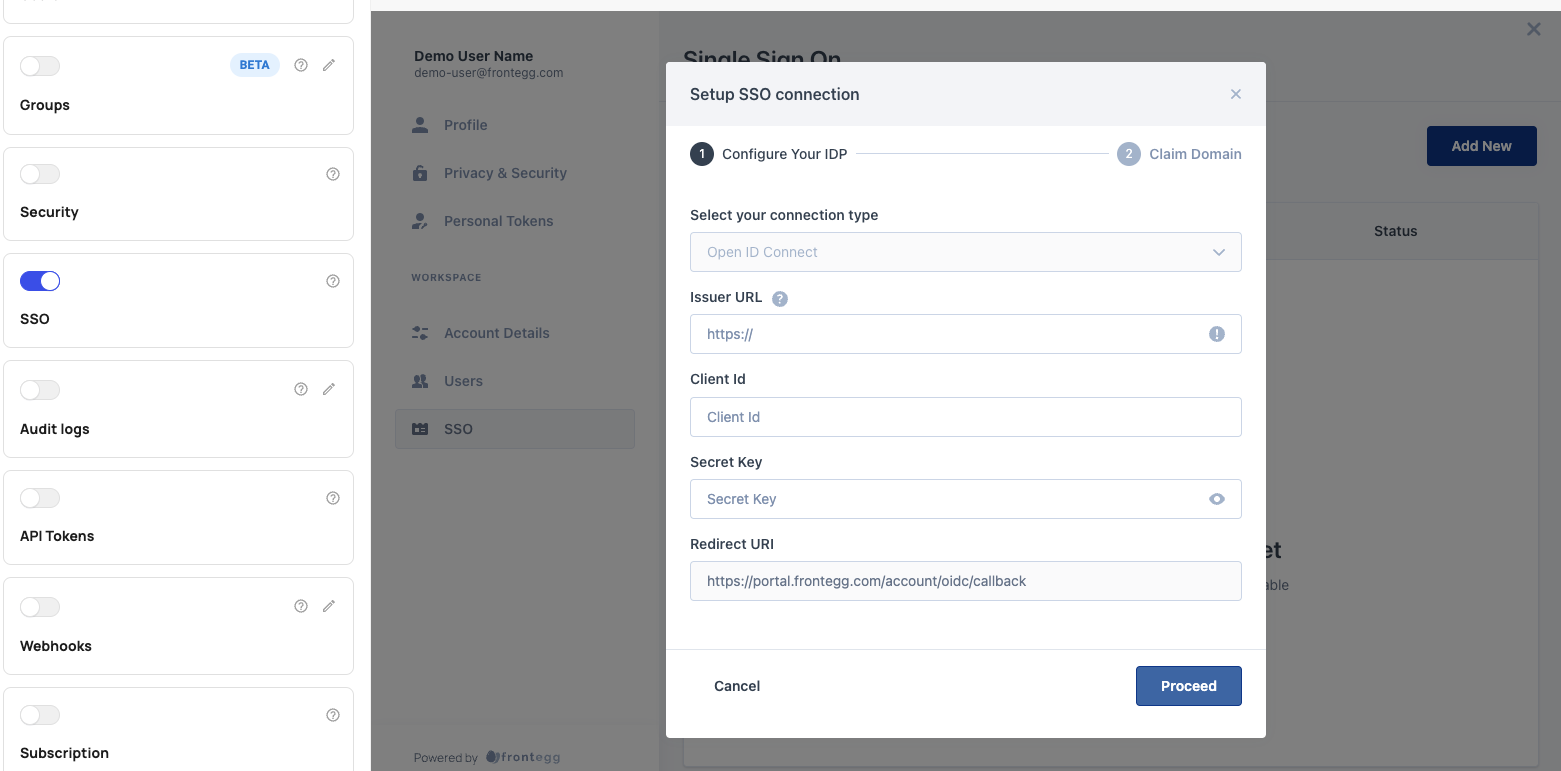
Single Sign-On (SSO) Settings
After Enabling Single Sign On (SSO) in your Login Box, It's time to allow your users to configure and manage their SSO sessions.

Roles and Permissions
Roles and permissions are critical for multiple SSO purposes. Learn how to use roles and permissions for:
- Granting access to specific users for managing SSO configurations for customer accounts
- Allowing customer accounts to use groups to roles mapping
Grant Access
Ensure that a user can access SSO in the Admin Portal by assigning them a role with SSO permissions. The only users who need access to SSO settings in the Admin Portal are those responsible for configuring and maintaining identity provider settings. We do not recommend granting SSO permissions to users who do not need it.
Read more about creating and using roles in the Frontegg Portal.
Group to Roles Mapping
When enabling SSO for the Admin Portal, consider the roles and permissions in your Frontegg Portal.
You want to make sure you have configured your roles for your customers before they set up SSO because customer accounts can map their IDP groups to the roles in your Frontegg Portal.
Mapping SAML IDP groups to roles in Frontegg results in each SAML group member being automatically assigned to the matching role to make securing your app easier than ever.
Next Step: Configure customer identity provider
After enabling SSO for the Admin Portal, make sure your customers configure their SSO identity provider in the Admin Portal.
- Enable OpenID Connect in Login Box
- Configure SAML and OpenID Connect
- Enable SSO for Admin Portal
- 👉 Configure Single sign-on
Updated 8 months ago