Use case: Granular admin portal access
The Entitlements Engine offers multiple ways to control user access to designated Features/content granularly. The engine allows you to control your user's access to various admin portal capabilities via your Frontegg Portal. You can limit which sections your users can see in their Admin Portal and their permissions within those sections— For instance, you can assign users with a Read Only or Edit permissions (table of permissions can be viewed here. By creating a Feature Bundle inclusive of the specific features you pick, you can create dedicated subscription plans, and also upsell features for current users.
Prerequisites
To use the functionality, make sure you have the following versions installed:
Nextjs v8.0.4
Vue v3.0.4
Angular v6.4.0
React v6.0.4
Entitling User Access to Specific Admin Portal Areas
To harness the power of this ability and assign your users access to specific Admin Portal areas, do the following:
Step 1: Enable Entitlements in your SDK
Your first step would be to enable the Entitlements Engine in your frontend Entitlement SDK. Choose your tech stack from the main menu under Frontend SDKs. Each SDK includes an Entitlement Integration SDK.
entitlementsOptions={{
    enabled: true }}
Step 2: Create Dedicated Features and Feature Bundles
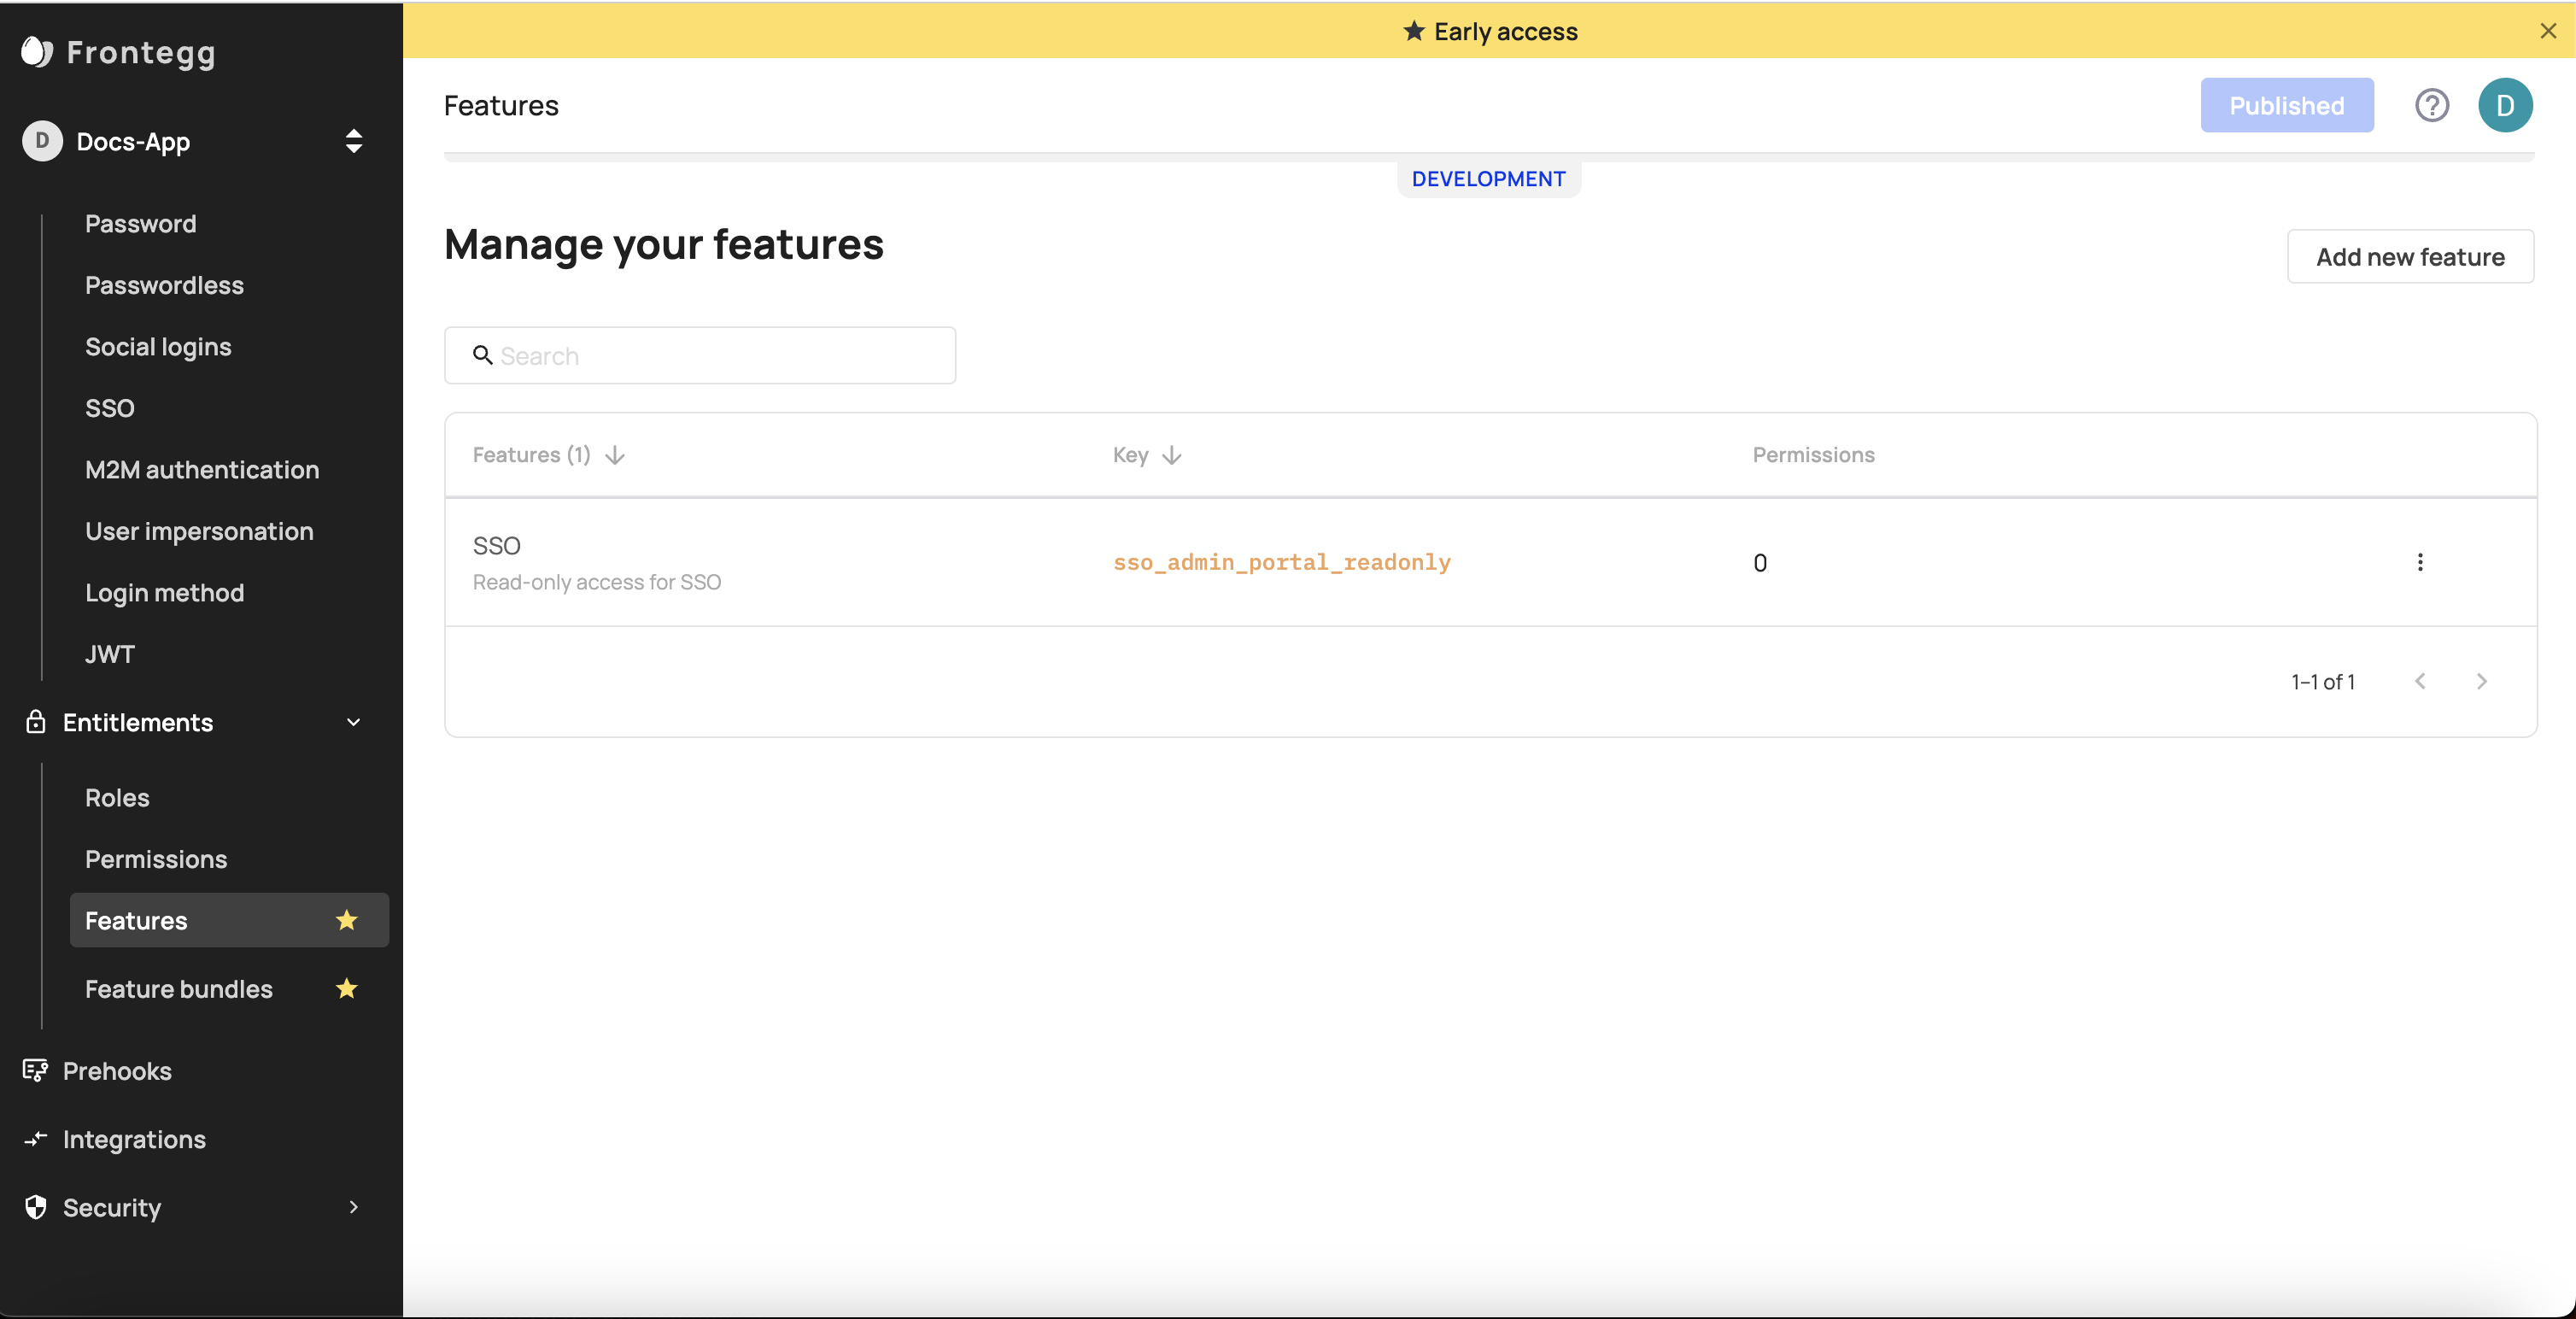
- In your Frontegg Portal, go to your environment, choose the Entitlements tab, and then Features.
- Create Features for each section of the Admin portal you wish to protect. Should you wish to limit access to Single Sign On (SSO) for instance, do the following:
- Go to Add new feature give it a Key name and save it.
- Go to the Plans tab and create a new Plan. Add the feature you created previously to that bundle.
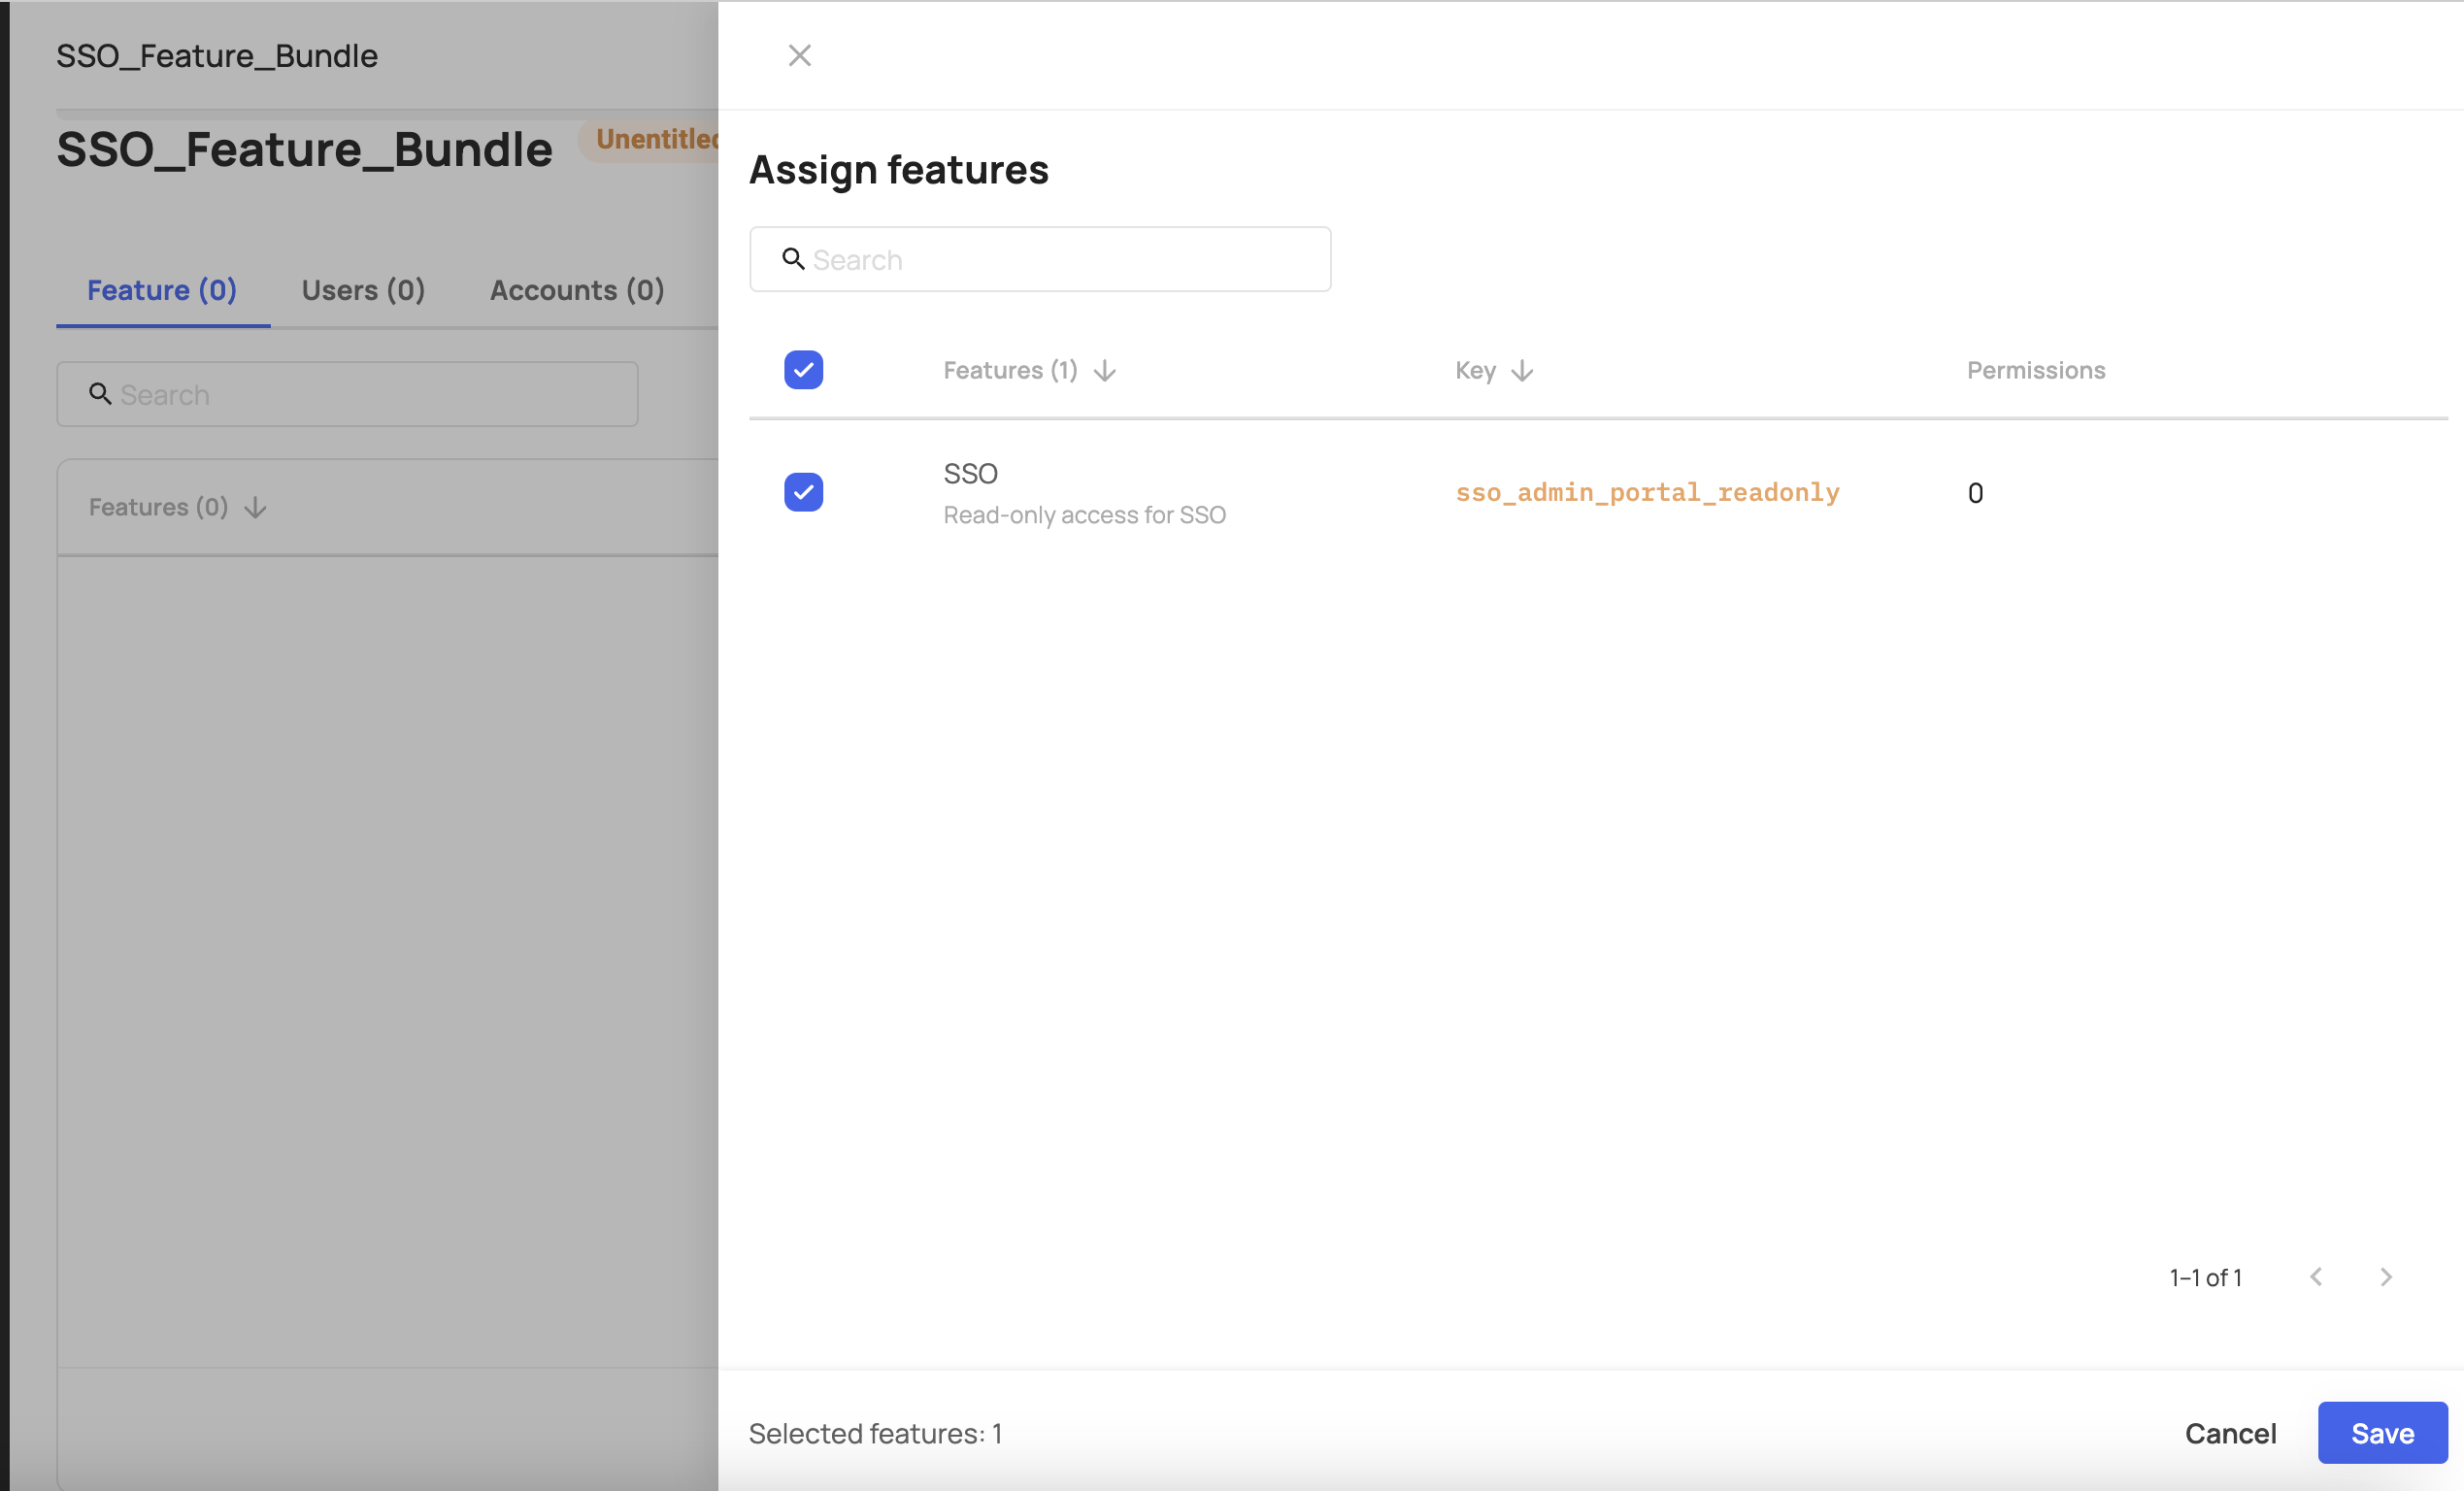
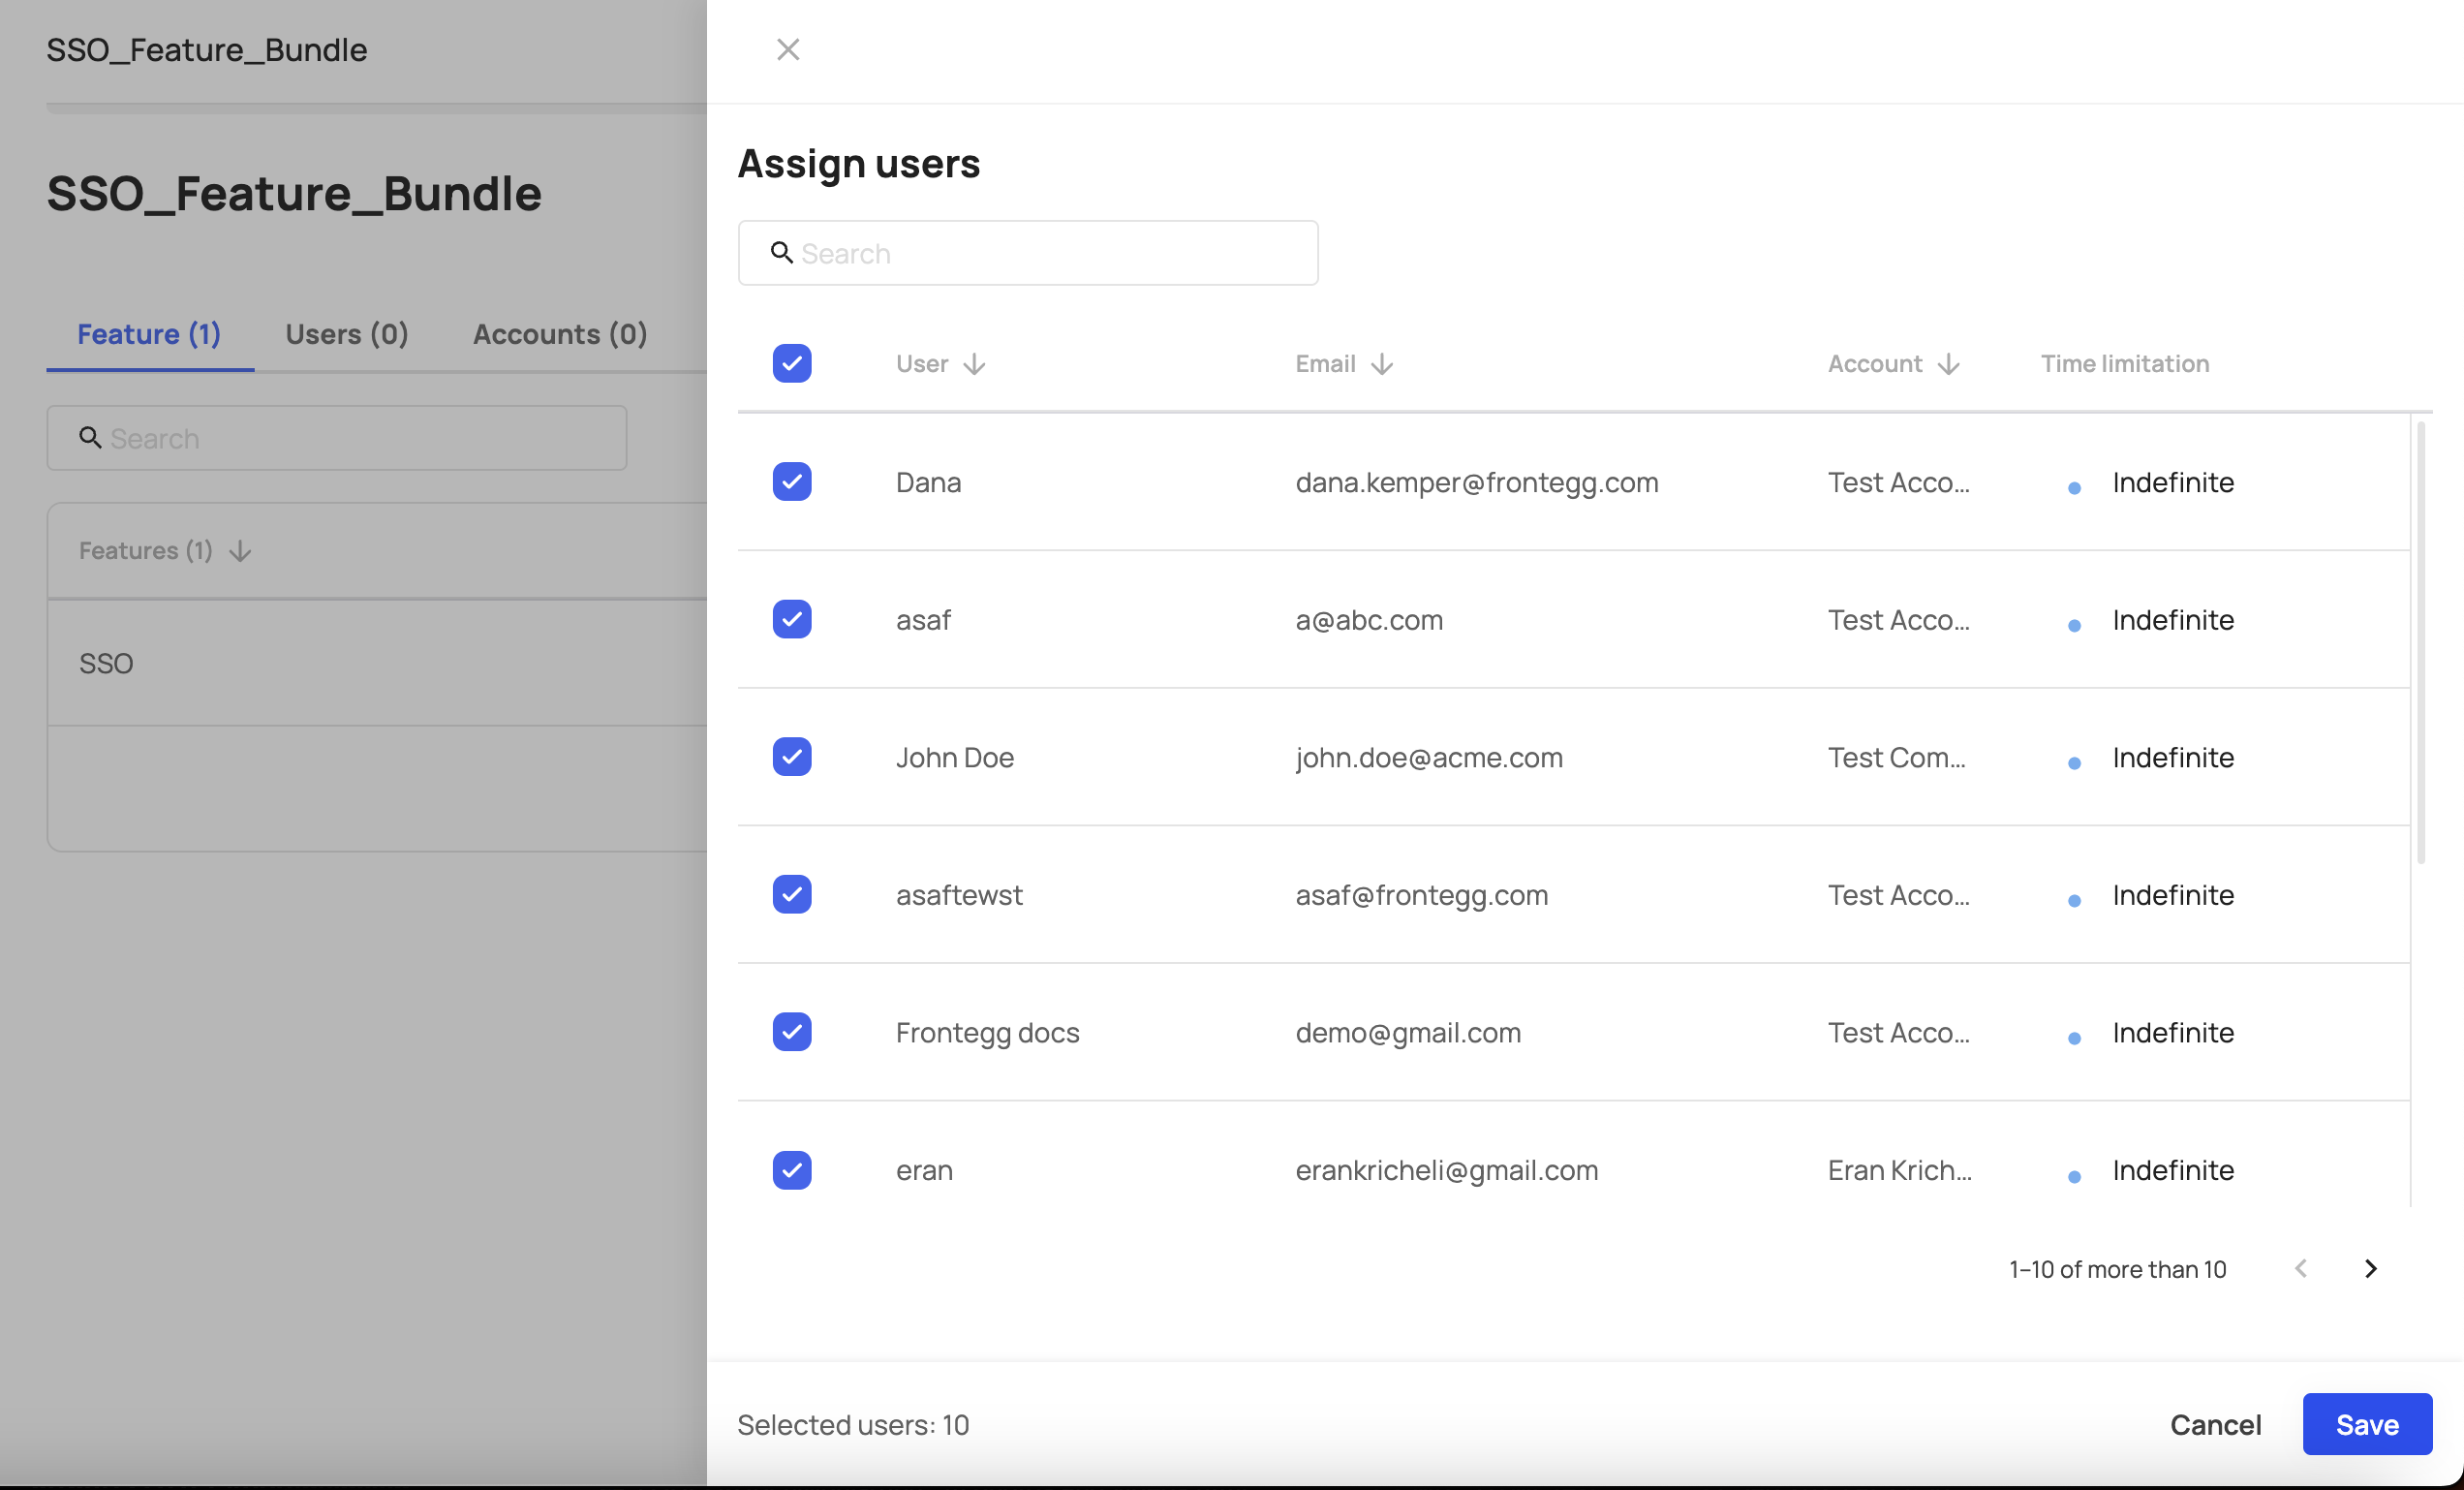
- Assign all the users that you wish to grant access to this feature. Click Save.
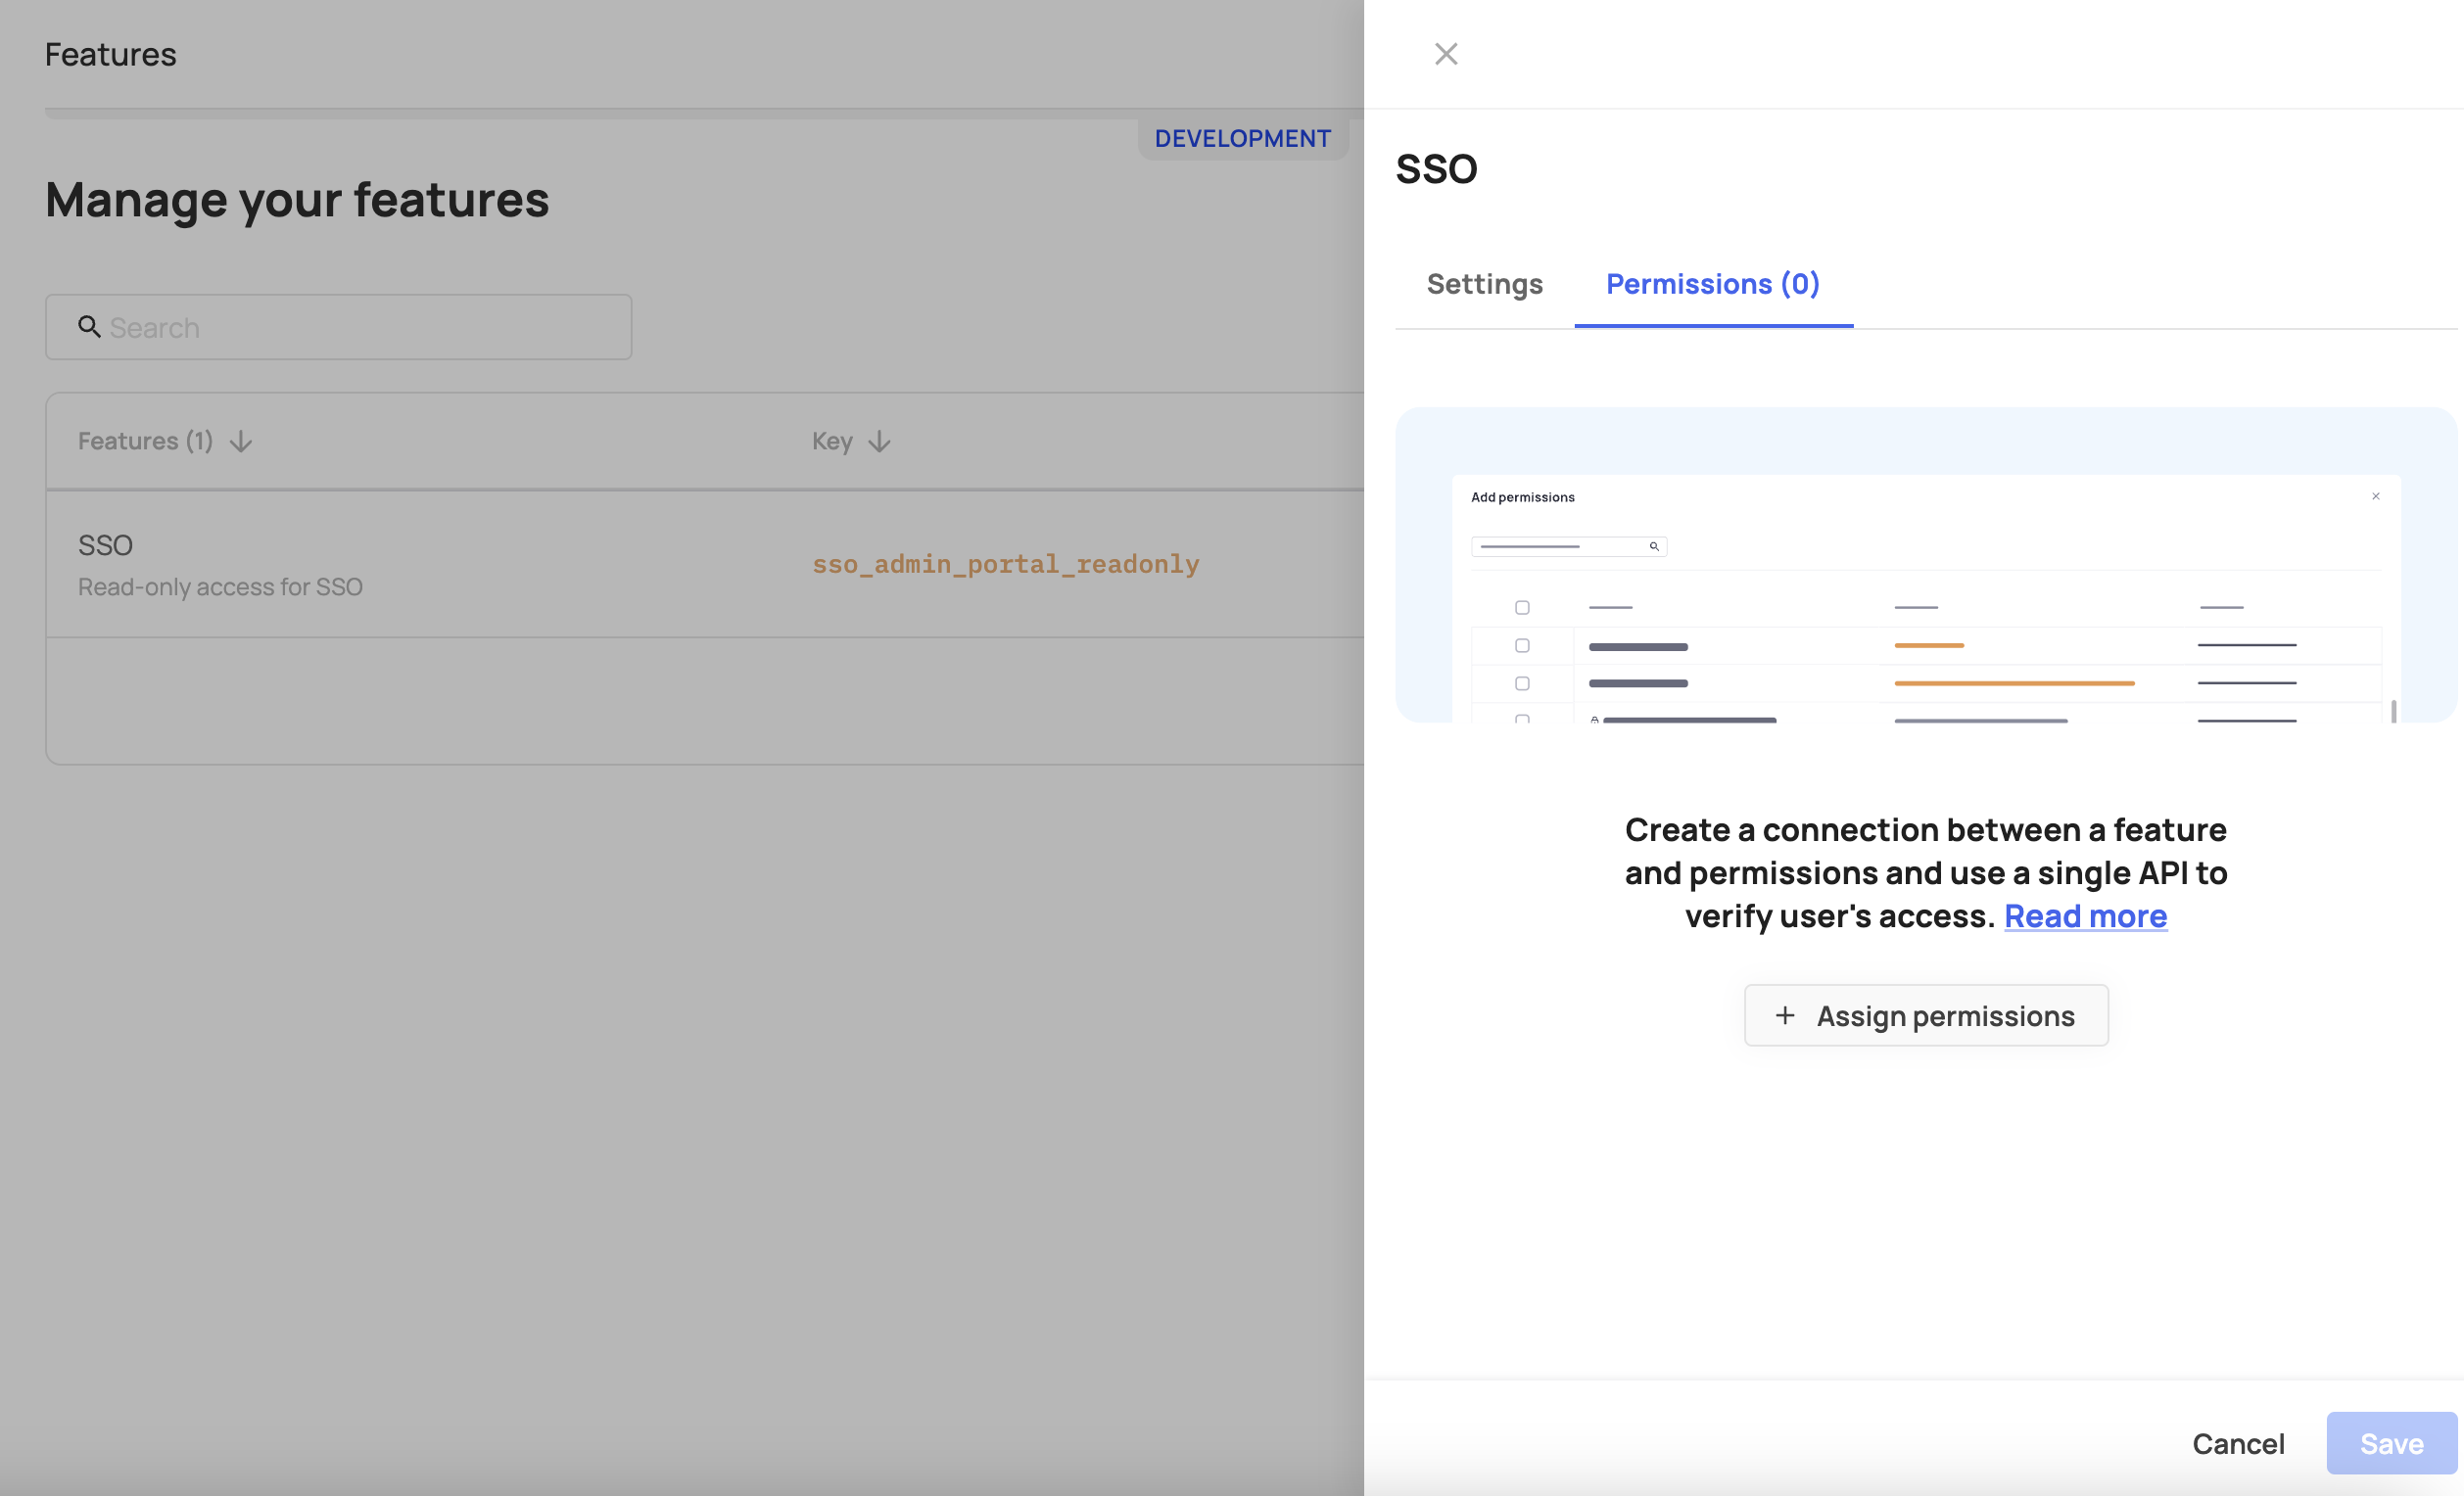
- Go back to the SSO feature and add the relevant permission to it (in this case -
fe.secure.read.samlConfiguration). Check the Supported Permissions section below to see all supported permissions.

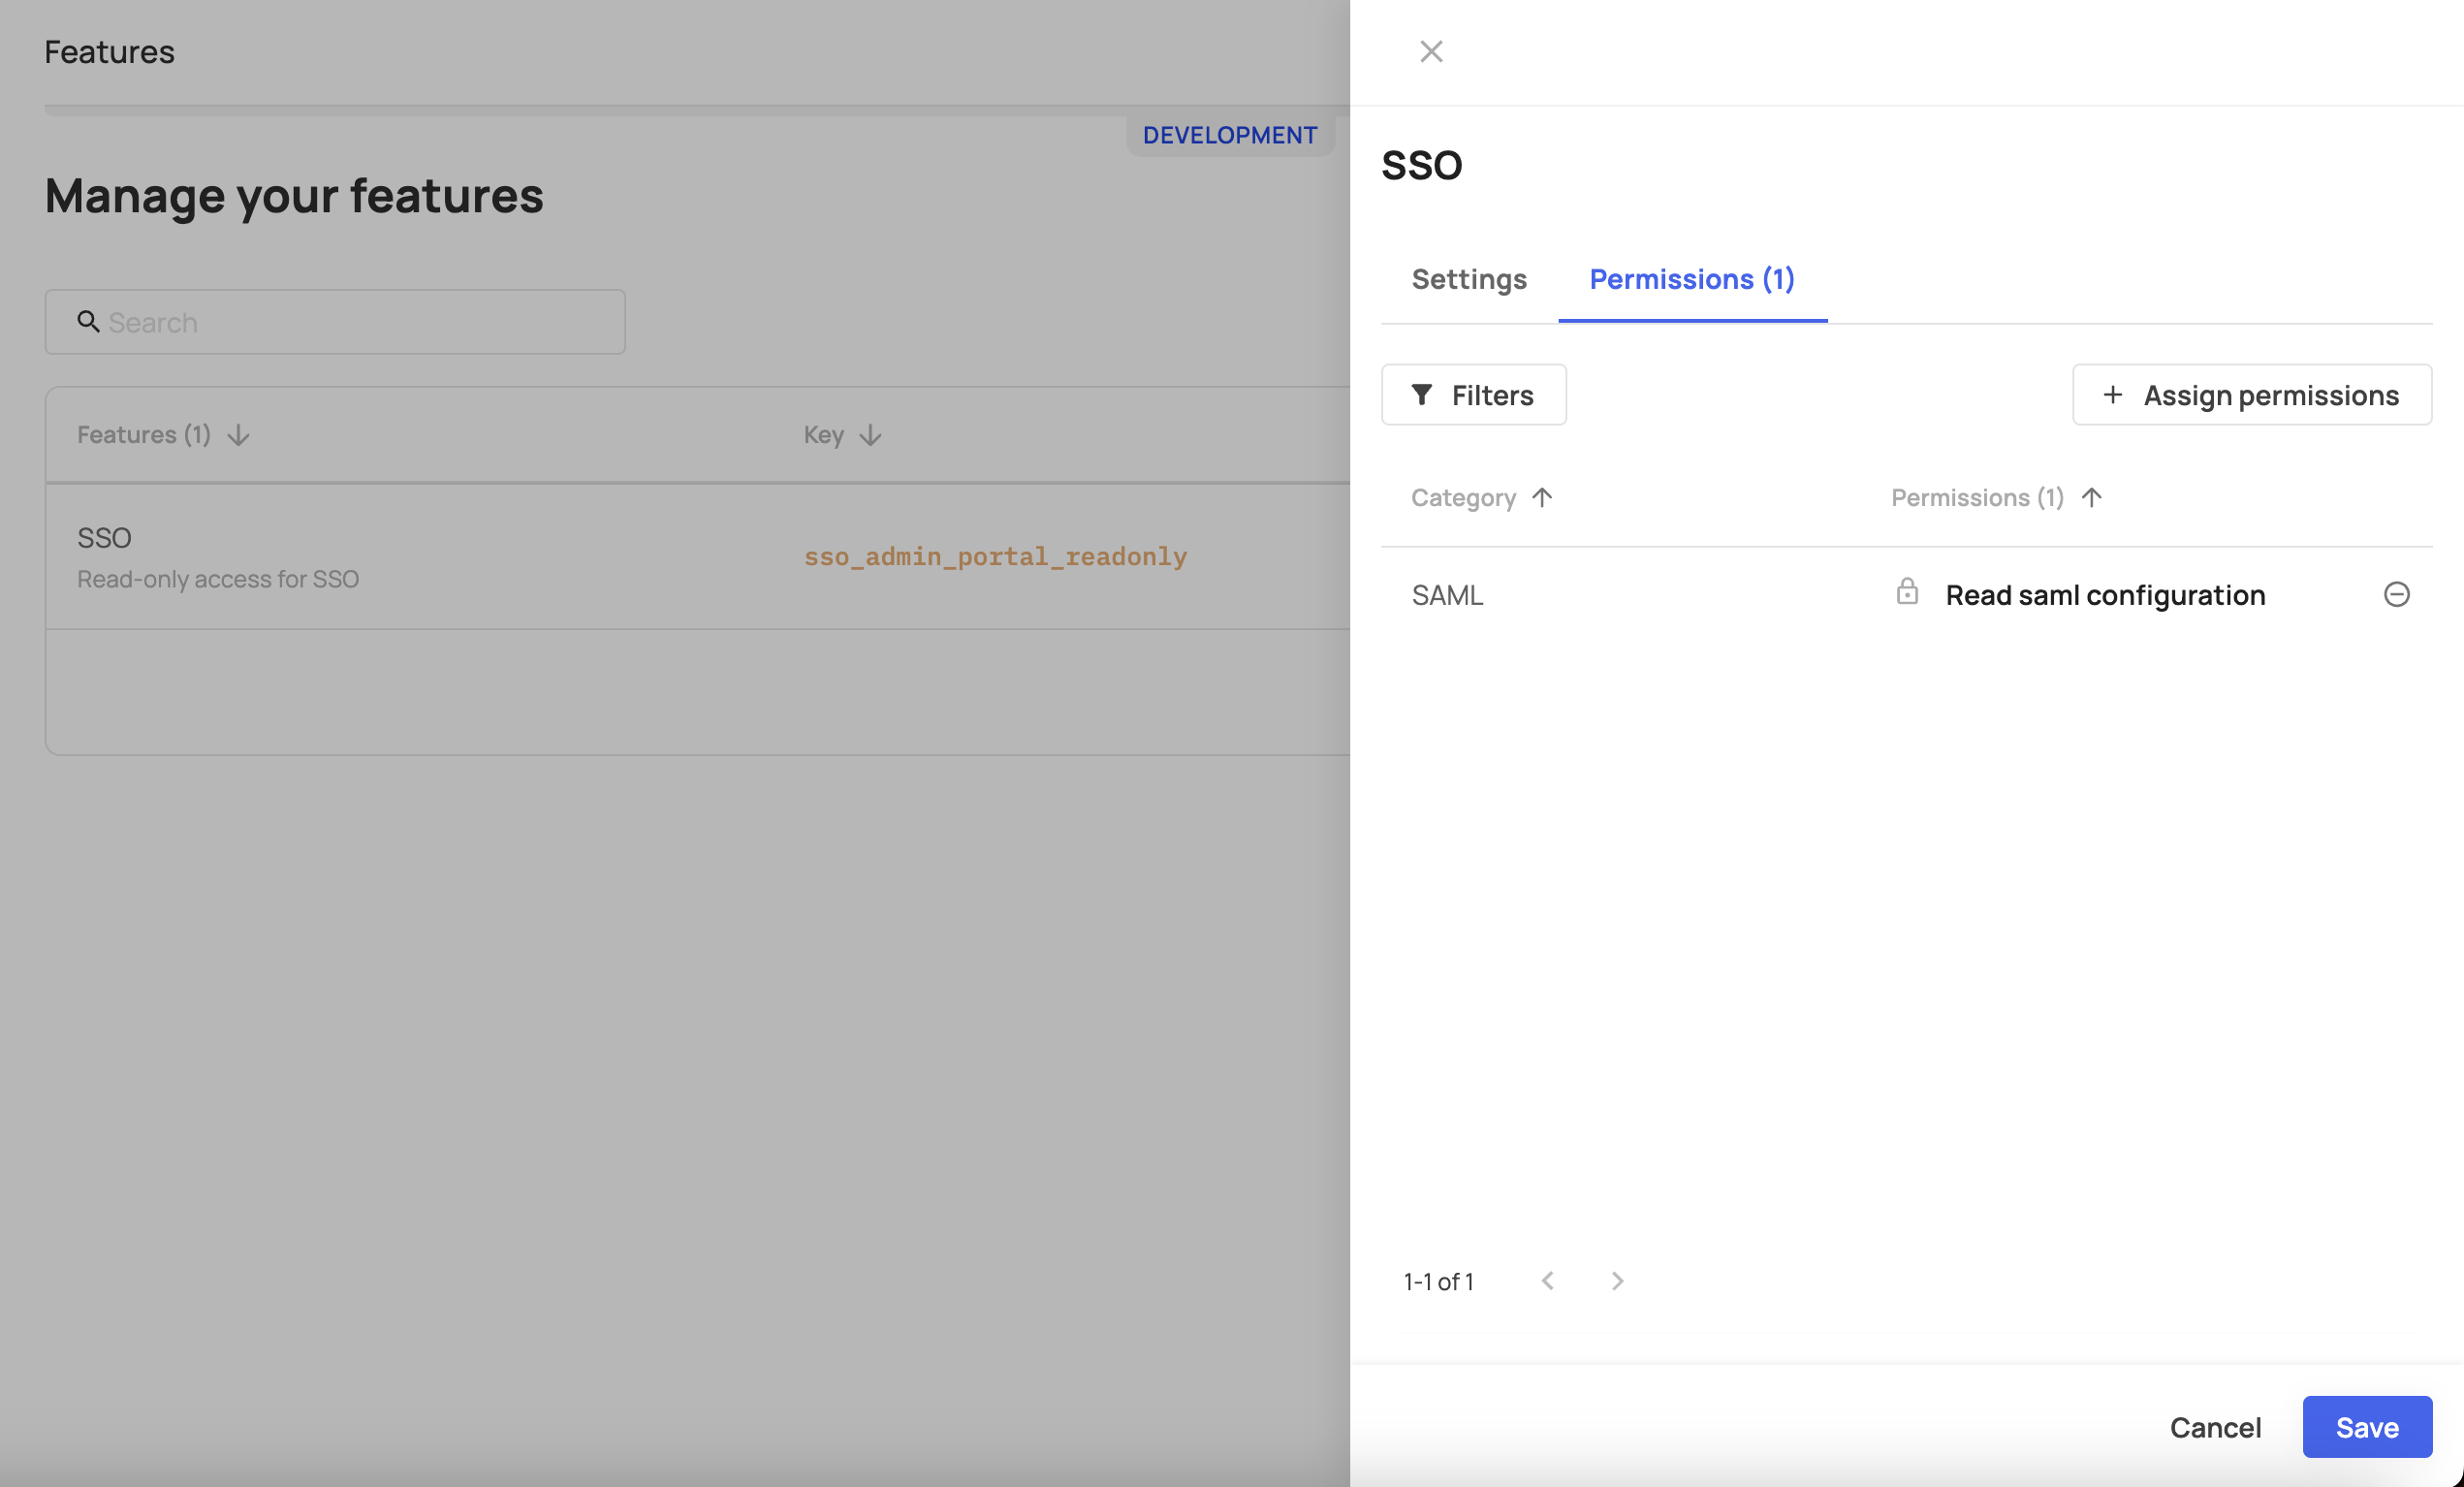
Once this step is done, users who didn’t get access to the feature (via the Feature Bundle) will not be able to see this section in the Admin portal.
- Go to Add new feature give it a Key name and save it.
Important note
Users that were entitled to write or delete SSO will still be able to do so via API, even if they are not assigned to this feature via the bundle and in that case it will not be visible to them in the Admin Portal.
Supported Permissions
The following chart lists the permissions that users can be assigned and their corresponding location in the Admin Portal.
| Permission key | Permission description | Admin portal section |
|---|---|---|
| fe.secure.read.accountSettings | Read account settings page | Account details |
| fe.secure.write.accountSettings | Write account settings | Account details |
| fe.secure.read.tenantApiTokens | Read Tenant API tokens page | API tokens |
| fe.secure.write.tenantApiTokens | Write Tenant Token | API tokens |
| fe.secure.read.groups | Read Groups page | Groups |
| fe.secure.write.groupsUsers | Write Groups permissions | Groups |
| fe.secure.delete.groupsUsers | Delete Group users | Groups |
| fe.secure.delete.groups | Delete Groups | Groups |
| fe.secure.write.groups | Write Groups | Groups |
| fe.secure.write.groupsRoles | hasWritePermission | Groups |
| fe.account-hierarchy.write.subAccount | Write subaccounts | MSP |
| fe.account-hierarchy.delete.subAccount | Delete subaccounts | MSP |
| fe.account-hierarchy.write.subAccountAccess | Write subaccounts details | MSP |
| fe.secure.read.userApiTokens | Read user API tokens | Personal tokens |
| fe.secure.delete.userApiTokens | Delete user API tokens | Personal tokens |
| fe.secure.write.userApiTokens | Write user API tokens | Personal tokens |
| fe.secure.read.provisioningConfiguration | Read provisioning configurations | Provisioning |
| fe.secure.write.provisioningConfiguration | Write provisioning configurations | Provisioning |
| fe.secure.delete.provisioningConfiguration | Delete provisioning configurations | Provisioning |
| fe.secure.read.securityPolicy | Read security and privacy and security pages | Security all |
| fe.secure.read.emailDomainRestrictions | Read email domain restrictions | Security - Email |
| fe.secure.write.emailDomainRestrictions | Write email domain restrictions | Security - Email |
| fe.secure.delete.emailDomainRestrictions | Delete email domain restrictions | Security - Email |
| fe.secure.read.ipRestrictions | Read IP restrictions | Security - IP |
| fe.secure.write.ipRestrictions | Write IP restrictions | Security - IP |
| fe.secure.delete.ipRestrictions | Delete IP restrictions | Security - IP |
| fe.secure.read.samlConfiguration | Read SSO configurations | SSO |
| fe.secure.write.samlConfiguration | Write SSO configurations | SSO |
| fe.secure.delete.samlConfiguration | Delete SSO configurations | SSO |
| fe.secure.read.samlDefaultRoles | Read SSO default roles | SSO |
| fe.secure.write.samlDefaultRoles | Write SSO default roles | SSO |
| fe.secure.read.users | Read Users page | Users |
| fe.secure.delete.users | Delete users | Users |
| fe.secure.write.users | Write users | Users |
| fe.secure.write.updateUser | Write user updates | Users |
| fe.secure.delete.usersRoles | Delete user roles | Users |
| fe.secure.read.roles | Read users roles | Users |
| fe.secure.write.usersRoles | Write users roles | Users |
| fe.secure.write.resendActivationEmail | Resend activation email | Users |
| fe.secure.write.tenantInvites | Create invitation link | Users |
| fe.secure.* | Secure general | Users |
| fe.secure.write.enableDisable | Enable/disable user | Users |
| fe.connectivity.read.webhooks | Read webhooks page | Webhooks |
| fe.connectivity.write.webhook | Write webhooks | Webhooks |
| fe.connectivity.delete.webhook | Delete webhooks | Webhooks |
| fe.secure.read.audits | Read audits | Audit logs |
Entitling User Access Based on AuthorizedContent
AuthorizedContentIn addition to user Entitlements - which grant users access to specific app Features, Feature flags , etc. - you can also control user access to specific areas in your app based on their role. To do so, the system will first check their login status (logged-in/out), redirect logged-out users back to the login page, and if the user is already logged in, it will check their designated Role against the content they're allowed to view and showcase that corresponding content.
Feature Support
The following feature is currently supported in React only.
To do so, you need to wrap the content you want to protect with an AuthorizedContent component. That component has a requiredRoles prop that you pass as an array of role-names into.
Before showing the user any content, the AuthorizedContent component checks the user's role against the list of required roles for the content you wrapped in advance, and subsequently, It will show the content associated with the role that user was entitled to.
import { AuthorizedContent, useAuthUser } from "@frontegg/react";

function App() {
  // This will redirect to login in case we are not logged in
  const user = useAuthUser();

  return (
    <div className="App">
      Logged in as {user?.name}

      <AuthorizedContent requiredRoles={['Admin']} >
          <div>
              Private area for admins
          </div>
      </AuthorizedContent>
    </div>
  );
}

export default App;
Redirecting Users to Login
When a user tries to access specific app areas, but the system identifies that they are not logged in, you can enact a useAuthUser hook that checks whether a user is logged in or not. In case the user is not logged in, the hook will redirect them back to the login page. If the user is logged in (as in the code sample below), the component will then display a Logged in as alongside the user's name instead of redirecting them.
import { useAuthUser } from "@frontegg/react";

function App() {
  // This will redirect to login in case we are not logged in
  const user = useAuthUser();

  return (
    <div className="App">
      Logged in as {user?.name}
    </div>
  );
}

export default App;
Updated 2 months ago