Customization
Crafting a seamless authentication experience is vital for user engagement. Frontegg's platform empowers you to customize the journey to match your vision— so you can customize the sign-in and sign-up options for your users, activate speedy login methods via social media login, email login, and more.
Customizing the Authentication Experience
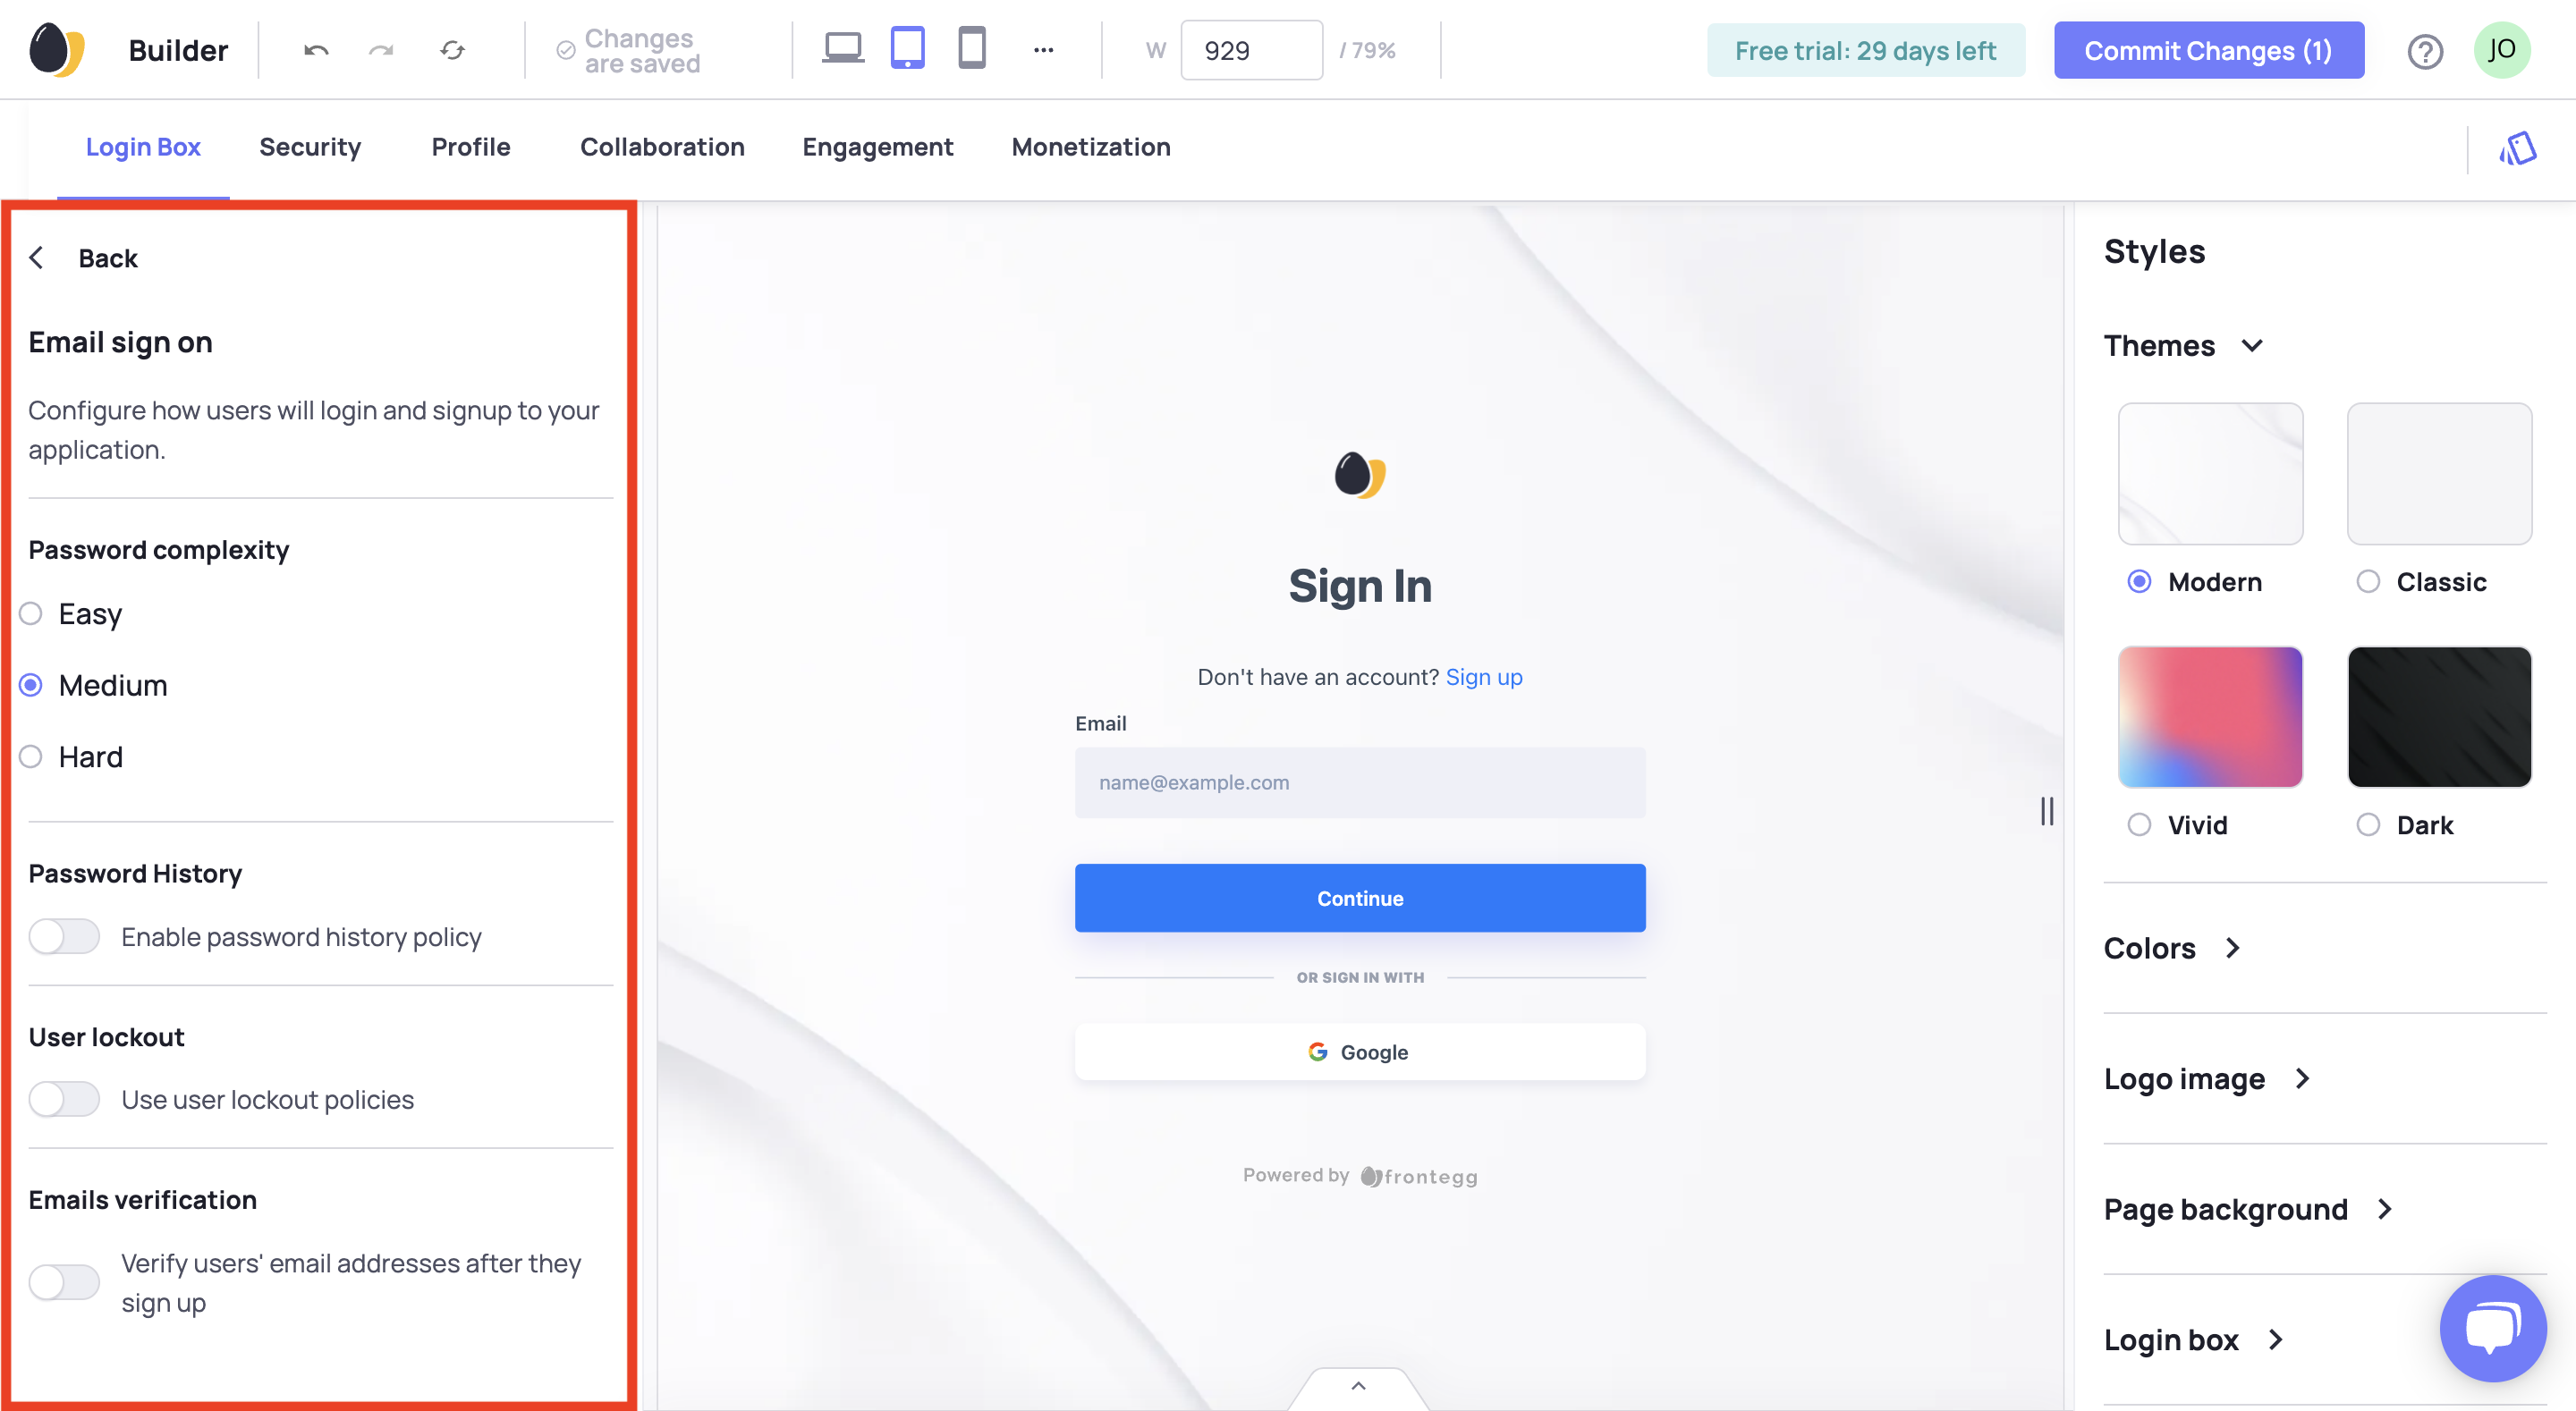
To start customizing your user authentication flow, you first need to go to your Frontegg Portal and navigate to the Login Box page in the Builder. Your login box experience and look and feel can be customized with the various options our UI offers, or manually via code, like the example below:
Editing Builder
When editing the Builder, commit your changes and then publish for them to take effect.
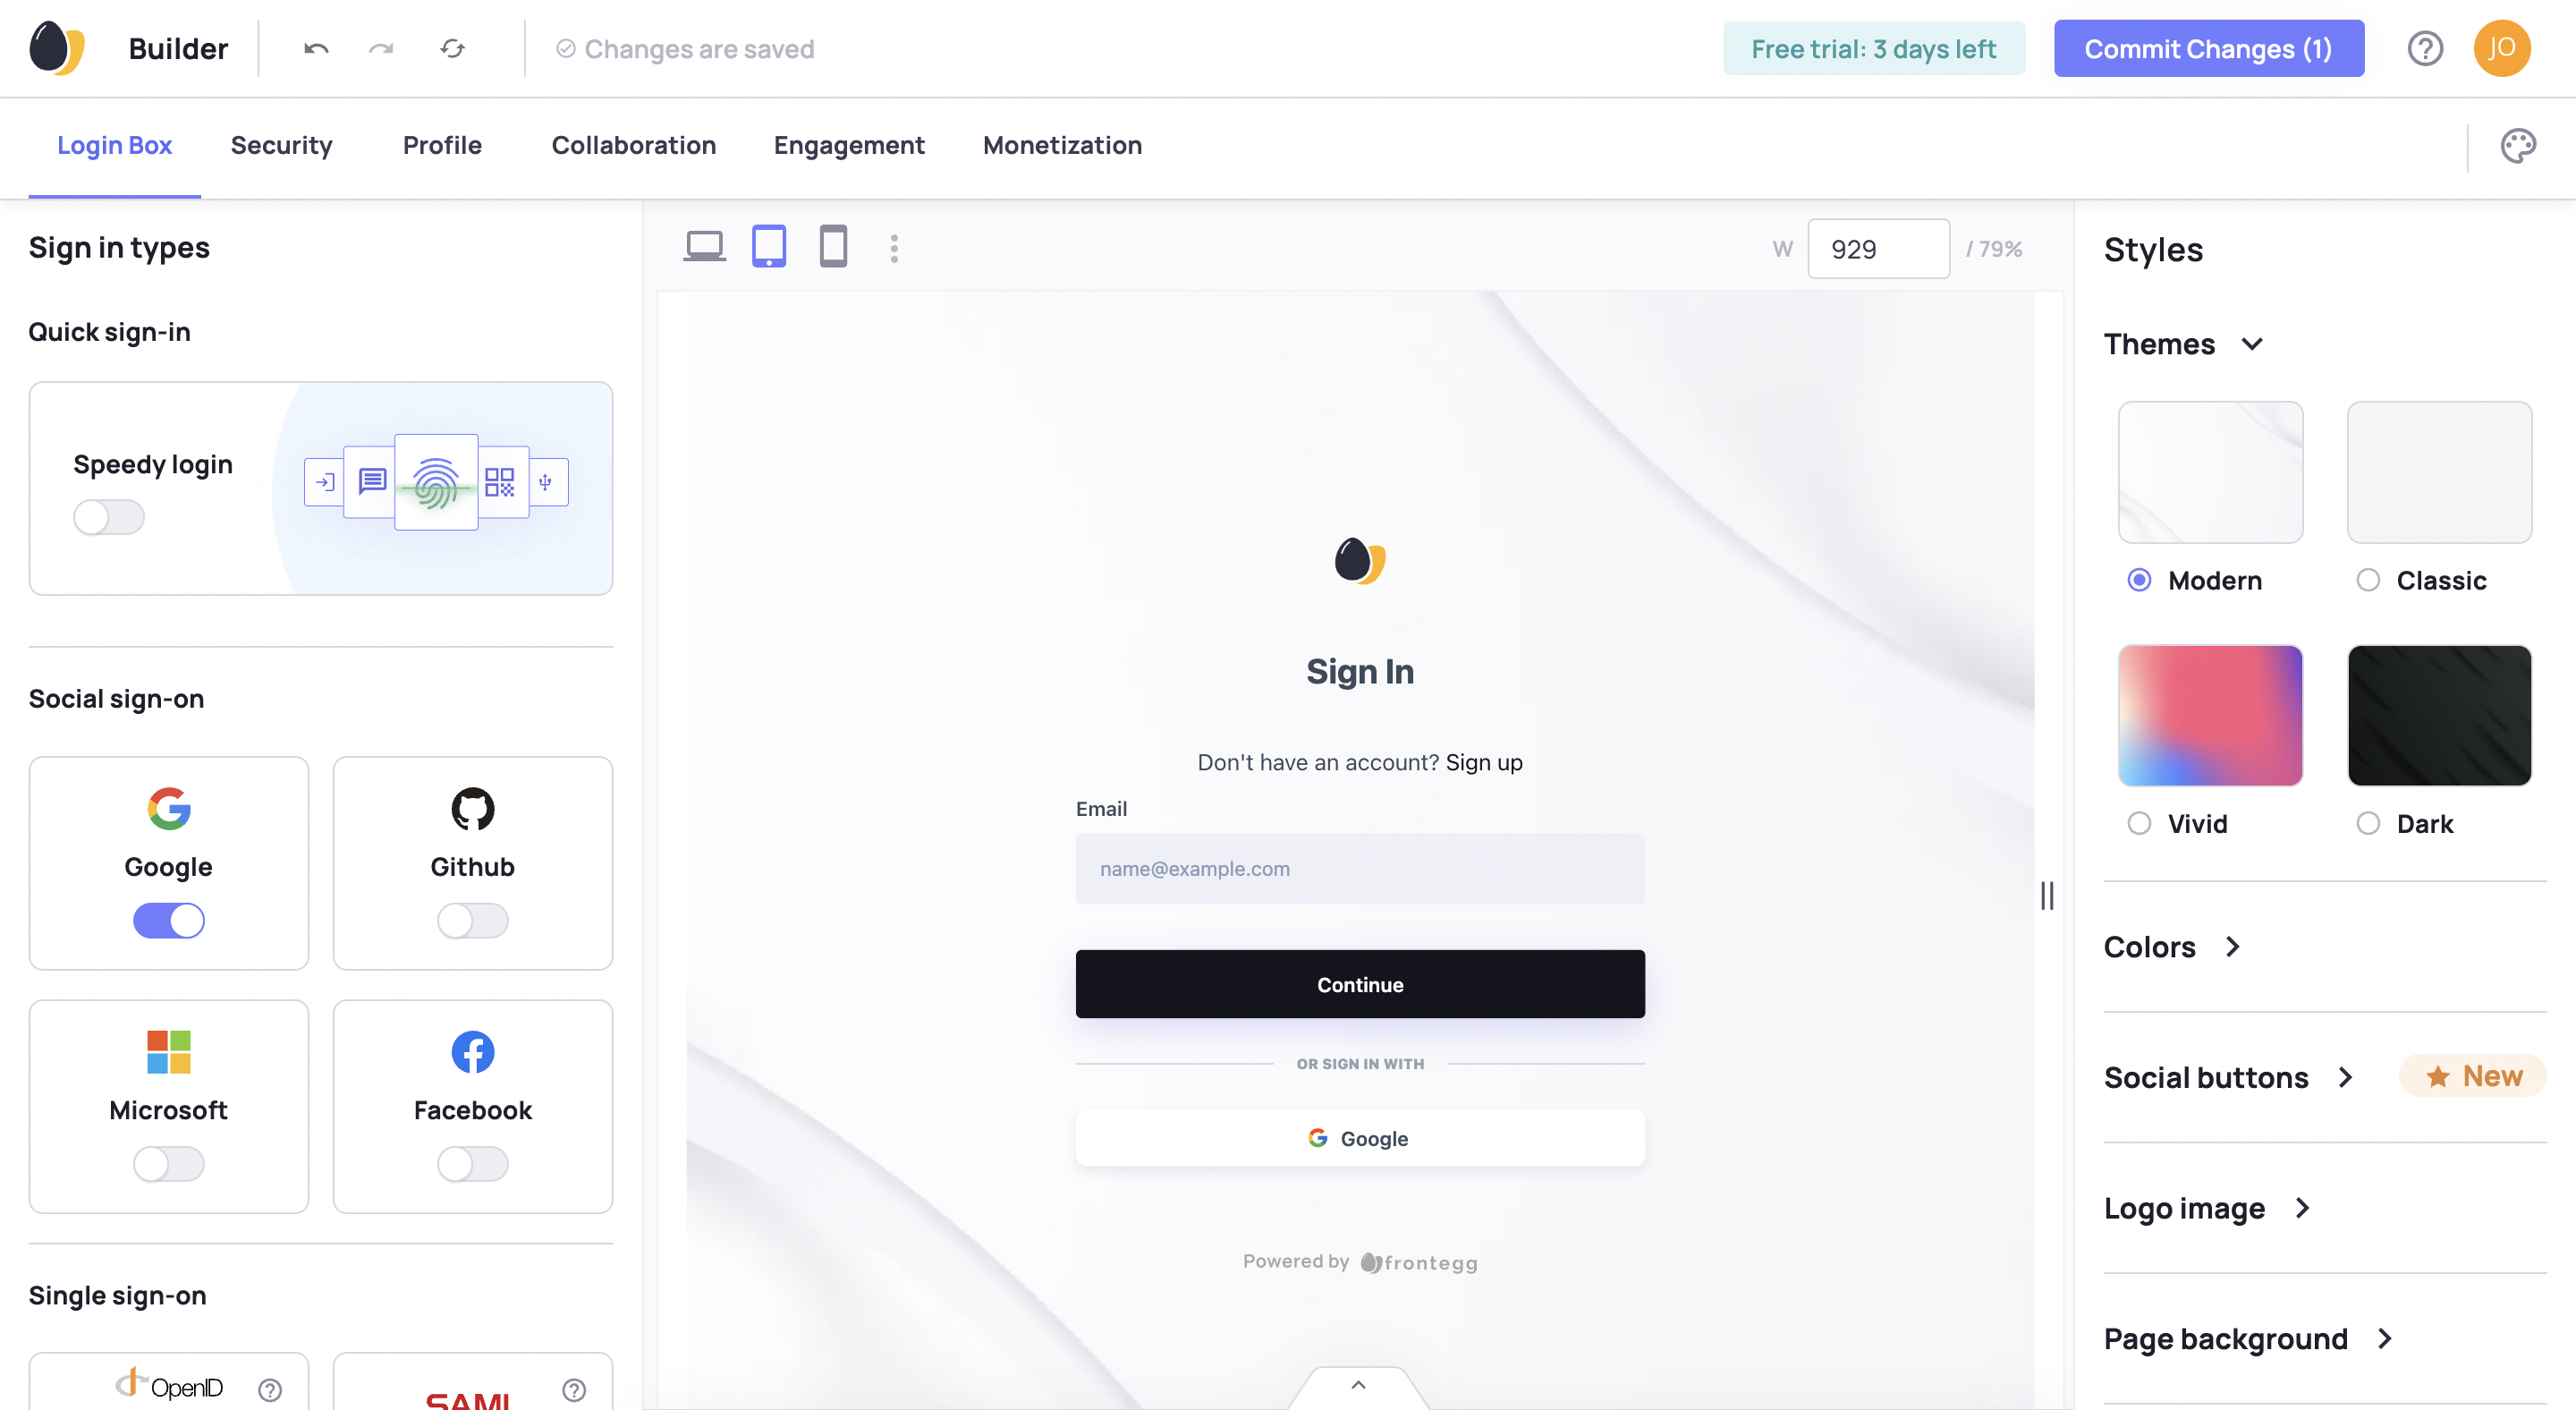
Customize Your Sign-in Types
In the Builder's left panel under sign in types, select and configure the sign in and sign up options for your application.
Be sure to update the email templates for whichever sign in options you choose. Read more about how to customize emails templates or go to Environments ➜ [NAME OF ENVIRONMENT] ➜ Emails to manage the templates.
Enabling Speedy login options
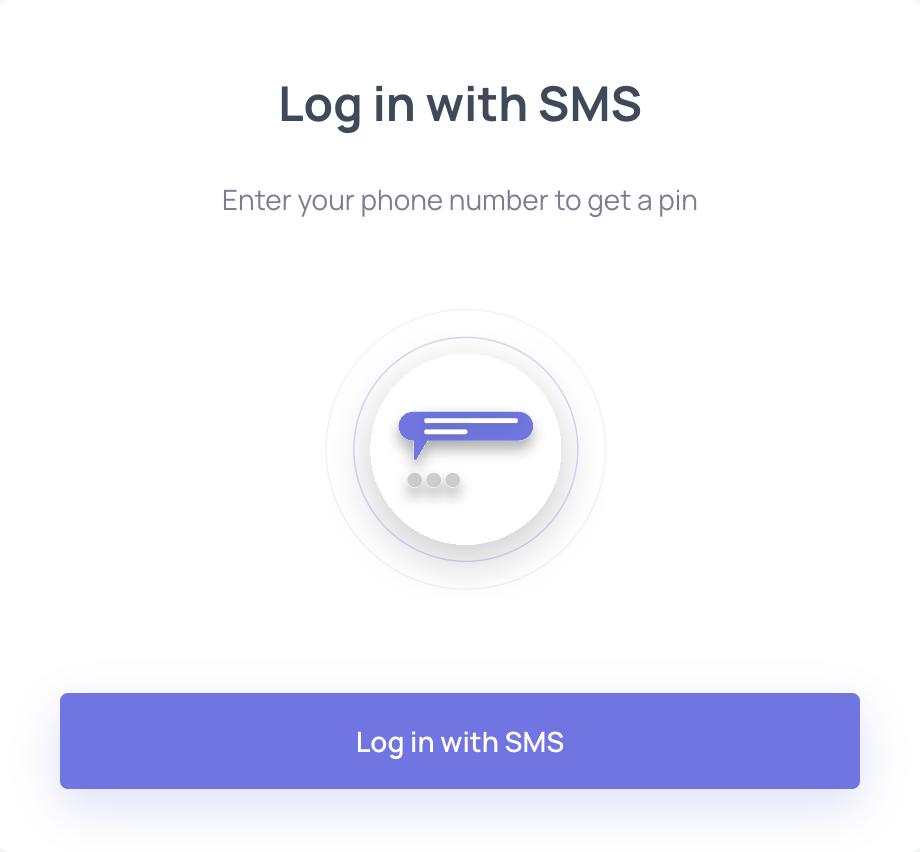
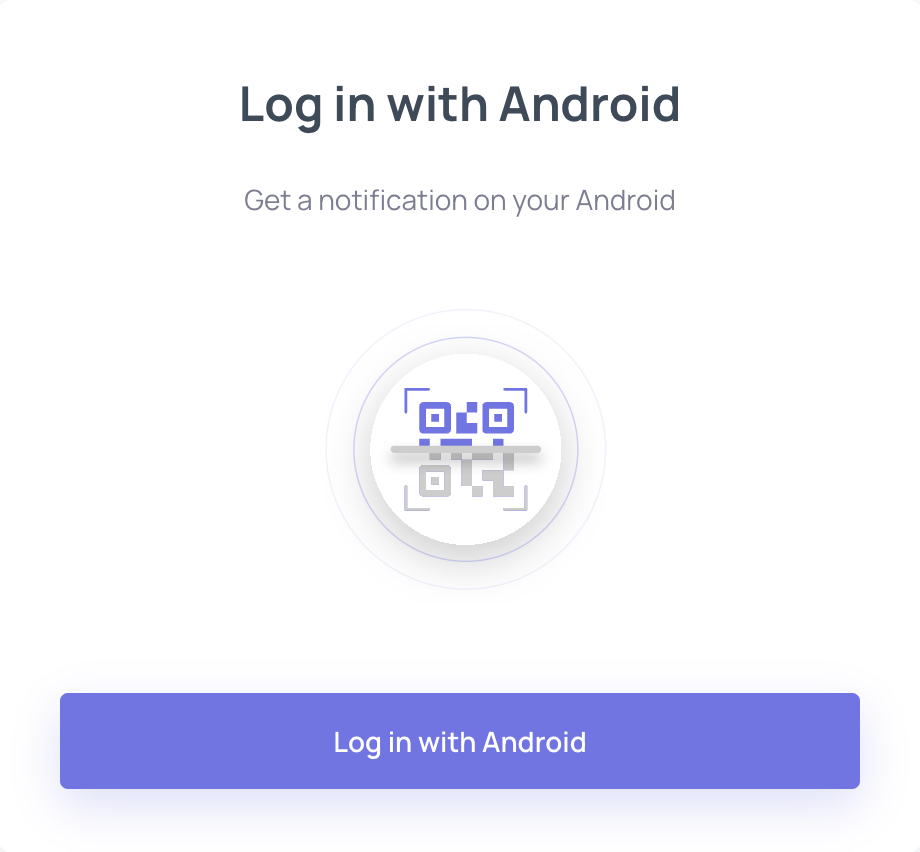
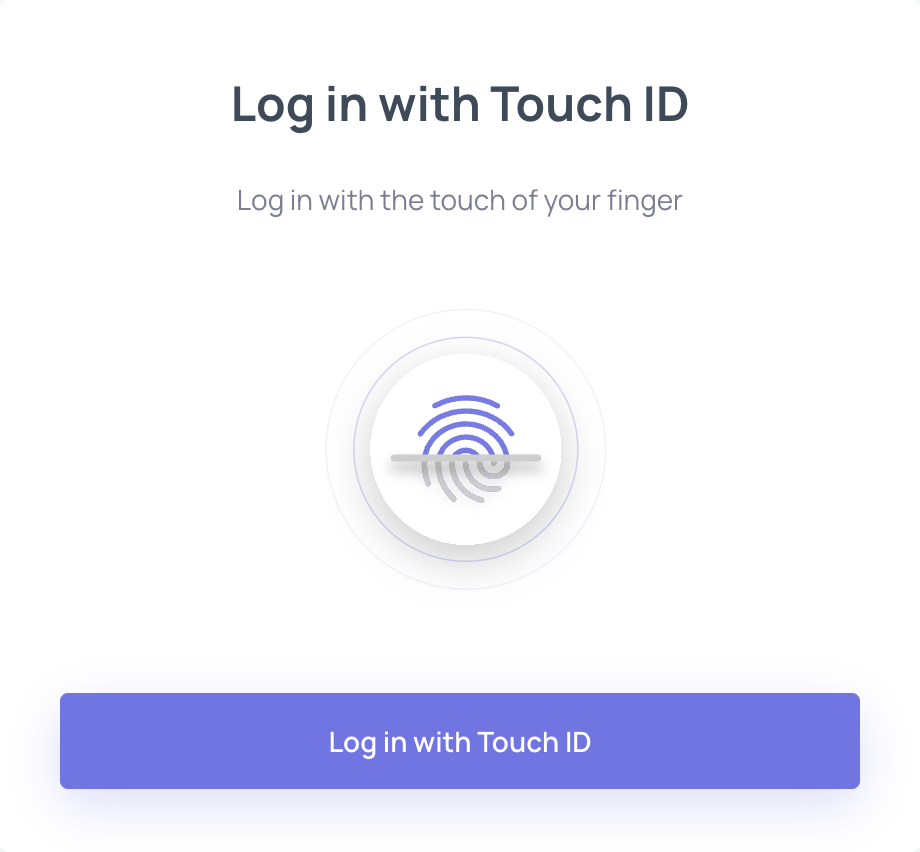
Allow users to login ⚡️ speedy ⚡️ fast. Select from among the following speedy options to offer users:
In the Login Box, toggle on the speedy login feature.
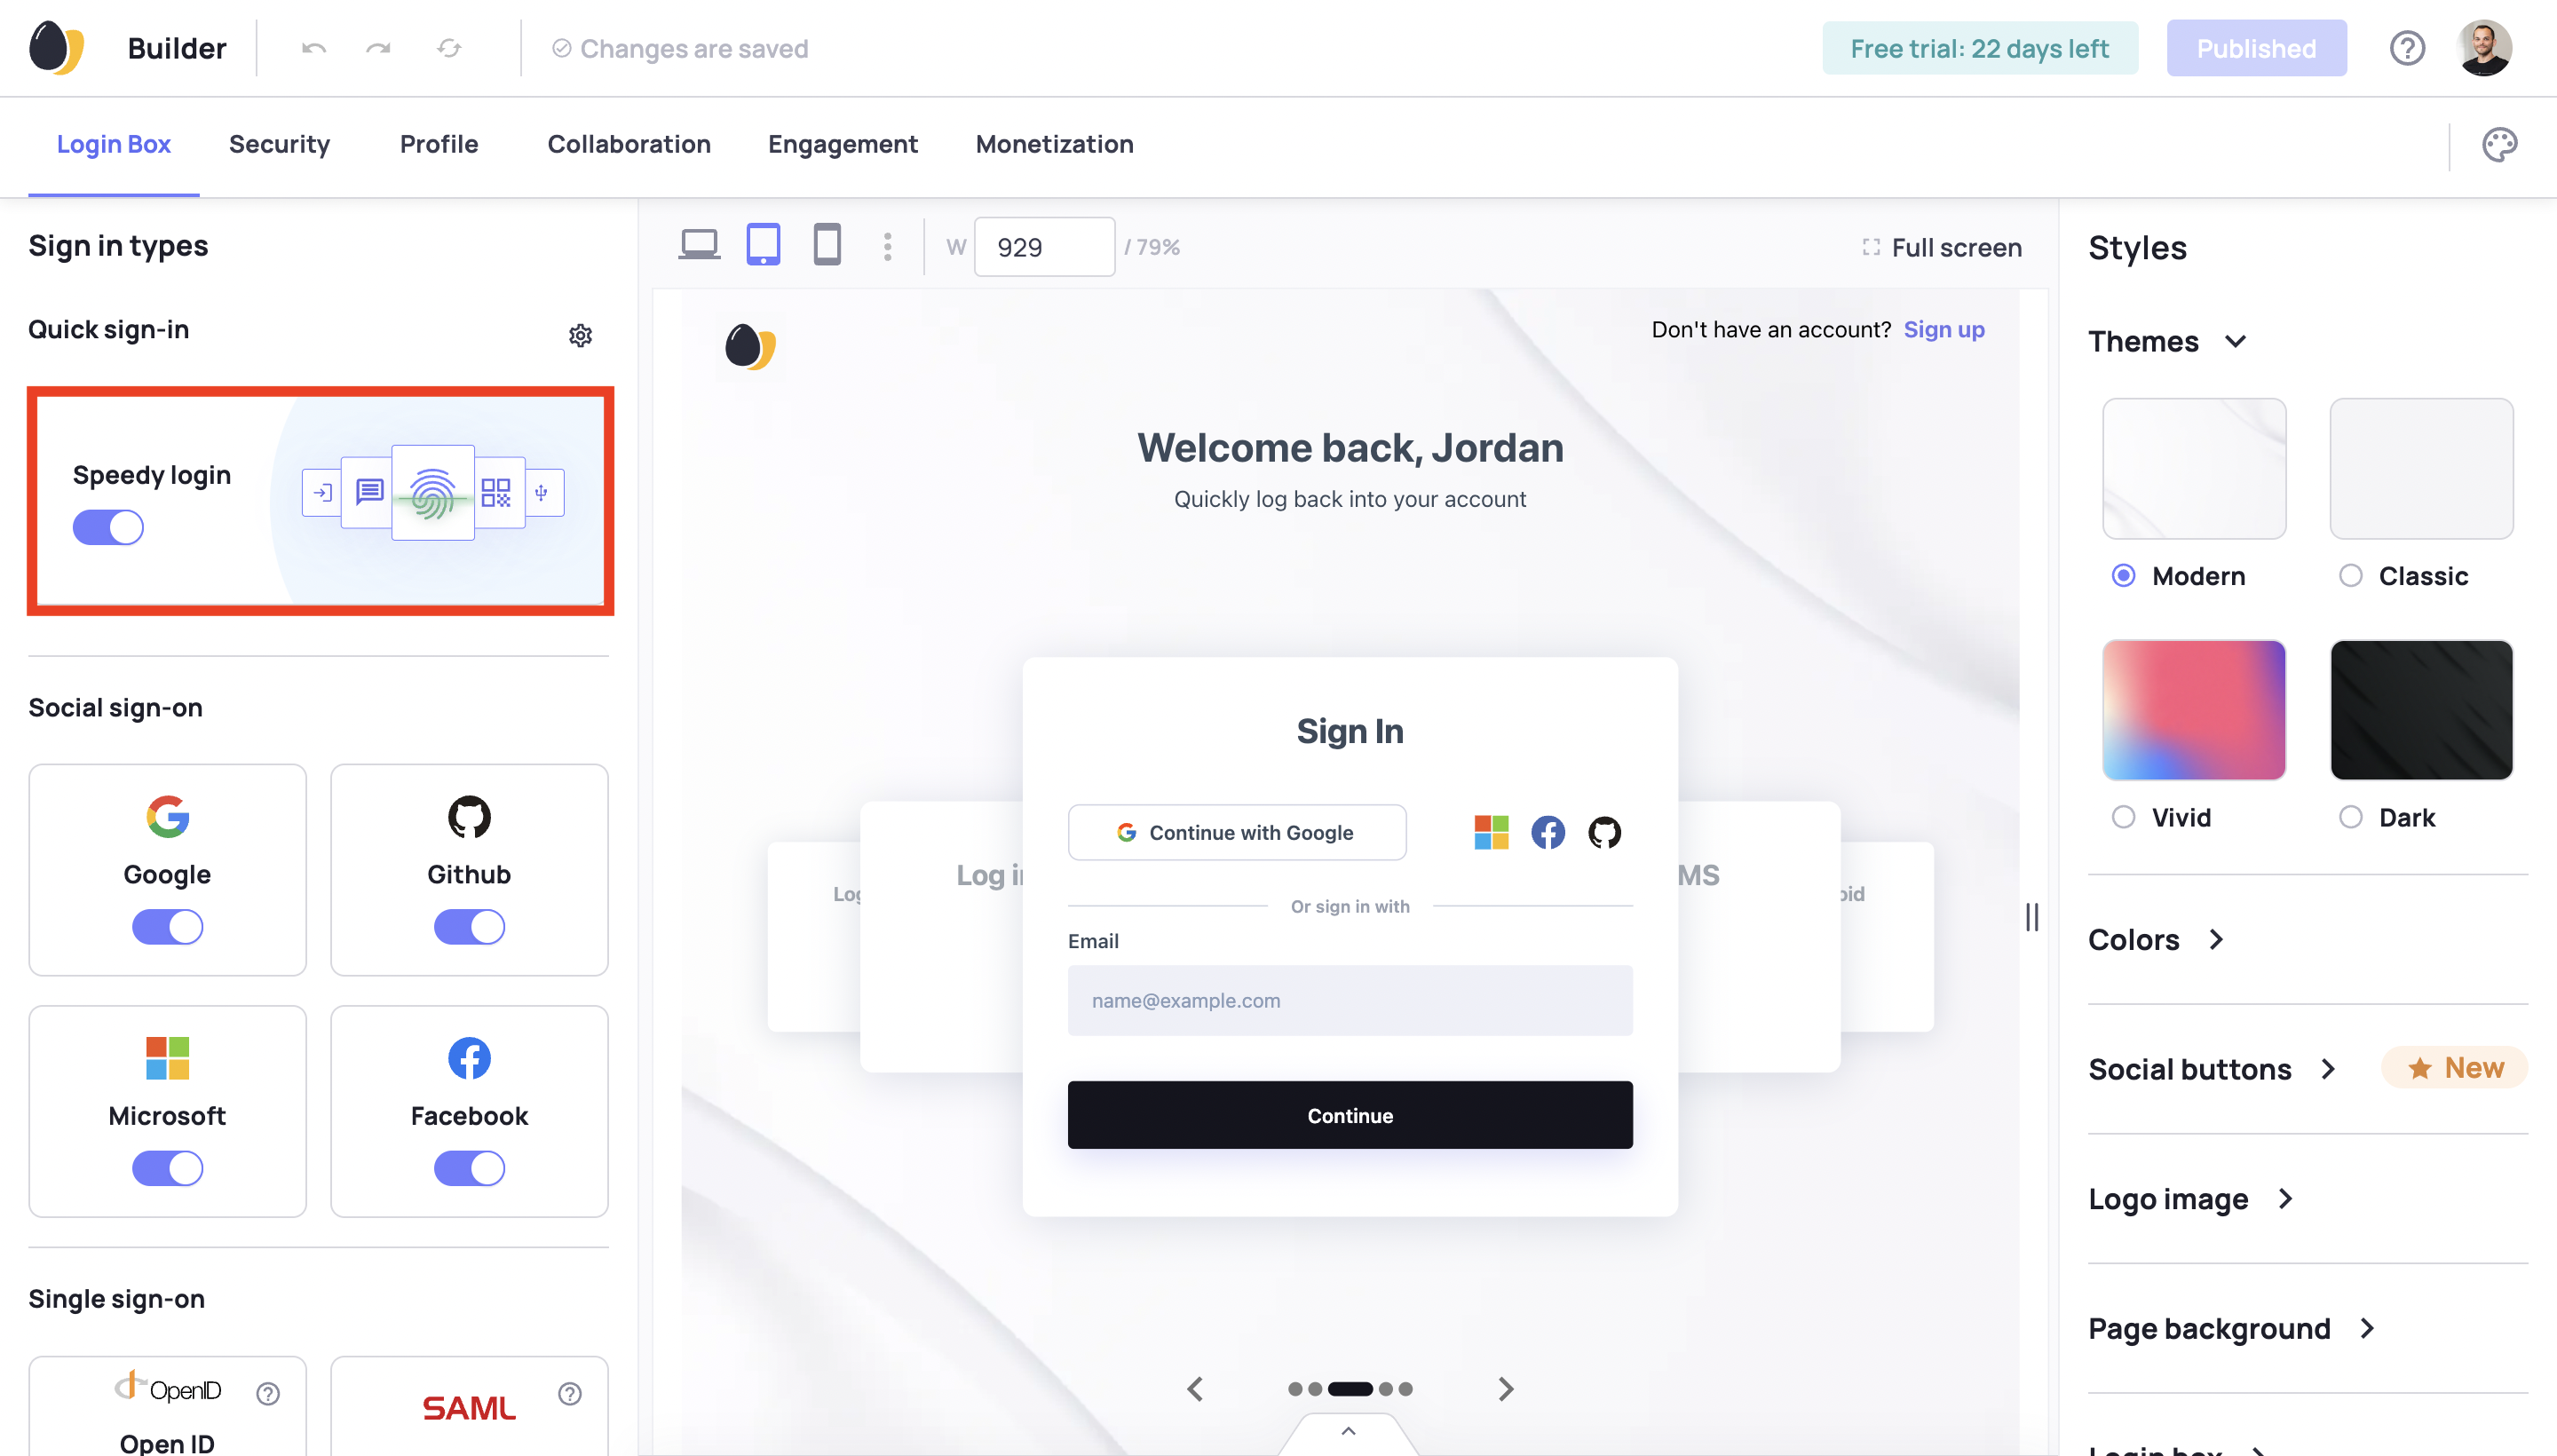
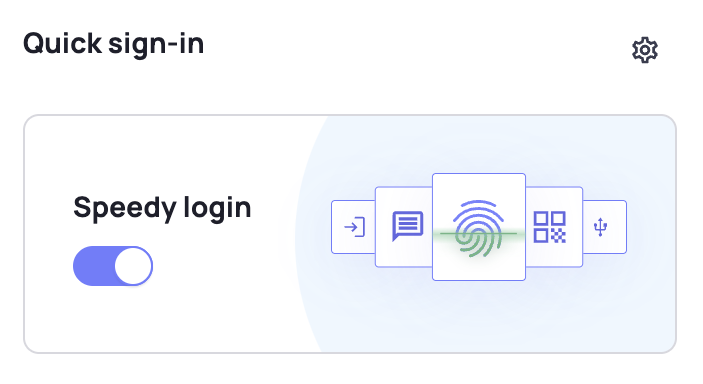
Click the gear icon (⚙️) next to the speedy login toggle to find the toggles for the speedy login options.
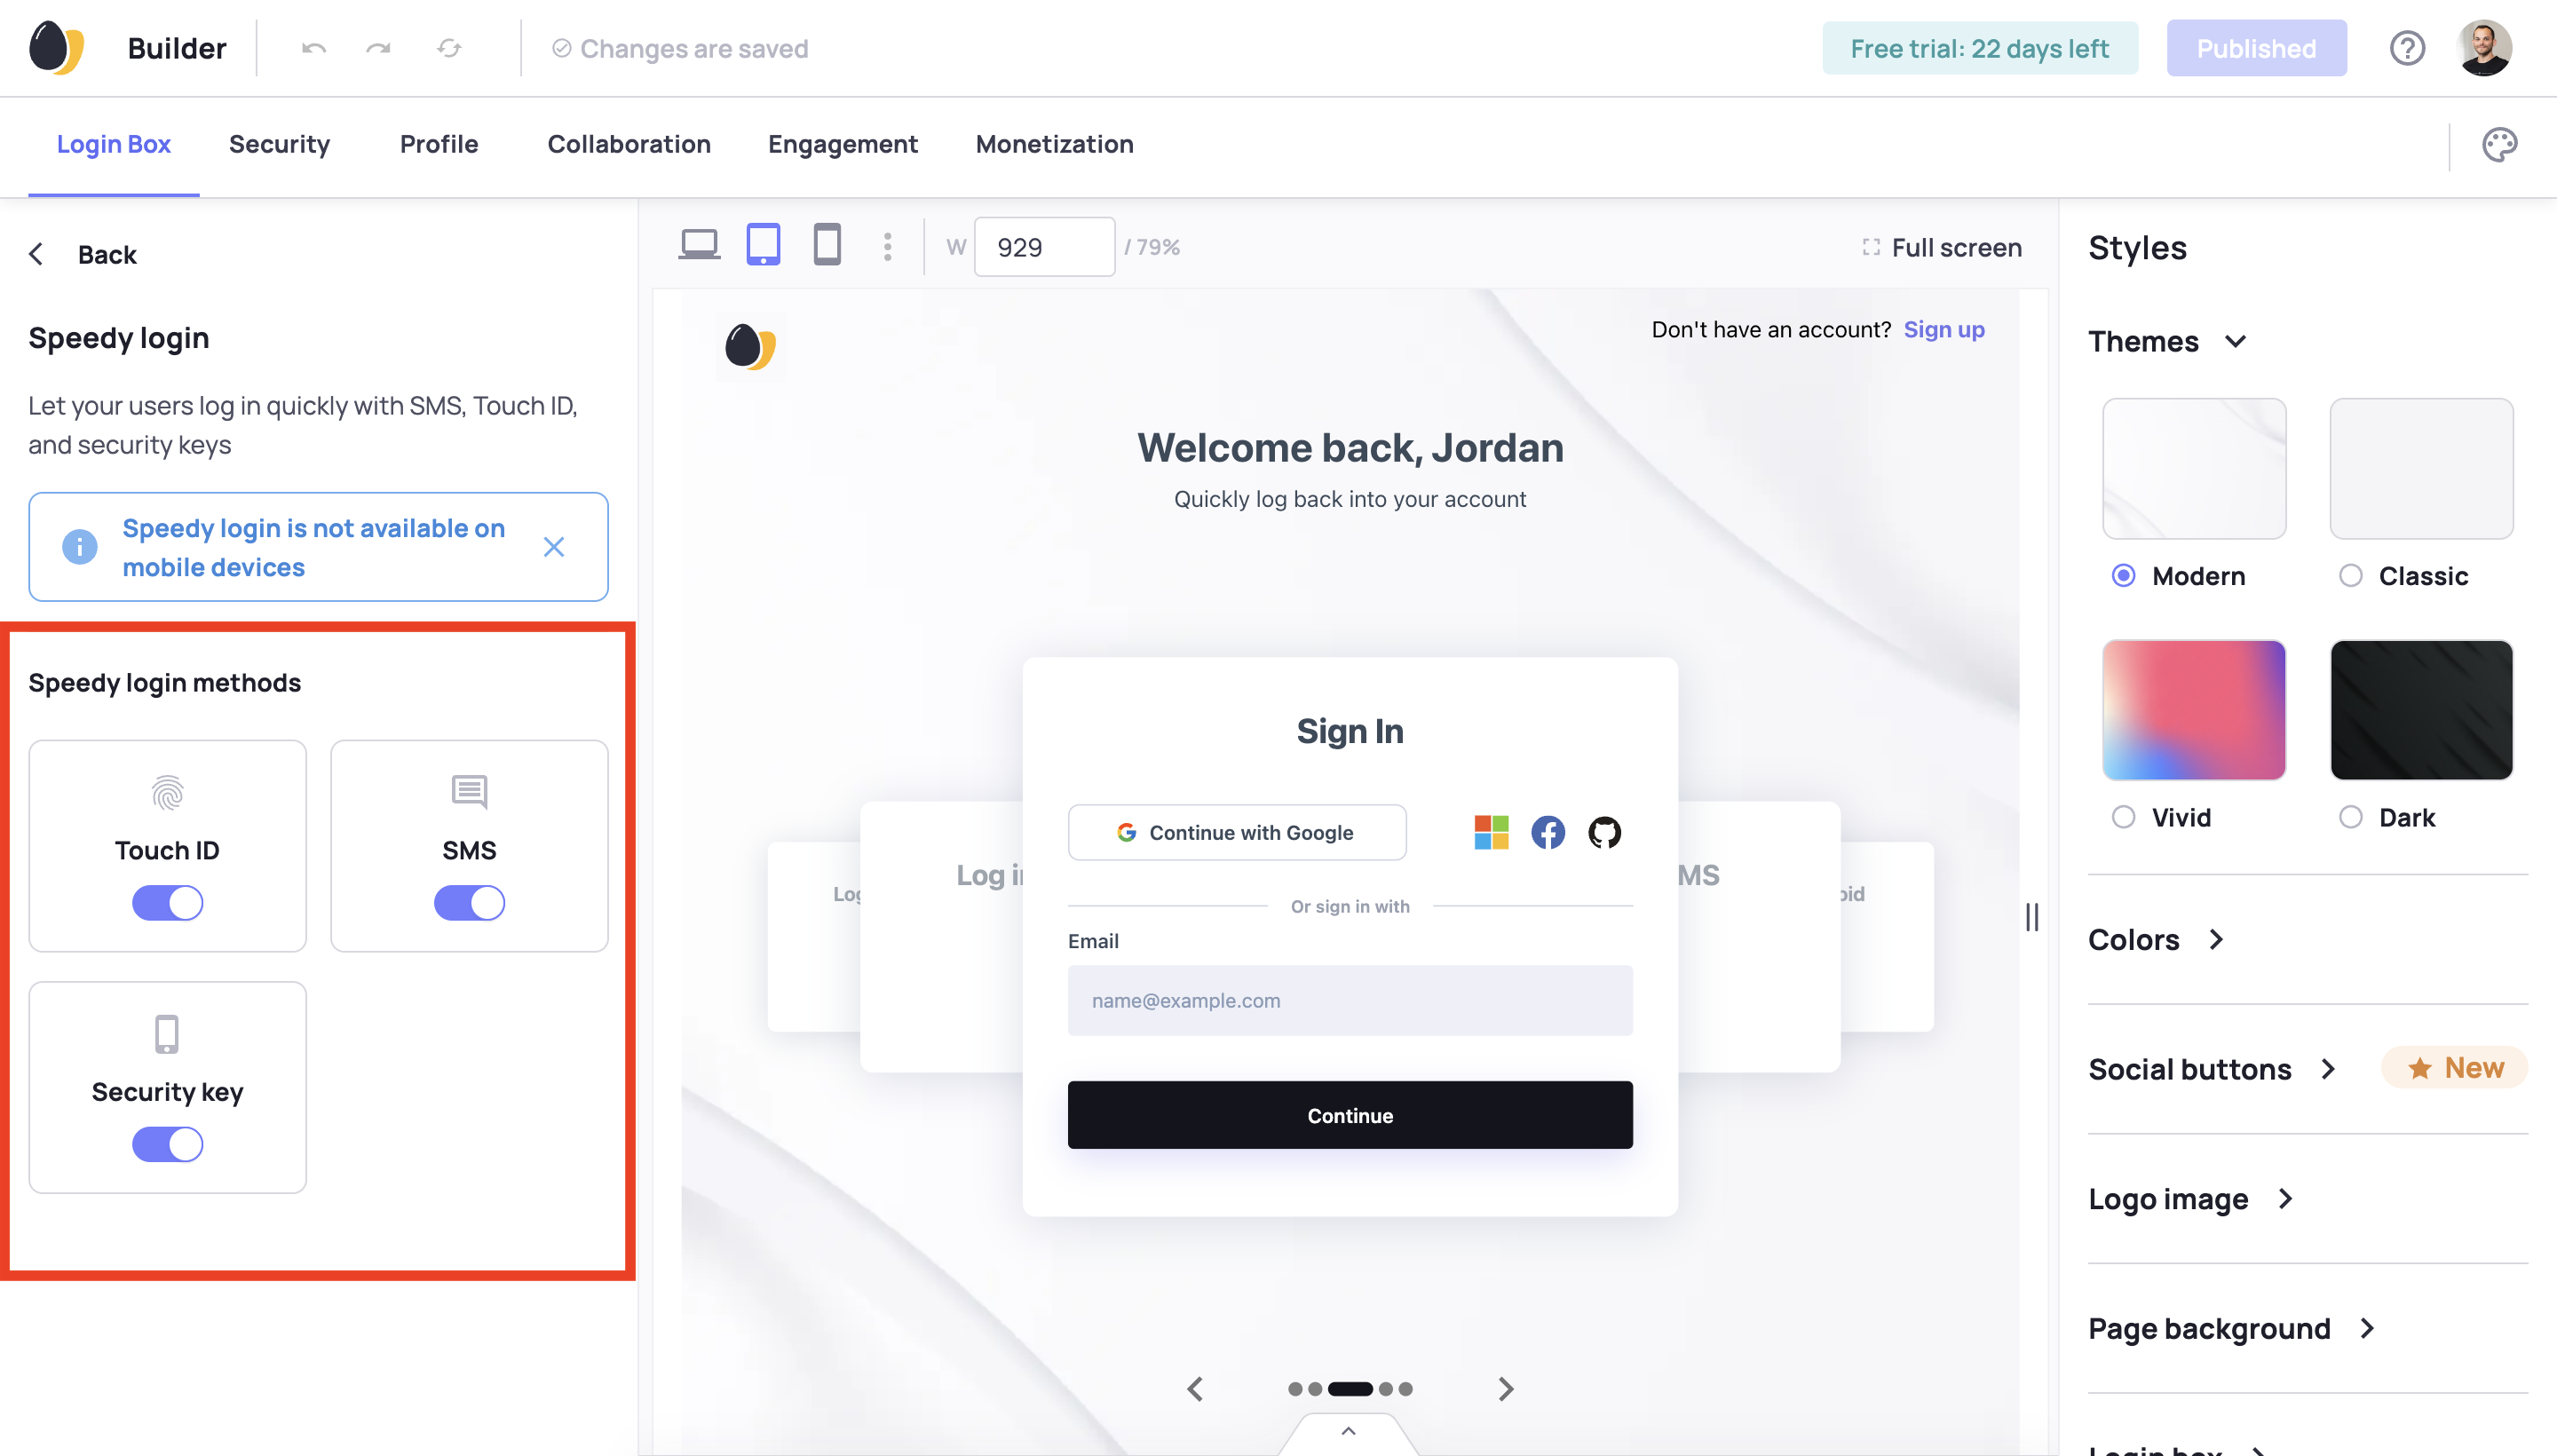
On the speedy login options page, use the toggles to select which options you want to activate for users.
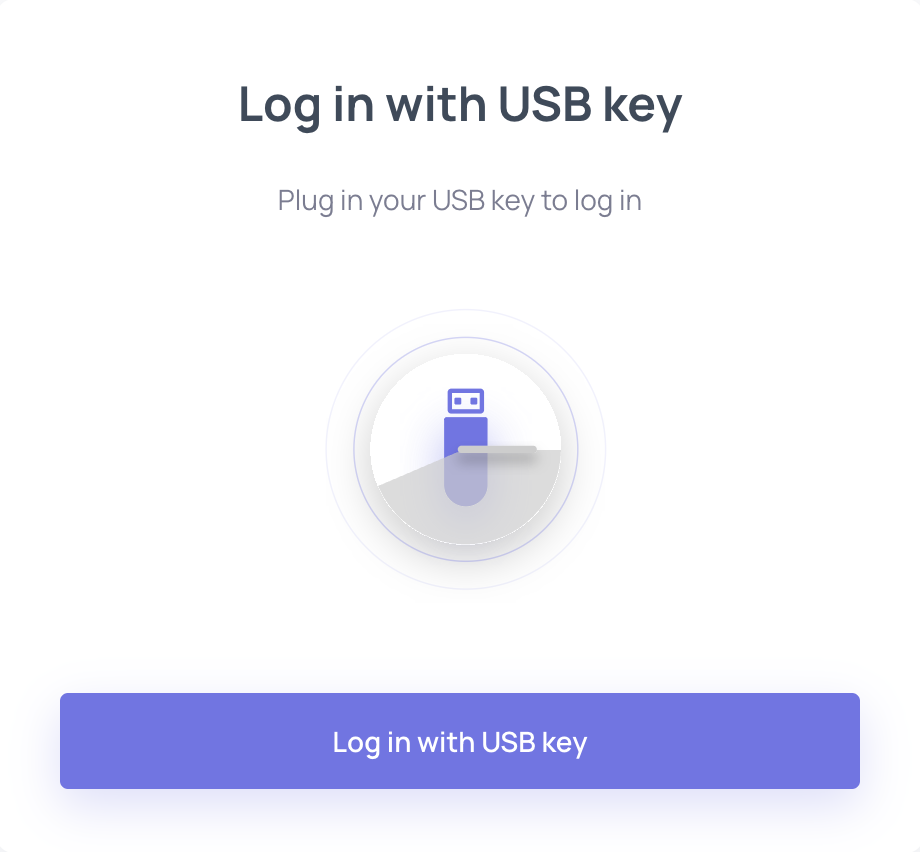
Visit the Login Box in your application to see the options you enabled live in your application.
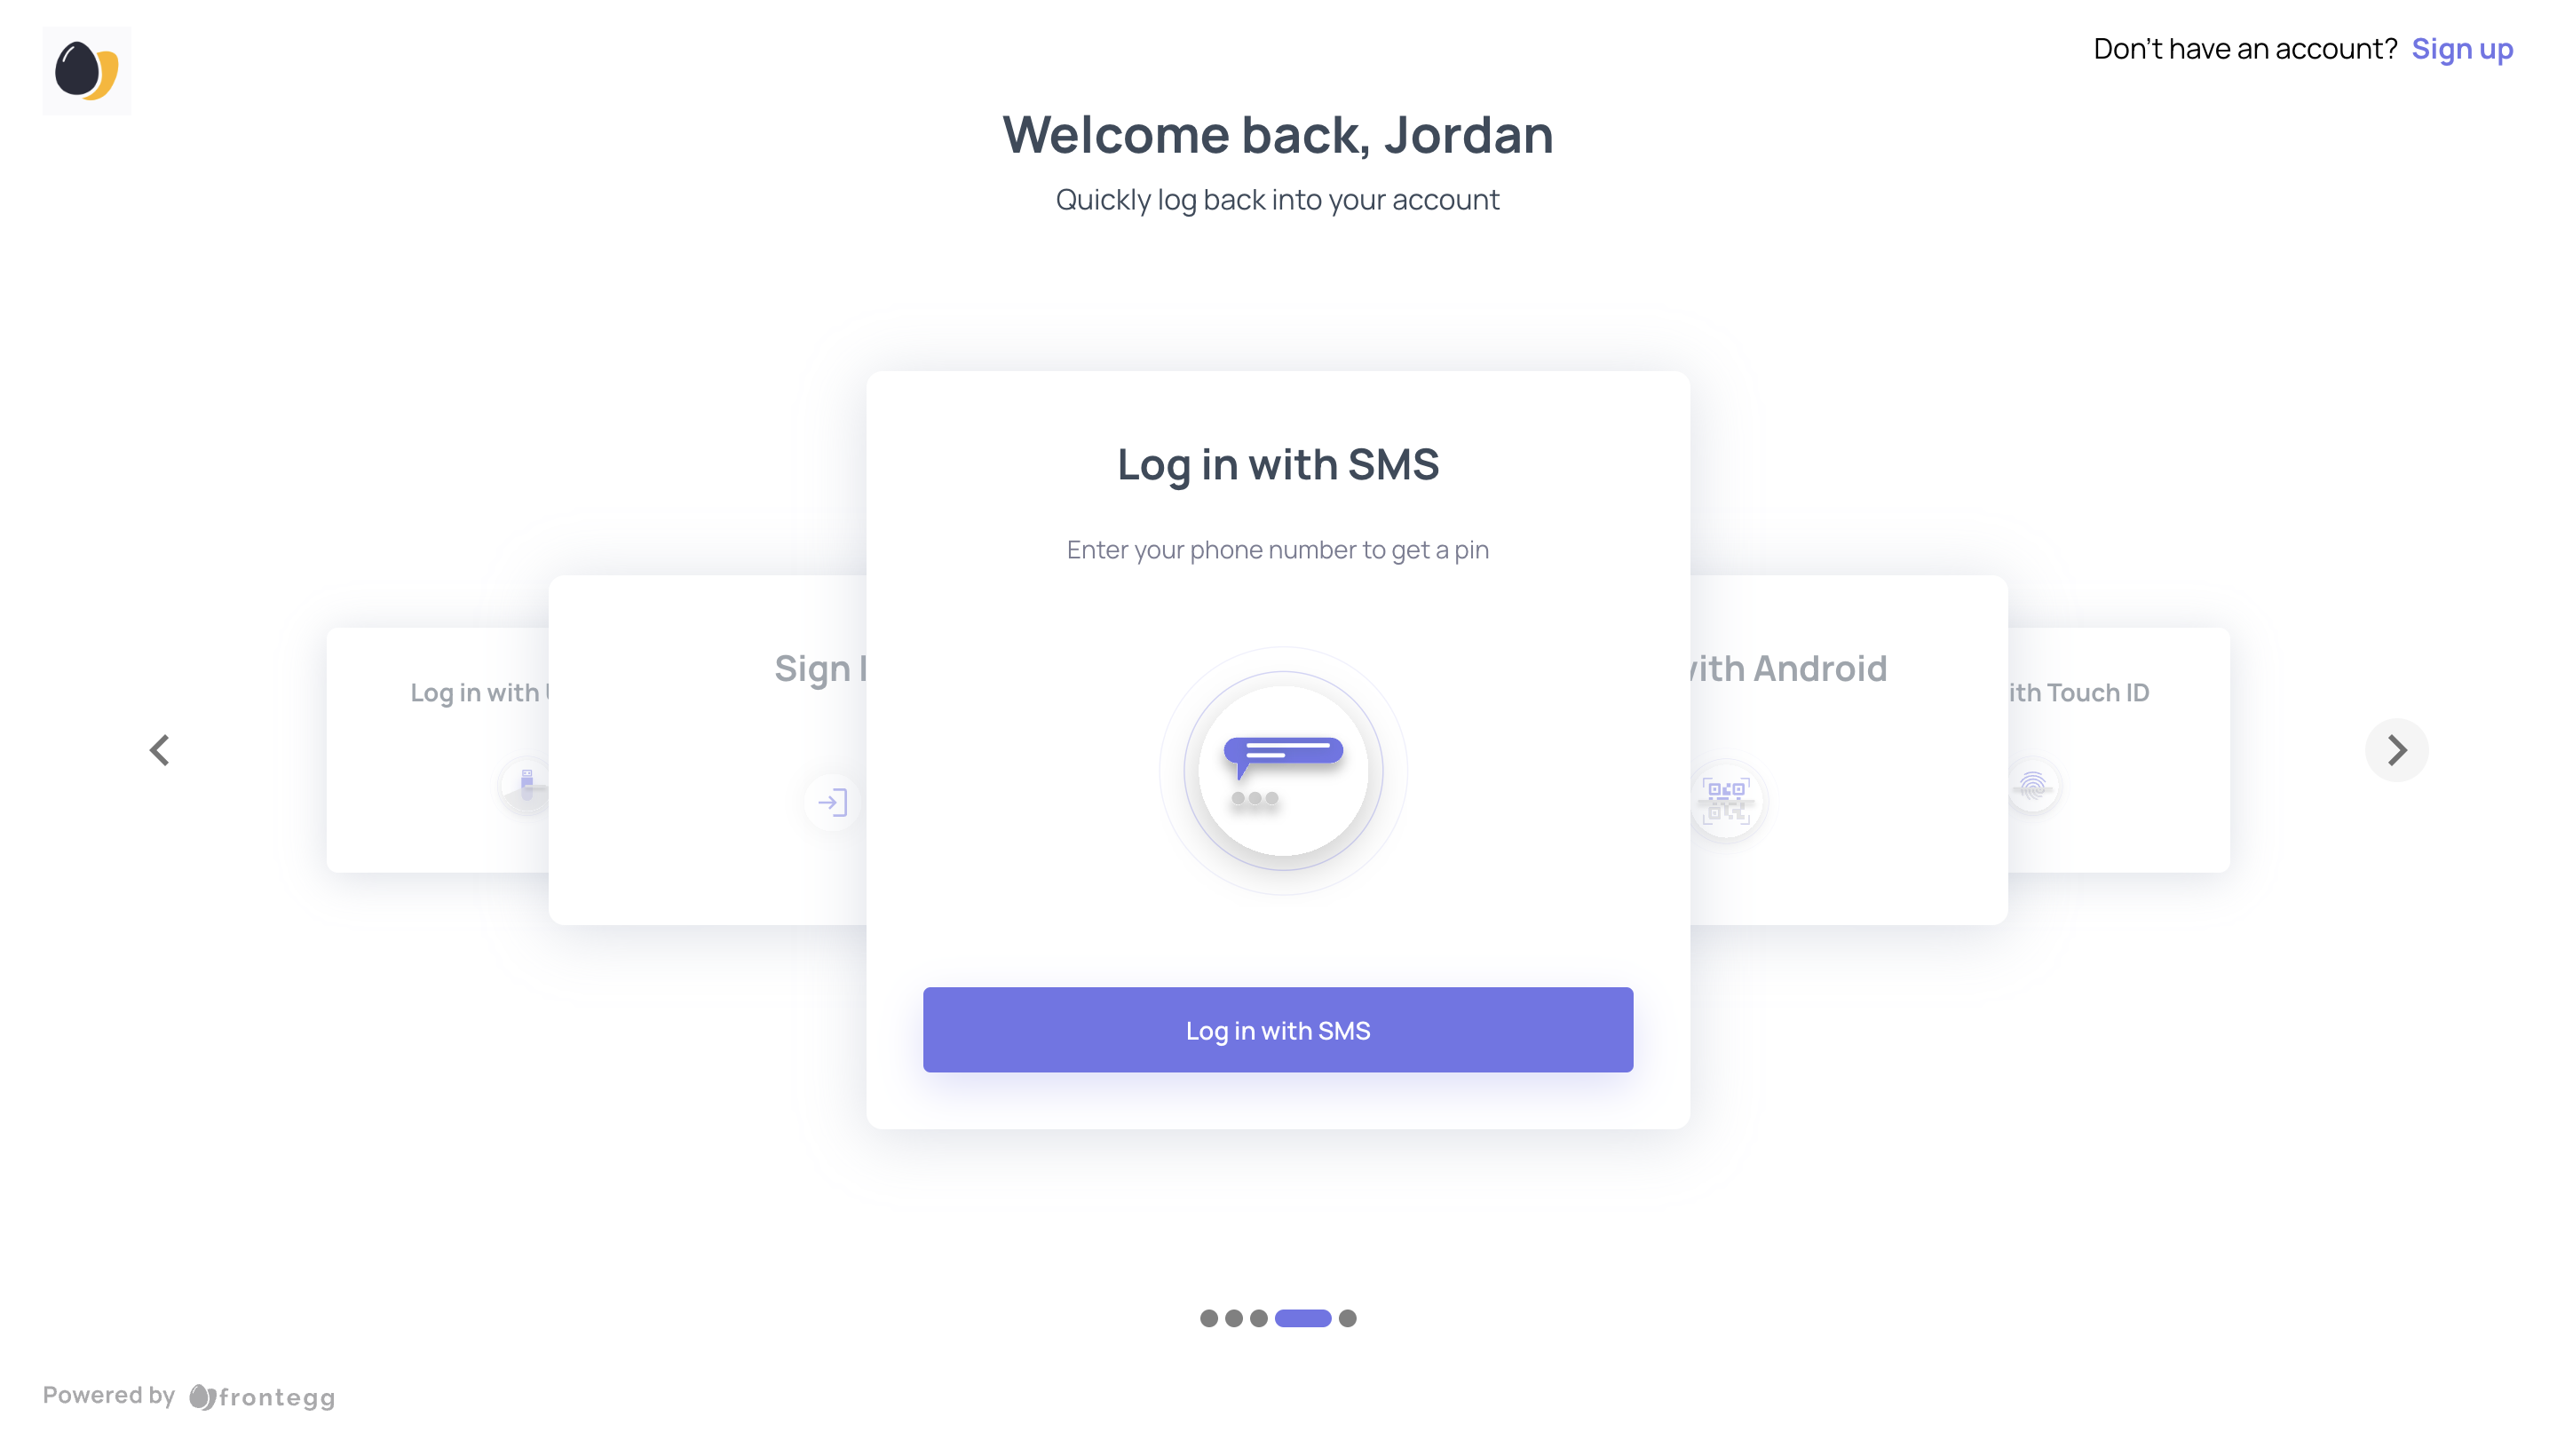
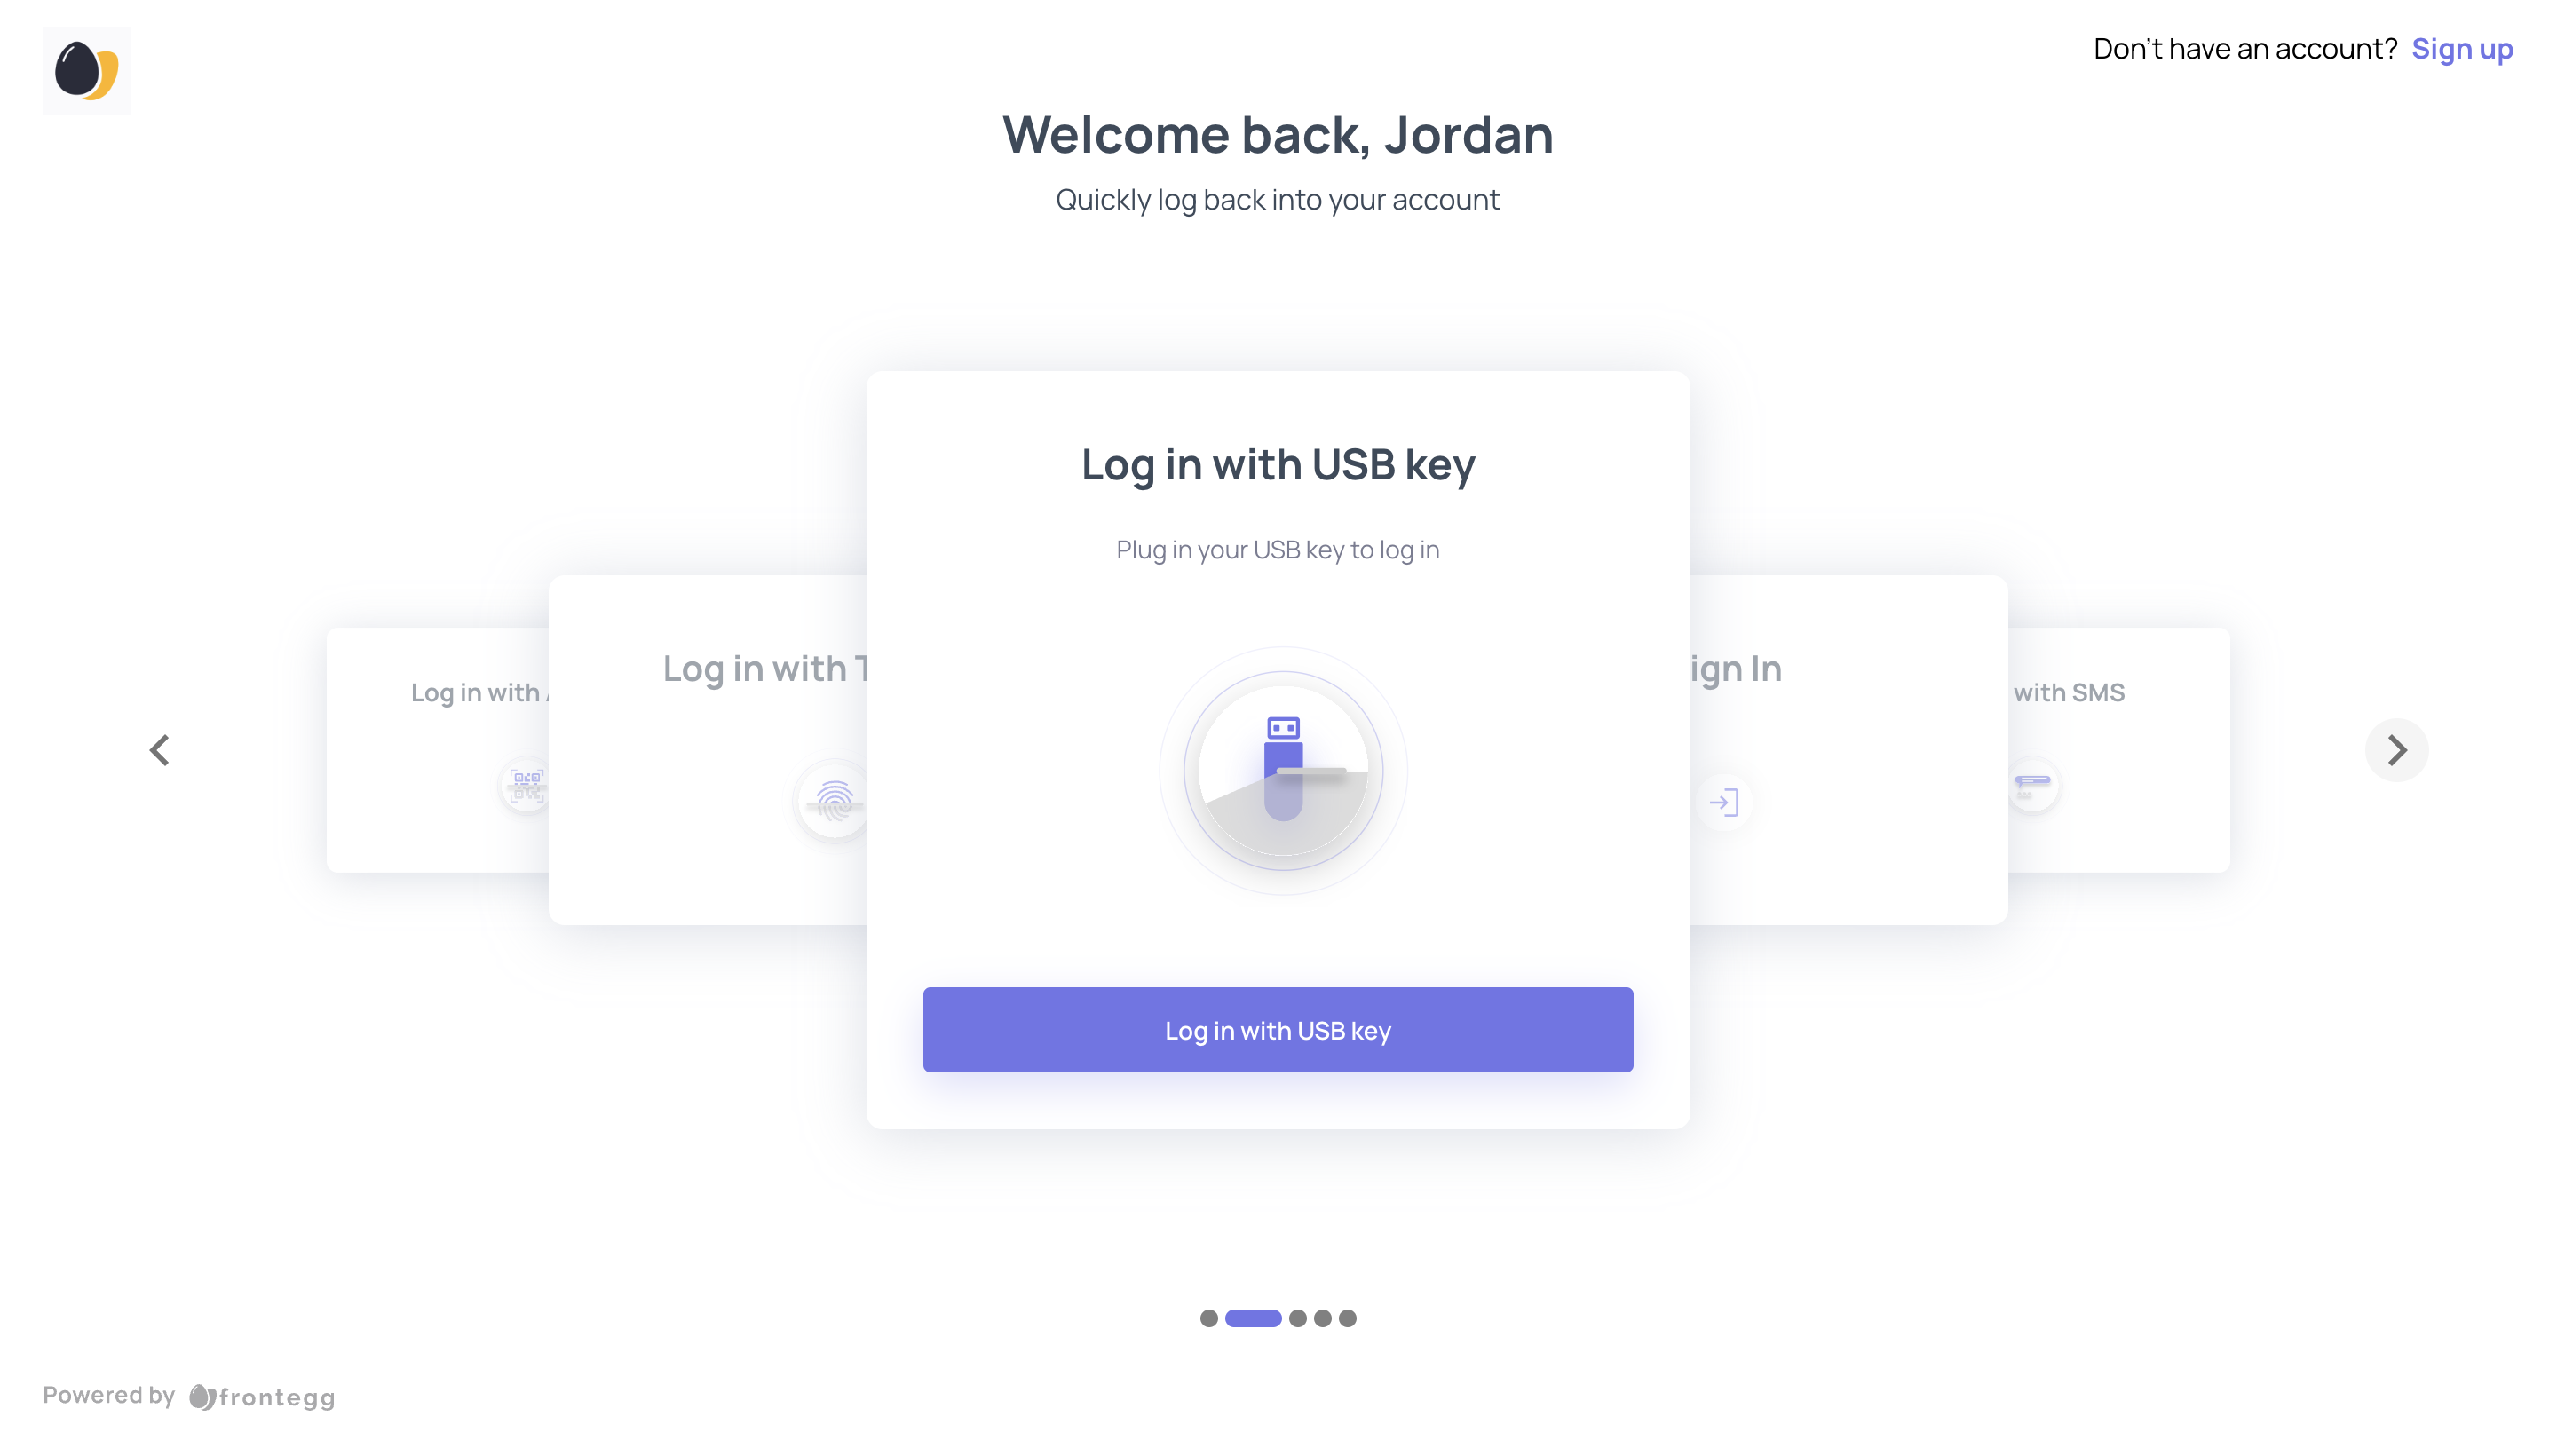
Users can select which speedy login options to implement by selecting an option in the Login Box and following the instructions in the on-screen prompts.
Enabling Social Sign-in
Allow your users to sign in using their social accounts.
In the left panel, a switch appears for each social option that you can enable.
Toggle the switch on for any that you want to enable. You can toggle on all of them, none of them, or anything in between.
Whichever you enable, you need to configure each one by entering information from each account. For instance, you need to enter information like client id, secret, and redirect url.
Adding Social Logins
Learn more about how to add social logins to your application or go to Environments ➜ [NAME OF ENVIRONMENT] ➜ Authentication ➜ Social-Logins.
Single Sign on
Allow your users to sign in using SSO.
In the left panel, a switch appears for each SSO option that you can enable.
Toggle the switch on for any that you want to enable. You can toggle on all of them, none of them, or anything in between.
Whichever you enable, you need to configure each one by entering information from each account.
Adding SSO
Learn more about how to add SSO to your application or go to Environments ➜ [NAME OF ENVIRONMENT] ➜ Authentication ➜ SSO.
Enabling Email Sign-in
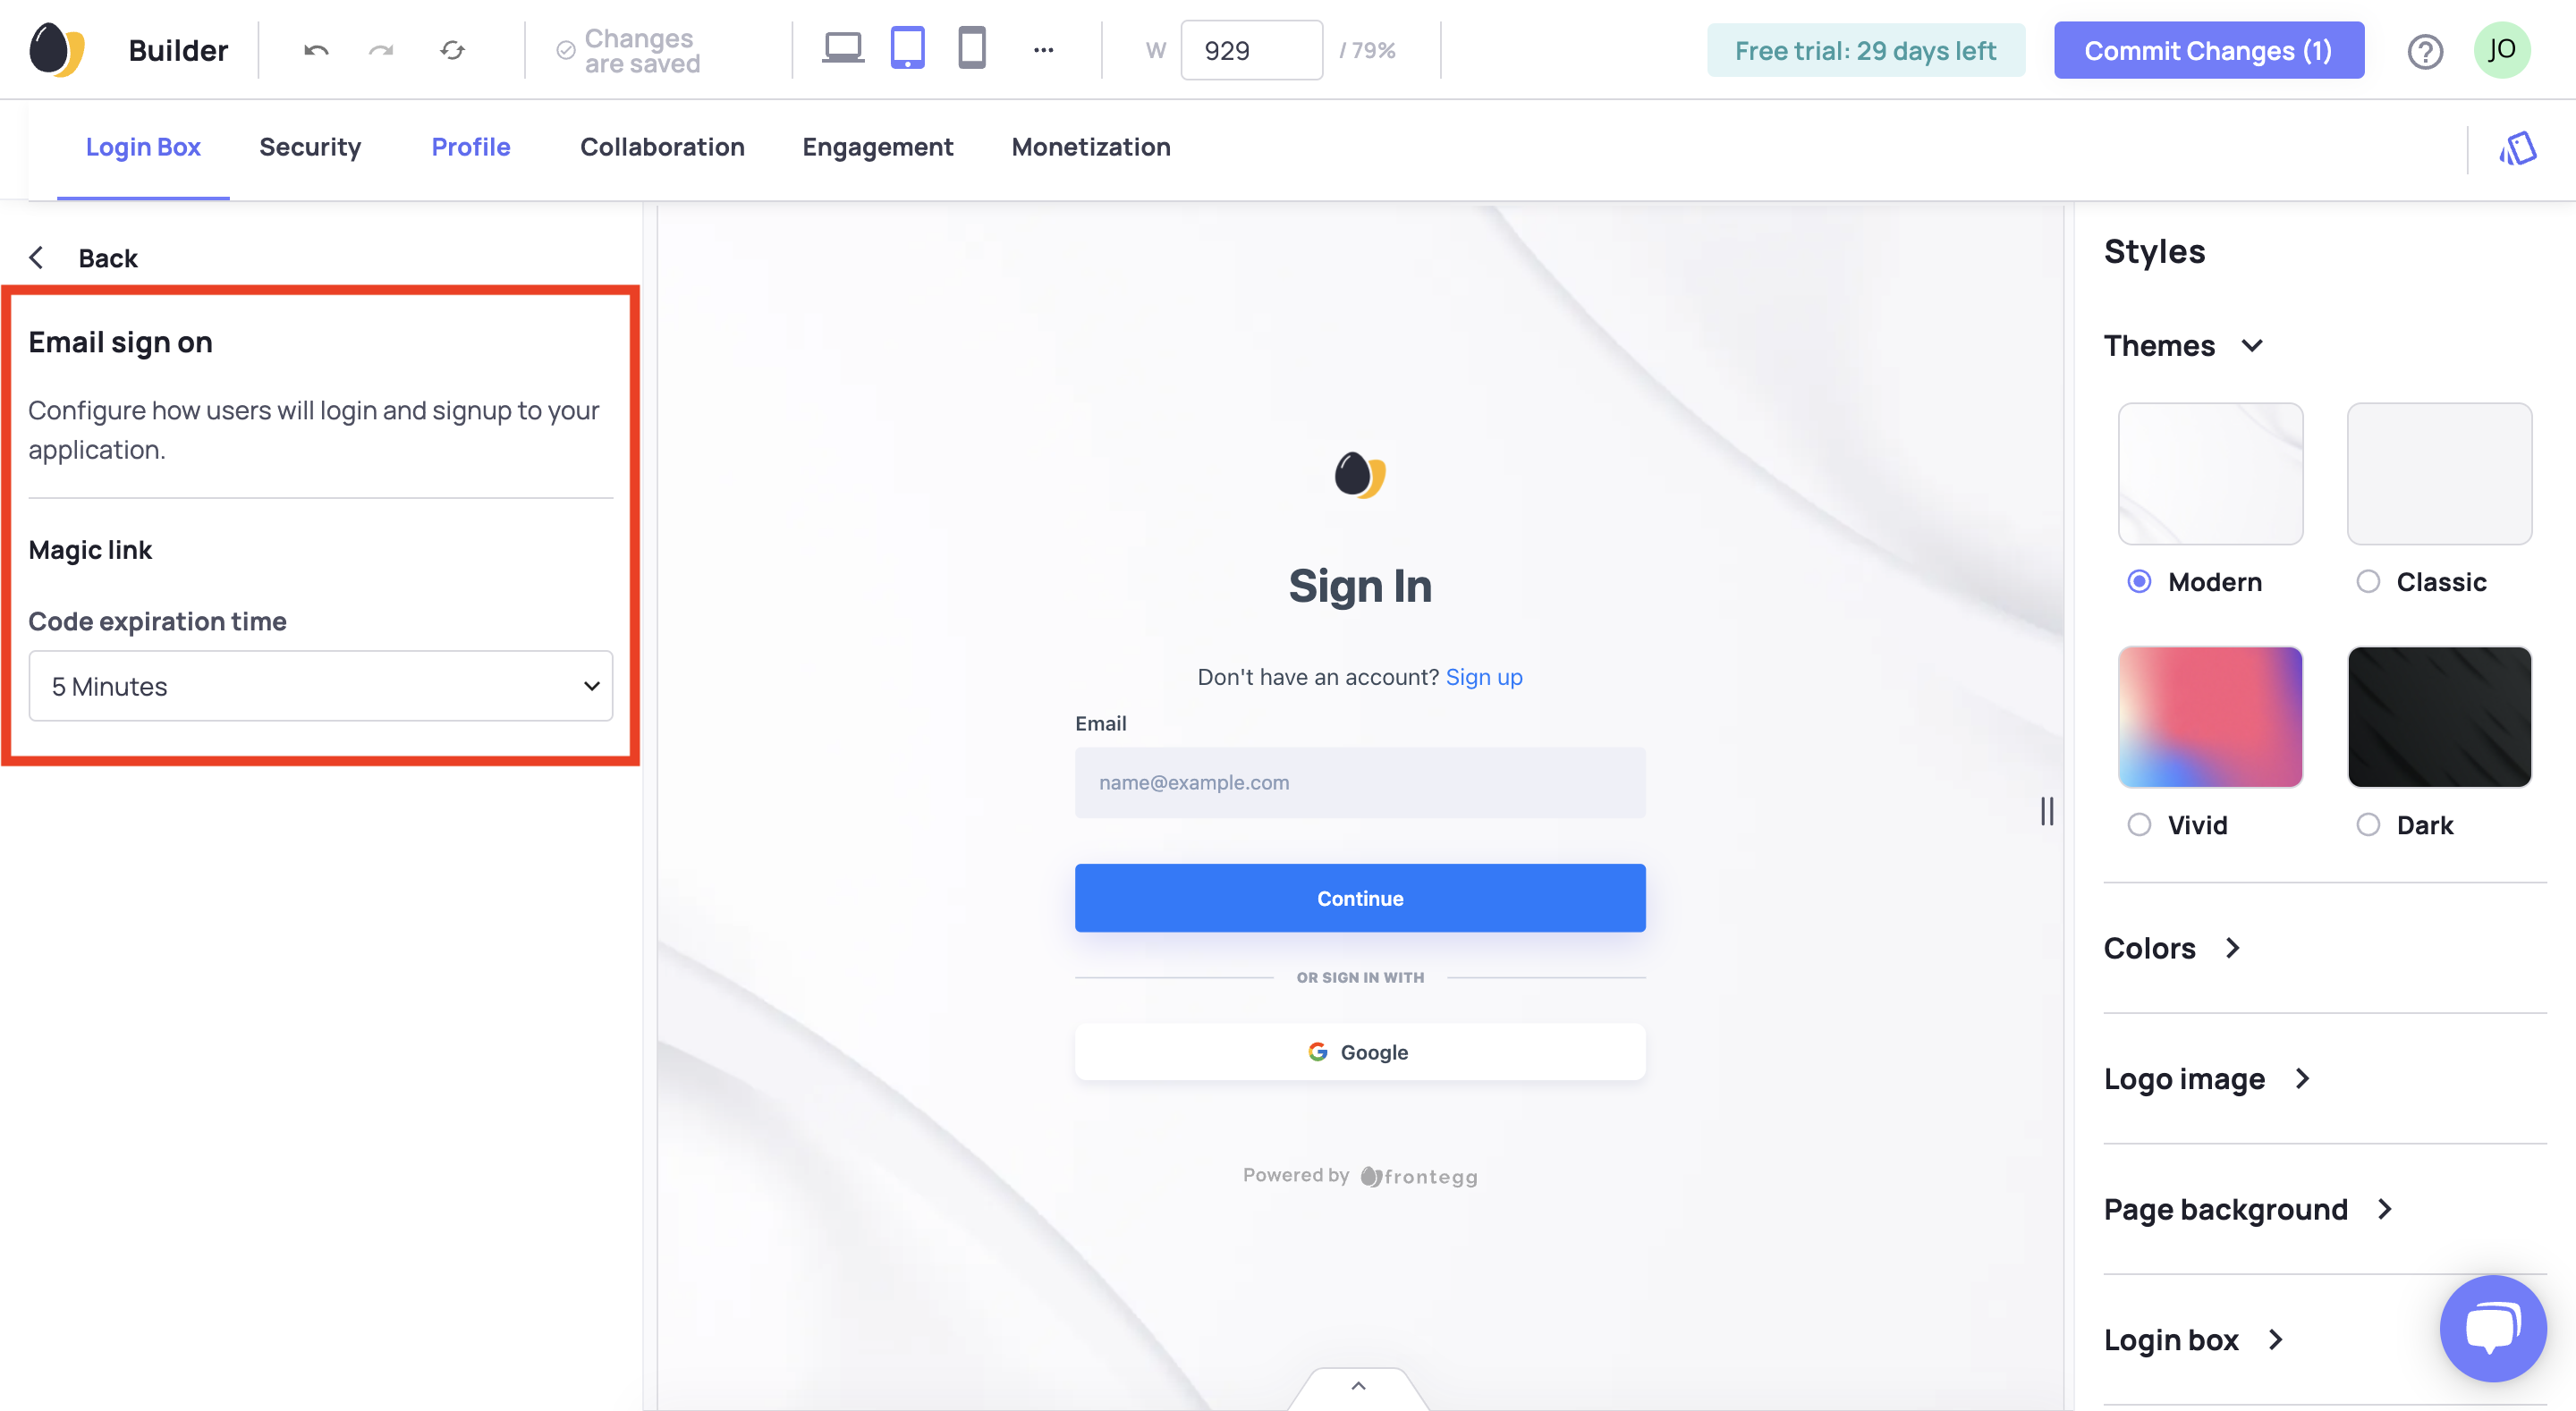
Go passwordless by selecting magic code or magic link or enable sign in with password.
Whichever option you toggle on, click the ⚙ configure button and fill in the required information.
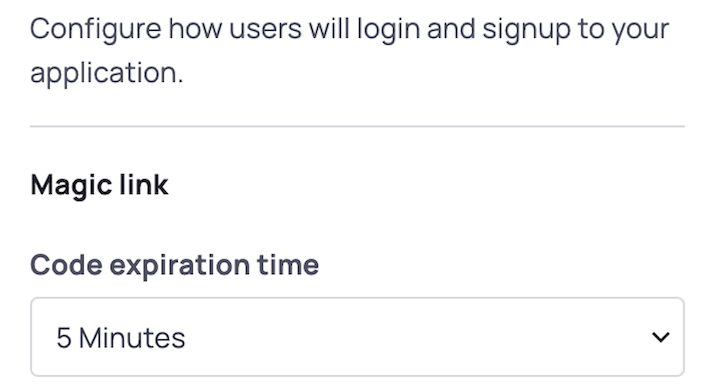
The configuration is really easy.
For magic link, simply choose an expiration time.
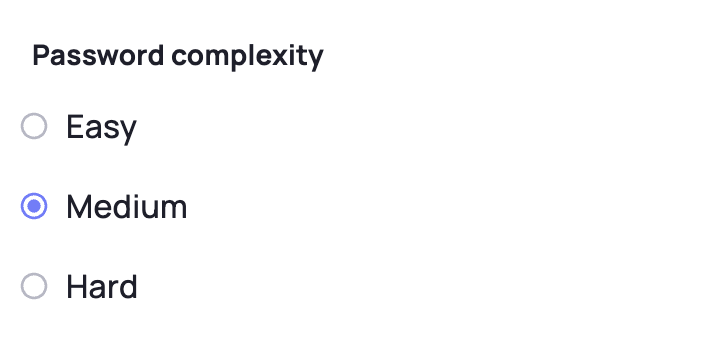
If you choose the password authentication flow, configure the settings to control how to secure user passwords.
Learn more about passwordless authentication and remember to configure the email template.
Enabling Users to Sign
Select whether the login box allows users to sign up directly through the login box.
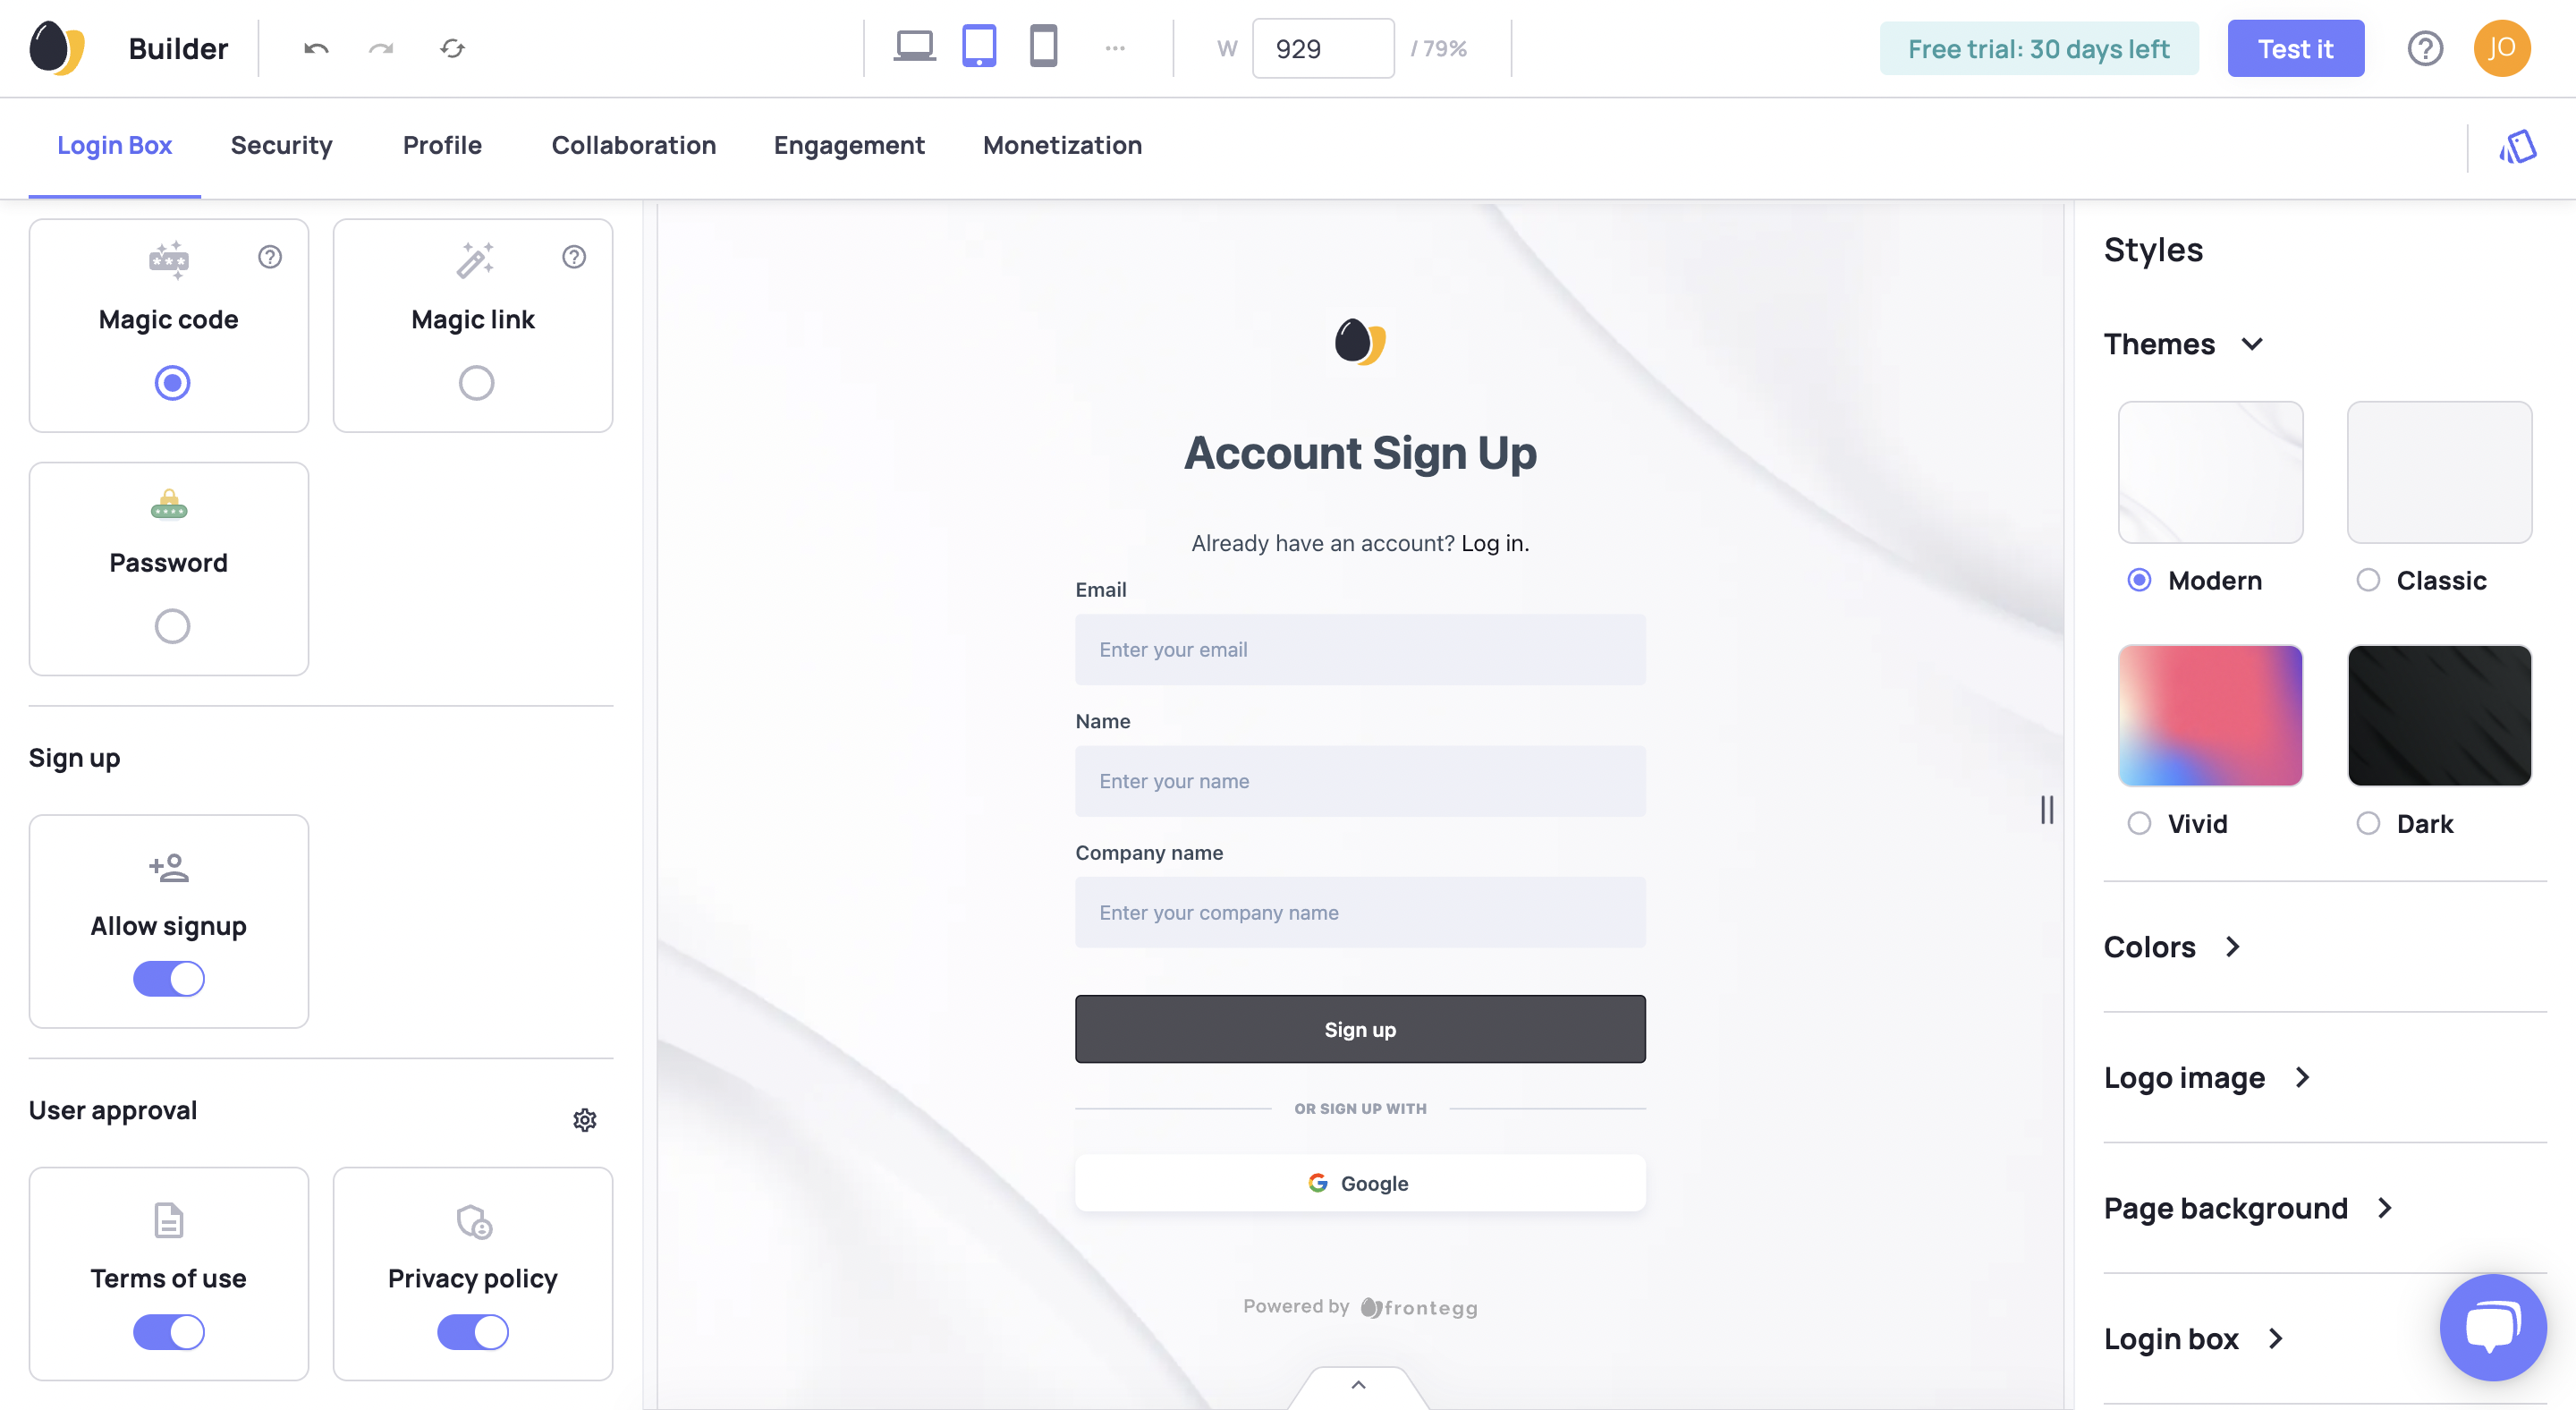
Toggle the switch on to allow sign ups.
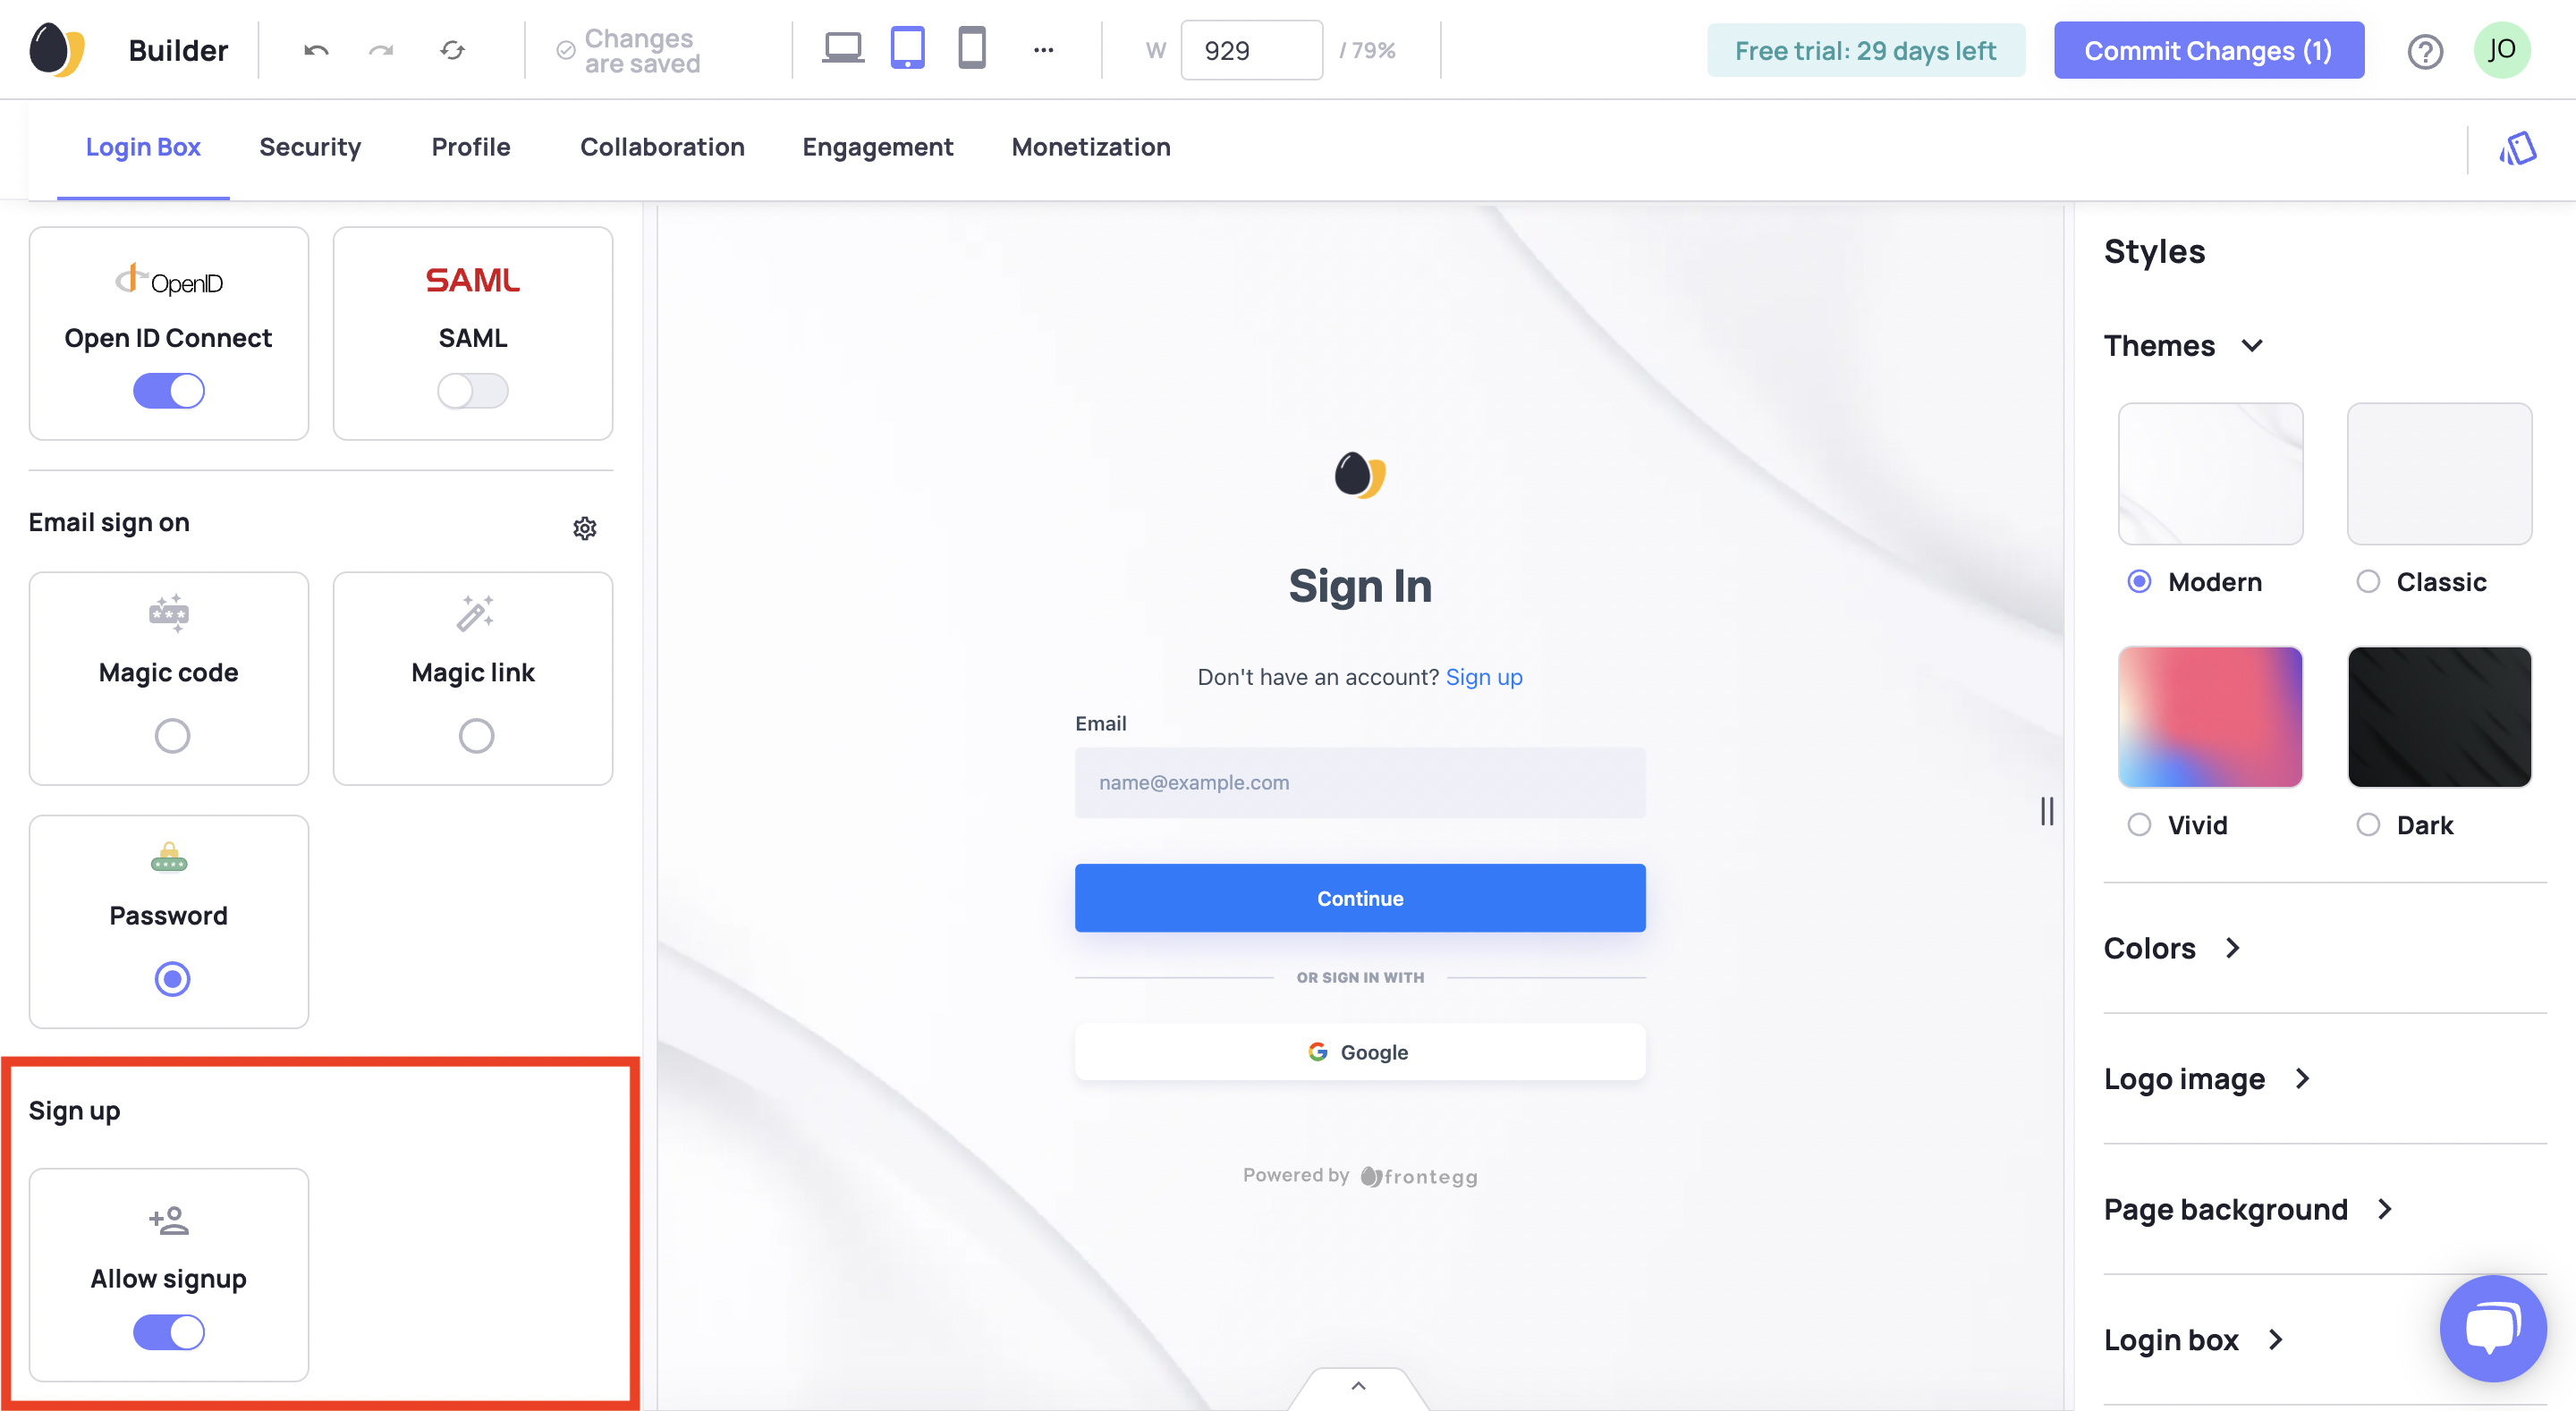
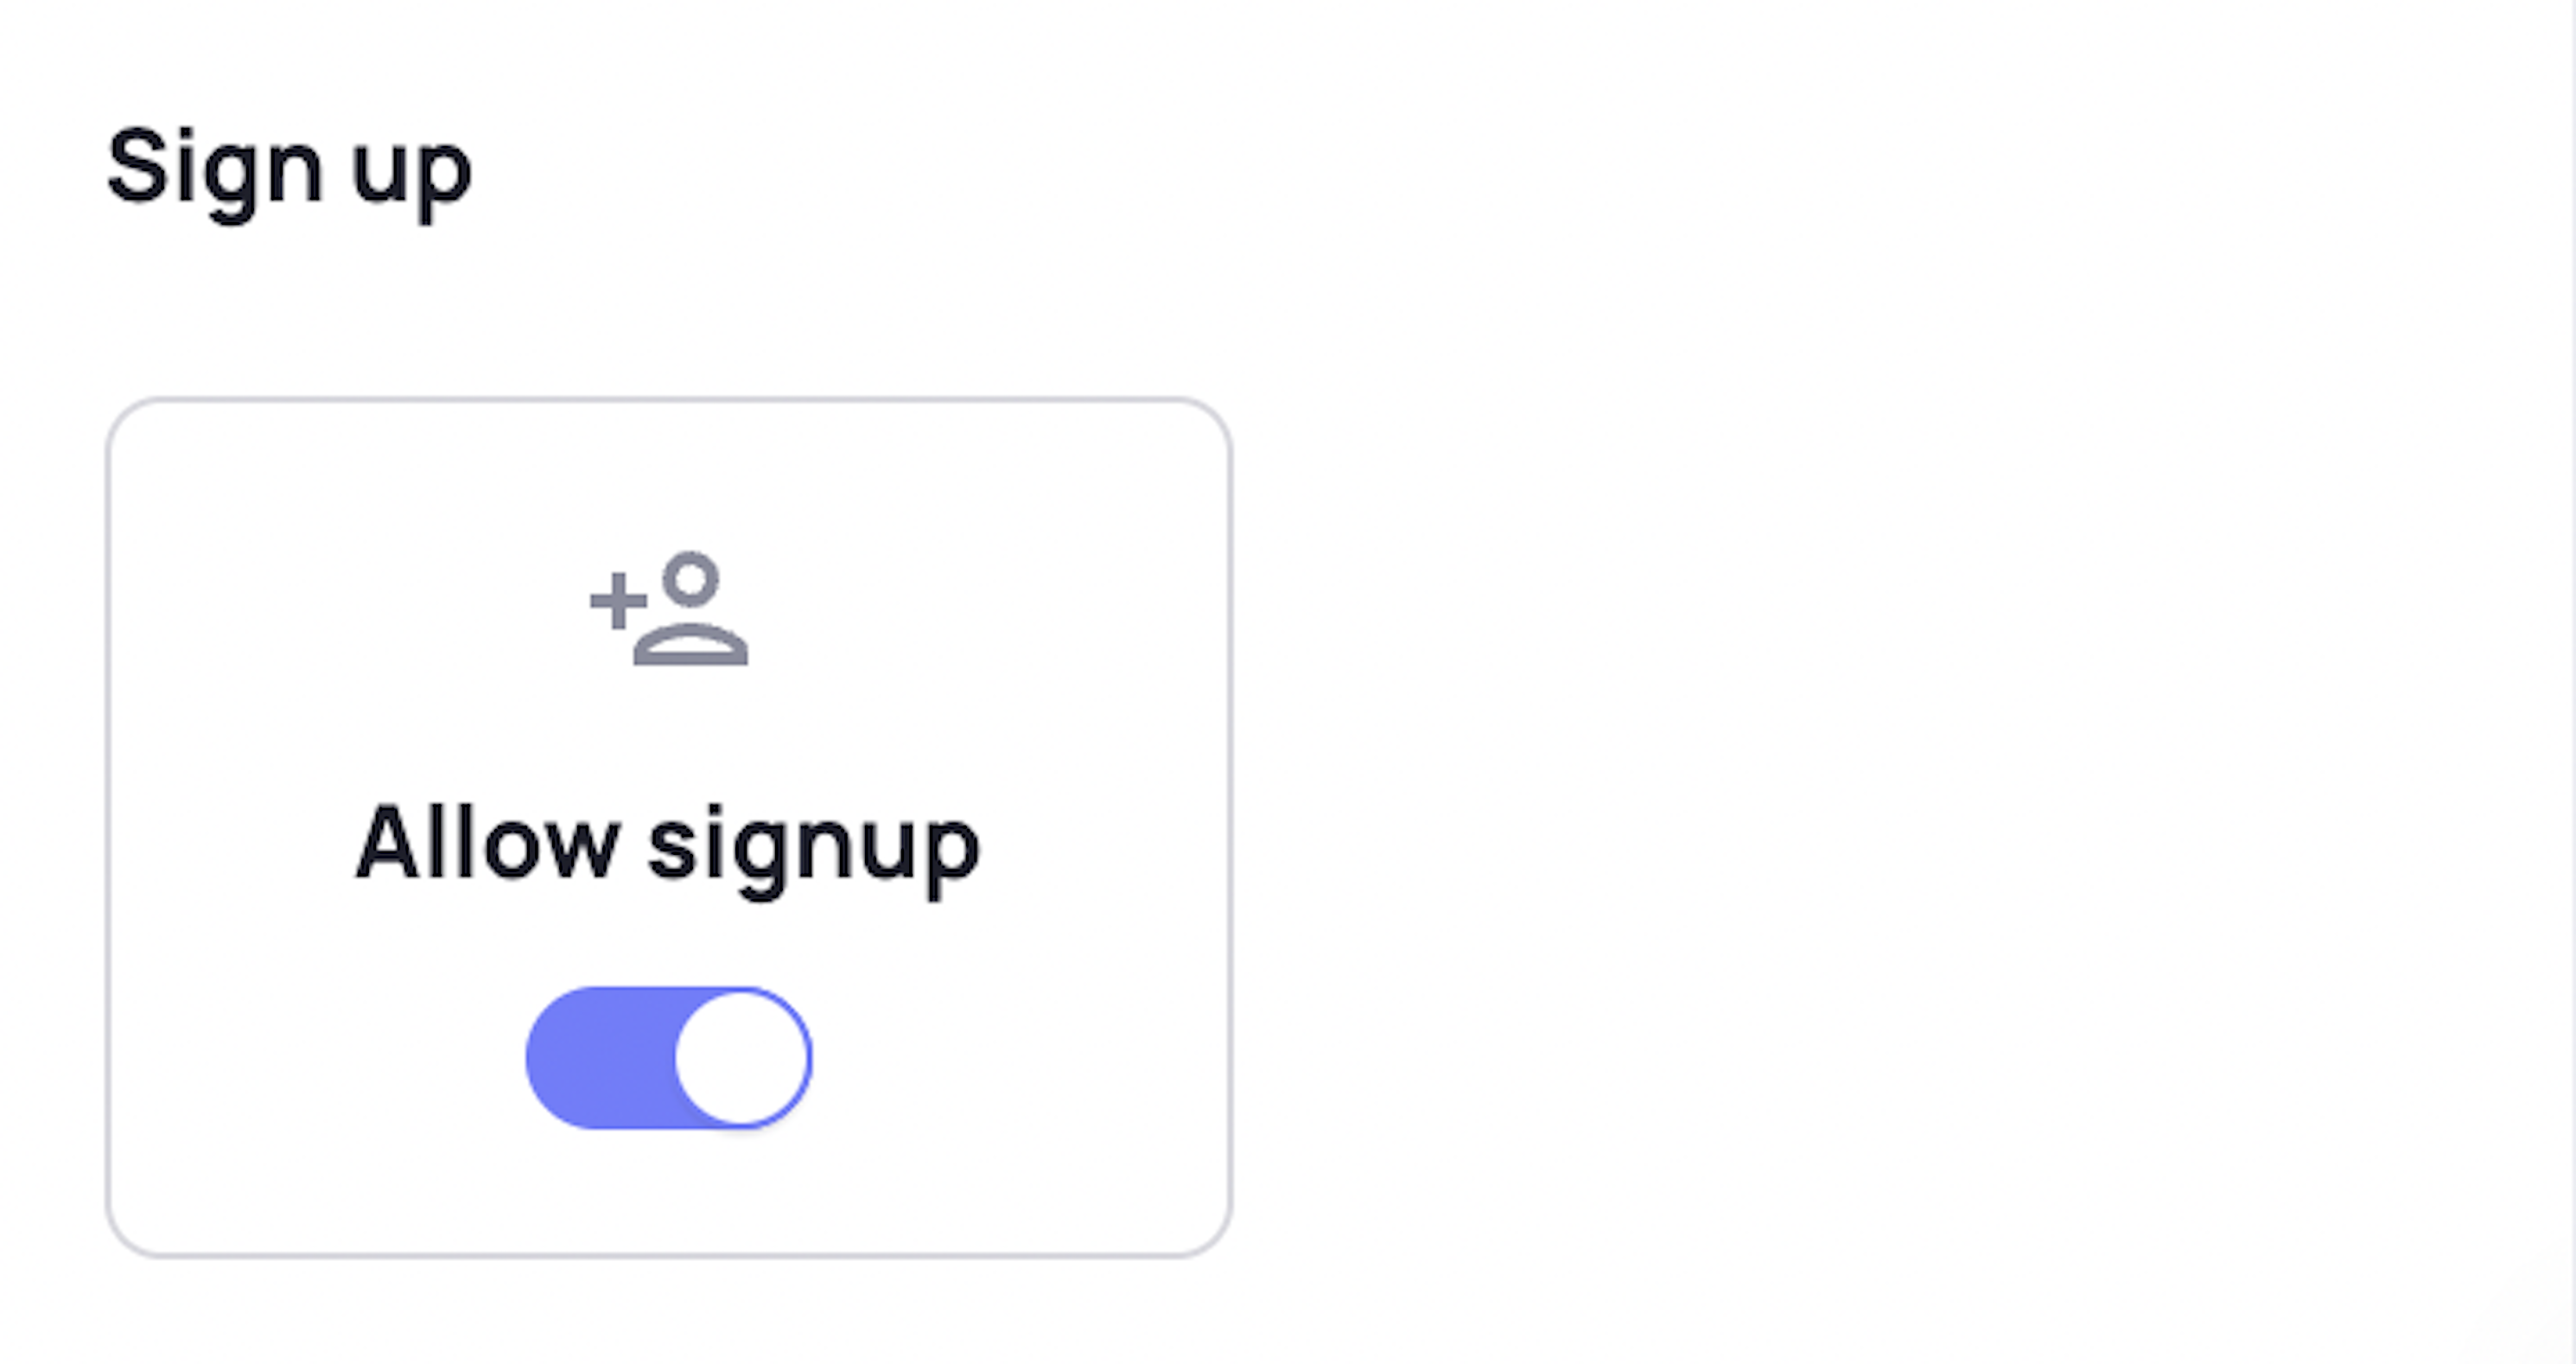
The option to sign up in the login box appears only if toggled on.
Enabling User Approval
Require users to agree to your Terms of Service, Privacy Policy, or both when signing up using your Login Box.
To display links to your policies in your Login Box and get users to agree to them, enable the Terms of Service, Privacy Policy, or both by toggling one or more switches on under User Approval.
After enabling one or both options, you should be redirected to the settings page to configure the layout and links.

For layout, choose between two options for how the user agrees:
- Showing only text and requiring user click signup button
- Requiring user to select a checkbox in order to agree and signup
See how each option looks in the Builder's preview before deciding which one to choose.
For links, enter a link to each of your written policies for each approval type that you enabled.
- Terms of Use
- Privacy Policy
- Both
After enabling and configuring User Approvals, your Login Box displays the layout you configured with links to your policies as shown in the Builder preview.
Updated about 1 month ago