Hosted Login Integration (Vue.js)
This guide will seamlessly walk you through integrating Frontegg's login box into your Vue application, with robust functionalities including Sign In, Sign Up, and Single Sign-On (SSO). Streamline your authentication process with just a few lines of code, leveraging the power of redirects, OpenID Connect, and OAuth2.

⚡ Before you start: ⚡
Getting your Frontegg subdomain
Frontegg creates a unique
subdomainandclient idfor every environment created on the account. In order to retrieve theclientIdsubdomainthat will act as thebaseUrlin the integration, navigate to your workspace 'Settings' menu, 'Domains' and copy theFrontegg domainandclientId.You will need them for this guide.
STEP 1: Create Vue application
If you have an existing app, skip this step.
To create a new app, use the following script.
vue create my-project
cd my-project
If you run Vue.JS version 2x, you should have vue-router v3.x installed before completing STEP 2.
STEP 2: Install
Run the following command to install the Frontegg Vue.JS library.
// for Vue.JS v3.x
npm install @frontegg/vue vue-router

// for Vue.JS v2.x
npm install @frontegg/vue vue-router@3
// for Vue.JS v3.x
yarn add @frontegg/vue vue-router

// for Vue.JS v2.x
yarn add @frontegg/vue vue-router@3
STEP 3: Configure
Add Frontegg to the main application.
import { createApp } from "vue";
import App from "./App.vue";
import { Frontegg } from "@frontegg/vue";
import { createRouter, createWebHistory } from "vue-router";

const router = createRouter({
  history: createWebHistory("/"),
  routes: [
    { name: "HomePage", path: "/", component: App },
  ],
});

const app = createApp(App).use(router);


app.use(Frontegg, {
  contextOptions={{
          baseUrl: 'my-base-url',
          clientId: 'my-client-id',
          appId: 'my-app-id'
}},
   authOptions: {
	// keepSessionAlive: true // Uncomment this in order to maintain the session alive
  },
  hostedLoginBox: true,
  router,
});

app.mount("#app");
import Vue from 'vue'
import App from './App.vue'
import VueRouter from 'vue-router'
import { Frontegg } from '@frontegg/vue';

Vue.use(VueRouter)
const router = new VueRouter({
  mode: 'history',
});


Vue.use(Frontegg, {
  contextOptions: {
    baseUrl: 'https://[YOUR_SUBDOMAIN].frontegg.com',
    clientId: '[YOUR_CLIENT_ID]'
  },
  authOptions: {
 	// keepSessionAlive: true // Uncomment this in order to maintain the session alive
  },
  hostedLoginBox: true,
  router,
});

new Vue({
  router,
  render: h => h(App),
}).$mount('#app')
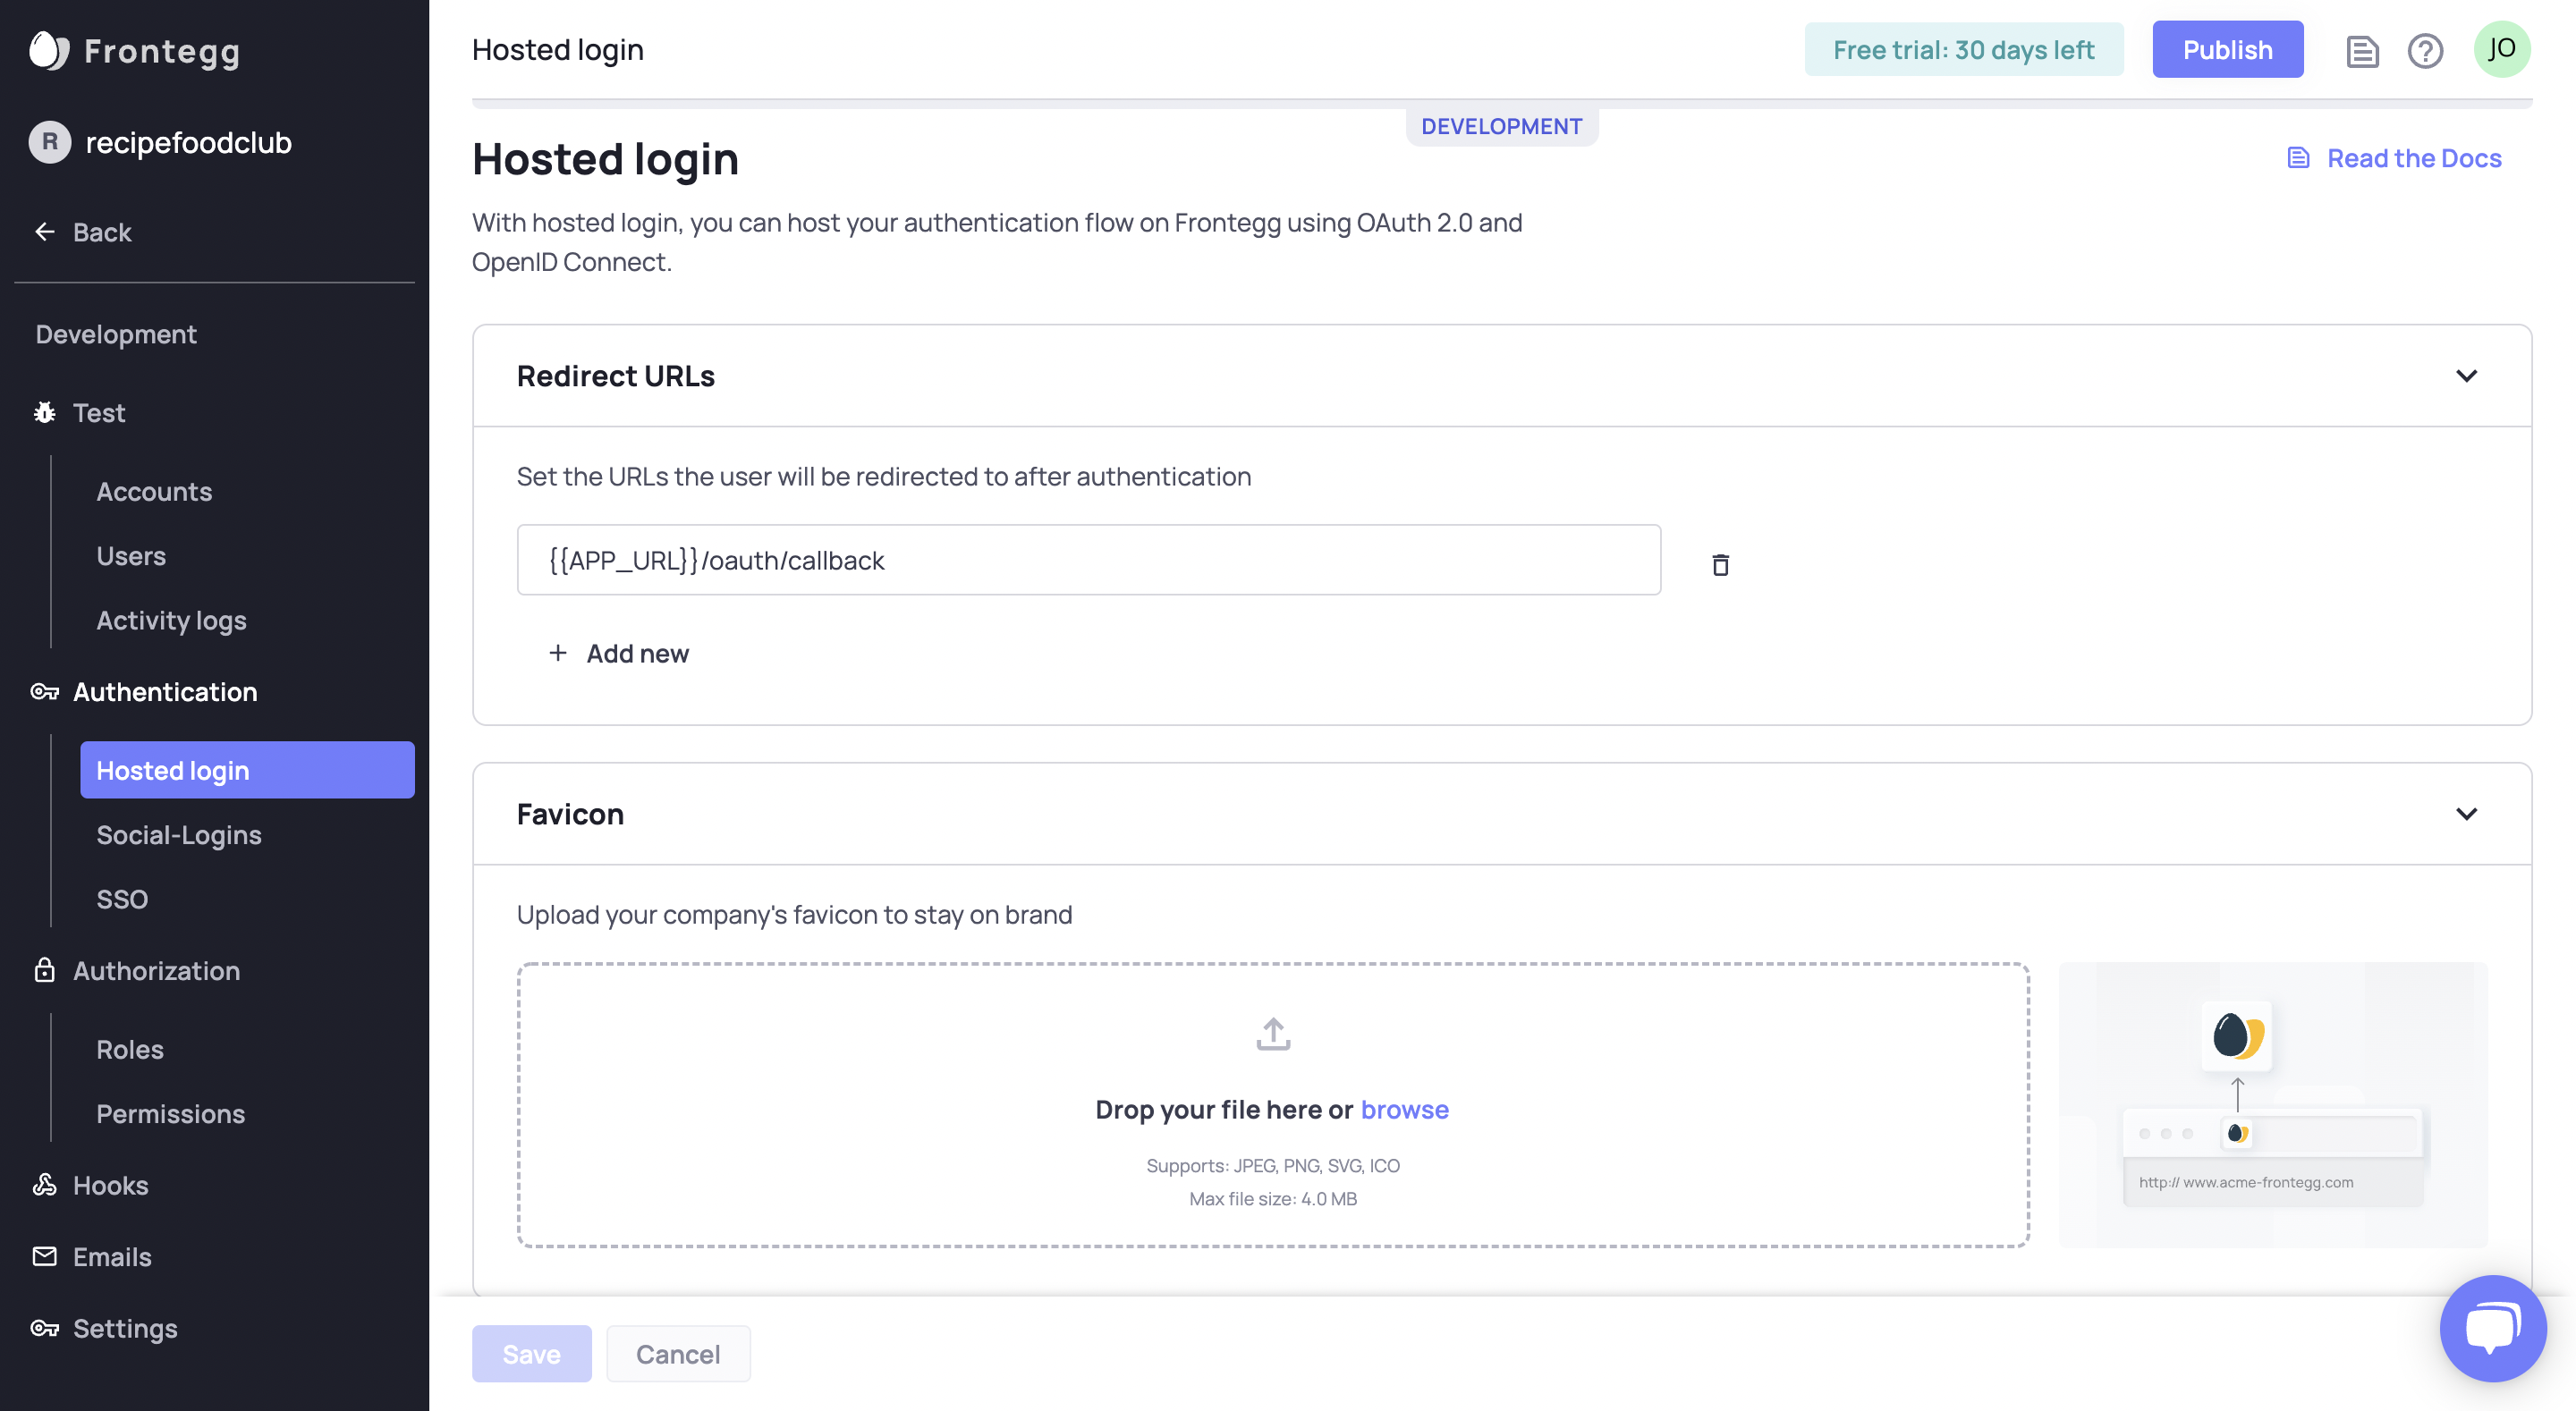
Under the hosted login configuration, add http://localhost:8080/oauth/callback as the allowed redirectUrl.

Configure Each Environment
Configure the hosted login for each environment separately.
STEP 4: Redirect to login
Sending your non-authenticated users to the login page is available by calling the loginWithRedirect method.
Authenticated users context will have their state mapped as displayed below.
Composition API is supported for Vue3 from @frontegg/[email protected]
<template>
  <div id="app" v-if="fronteggLoaded">
    <div v-if="authState.user">
      <span>Logged in as: {{ authState.user.name }}</span>
    </div>
    <div>
      <button v-if="authState.user" v-on:click="logout">Logout</button>
      <button v-if="authState.user" v-on:click="showAccessToken">
        What is my access token?
      </button>
      <button v-if="!authState.user" v-on:click="goToLogin">Login</button>
    </div>
  </div>
</template>

<script>
import {
  useFrontegg,
  ContextHolder,
  useFronteggAuthGuard
} from "@frontegg/vue";


export default {
  setup() {
    const { fronteggLoaded, authState, loginWithRedirect } = useFrontegg();;

    useFronteggAuthGuard(); // auto redirects the user to the login page / application

    const goToLogin = () => {
      loginWithRedirect();
    };

    const logout = () => {
      const baseUrl = ContextHolder.getContext().baseUrl;
      window.location.href = `${baseUrl}/oauth/logout?post_logout_redirect_uri=${window.location}`;
    };

    const showAccessToken = () => {
      alert(authState.user.accessToken);
    };

    return {
      fronteggLoaded,
      authState,
      goToLogin,
      logout,
      showAccessToken,
    };
  },
};
</script>
<template>
  <div id="app" v-if="fronteggLoaded">
    <div v-if="this.authState.user">
      <span>Logged in as: {{this.authState.user.name}}</span>
			<button v-if="this.authState.user" v-on:click="logout">Log out</button>
    </div>
    <div>
      <button v-if="this.authState.user" v-on:click="showAccessToken">What is my access token?</button>
      <button v-if="!this.authState.user" v-on:click="loginWithRedirect">Not logged in. Click to Login</button>
    </div>
  </div>
</template>

<script>
import { mapLoginActions, ContextHolder } from "@frontegg/vue";

export default {
  name: "App",
  // Available from v1.0.22 for automatic redirect to your app / login box.
  // updated() {
  //   this.loginIfNeeded();
  // },
  methods: {
    // Use either loginWithRedirect or loginIfNeeded.
    loginWithRedirect: mapLoginActions('loginWithRedirect'),
    showAccessToken() {
      alert(this.authState.user.accessToken);
    },
    // loginIfNeeded: function() {
    //   if (!this.$data.authState.isLoading && !this.$data.authState.isAuthenticated) {
    //     this.loginWithRedirect();
    //   },
    logout() {
      const baseUrl = ContextHolder.getContext().baseUrl;
      window.location.href = `${baseUrl}/oauth/logout?post_logout_redirect_uri=${window.location}`;
    }
  },
  data() {
    return {
      ...this.mapAuthState(),
    }
  }
};
</script>
Great, Frontegg is now integrated with your app!
Try it now!
Run the app and click on the Login button in order to navigate to the Login dialog.
npm run serve
yarn serve
Updated 3 months ago