Vendor SAML Configuration
SAML makes single sign-on (SSO) technology possible by providing a way to authenticate a user once, and then translate that authentication to multiple applications. By configuring SAML, you can pass your users' authenticated sessions back to your system, thus enhancing security, simplifying the login process, and providing users with a seamless user experience. Follow the instructions below to learn how to configure SSO for SAML 2.0 standard.
Configuring SAML in Your Frontegg Portal
To configure SAML in your Frontegg portal, go to Environments ➜ [NAME OF ENVIRONMENT] ➜ Authentication ➜ SSO ➜ Service Provider ➜ Authentication protocols.
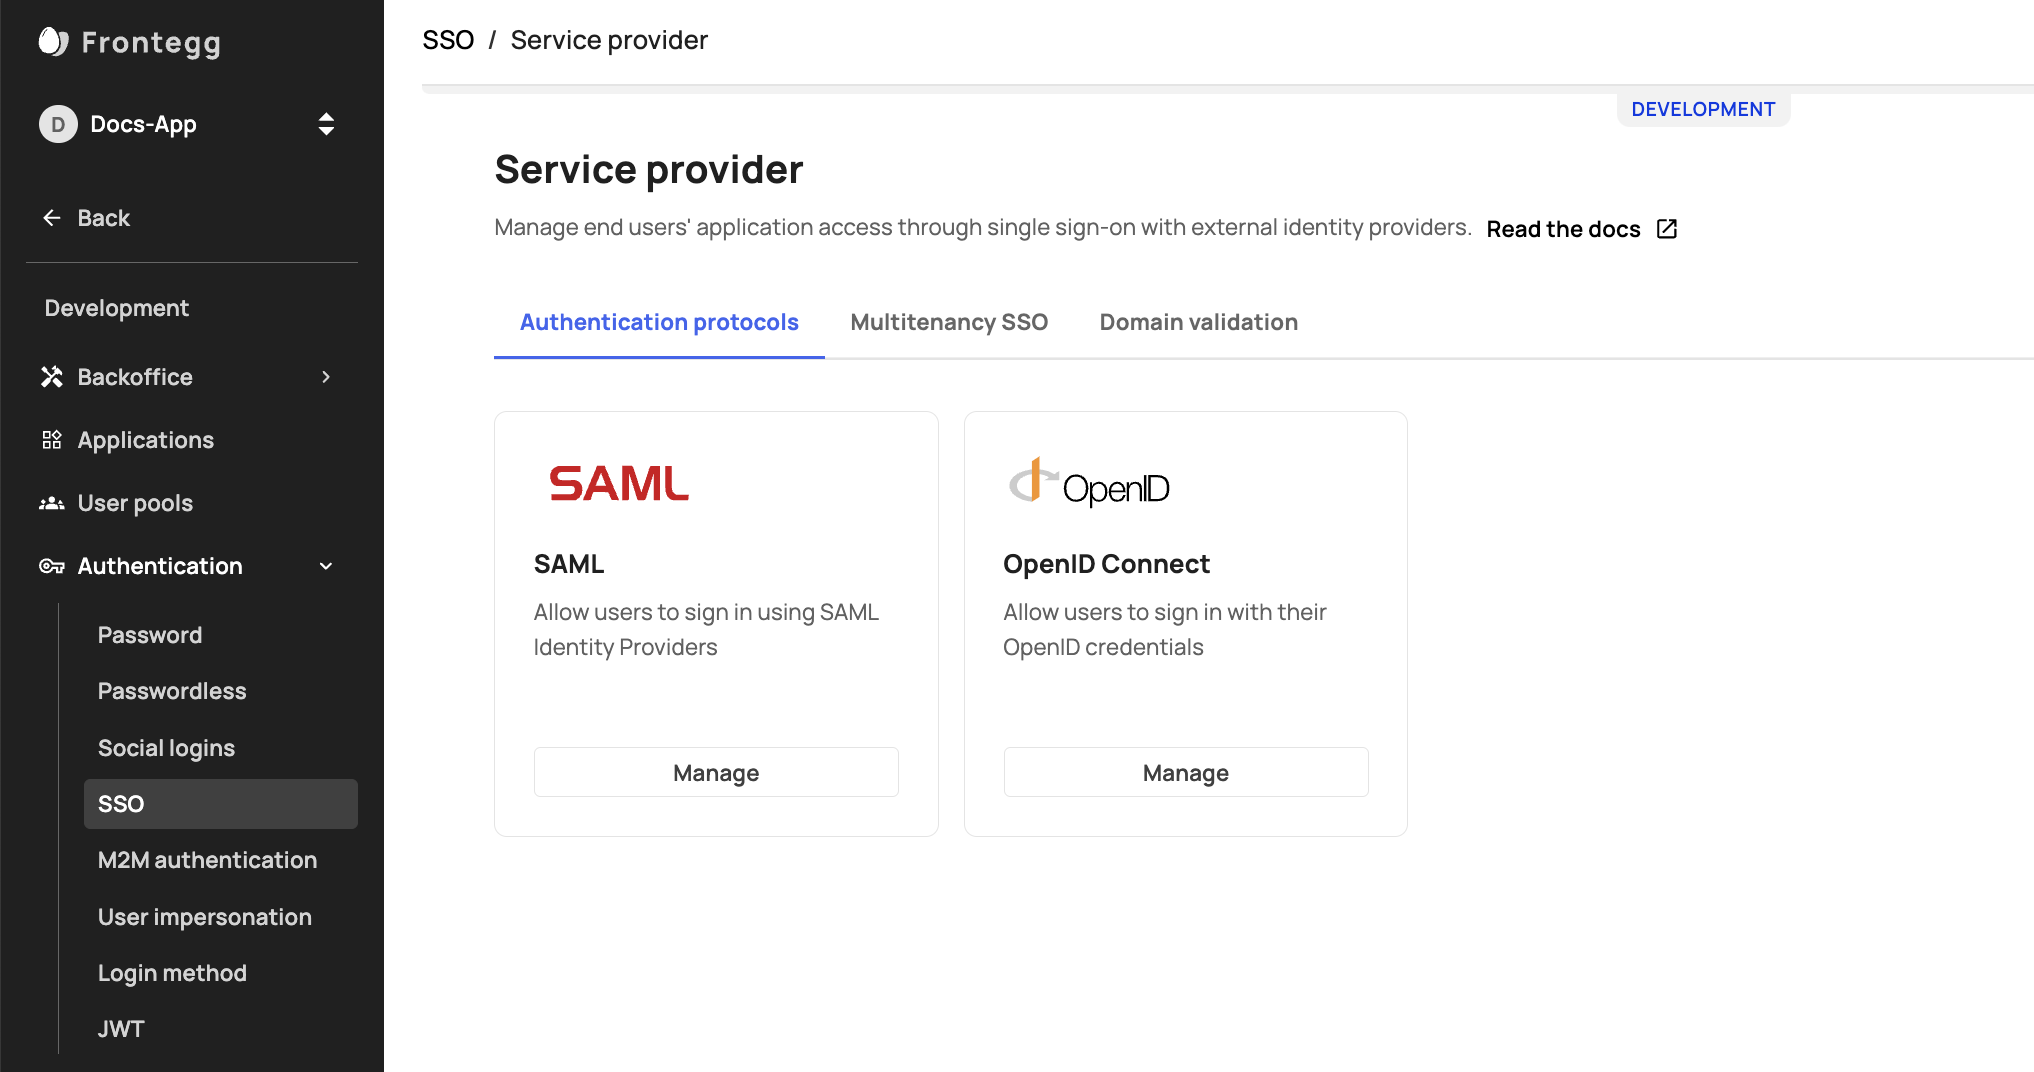
SSO/SAML Enablement
If you do not see an SSO ➜ SAML in your sidebar, make sure it is enabled.
Then, proceed with these steps:
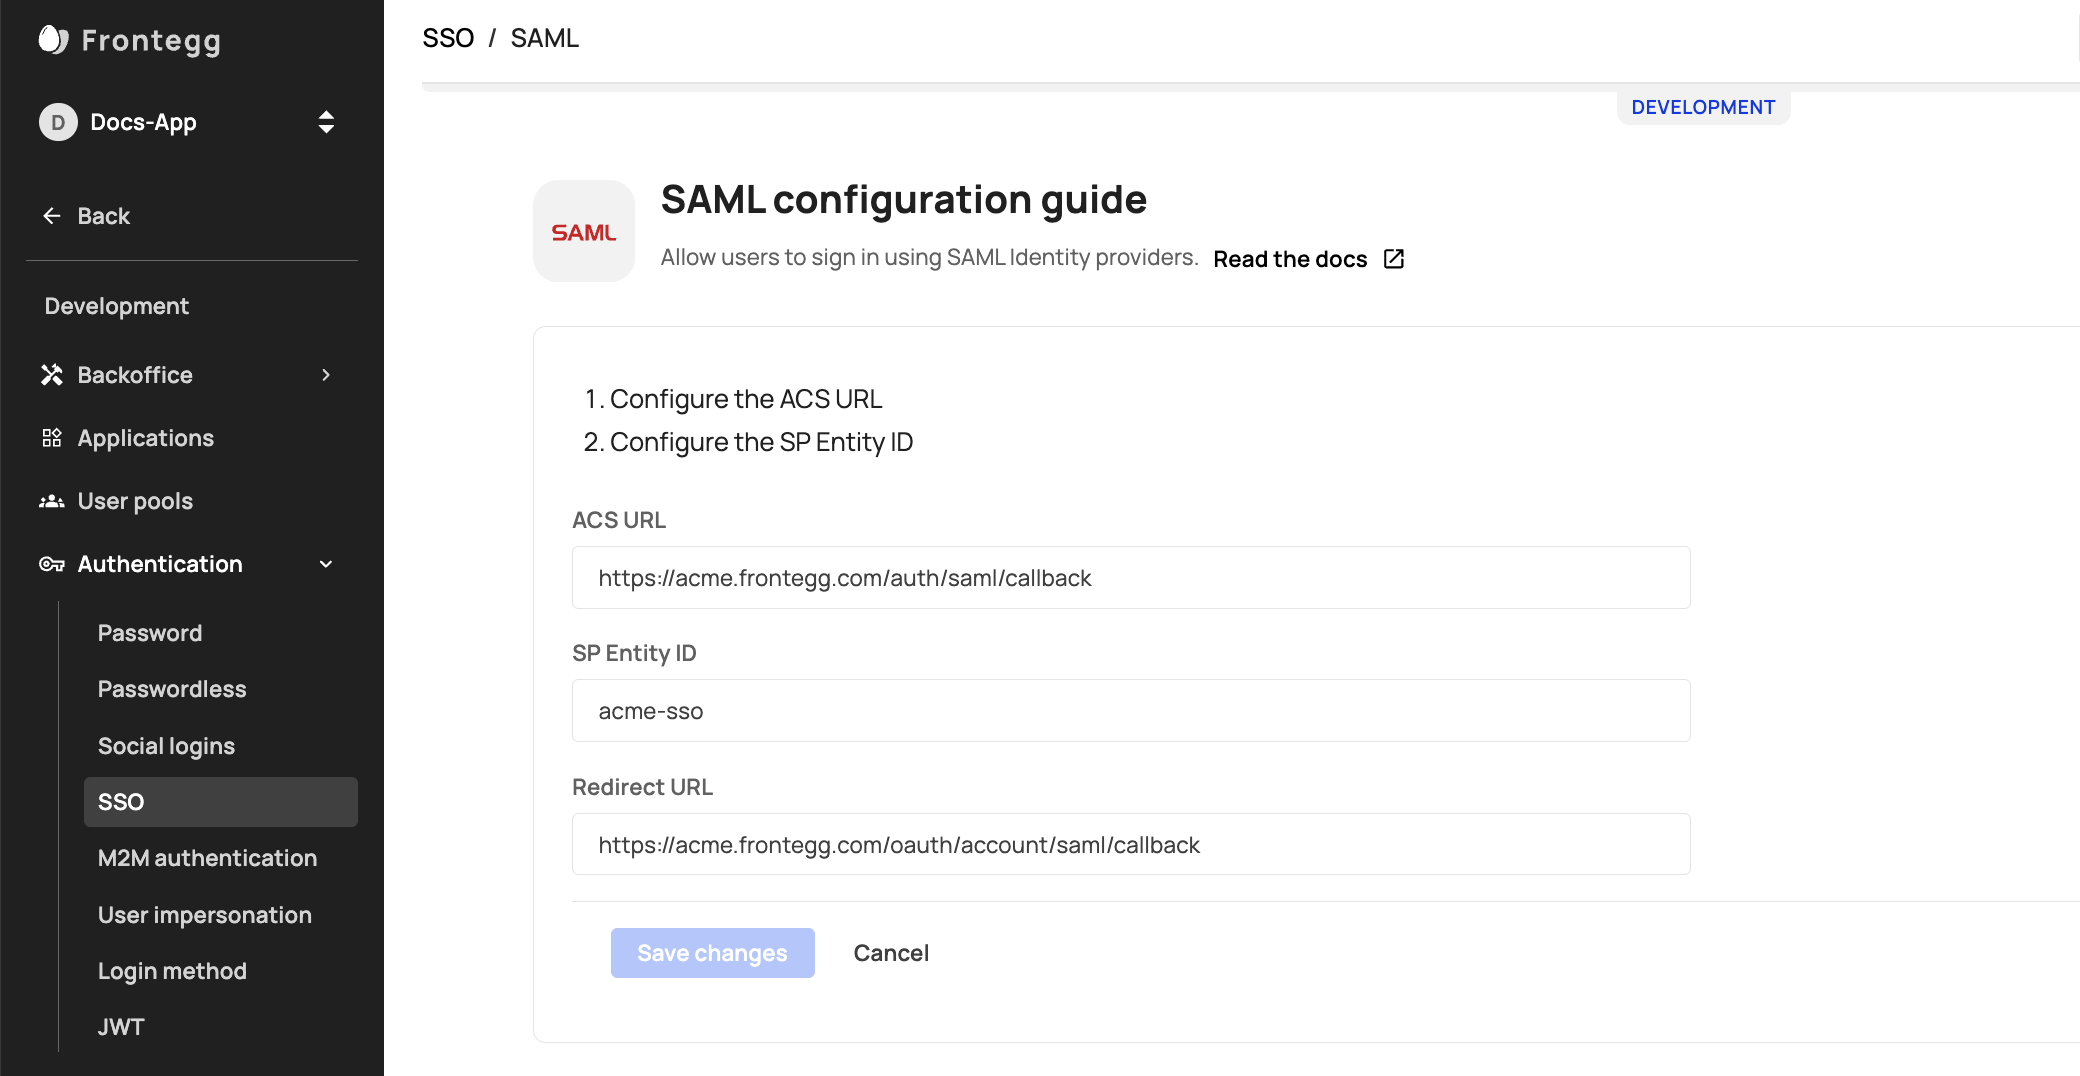
1. Add an ACS URL
Configuring Custom Domains Prior to SAML Configuration
Note that setting a custom domain after going live can be challenging, especially if you have active SSO connections. We recommend to plan ahead and set custom domains from the very begining. Learn more about Custom Domains.
Custom Domains are beneficial for a number of reasons, like avoiding cookie issues and enhancing your brand. Learn more about Custom Domains.
Note that this recommendation applies to both Hosted and Embedded Frontegg customers.
Your ACS URL will contain your domain followed by /auth/saml/callback. (see above note regarding Custom Domains).
If you opt to not configure a custom domain, use your frontegg subdomain followed by /auth/saml/callback for your ACS URL.
2. Add an SP Entity ID
Customers normally use an SP Entity ID to configure their identity provider. We recommend using your application's name for this field.
3. Add a Redirect URL
If you are using the Hosted login method, your Redirect URL should be https://[your-frontegg-domain].frontegg.com/oauth/account/saml/callback.
If you are using the Embedded Login method, the Redirect URL should be [your-application-url]/account/saml/callback, for example: http://localhost:3000/account/saml/callback.
Allow your customers to add their IdP connection or apply it for them
After configuring SAML in the Frontegg Portal, you can allow your end users to apply their own SSO connection or apply the connection details from their IDP for them (via your Backoffice ➜ Accounts ➜ Account ➜ SSO tab ➜ Configurations).
Enable SSO Tab in the Admin portal
Enable the SSO tab for your users in the Workspace area of the portal. Subsequently, your users can follow the instructions to add their IdP connection as per the instructions here.

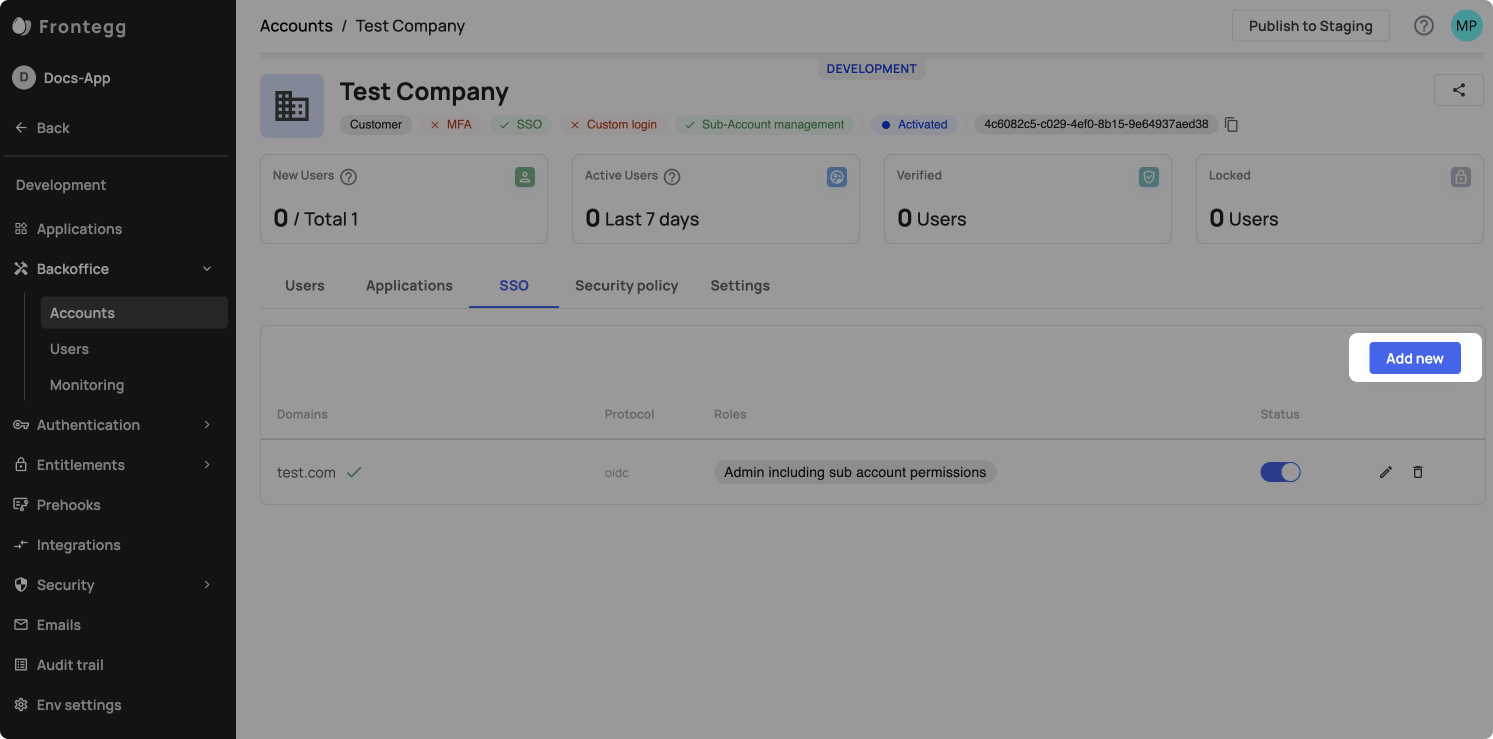
Apply an SSO connection from your Environment's Backoffice
To apply an SSO connection on your customers' behalf, go to your Backoffice-> accounts-> SSO tab, and press 'add new'. Alternatively, you can also perform this action via API.
Enable SAML signature using SP certificate (Optional)
Some Identity Providers might require a SAML signature to ensure the connection's authenticity— When a Service Provider (SP) sends a SAML request, the Identity Provider (IdP) must verify that it genuinely comes from the SP and hasn't been altered. Different IdPs have various methods for this verification, with some using a SAML request signing certificate.
To use SAML signature functionality for the SSO configuration, follow the below steps:
- Get your environment SP certificate via this API and send it to your customer so that they can add it to their IdP's SAML application.
- Mark the SSO configuration on Frontegg's side with
signRequest:trueusing the update SSO configuration API.
Additional resources
FAQs related to SAML SSO
What do tenant SSO failed logs mean?
Why do I get an error when uploading an XML file from Jumpcloud?
Updated 3 months ago