Required setup
To create policies, you must configure the entitlements agent and SDK.
Defining API Access Control with Policies
Frontegg's Entitlement engine is a powerful tool for managing user access to various features and permissions. The core of this system is the creation and management of policies, which dictate the rules and conditions under which users can access specific resources or perform certain actions. The Entitlements Agent evaluates these policies and determines whether a user's request complies with the established rules.
API Access Control is a significant feature within this framework, designed to streamline and enhance the management of API security and authorization. This feature allows for a centralized approach to handling API routes across applications, eliminating the need for cumbersome code annotations or individual microservice protections (1). By configuring and enforcing authorization policies through Frontegg's intuitive portal, developers can significantly reduce their workload, as security logic no longer needs to be embedded into every microservice.
Creating routes manually
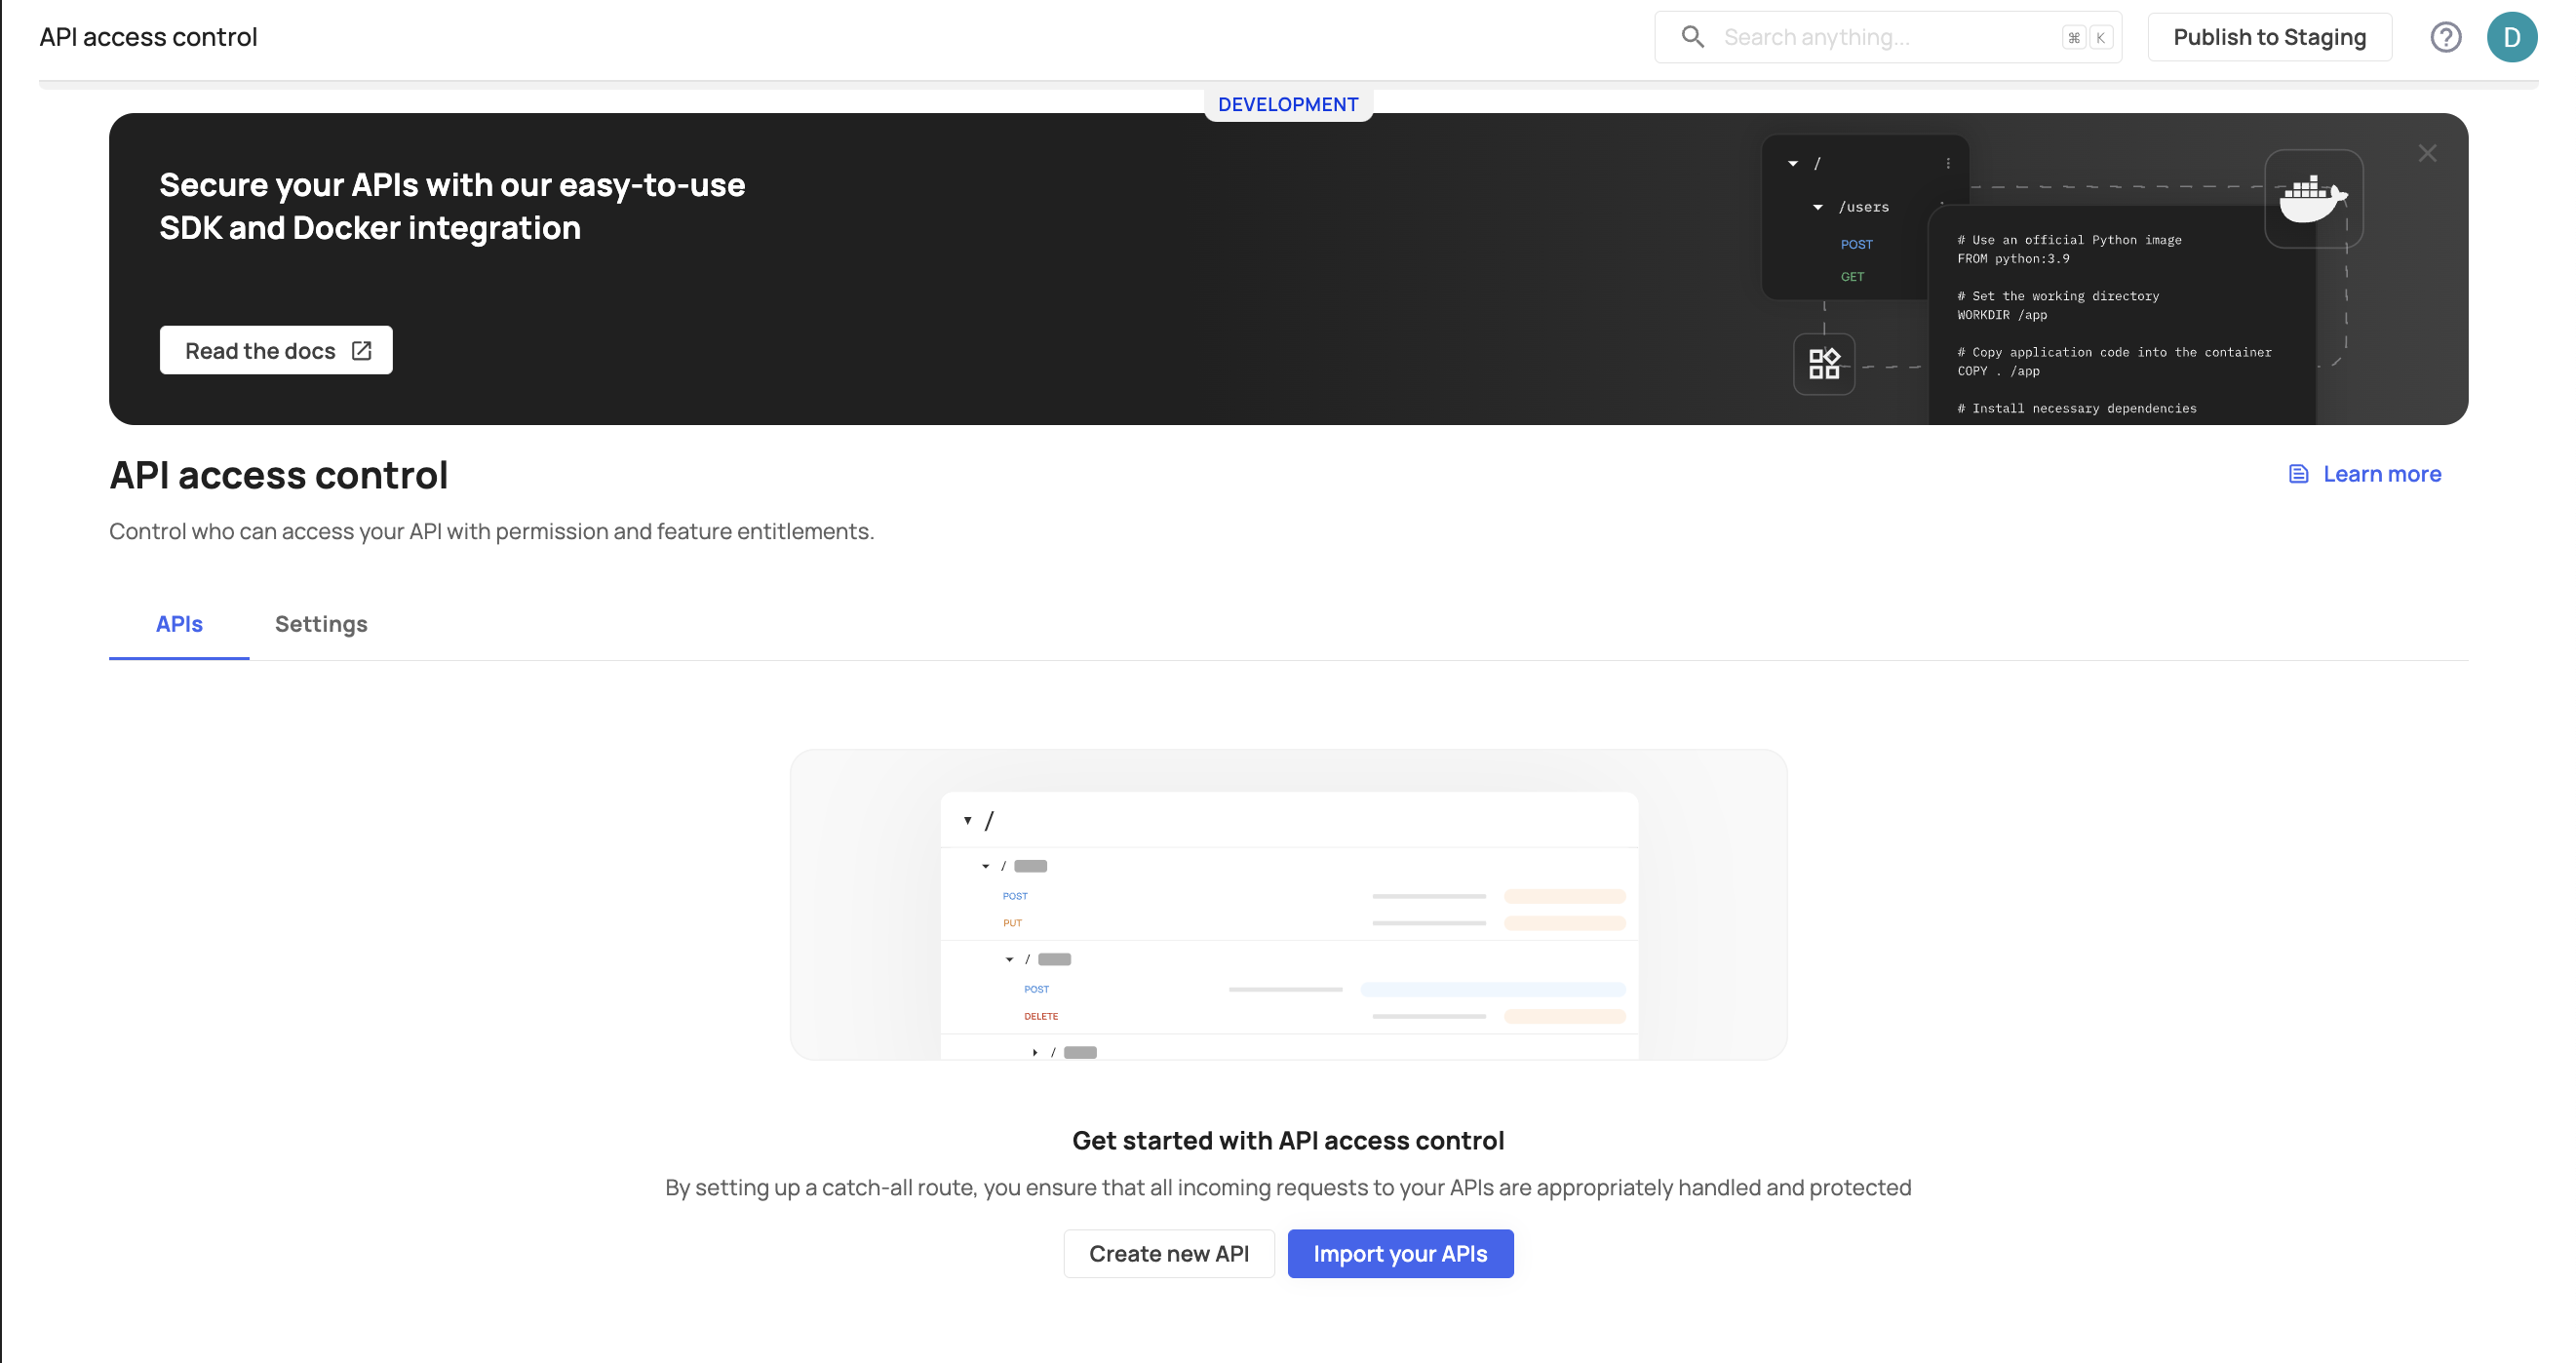
To create your first protected route, head to [ENVIRONMENT] → Entitlemnts → API access control. Press the Create new API button to manually create routes or Import your APIs.

Creating your first route and related policies
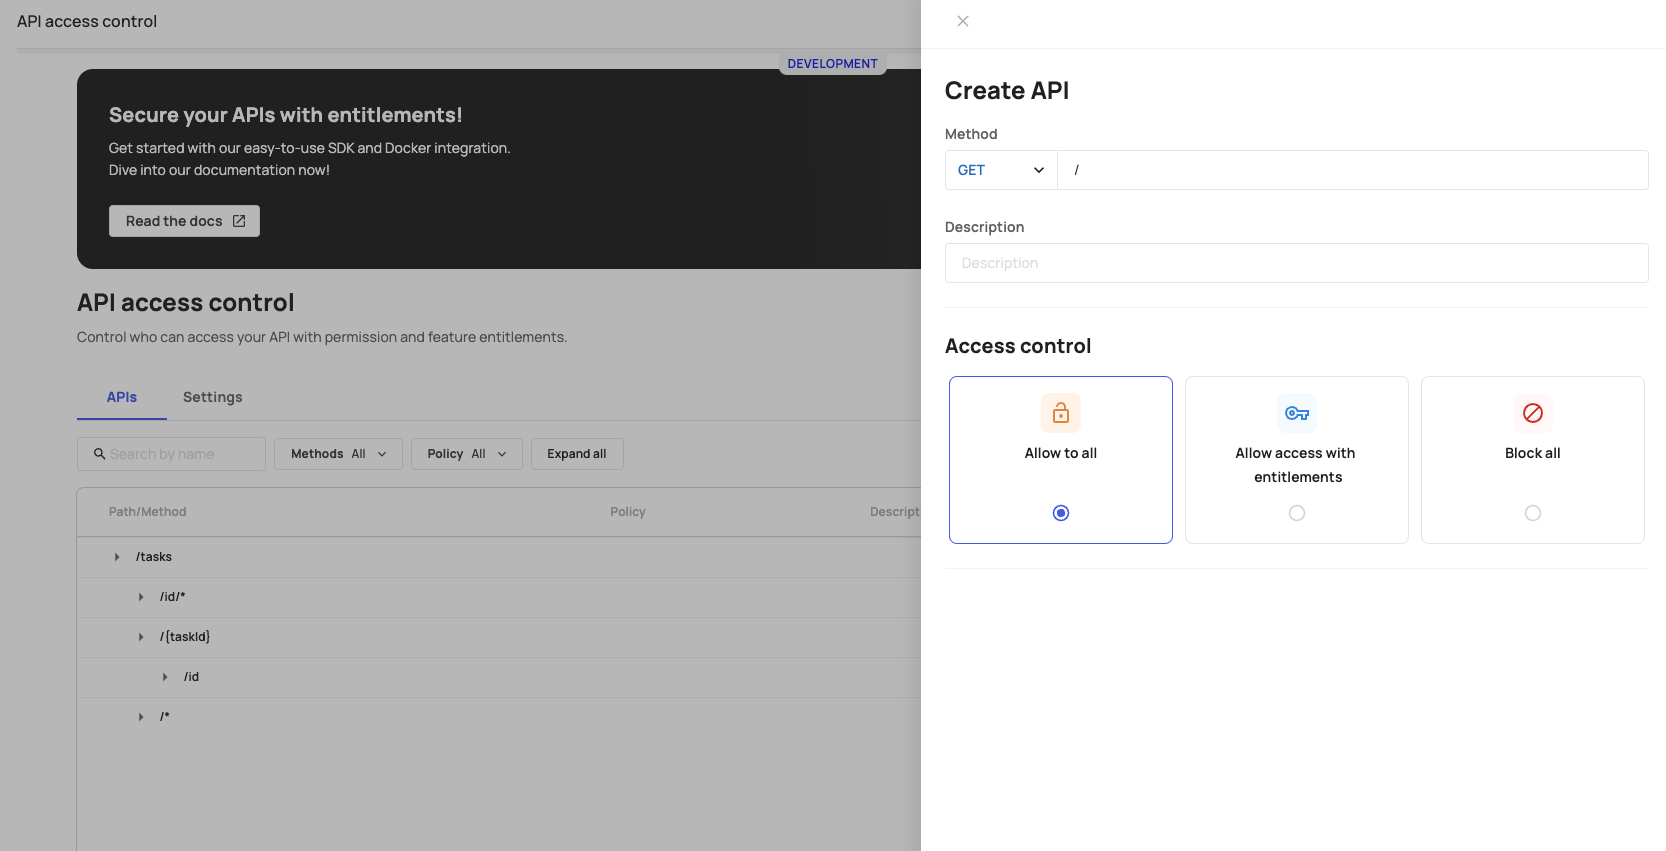
The create new API button allows you to create your first API route manually and ensure the policies you set are enacted for every API request performed in a specific API route.

Route parameters and format
For every route you create, you will need to fill in the following parameters:
- Method (Required): Here, you must specify the HTTP method for the specific route. You can choose between multiple methods— ANY, GET, POST, PUT, DELETE.
- Path (Required): This is where you specify the path for the route. It should always start with a forward slash (/).
- You can specify a catch-all route that intercepts all requests to the path by ending a path with an asterisk. For example, /users/*.
- You can include path parameters in the route using curly braces— e.g., /users/{id}.
- Description (Optional): This field allows you to provide a brief description of the route for reference.
- Access Control (Required): This parameter determines the restrictions you can set for your route. You can choose from the following options:
- Allow to all: This option makes the route accessible to all users.
- Block all: This option restricts access to the route for all users.
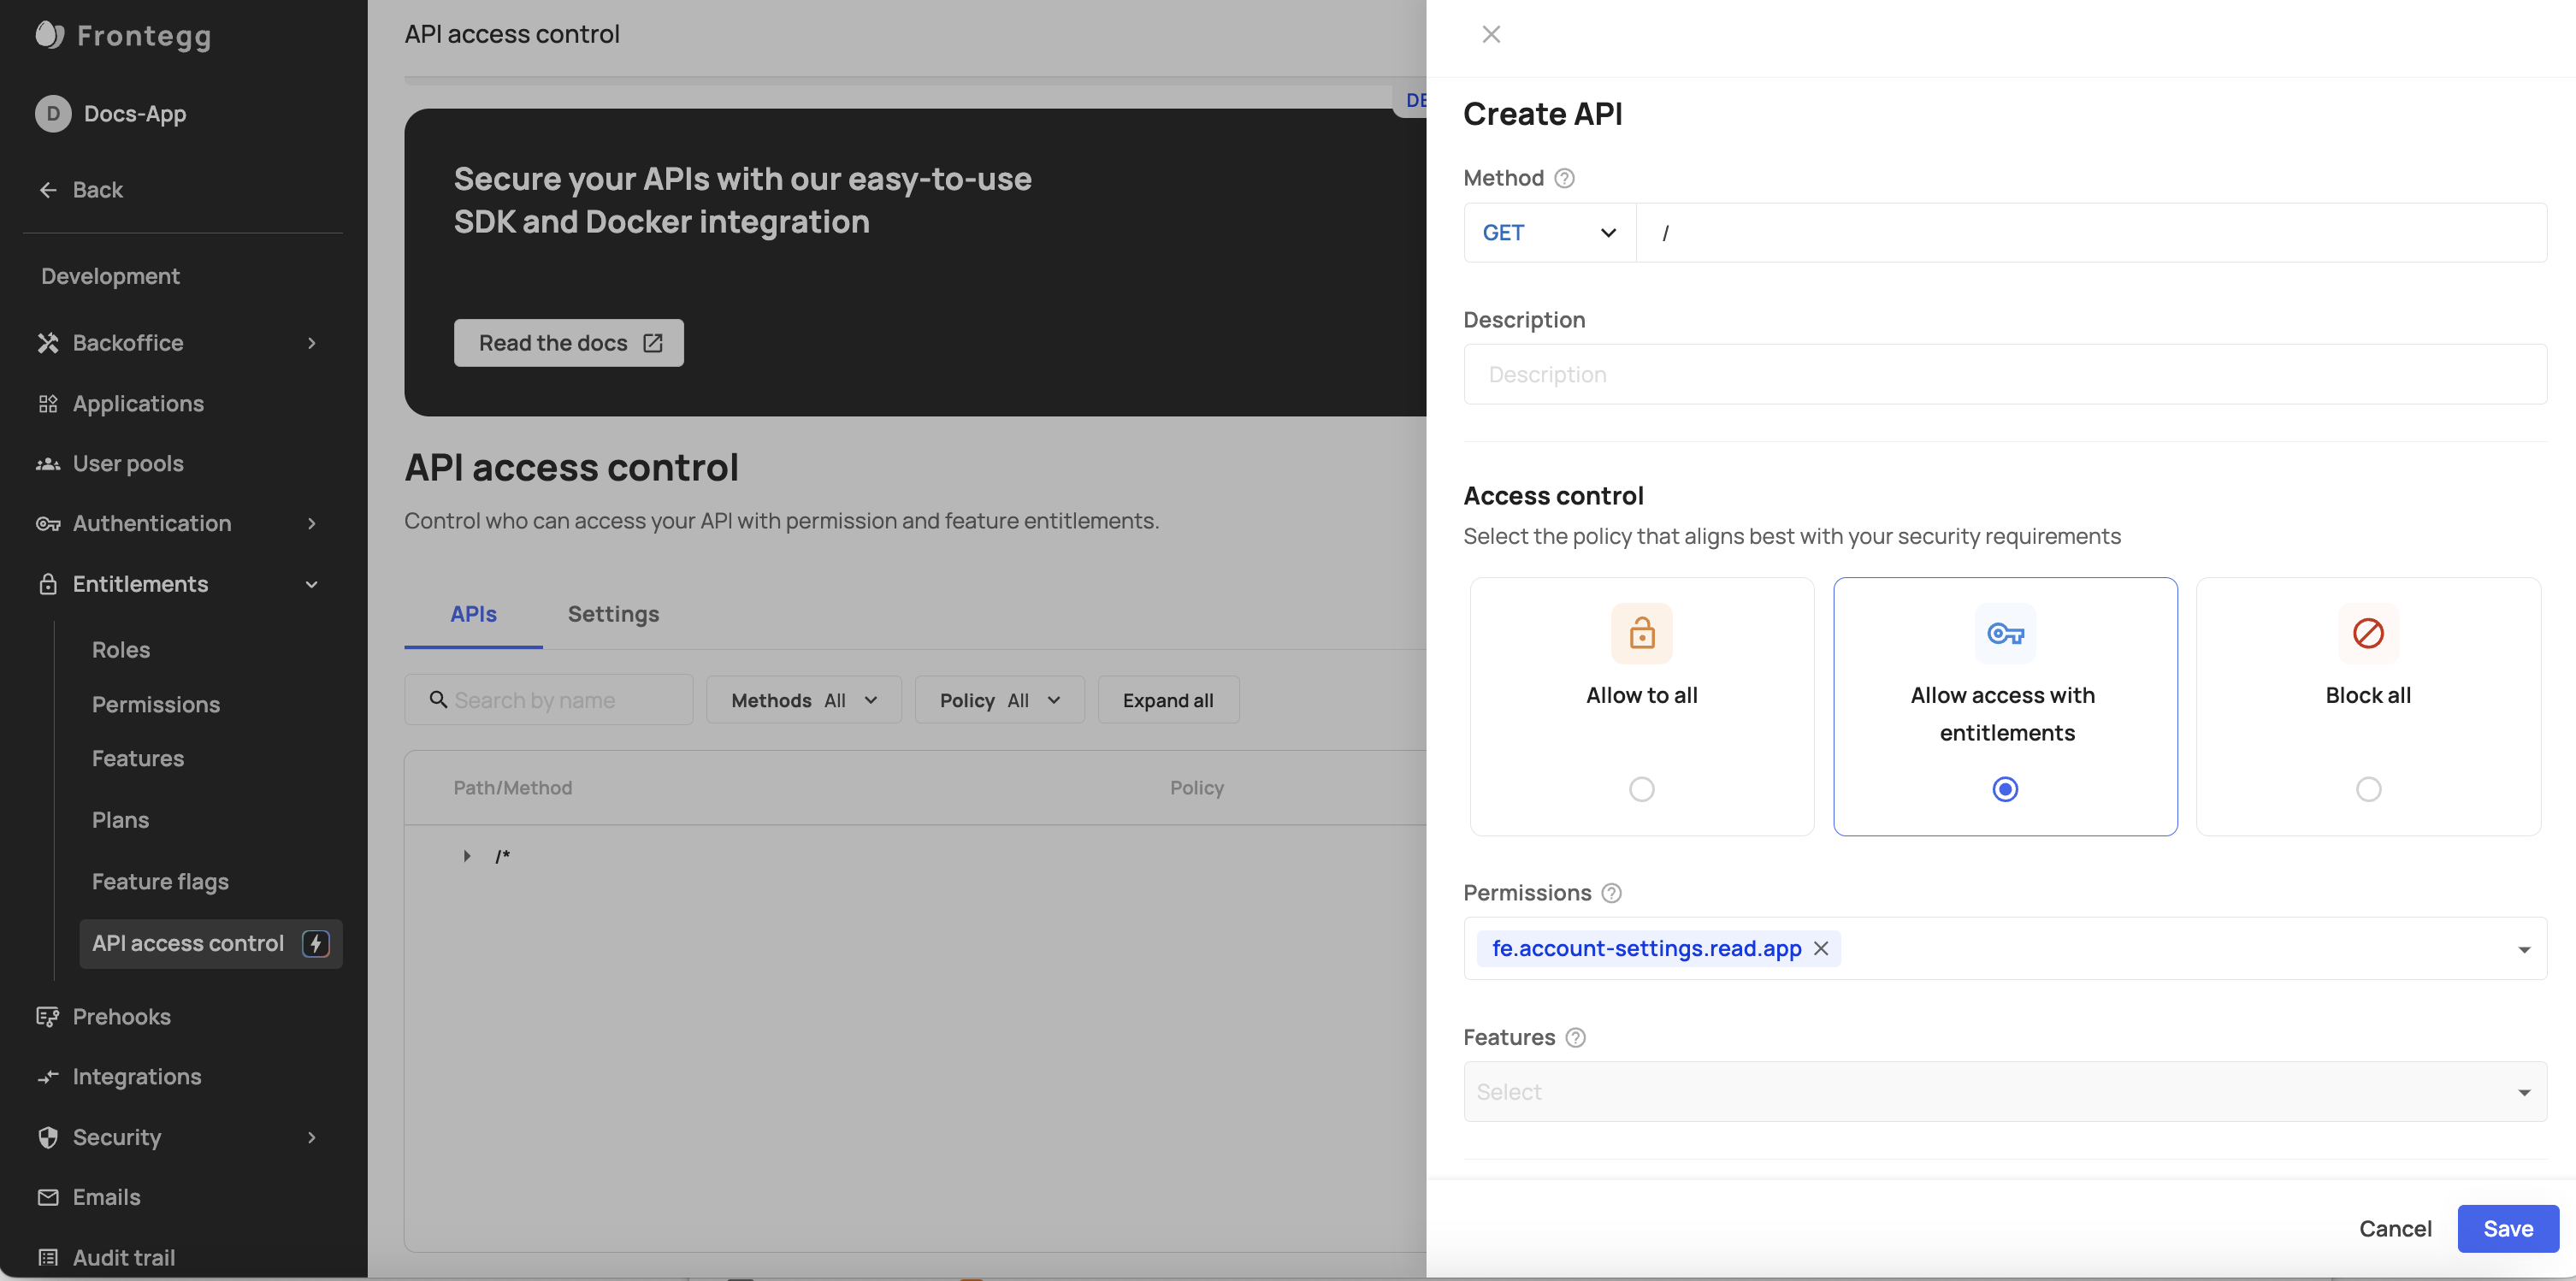
- Allow access with entitlements: This option allows only users entitled to specific permissions or features to access the route.
How the Specificity of Routes in Policies Affects Requests
The specificity of the route in your policy plays a crucial role in determining which rule will be applied to a request. The general principle is that more specific routes take precedence over less specific ones. This is often referred to as the "first-match-wins" strategy, where the first rule that matches the request path is the one that gets applied.
For example, if you have the following rules configured:
- GET /users/config with a rule of BLOCK
- ANY /users/* with a rule of OPEN
The first rule will catch a request to GET /users/config, even though the second rule could also match the request. This is because the first rule is more specific, targeting an exact path, whereas the second rule is a wildcard that matches any path under /users/.
Examples of route specificity
Routes and rules are created deterministically, and they can be visualized as a tree structure, where more specific routes are branches evaluated before the broader catch-all routes. When setting up these routes, it's important to order them correctly in your policy to ensure that the most specific rules are evaluated first. Understanding and correctly implementing the specificity of routes in your policy is essential for ensuring that requests are handled as intended, providing security and functionality as required by your application.
- Specific Route: GET /users/config
- This is the most specific type of route. It matches only the exact path specified.
- Parameterized Route: GET /users/{id}
- This route is less specific than a fully defined path but more specific than a wildcard. It allows for dynamic segments in the path.
- Catch-all Route: GET /users/*
- This is a wildcard route that matches any path that starts with /users/. It is less specific and typically used as a fallback.
- ANY Method: ANY /users/config
- This specifies that any HTTP method (GET, POST, etc.) can match this route, but it is still specific to the /users/config path.
- Default Route: ANY /*
- This is the broadest route, often used as a "catch-all" to ensure that any request not caught by more specific rules is handled. It is typically placed last in the order of rules.
Since routes and rules are created deterministically, their position in the tree affects their importance and how the system implements their logic.
Allowing access control with Entitlements
While the Allow All and Block All options are straightforward and basically eliminate or grant access broadly (either to all or none), Entitlement-based access control opens a new world of customizable access to resources. You can create access that is as broad or granular as you wish your users to have. Note that:
- You can associate permissions and features with an API policy.
- A user must have all features and permissions specified in the policy to access a specific route.

Settings tab
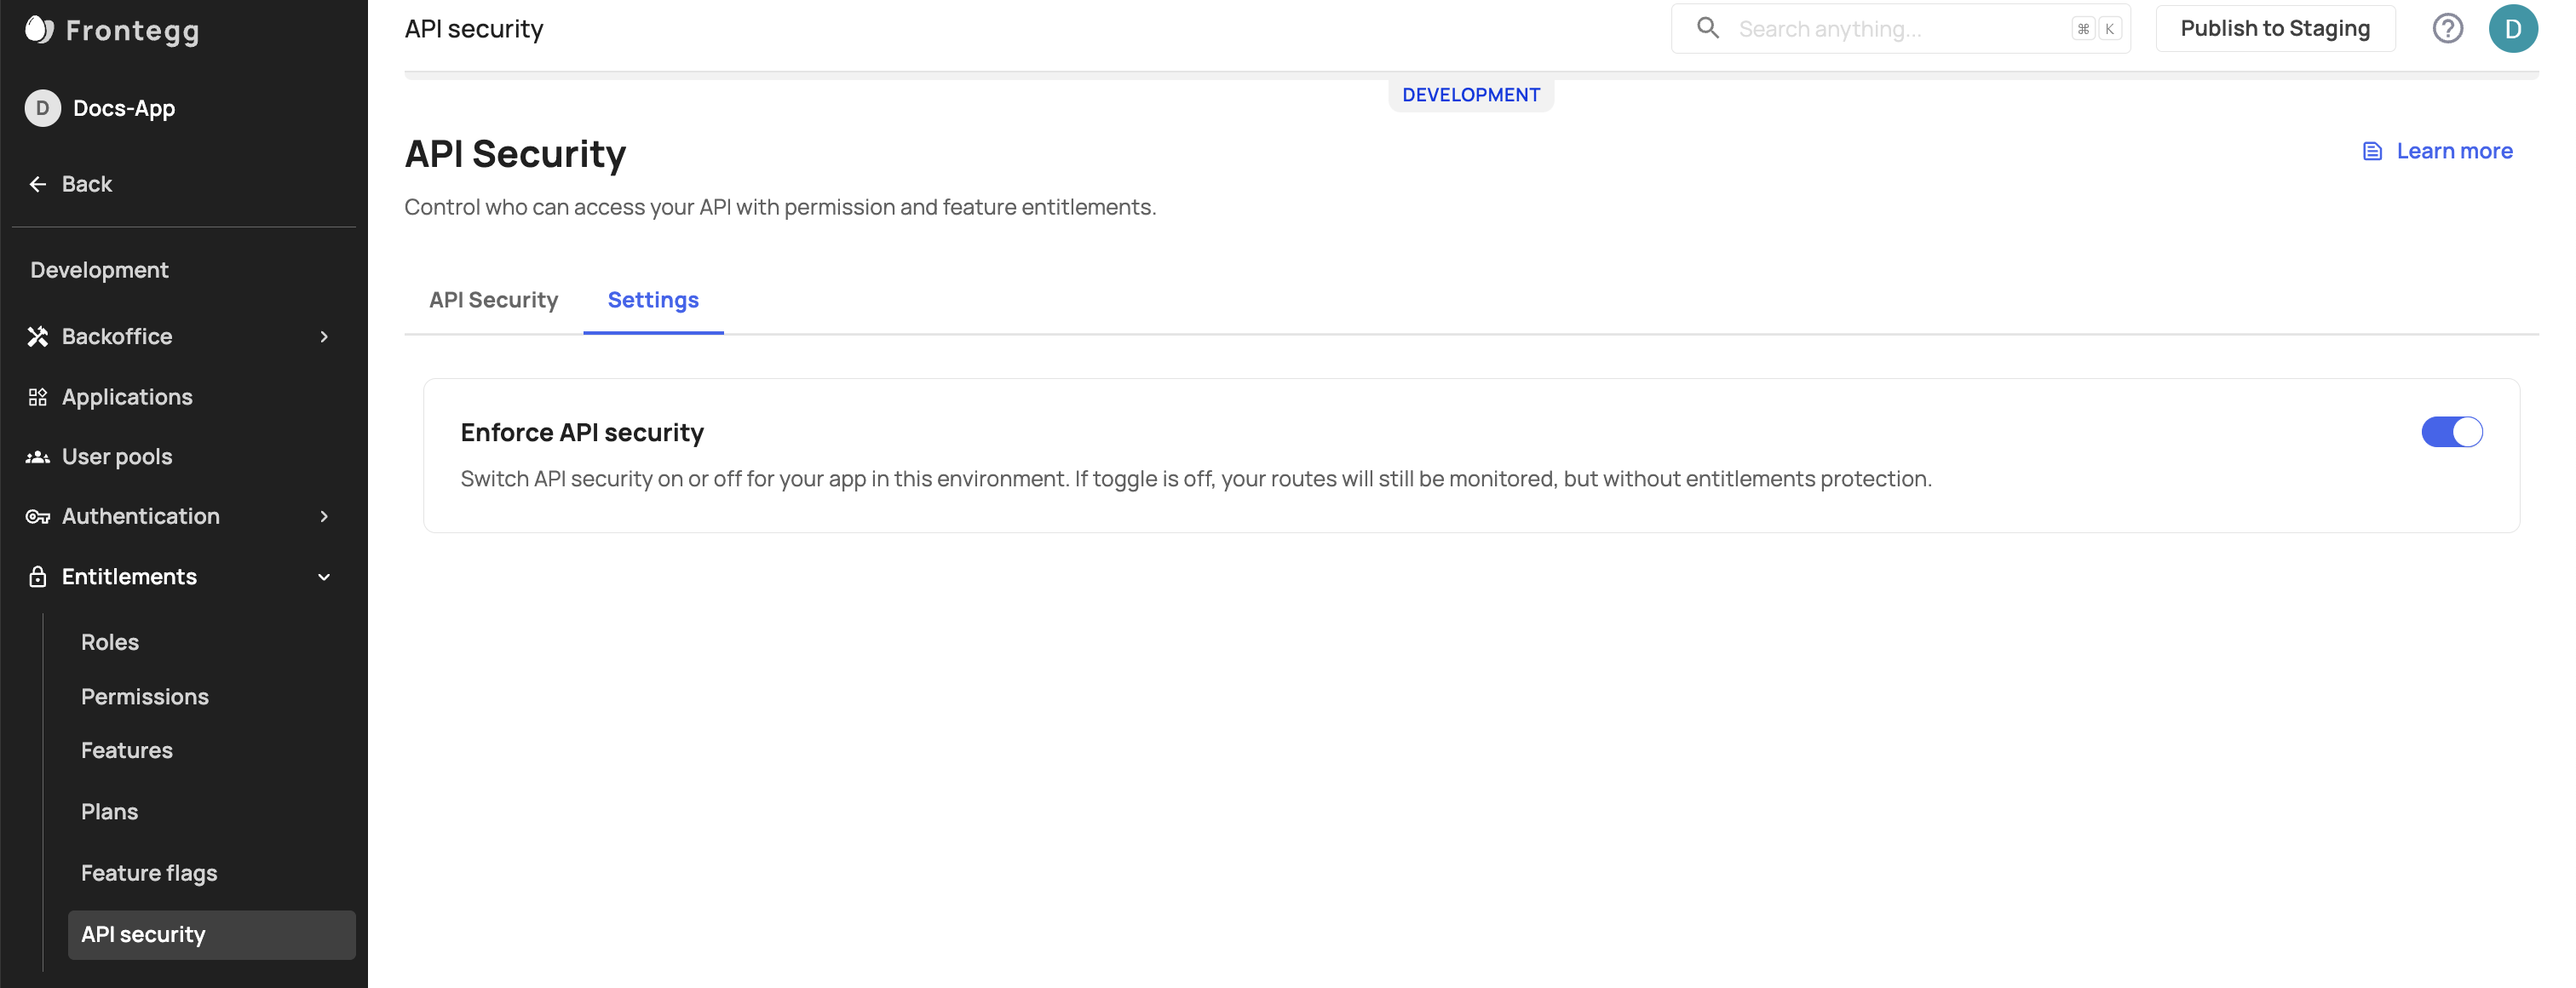
To enable policies for your endpoints using the 'Enforce API Security' toggle in the Settings tab, Navigate to your Settings tab (Environment -> Entitlements -> API access control), and toggle on the Enforce API Security option. When this option is enabled, the rules you have set for your endpoints will be enforced. If the toggle is turned off, the rules will not apply, and the system will default to allowing access to all endpoints.
Understanding monitoring vs. enforcement
The Enforce API Security option is a toggle within the settings tab that allows you to control the application of security rules to your API endpoints. When this option is enabled, the security rules you have defined are actively enforced, meaning that access to your API routes is restricted based on these rules.
When the Enforce API Security option is disabled, the implications are as follows:
- No Enforcement of Rules: The security rules you have set up will not be enforced. This means that all API endpoints will default to an "access all" state, allowing unrestricted access to any user or system attempting to interact with your API.
- Monitoring Continues: Despite the lack of enforcement, monitoring of the API requests continues. The system will log what the result would have been if the security rules were enforced. This is useful for auditing purposes and for understanding the potential impact of enabling the security rules.
- SDK Logging: The SDK will print logs indicating what the outcome would have been if the Enforce API Security option were enabled. This provides insight into how the security rules would affect access without actually restricting it.

Troubleshooting and common errors
You may encounter one of the following error messages. Here's how to solve them.
| Error type | Reason | Message |
|---|---|---|
| Invalid path | Wildcard in incorrect location | The asterisk must be at the end of the route |
| Invalid path | Invalid characters | Seems that the path contains some invalid characters |
| Duplicate path | Method + path already exists | That method and path already exist |
Enabling/Disabling user permission
Note that to access the "Disable/Enable" option in the application, users need to have the
fe.secure.write.enableDisablepermission.
Enable/disable via API
If you wish to enable or disable users, you can use the following API calls:
Ensure you have the necessary headers set, including the Vendor Token for "Bearer token", frontegg-vendor-id, and frontegg-tenant-id.
Updated 4 days ago