Vendor OpenID Configuration
OpenID Connect protocol is an identity layer s on top of the OAuth 2.0 protocol. By configuring OpenID, you can allow users to sign in with their OpenID credentials and pass your users' authenticated sessions back to your system so they can be used across multiple applications for authentication.
Configuring OpenID in Your Frontegg Portal
Configuring Custom Domains Prior to OpenID Configuration
Note that setting a custom domain after going live can be challenging, especially if you have active SSO connections. We recommend to plan ahead and set custom domains from the very begining. Learn more about Custom Domains.
Custom Domains are beneficial for a number of reasons, like avoiding cookie issues and enhancing your brand. Learn more about Custom Domains.
Note that this recommendation applies to both Hosted and Embedded Frontegg customers.
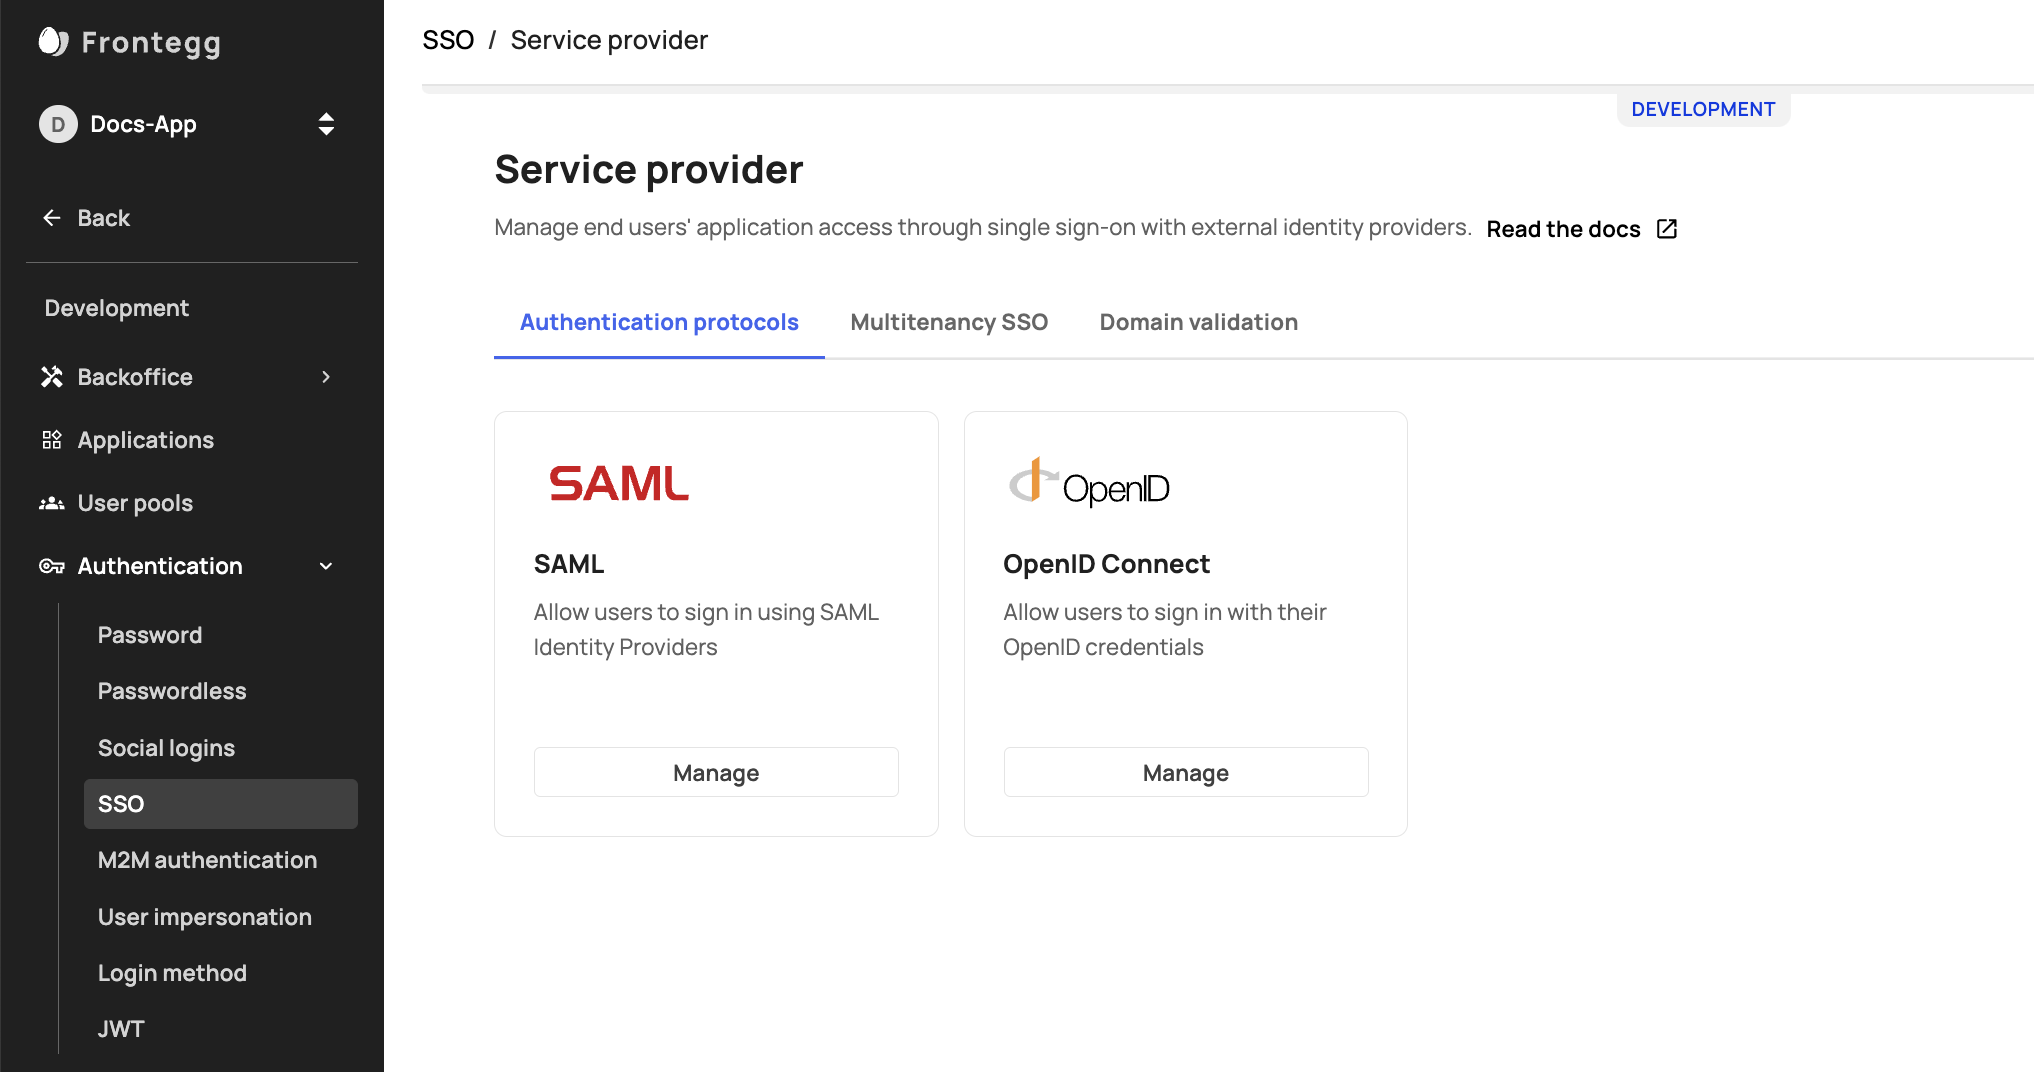
Go to Environments ➜ [NAME OF ENVIRONMENT] ➜ Authentication ➜ SSO ➜ Service Provider ➜ Authentication protocols.

SSO/OpenID Enablement
If you do not see SSO ➜ OpenID in the sidebar, make sure it is enabled.
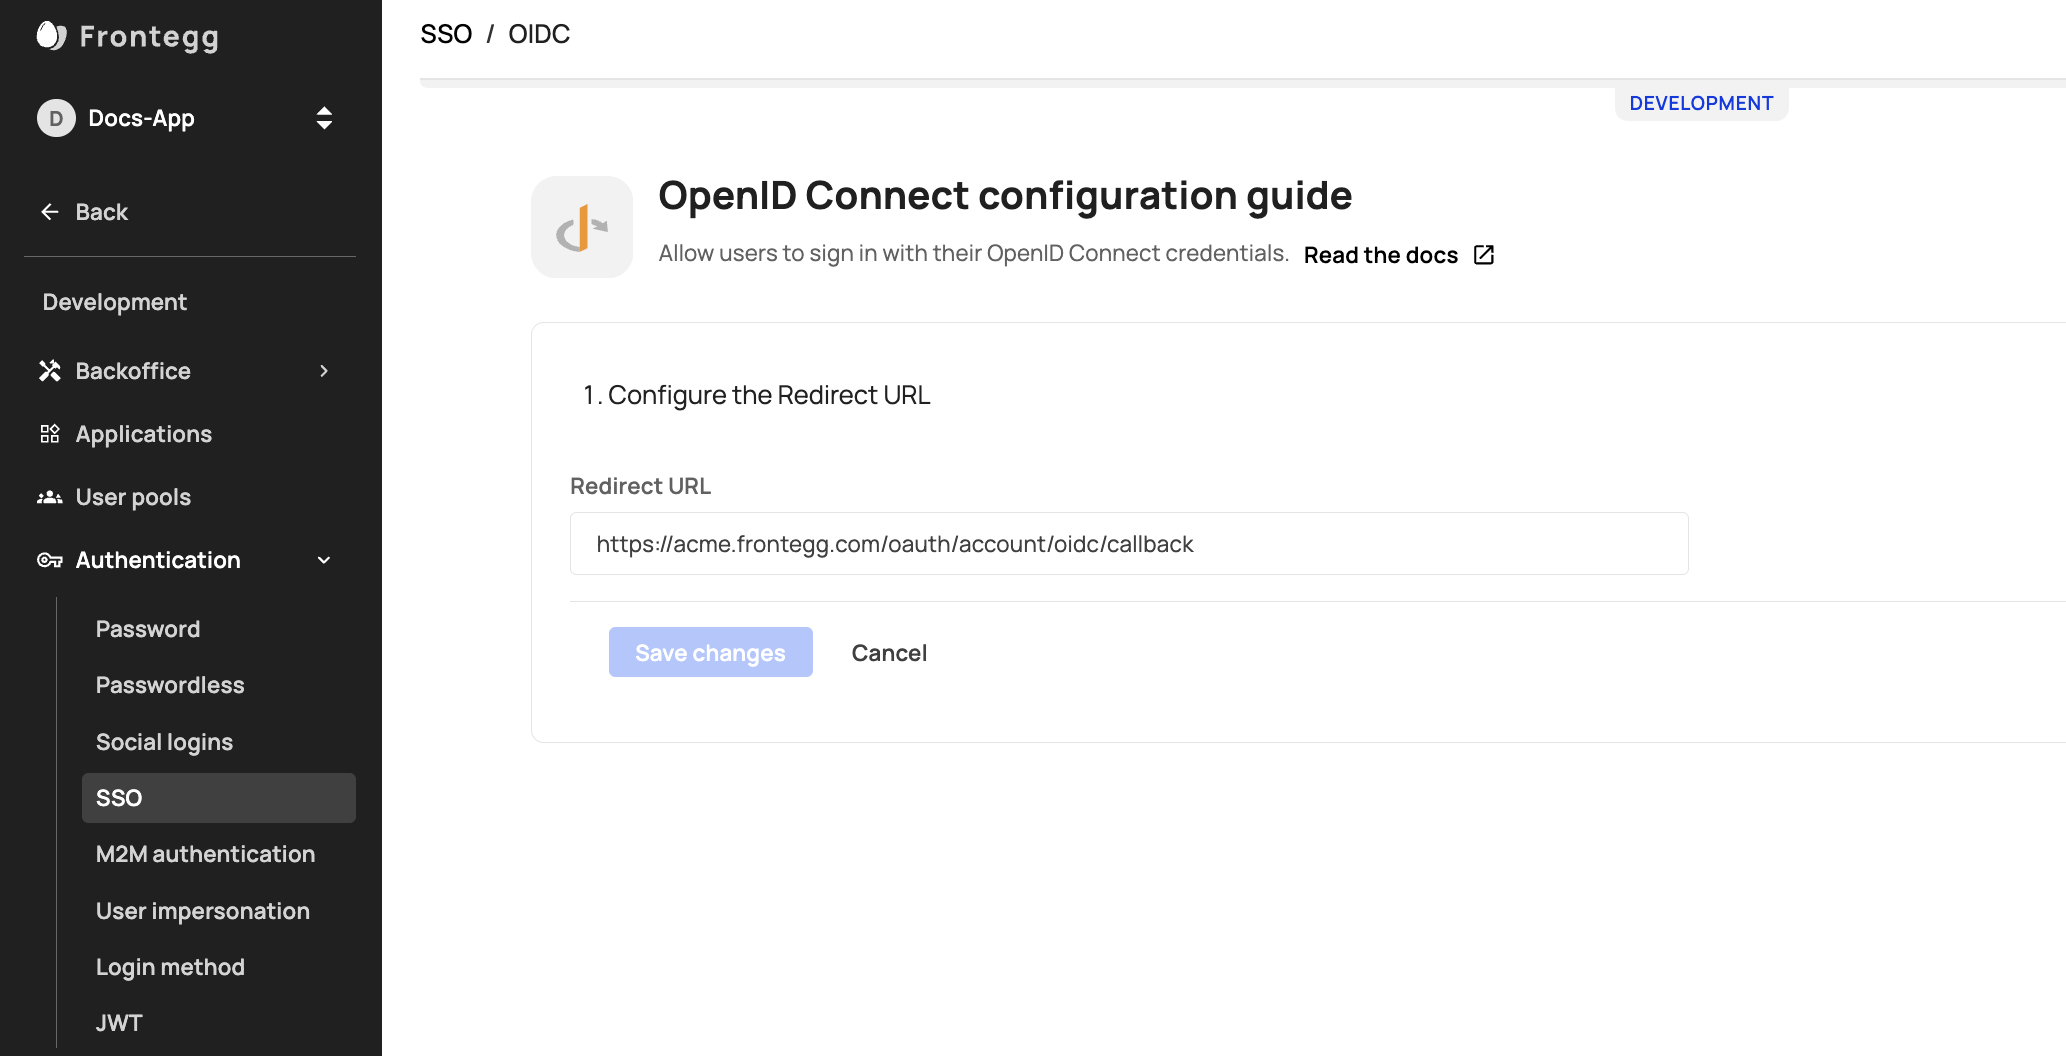
After clicking the OpenID Manage button, insert your redirect URL and save the changes. If you are using the Hosted login method, the Redirect URL should be https://[your-frontegg-domain].frontegg.com/oauth/account/oidc/callback.
If you are using the Embedded Login method, the Redirect URL should be [your-application-url]/account/oidc/callback, for example: http://localhost:3000/account/oidc/callback.

Allow your customers to apply the connection or apply it for them
After configuring SAML in the Frontegg Portal, you can allow your end users to apply their own SSO connection or apply the connection details from their IDP for them (via your Backoffice ➜ Accounts ➜ Account ➜ SSO tab ➜ Configurations).
Enable SSO Tab in the Admin portal
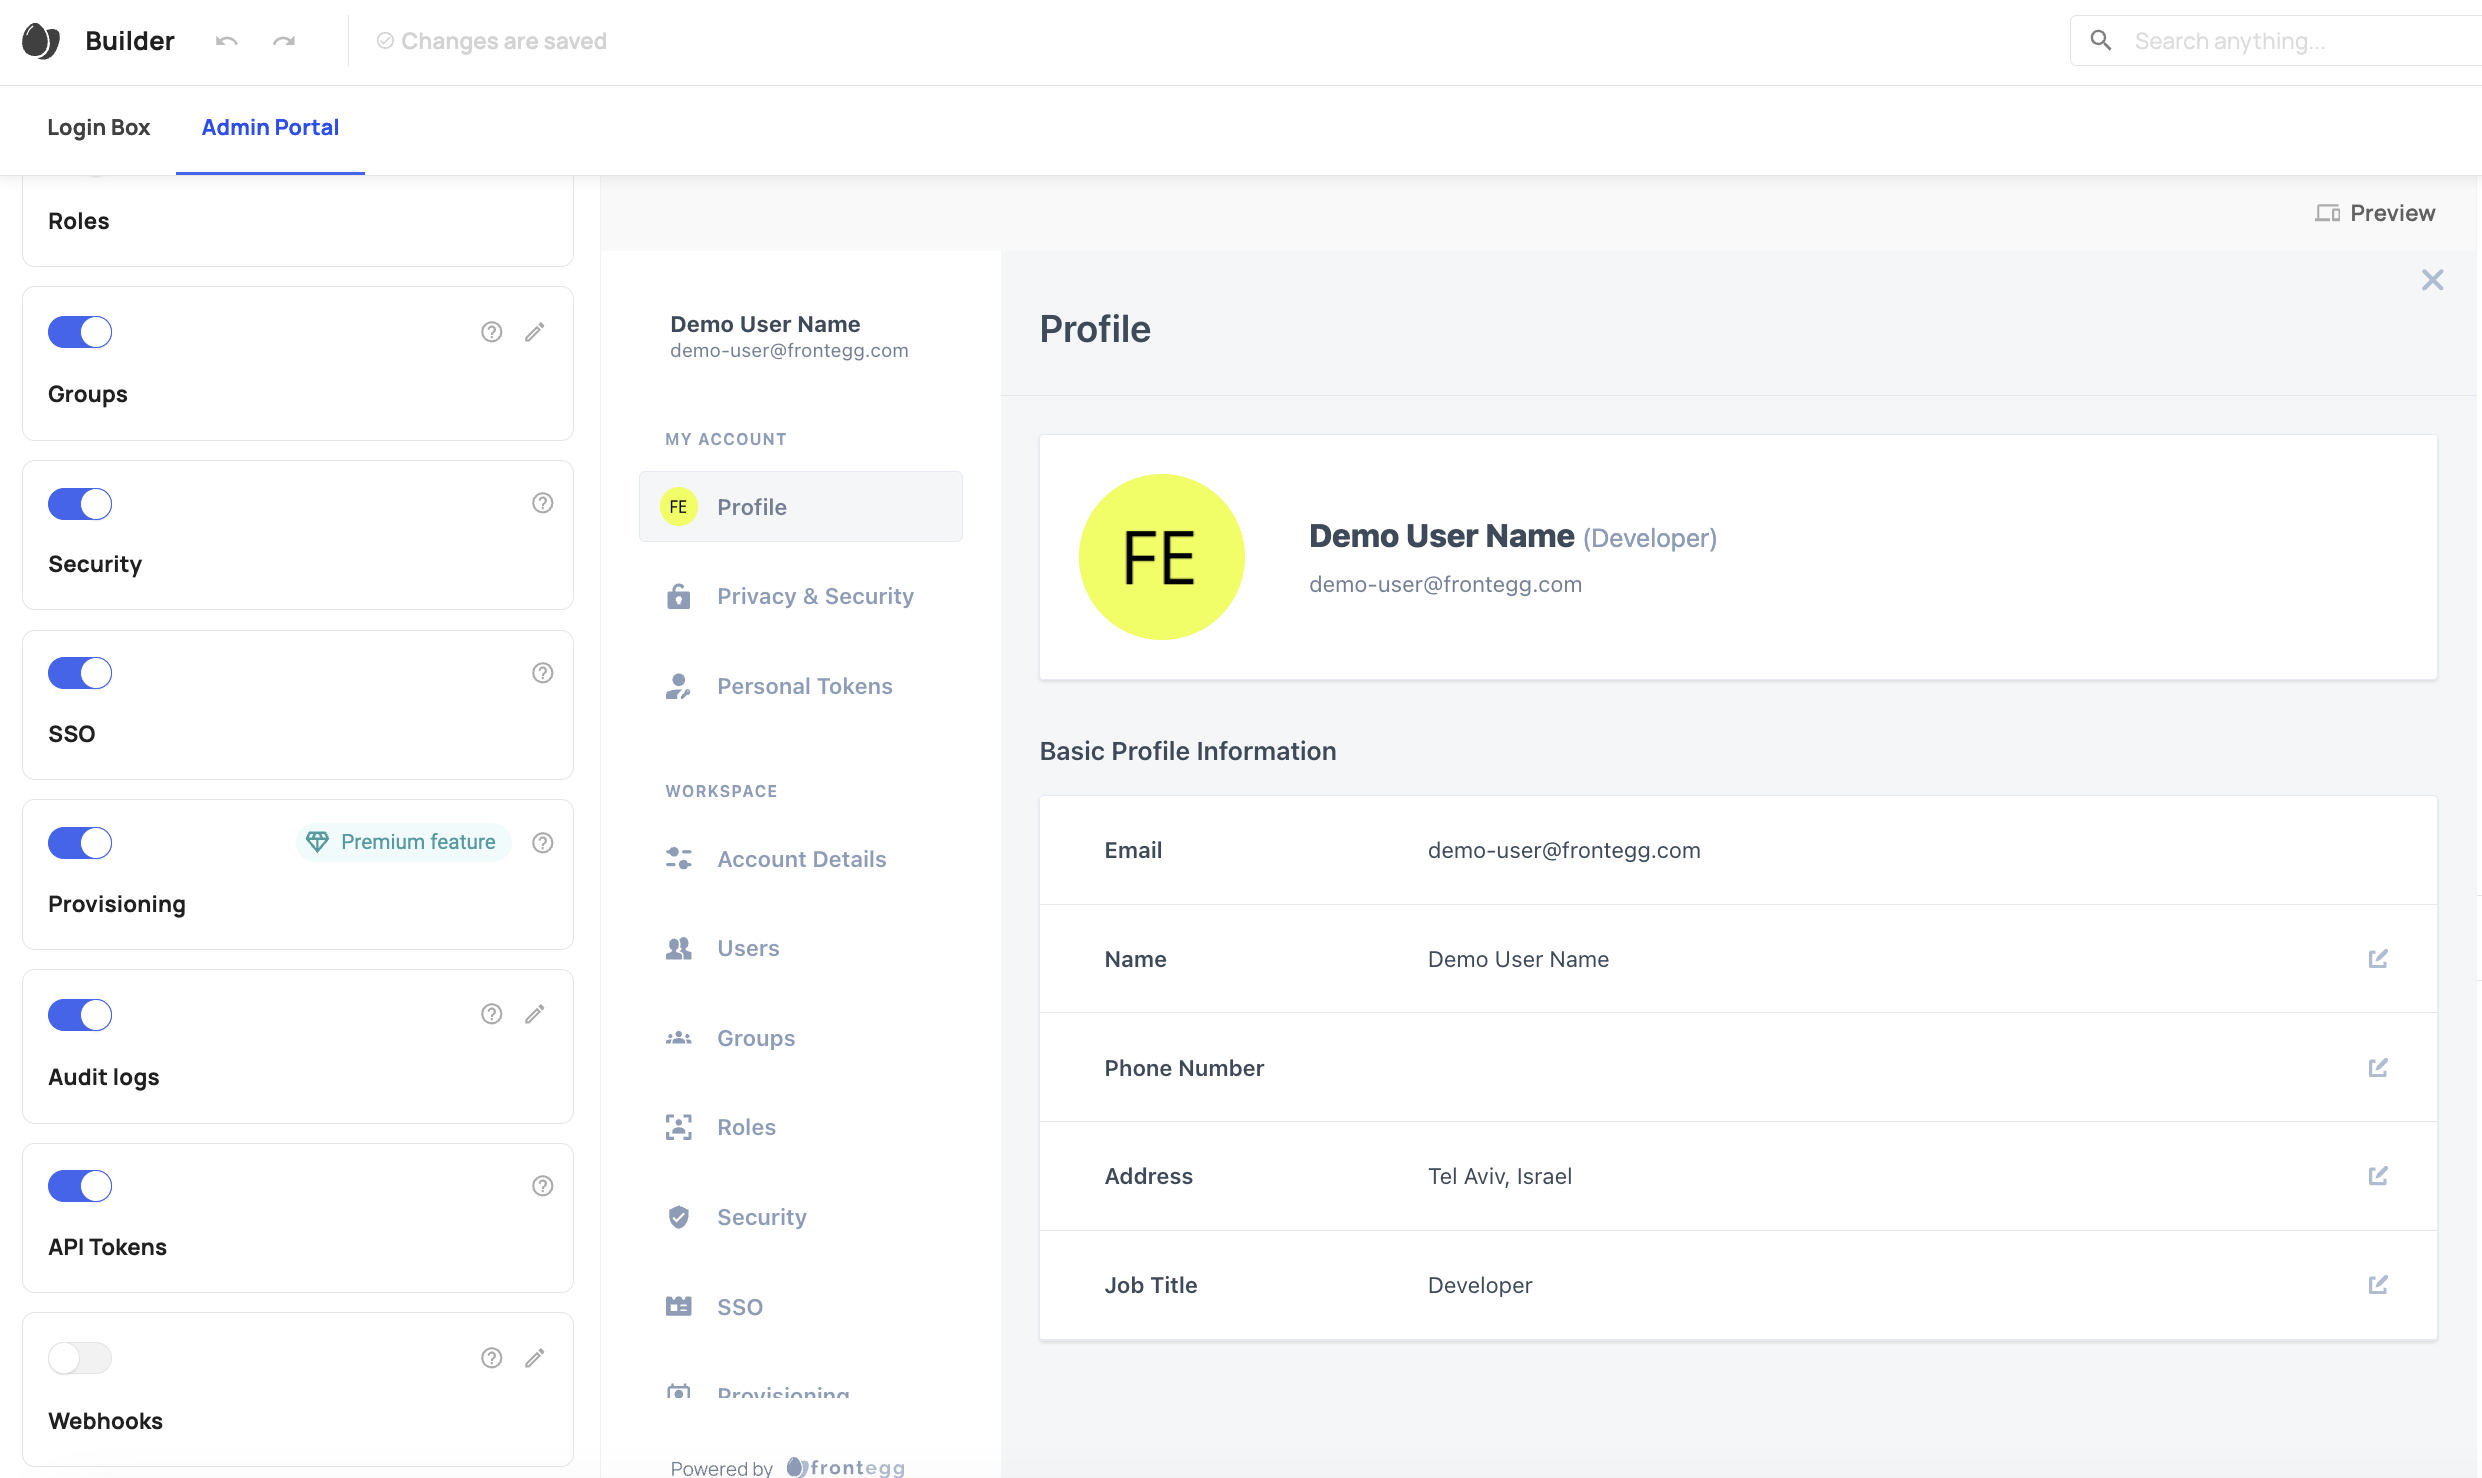
Enable the SSO tab for your users in the Workspace area of the portal.
Admin portal integration
Make sure that you have integrated the Admin portal into your application as described in Admin Portal Integration

After the SSO tab is enabled, your customers can follow the instructions to add their IdP connection here.
For OpenID there is no option to map roles to groups from the Self-Service UI (Admin portal). It can be applied only via APIs or the Backoffice.
Apply an SSO connection from the Environment's Backoffice
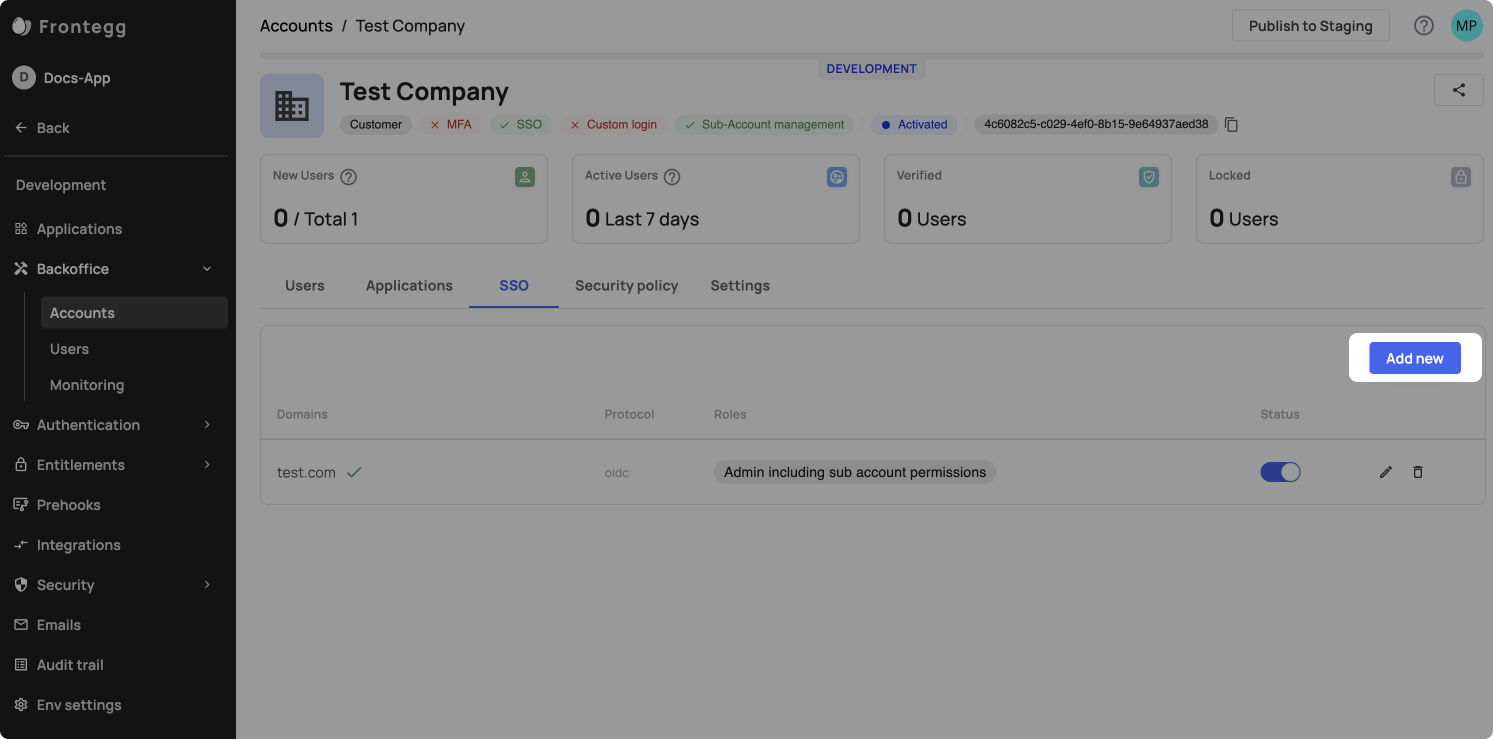
To apply an SSO connection on your customers' behalf, go to your Backoffice-> accounts-> SSO tab, and press 'add new'. Alternatively, you can also perform this action via API.

Additional resources
FAQs related to OpenID Connect SSO
Updated 3 months ago