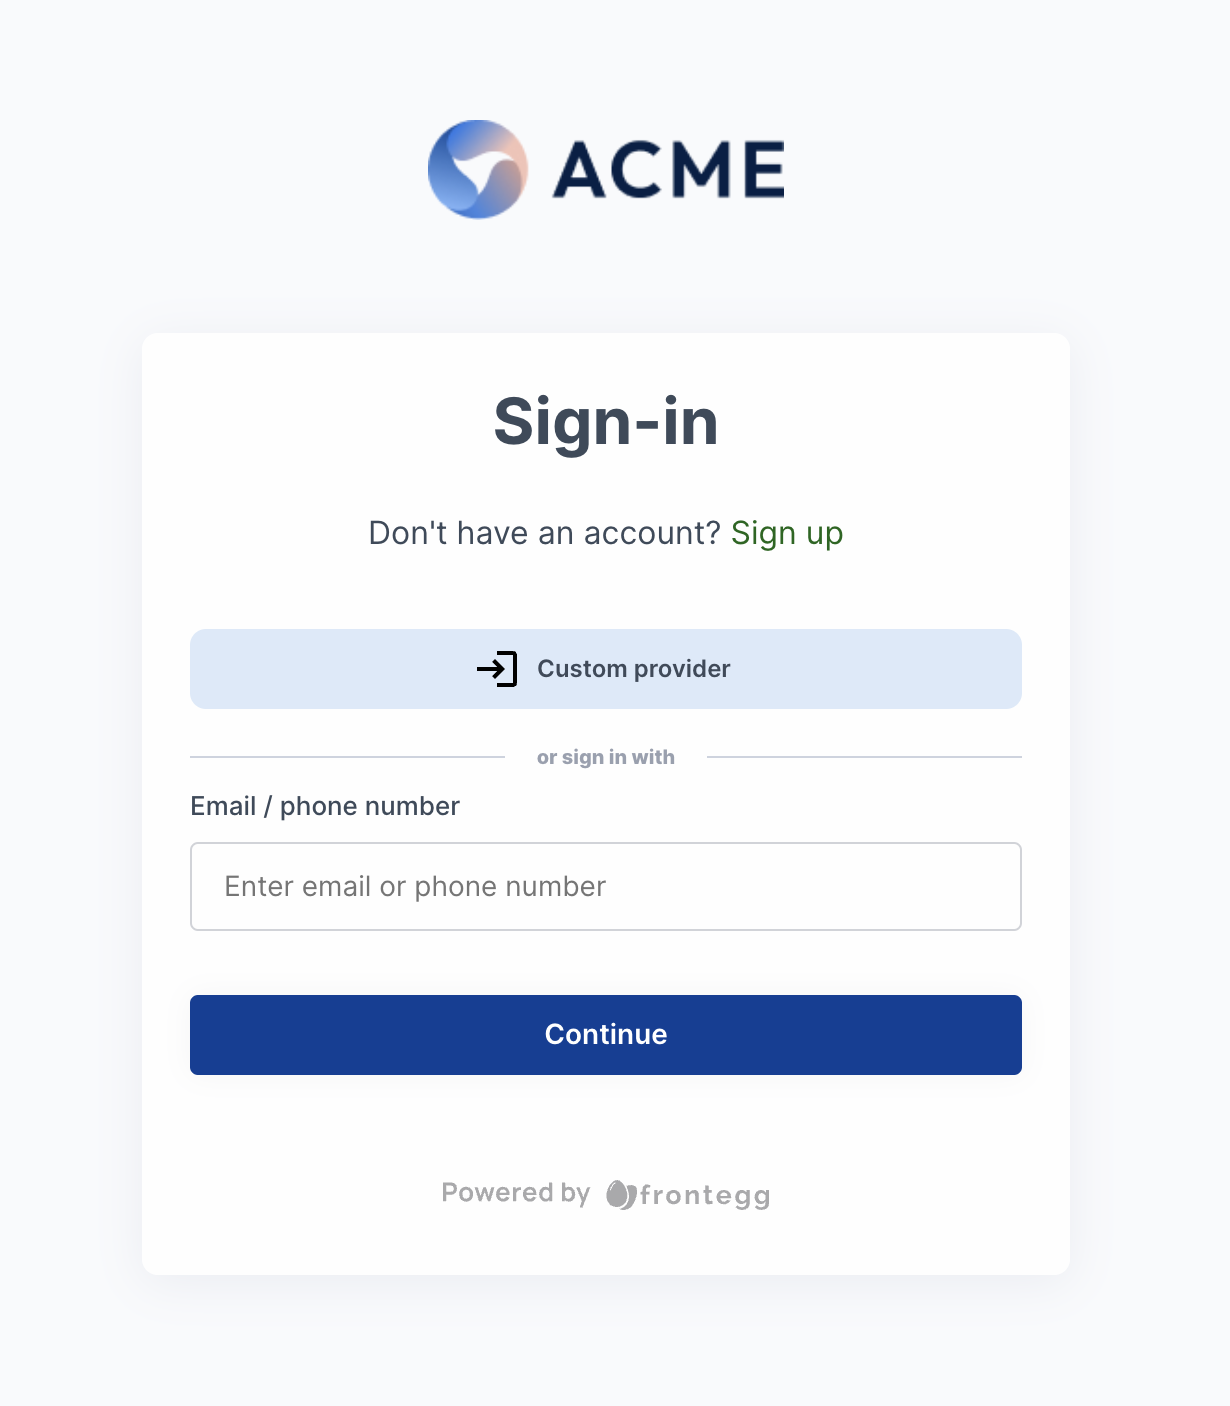
Custom Login
Configure additional social login providers for your login box via OAuth
Feature Support
Custom social login is currently available via API.
Frontegg supports login box authentication via multiple Social Login Providers. For added flexibility, we offer you the ability to configure whichever social login provider you wish via OAuth. That way, you are not limited to using only the social providers we offer 'out of the box', but can fully tailor the experience to your requirements.

Configuring a Social Provider via OAuth
To add a custom social login provider to your login box, do the following:
Step 1: Authenticate your environment
To configure a custom social provider, you need to authenticate your environment using the credentials fetched from Environments ➜ [NAME OF ENVIRONMENT] ➜ Settings ➜ General Settings.
Step 2: Create your custom OAuth provider
Go to the documentation of the social provider you want to add and fetch their relevant authorization endpoints. Invoke a POST request with the following payload along with your vendor token:
curl --location --request POST 'https://api.frontegg.com/frontegg/identity/resources/sso/custom/v1' \
--header 'Authorization: Bearer [token-from-vendor-authentication]' \
--header 'Content-Type: application/json' \
--data-raw '{
            "type": "custom",
            "clientId": "xxxxxxx",
            "secret":"xxxxxxx",
            "authorizationUrl": "xxxxxxx",
            "userInfoUrl": "xxxxxxx",
            "scopes": "openid email profile",
            "displayName": "custom",
            "active": true,
            "redirectUrl": "https://[your-frontegg-subdomain].frontegg.com/oauth/account/social/success",
            "redirectUrlPattern": "https://[your-frontegg-subdomain].frontegg.com/oauth/account/social/success",
            "tokenUrl": "xxxxxxx",
            "ssoLogoUrl": "your-provider-logo-url"
        }'
Clarification regarding redirectUrl and redirectUrlPatterns
redirectUrl and redirectUrlPatternsIf you use the Hosted login method, the redirectUrl and redirectUrlPatterns should be in the following format: https://[your-frontegg-domain].frontegg.com/oauth/account/social/success. For a custom domain, use: https://[custom-domain].frontegg.com/oauth/account/social/success.
For the Embedded Login method, the redirectUrl and redirectUrlPatterns should be [your-application-url]/account/social/success, for example: http://localhost:3000/account/social/success.
Redirect URLs
After setting your redirect URL, make sure to add it to your list of authorized callback URLs within your IDP settings.
Updating a custom OAuth provider
To update your custom OAuth provider, send the following PATCH request. Note that all attributes are optional except for the secret key (mandatory).
curl --location --request PATCH 'https://api.frontegg.com/frontegg/identity/resources/sso/custom/v1/:{id}' \
--header 'Authorization: Bearer [token-from-vendor-authentication]' \
--header 'Content-Type: application/json' \
--data-raw '{
            "secret":"xxxxxxx"
        }'
Deleting a custom OAuth Provider
To Delete a custom OAuth Provider, use:
curl --location --request DELETE 'https://api.frontegg.com/frontegg/identity/resources/sso/custom/v1/:{id}' \
--header 'Authorization: Bearer [token-from-vendor-authentication]' \
--header 'Content-Type: application/json' \
--data-raw ''
Updated 8 months ago