What are feature flags?
Feature flags enable you to safely test new features in a production environment by controlling access to them. They allow specific internal teams, beta customers, or QA testers to interact with these features before they are fully rolled out. Frontegg's feature flagging system uses the isEntitledTo query to manage access, wrapping certain parts of your application with permissions based on a user's associated attributes. This approach ensures that only designated users can access and test new features, providing a controlled and secure testing environment.
Getting Started with Feature Flags
Feature flags are built atop existing features. So, to 'flag' a feature, you first need to create one in the features dashboard. As a quick reminder, the Features tab is located in [ENVIRONMENT] -> Entitlements -> Features. Learn more about creating features here.
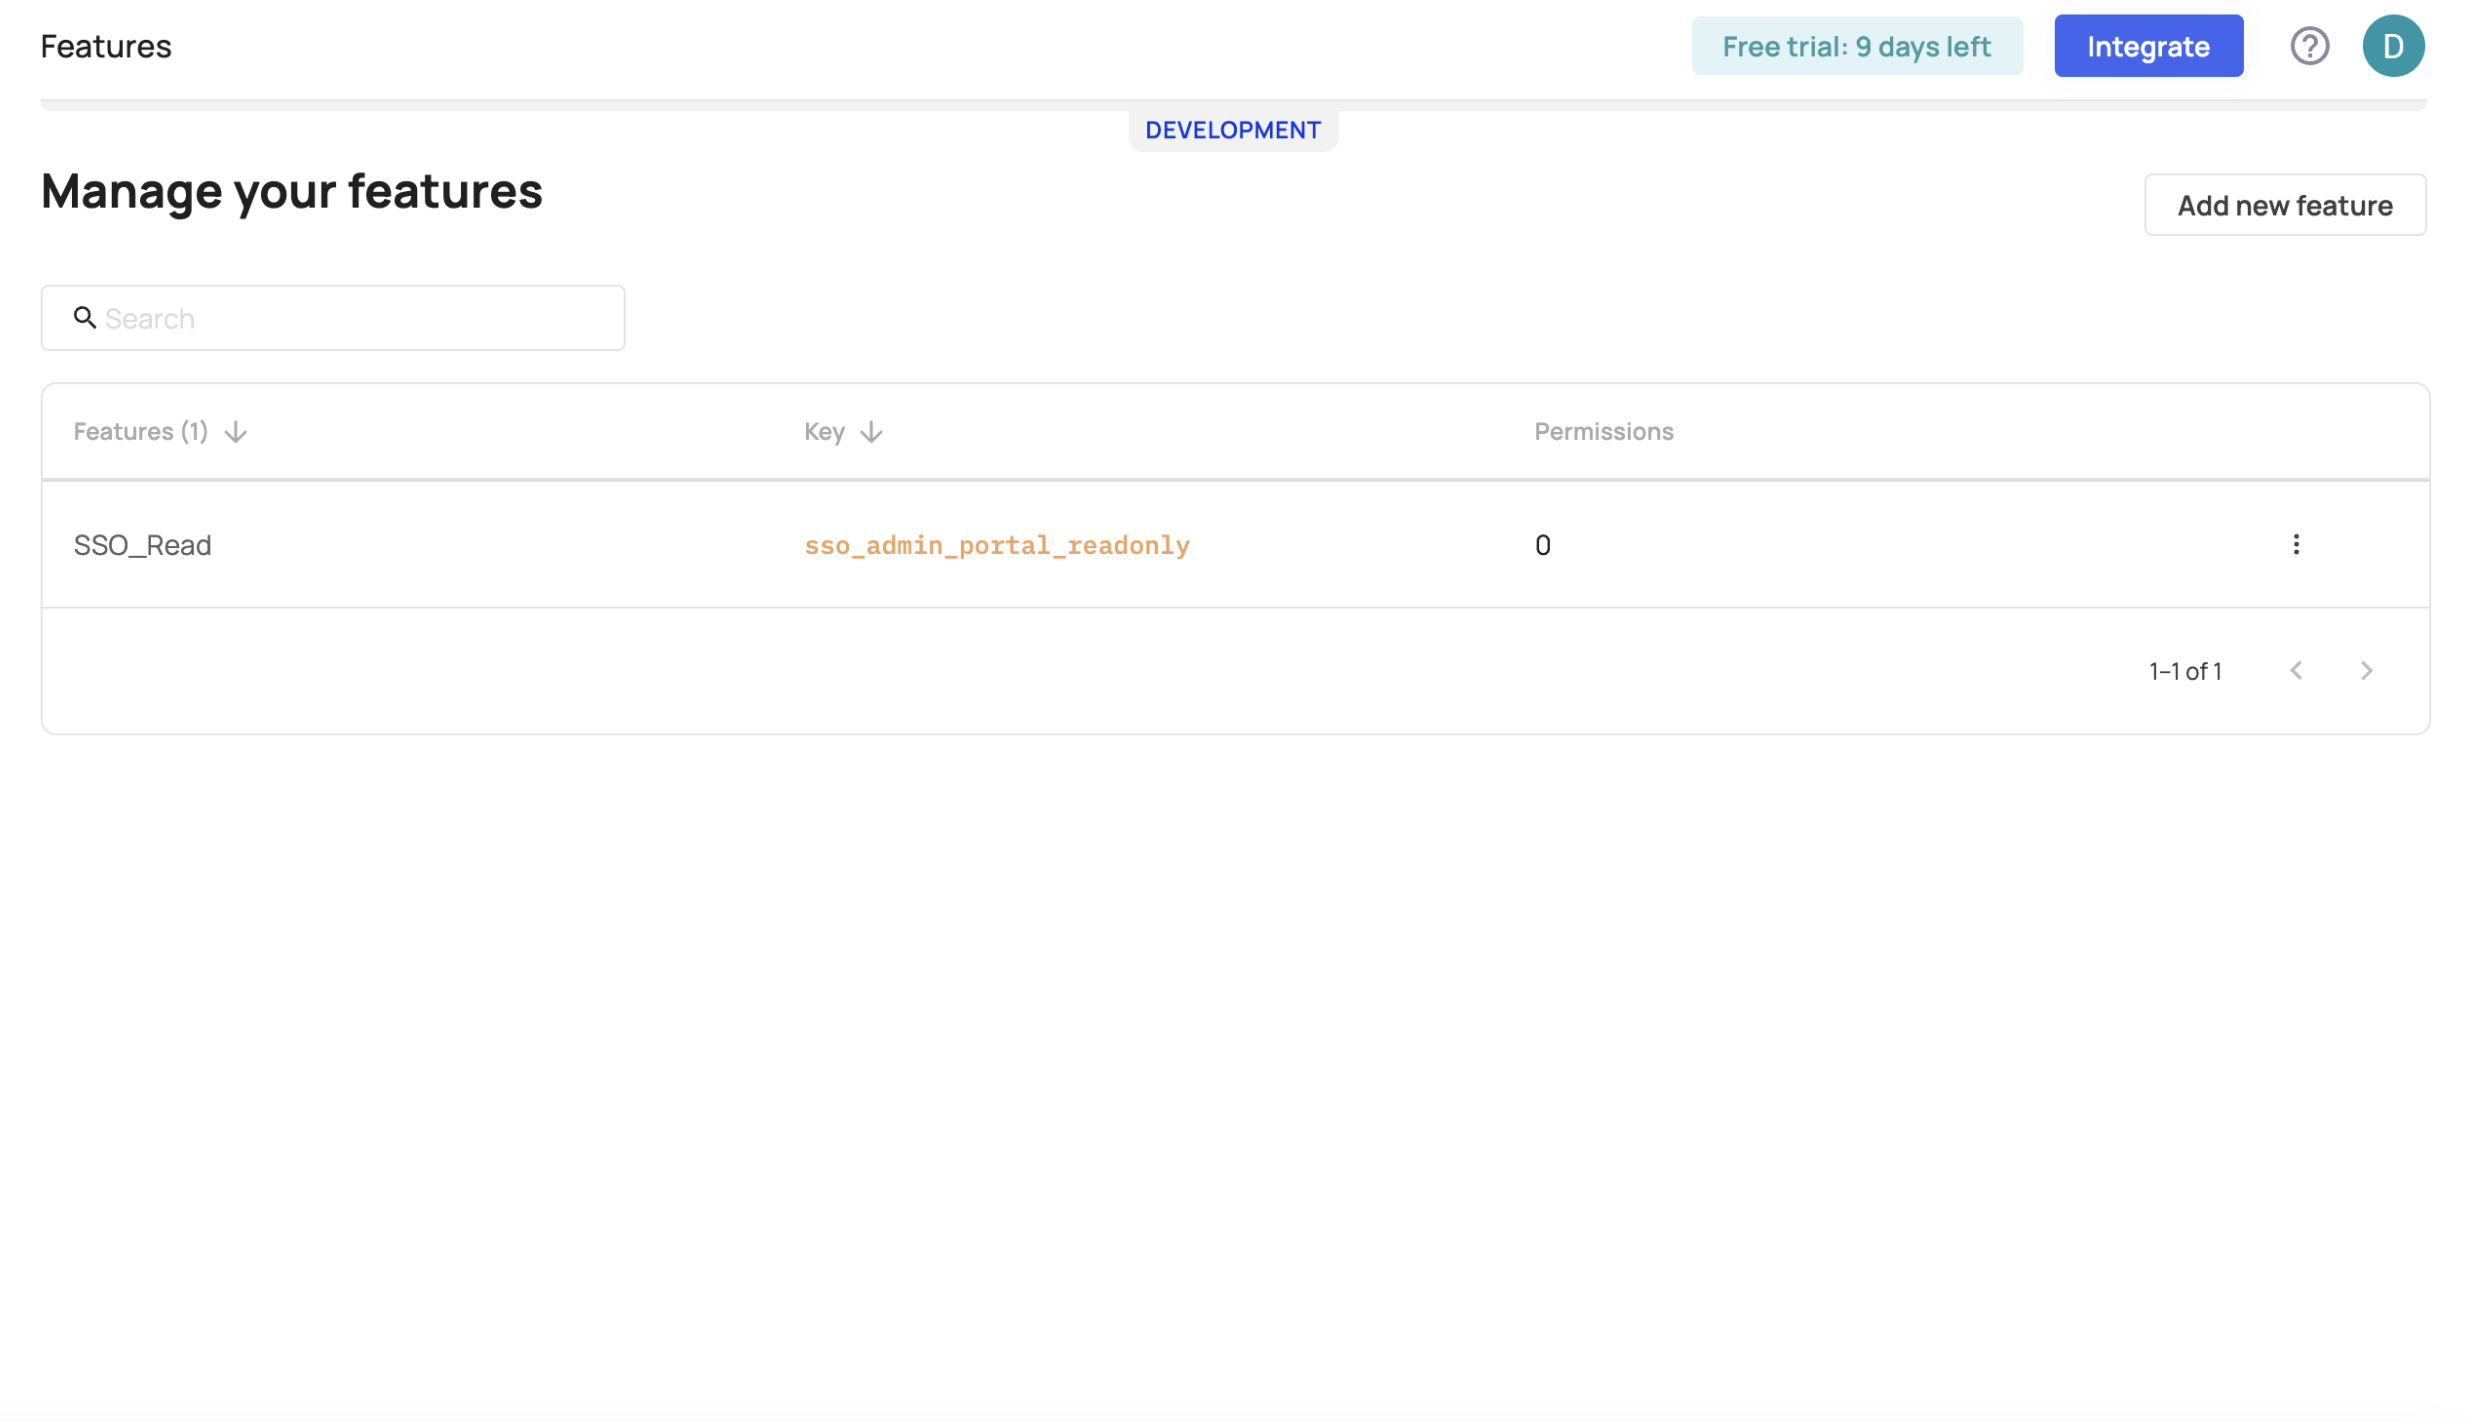
Add, edit, and manage your features
Creating a new feature flag
To create a new feature flag, go to [ENVIRONMENT] -> Entitlements -> Feature Flags**. Press the Create feature flag button and use the drop-down menu to choose the feature you want to flag from your features list.
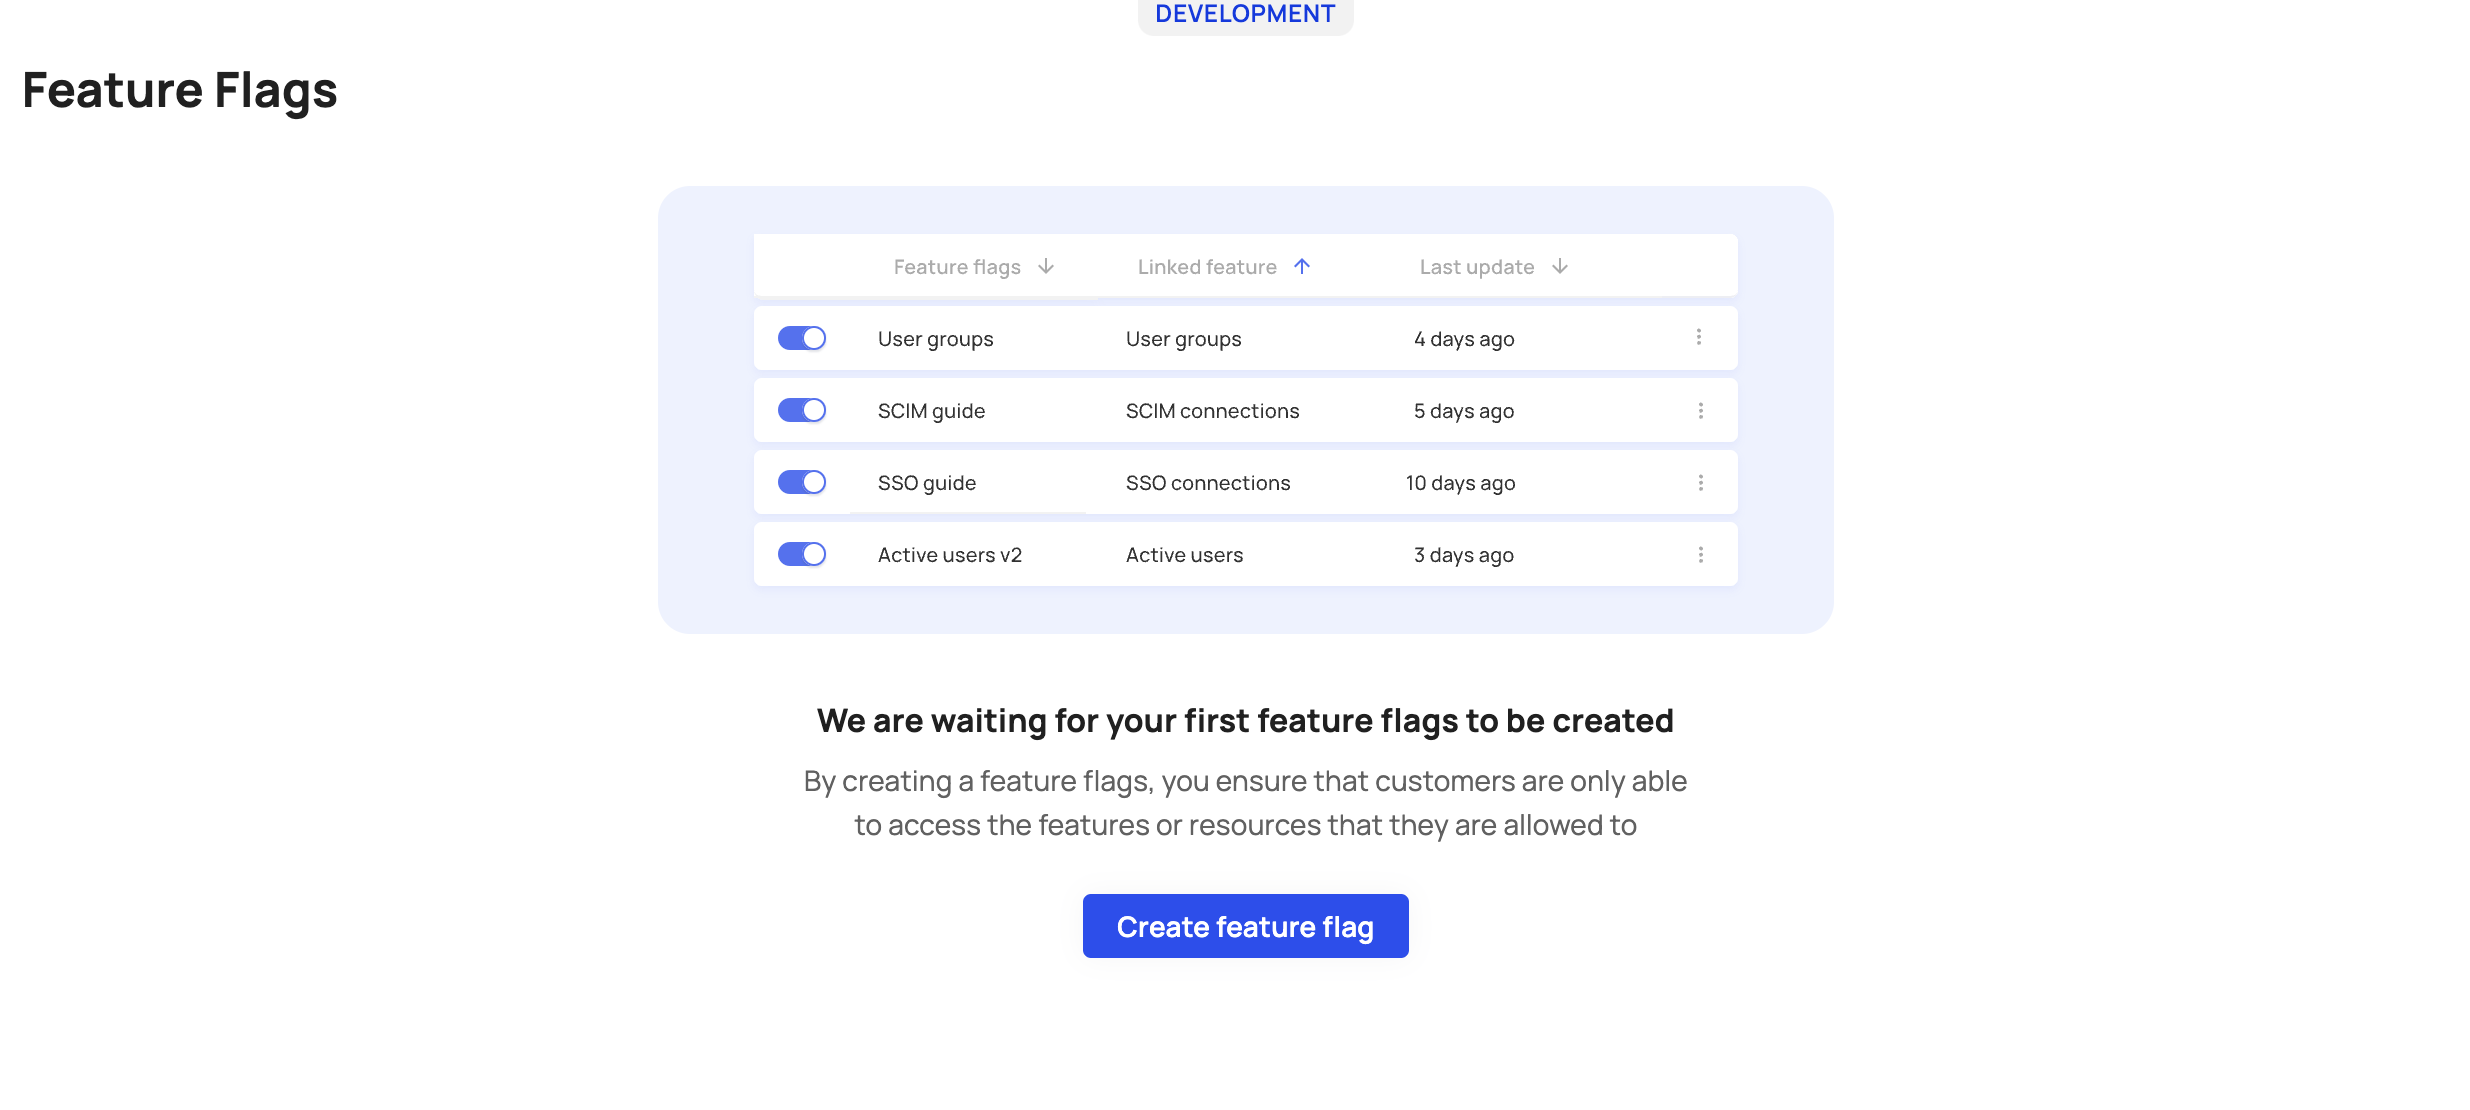
Create a new feature flag
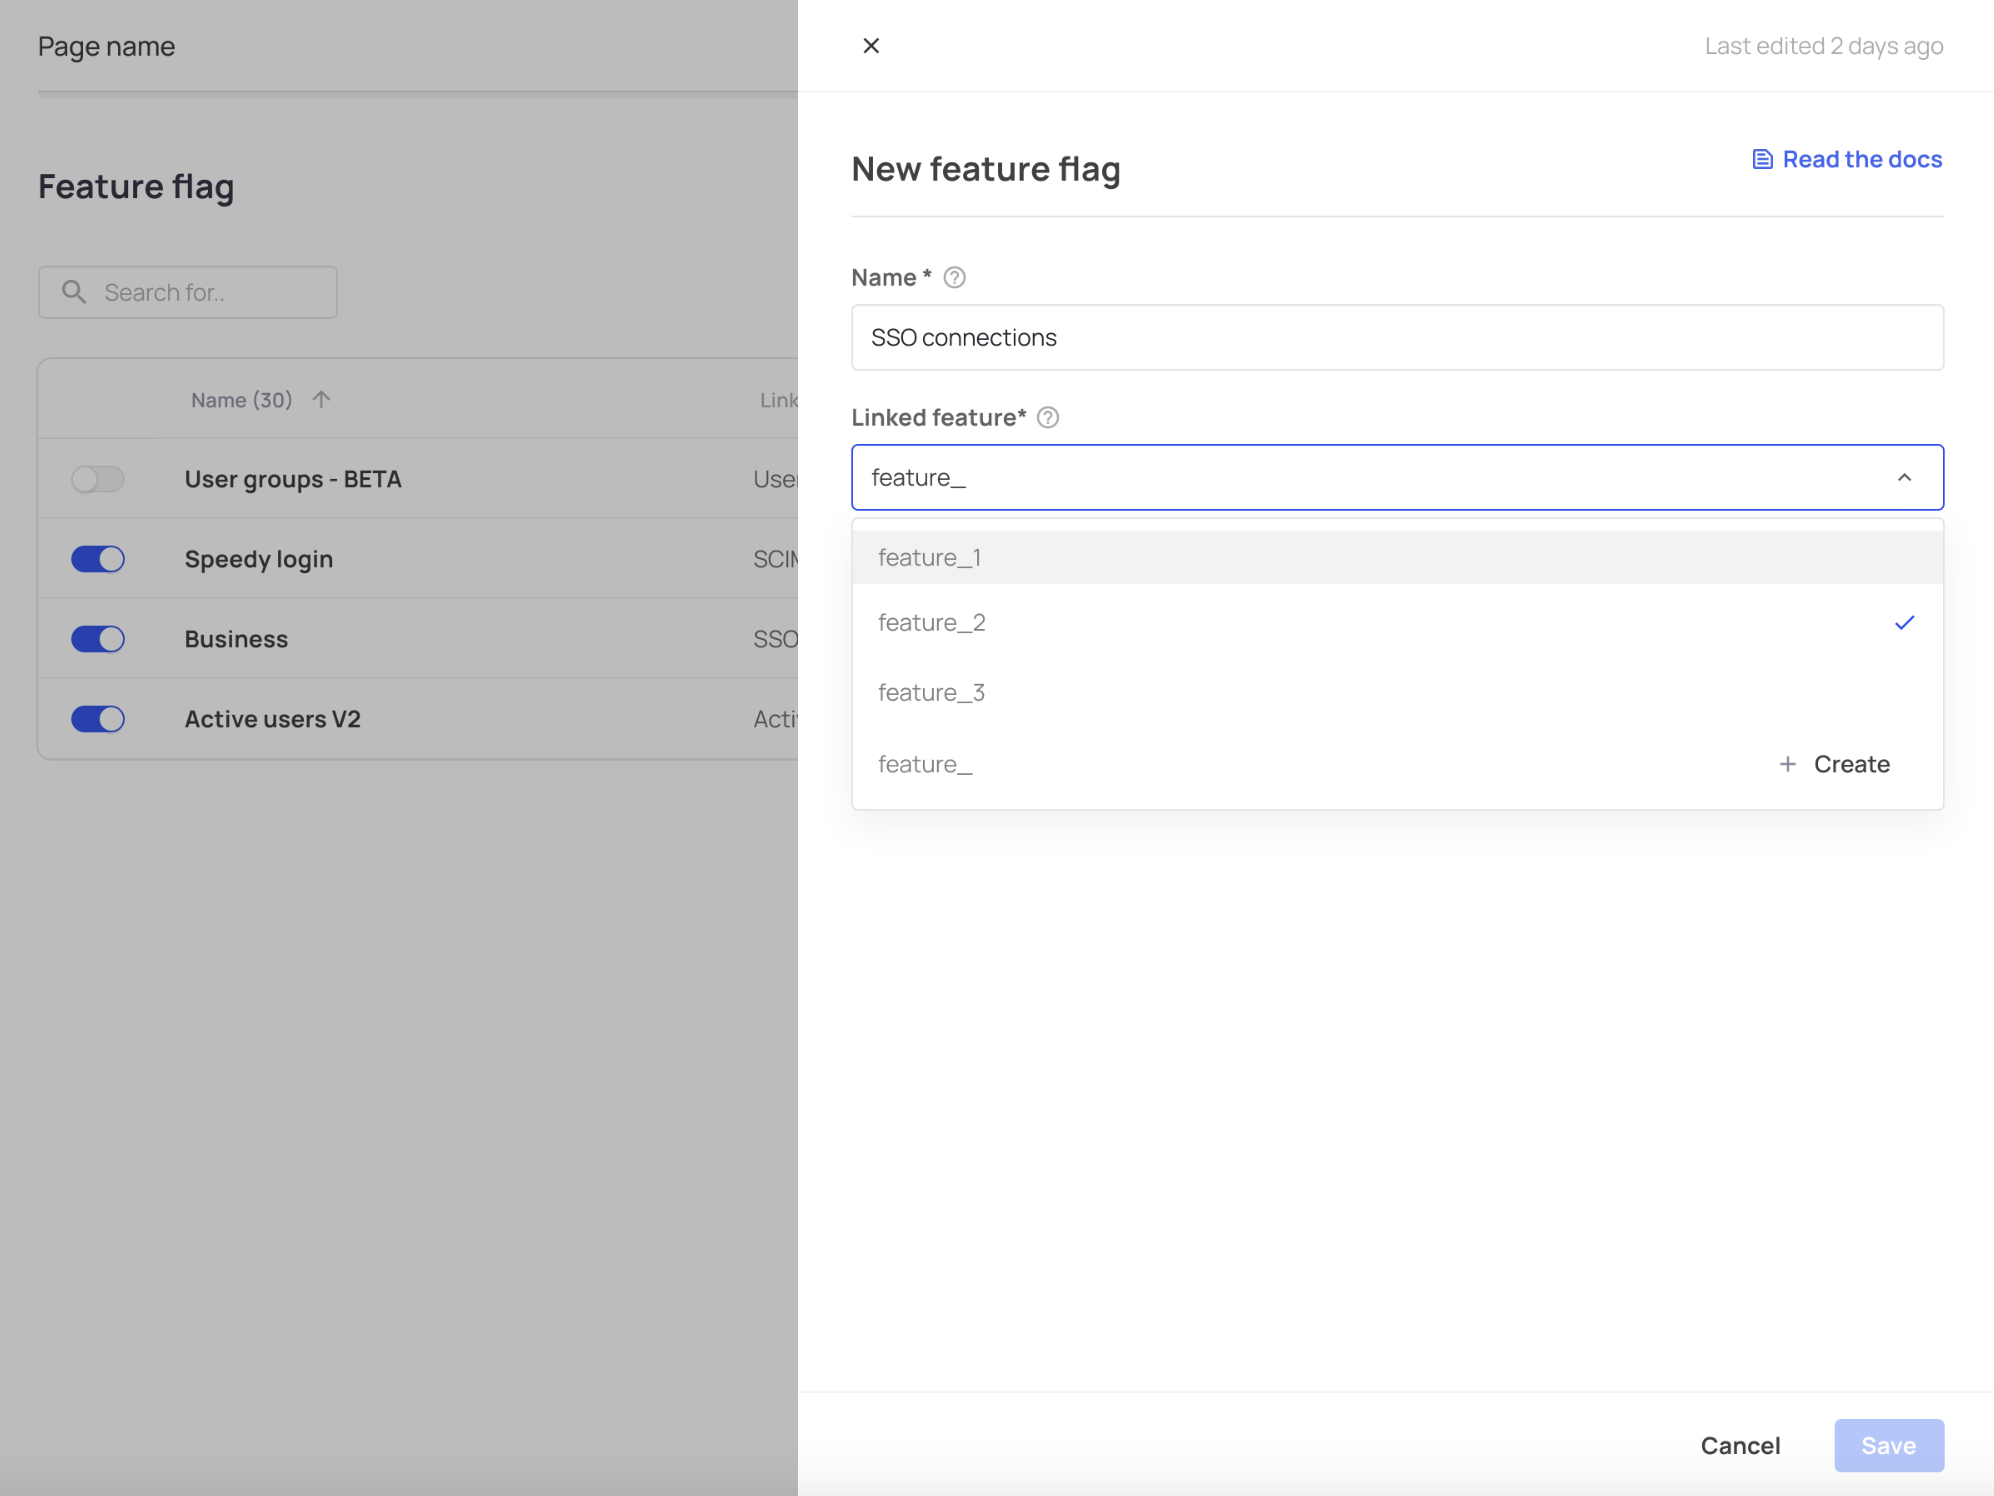
Use the 'Linked feature' menu to choose the relevant feature to flag
Feature limit
Note that you can only use one flag per feature. A flag cannot be linked to multiple features.
Feature flag settings
Each feature flag has a Settings and Targeting tab. The Settings tab includes fields like the flag's name and associated features while the Targeting tab includes the targeting rules you create for your flag.
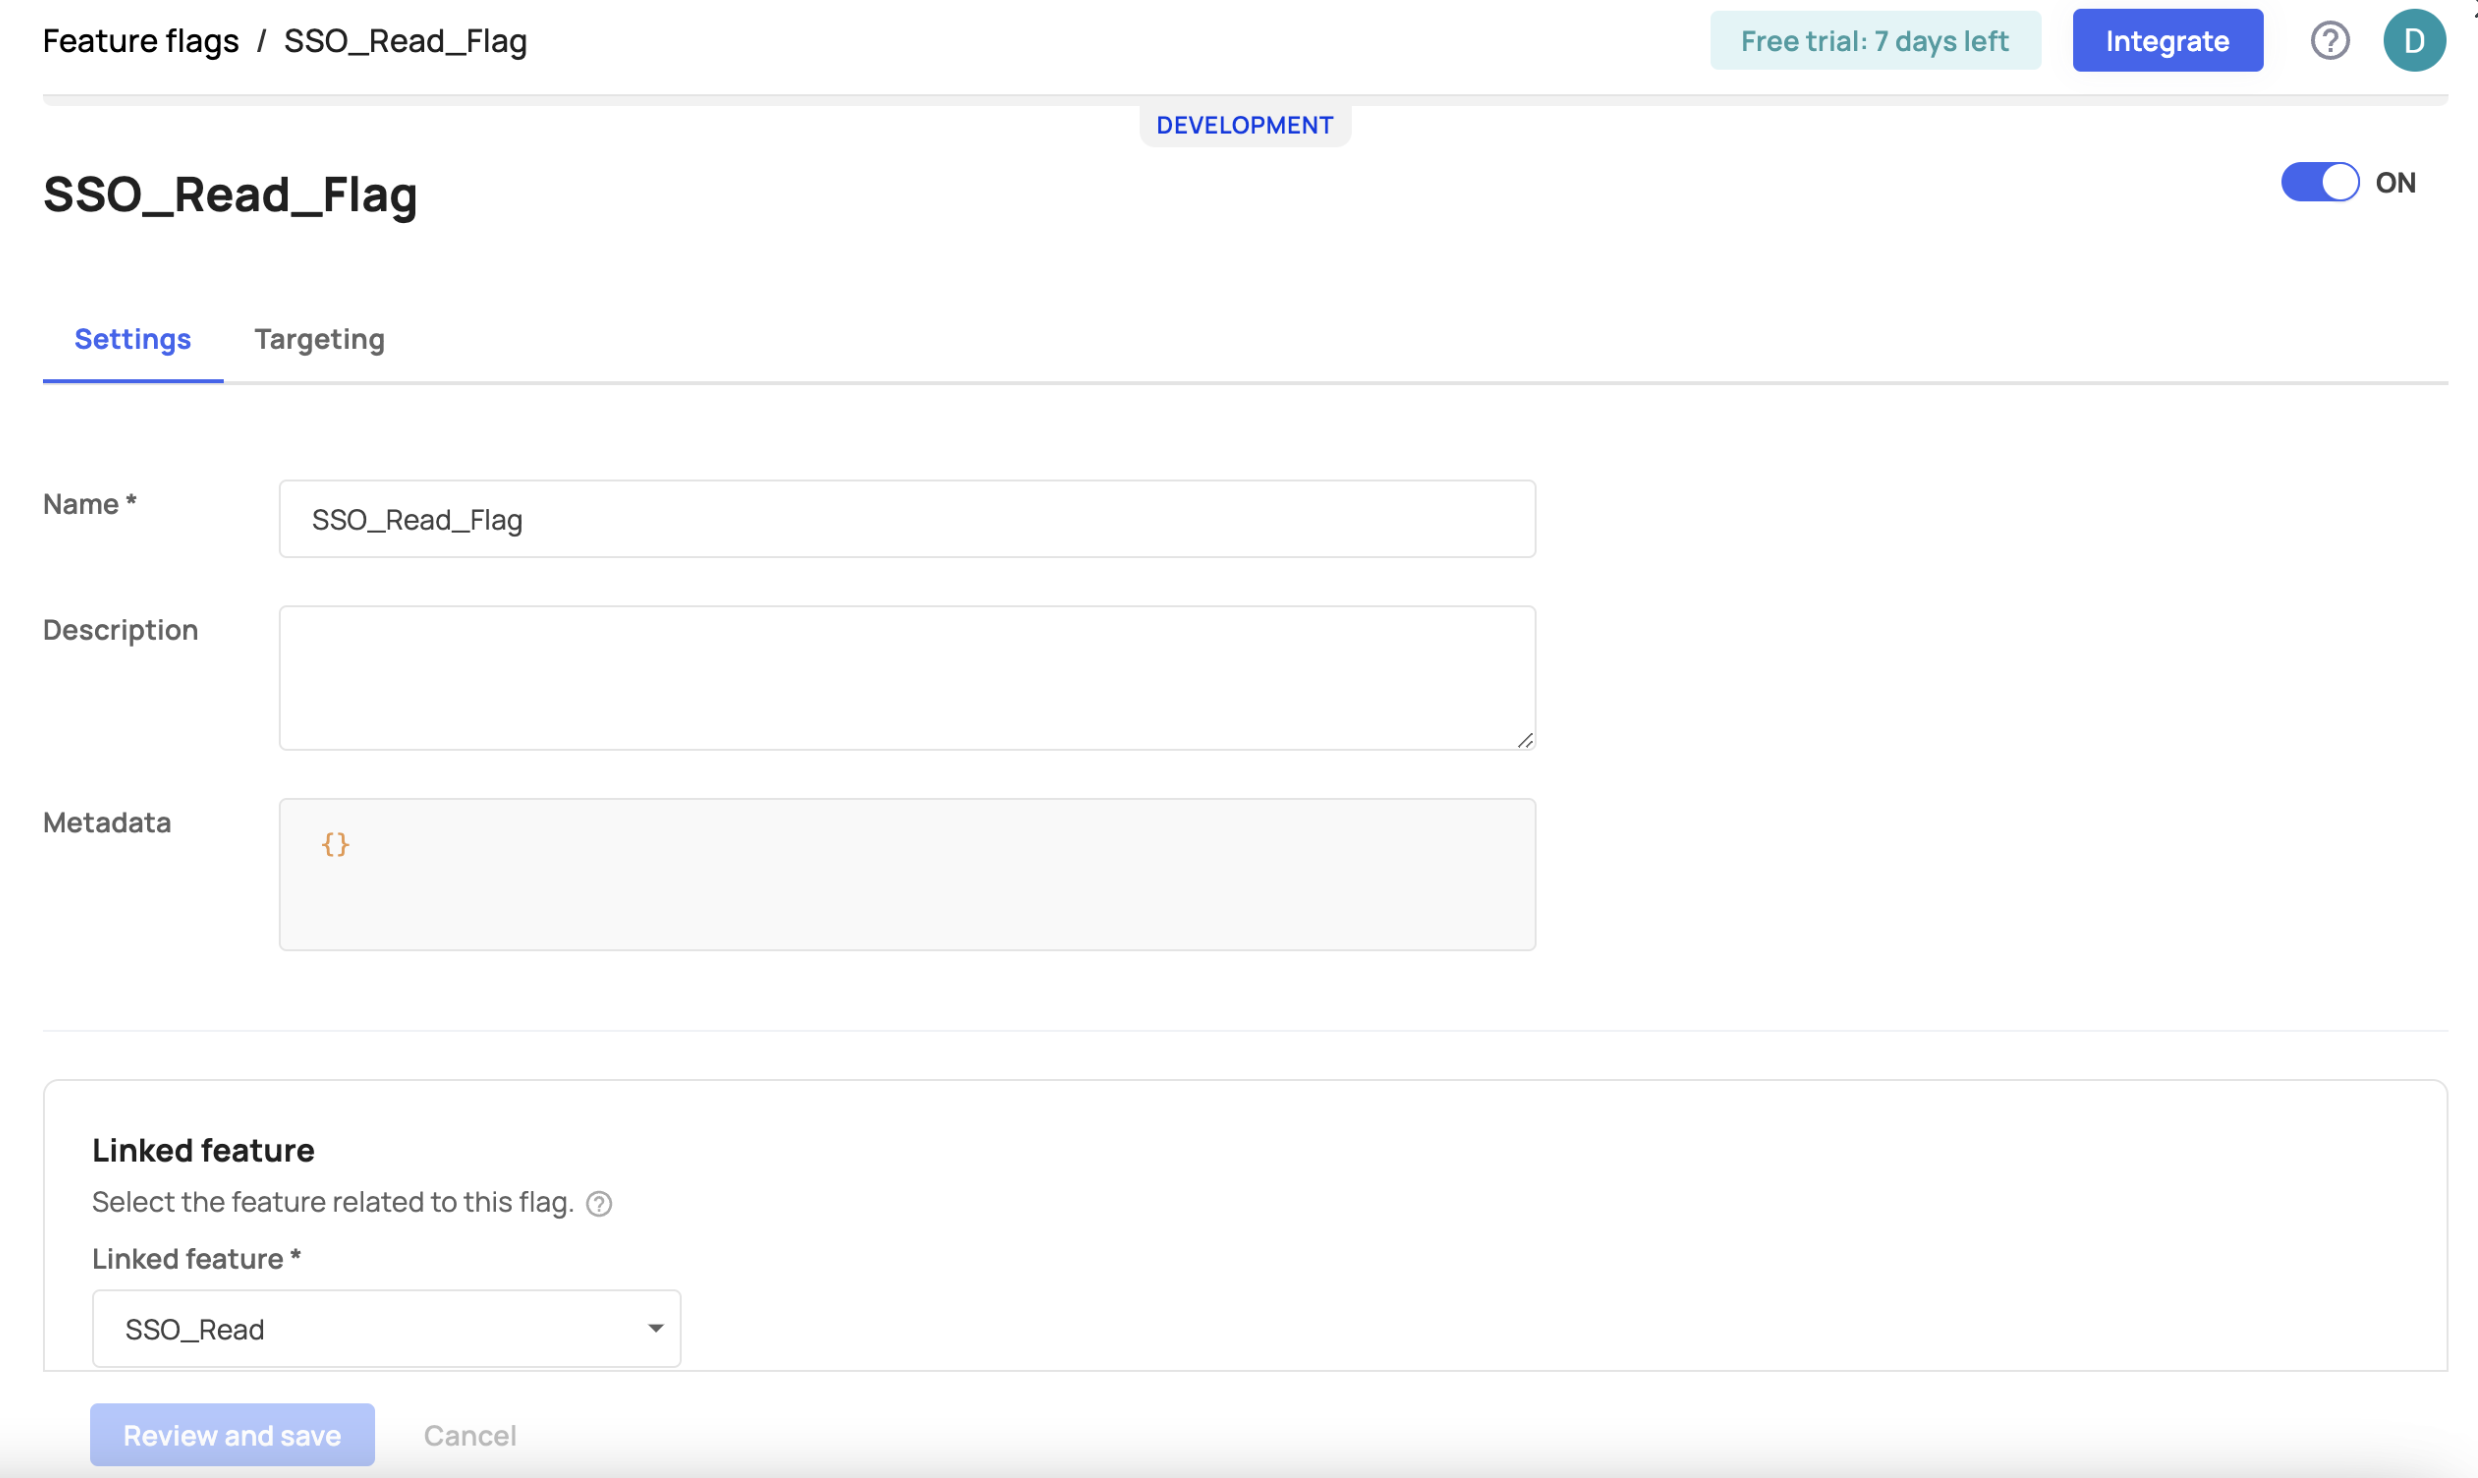
Feature flag settings
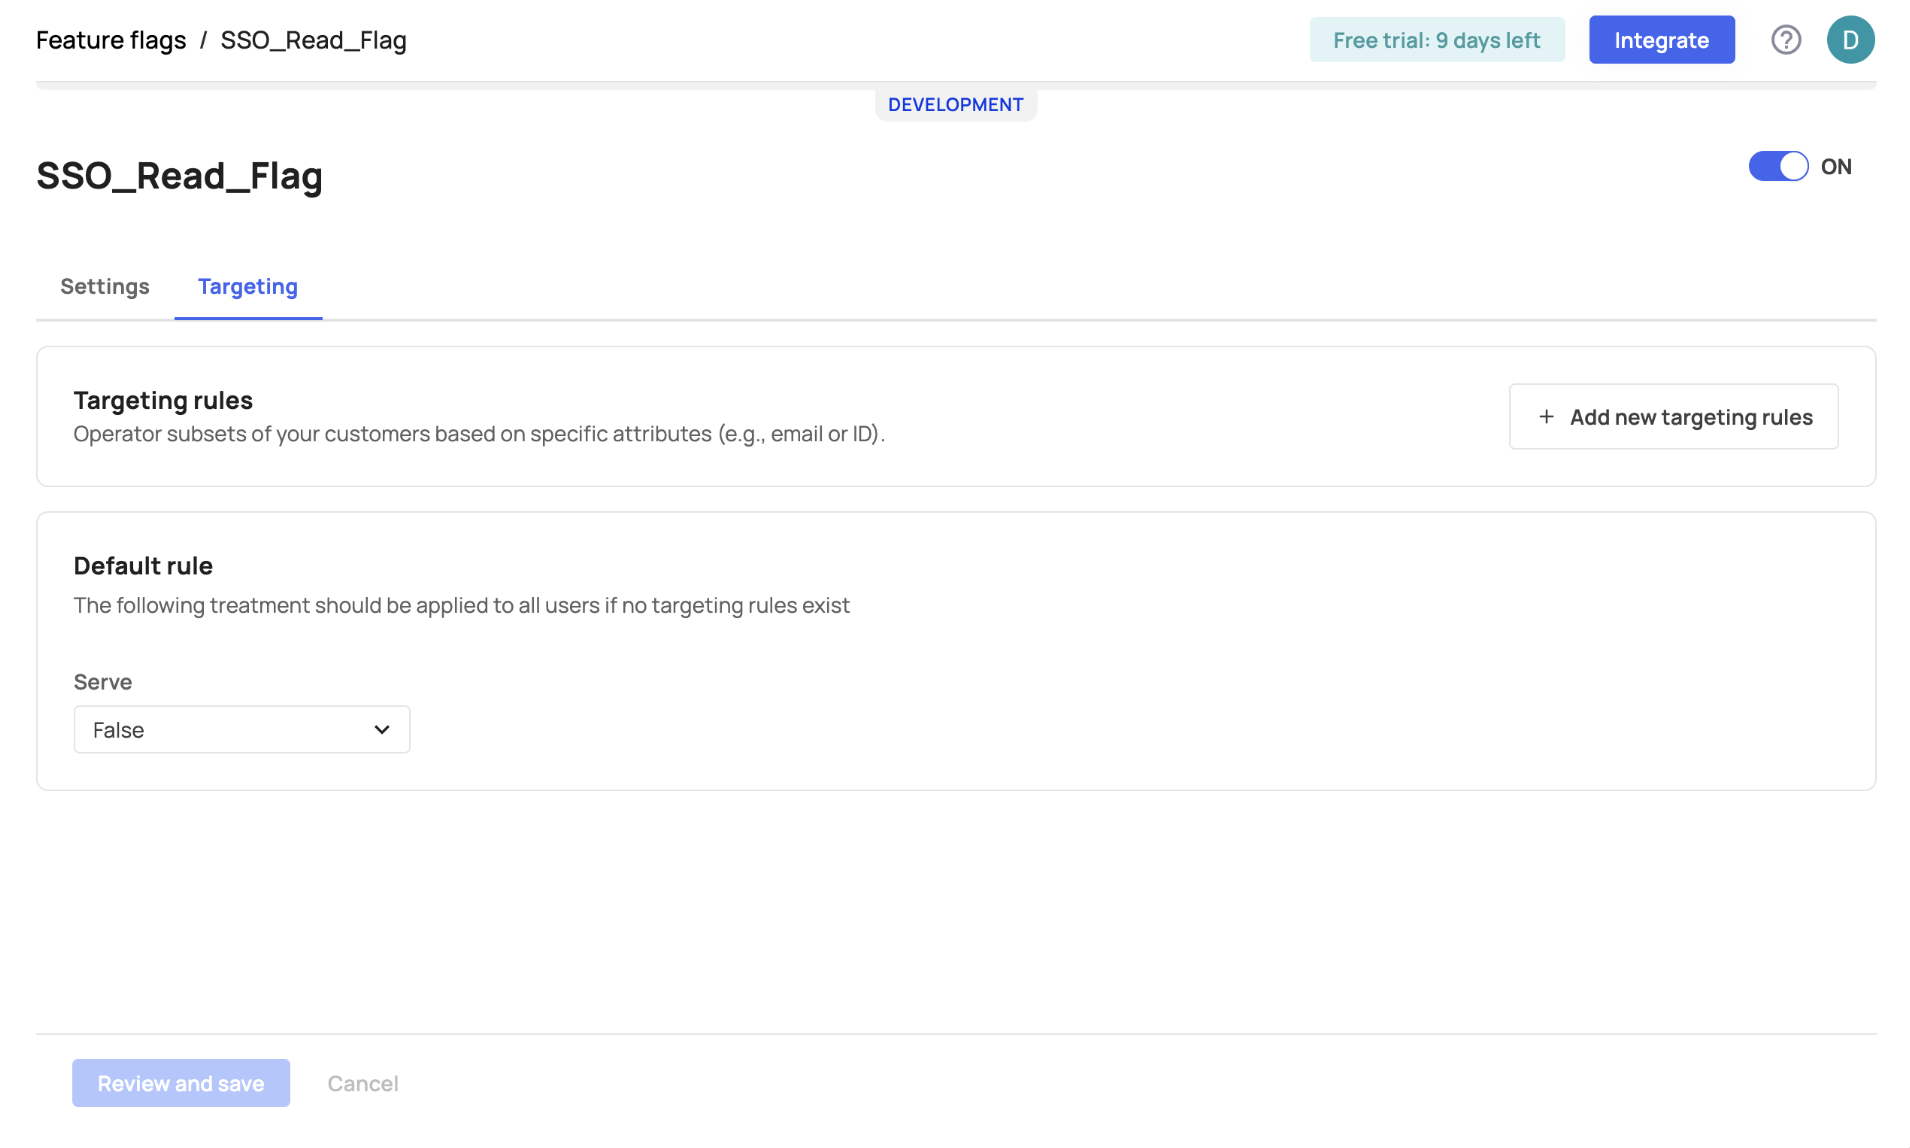
Control the default state when a feature flag is switched off
Adding targeting rules
To create designated access to a feature flag, go to the Targeting tab, click "Add new targeting rules," and select the attributes you wish to apply for that specific flag.
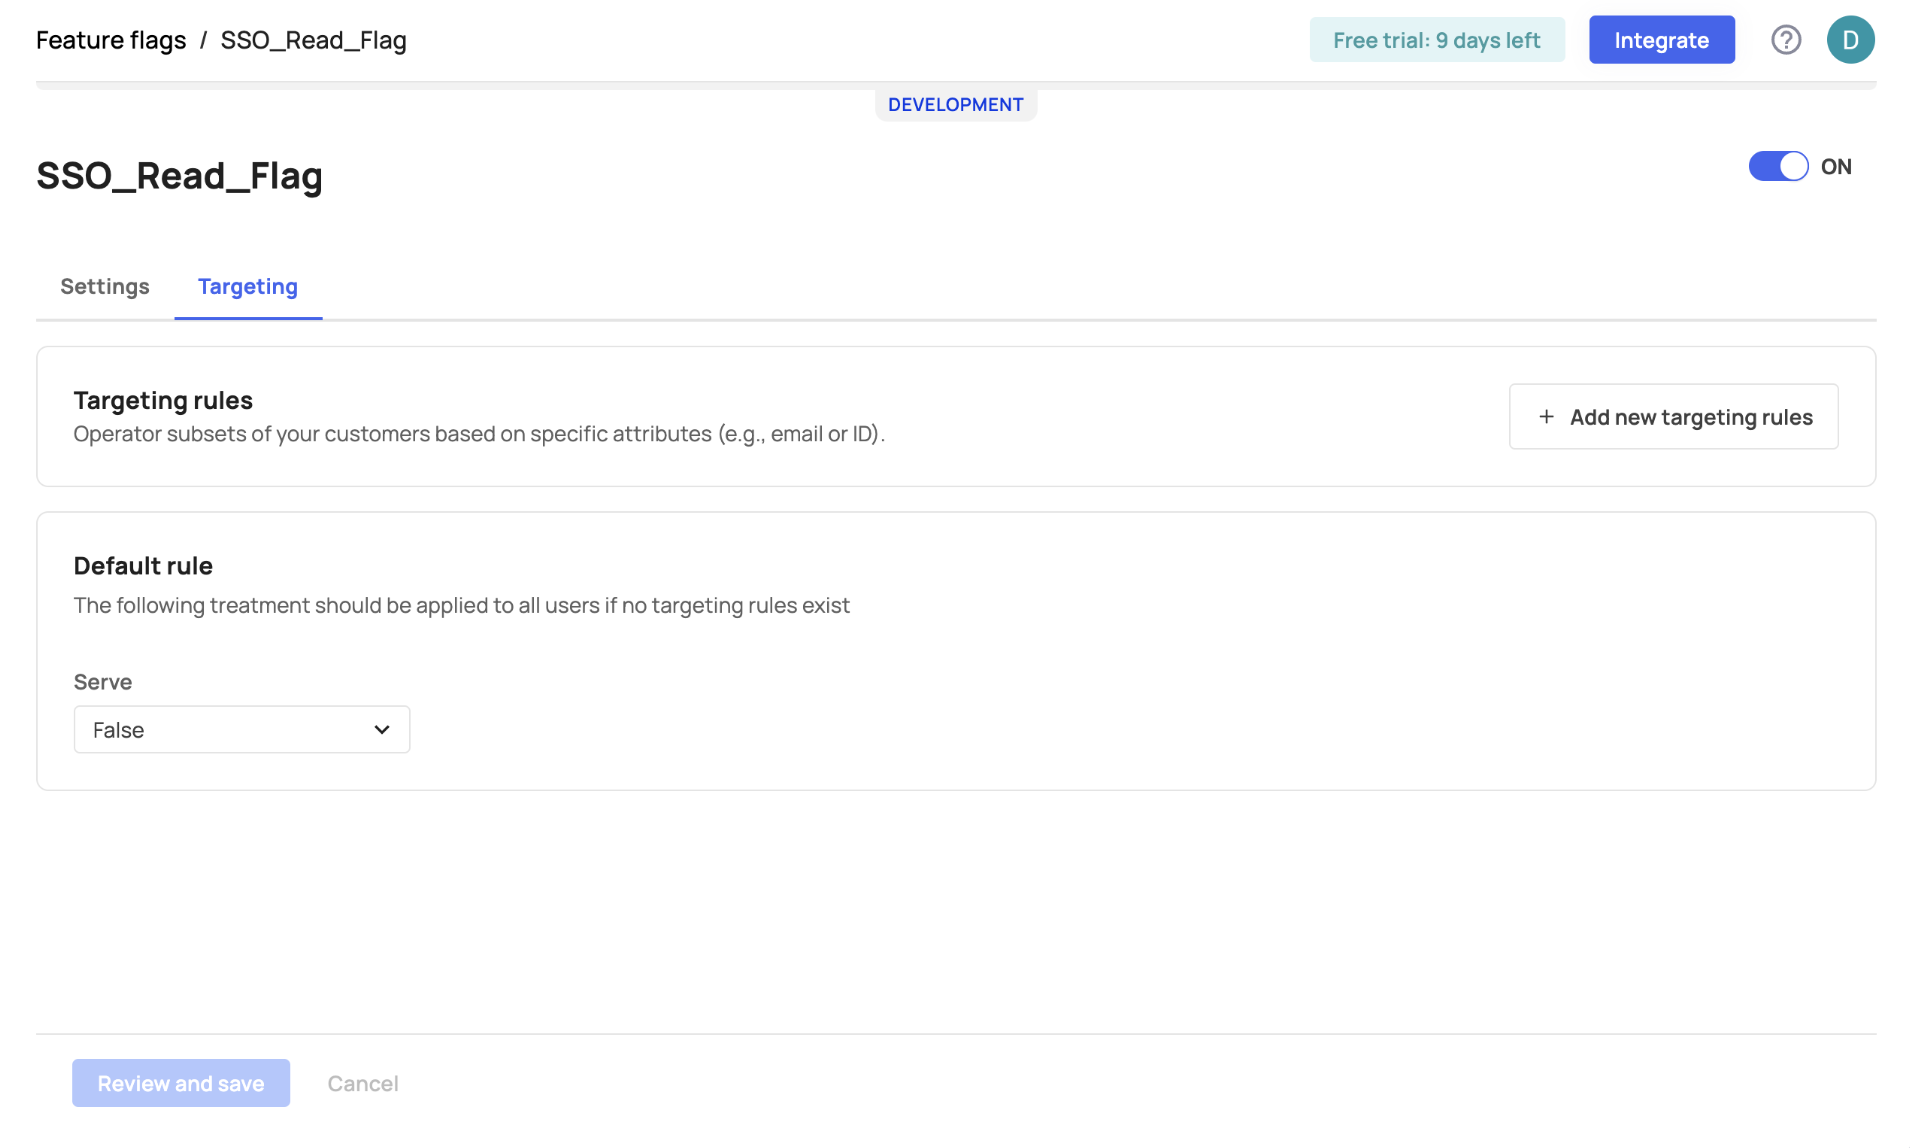
Add targeting rules via the 'Add new targeting rules' button.
Attributes for Targeting
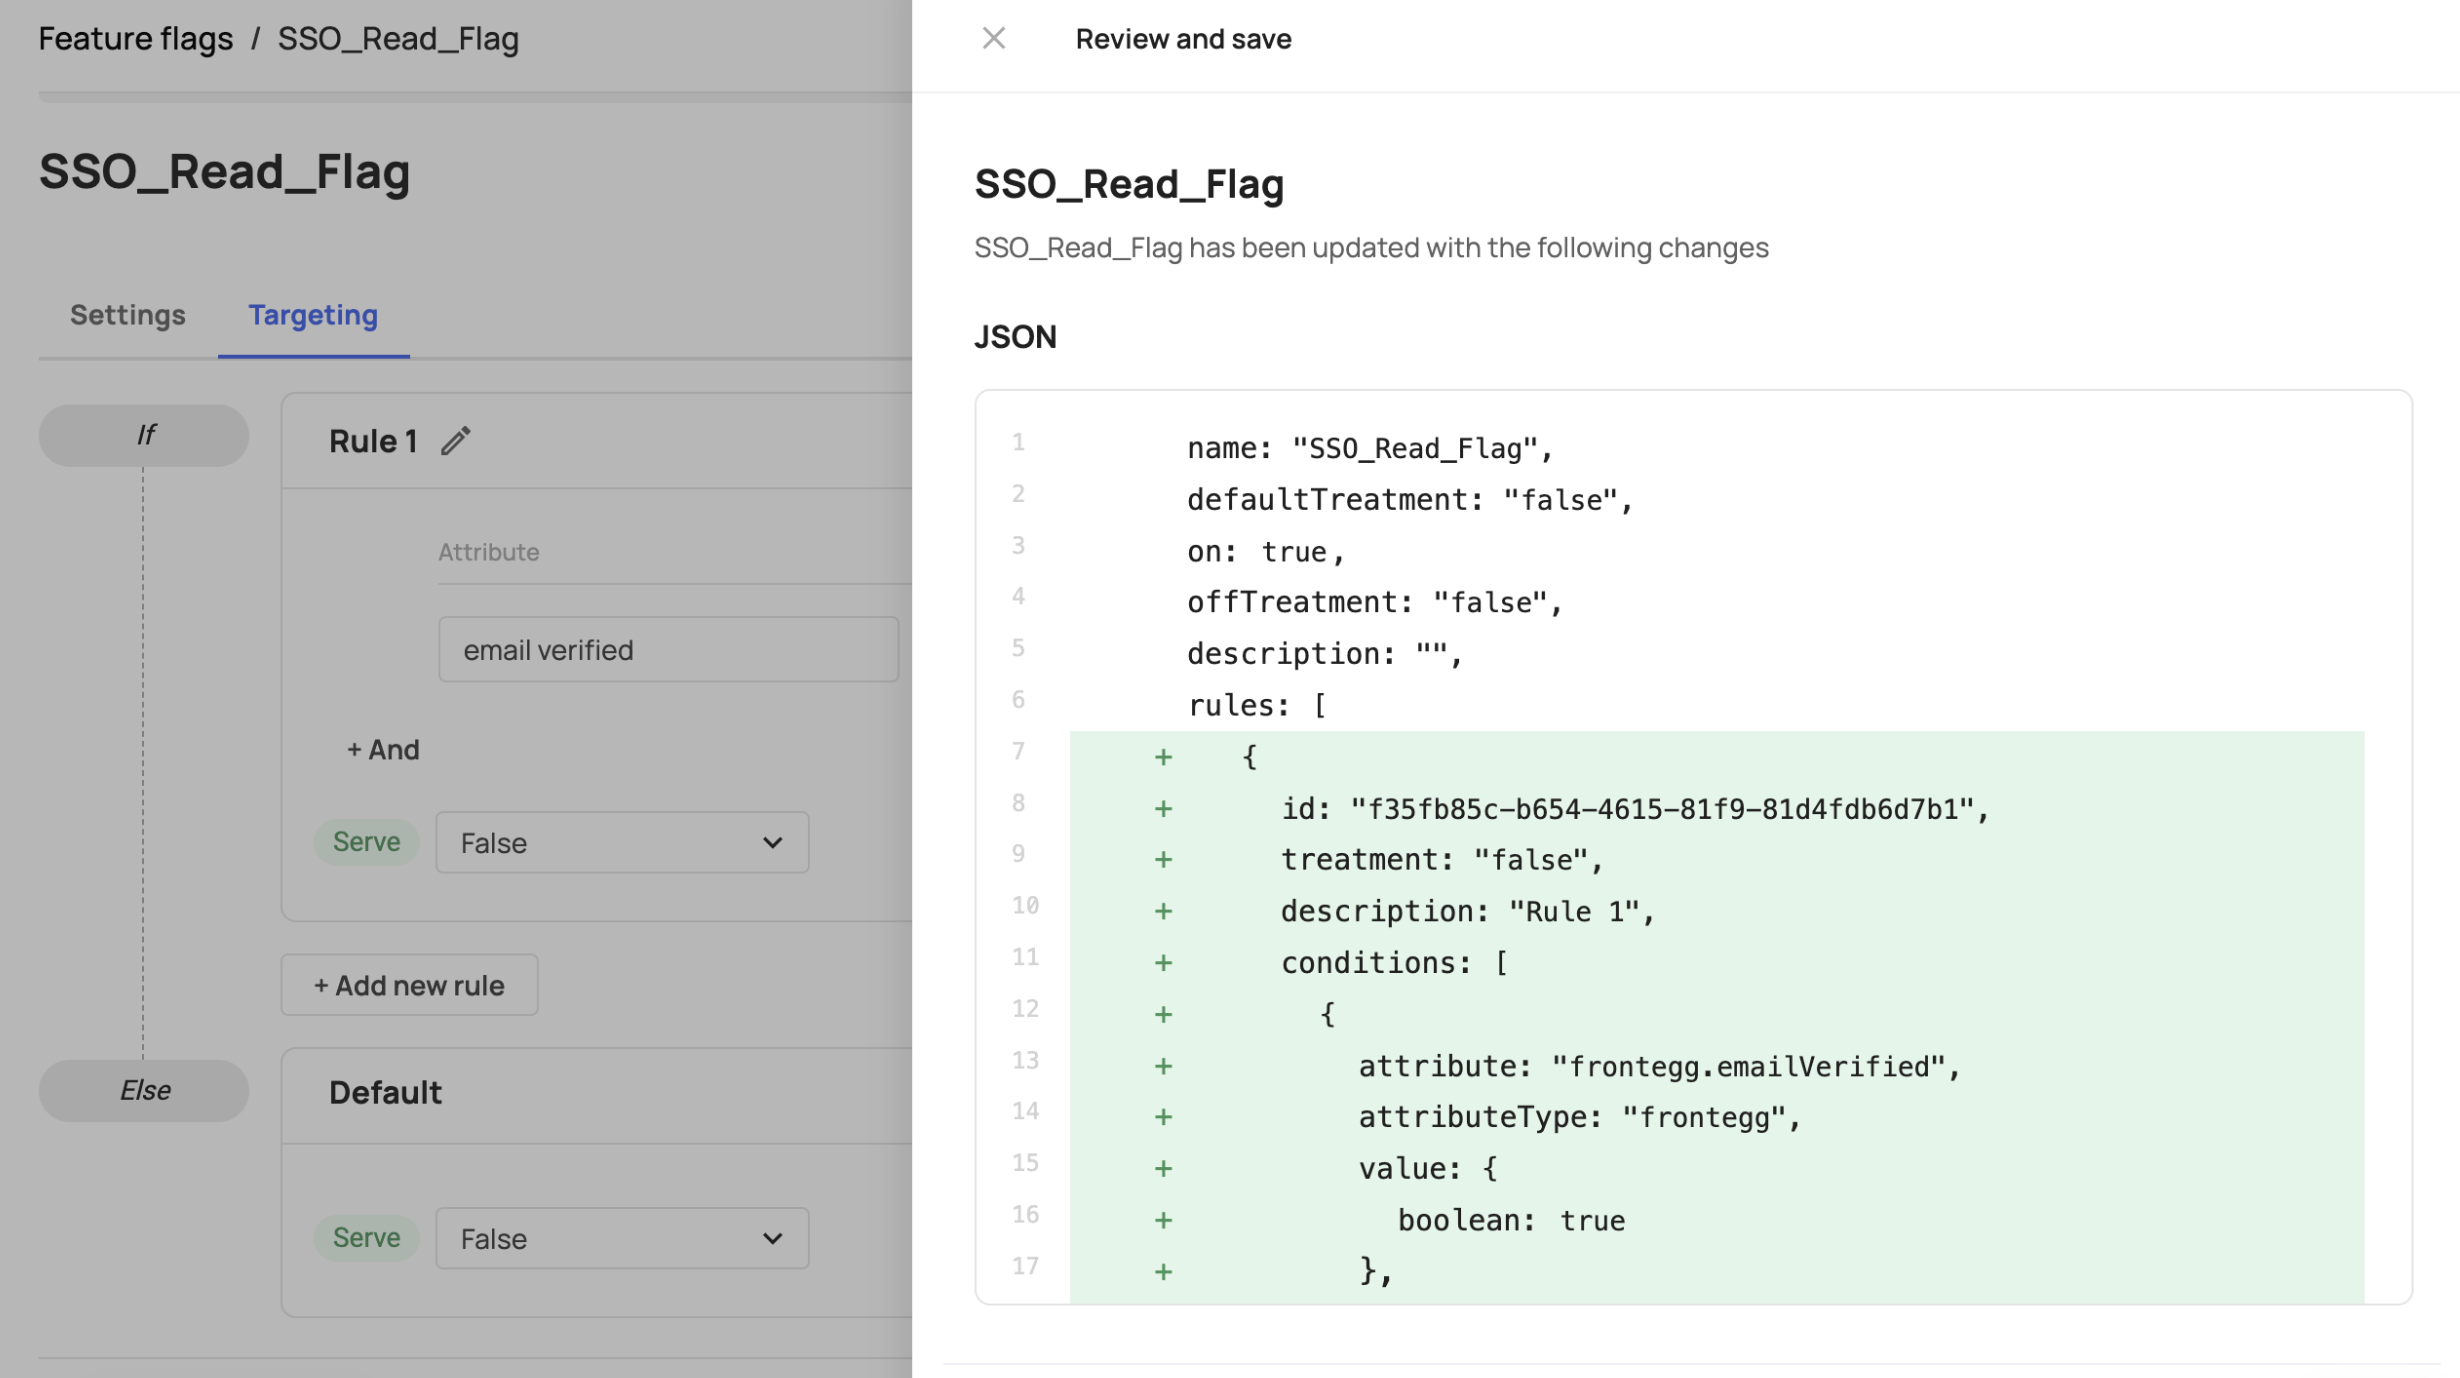
The default attributes we currently support for feature flagging are: email-verified (frontegg.emailVerified), user ID (frontegg.userId), tenant Id (frontegg.tenantId), and email (frontegg.email). These attributes are included in the drop-down attributes menu. In addition to Frontegg's attributes, Custom attributes can also be used. Learn more about custom attributes in the next section.
Custom Attributes
You have the flexibility to create custom attributes that for rule-based/feature flagging purposes. When creating a custom attribute, the attribute Key will be used when you insert it in the targeting rules field (see below).
JWT Attributes
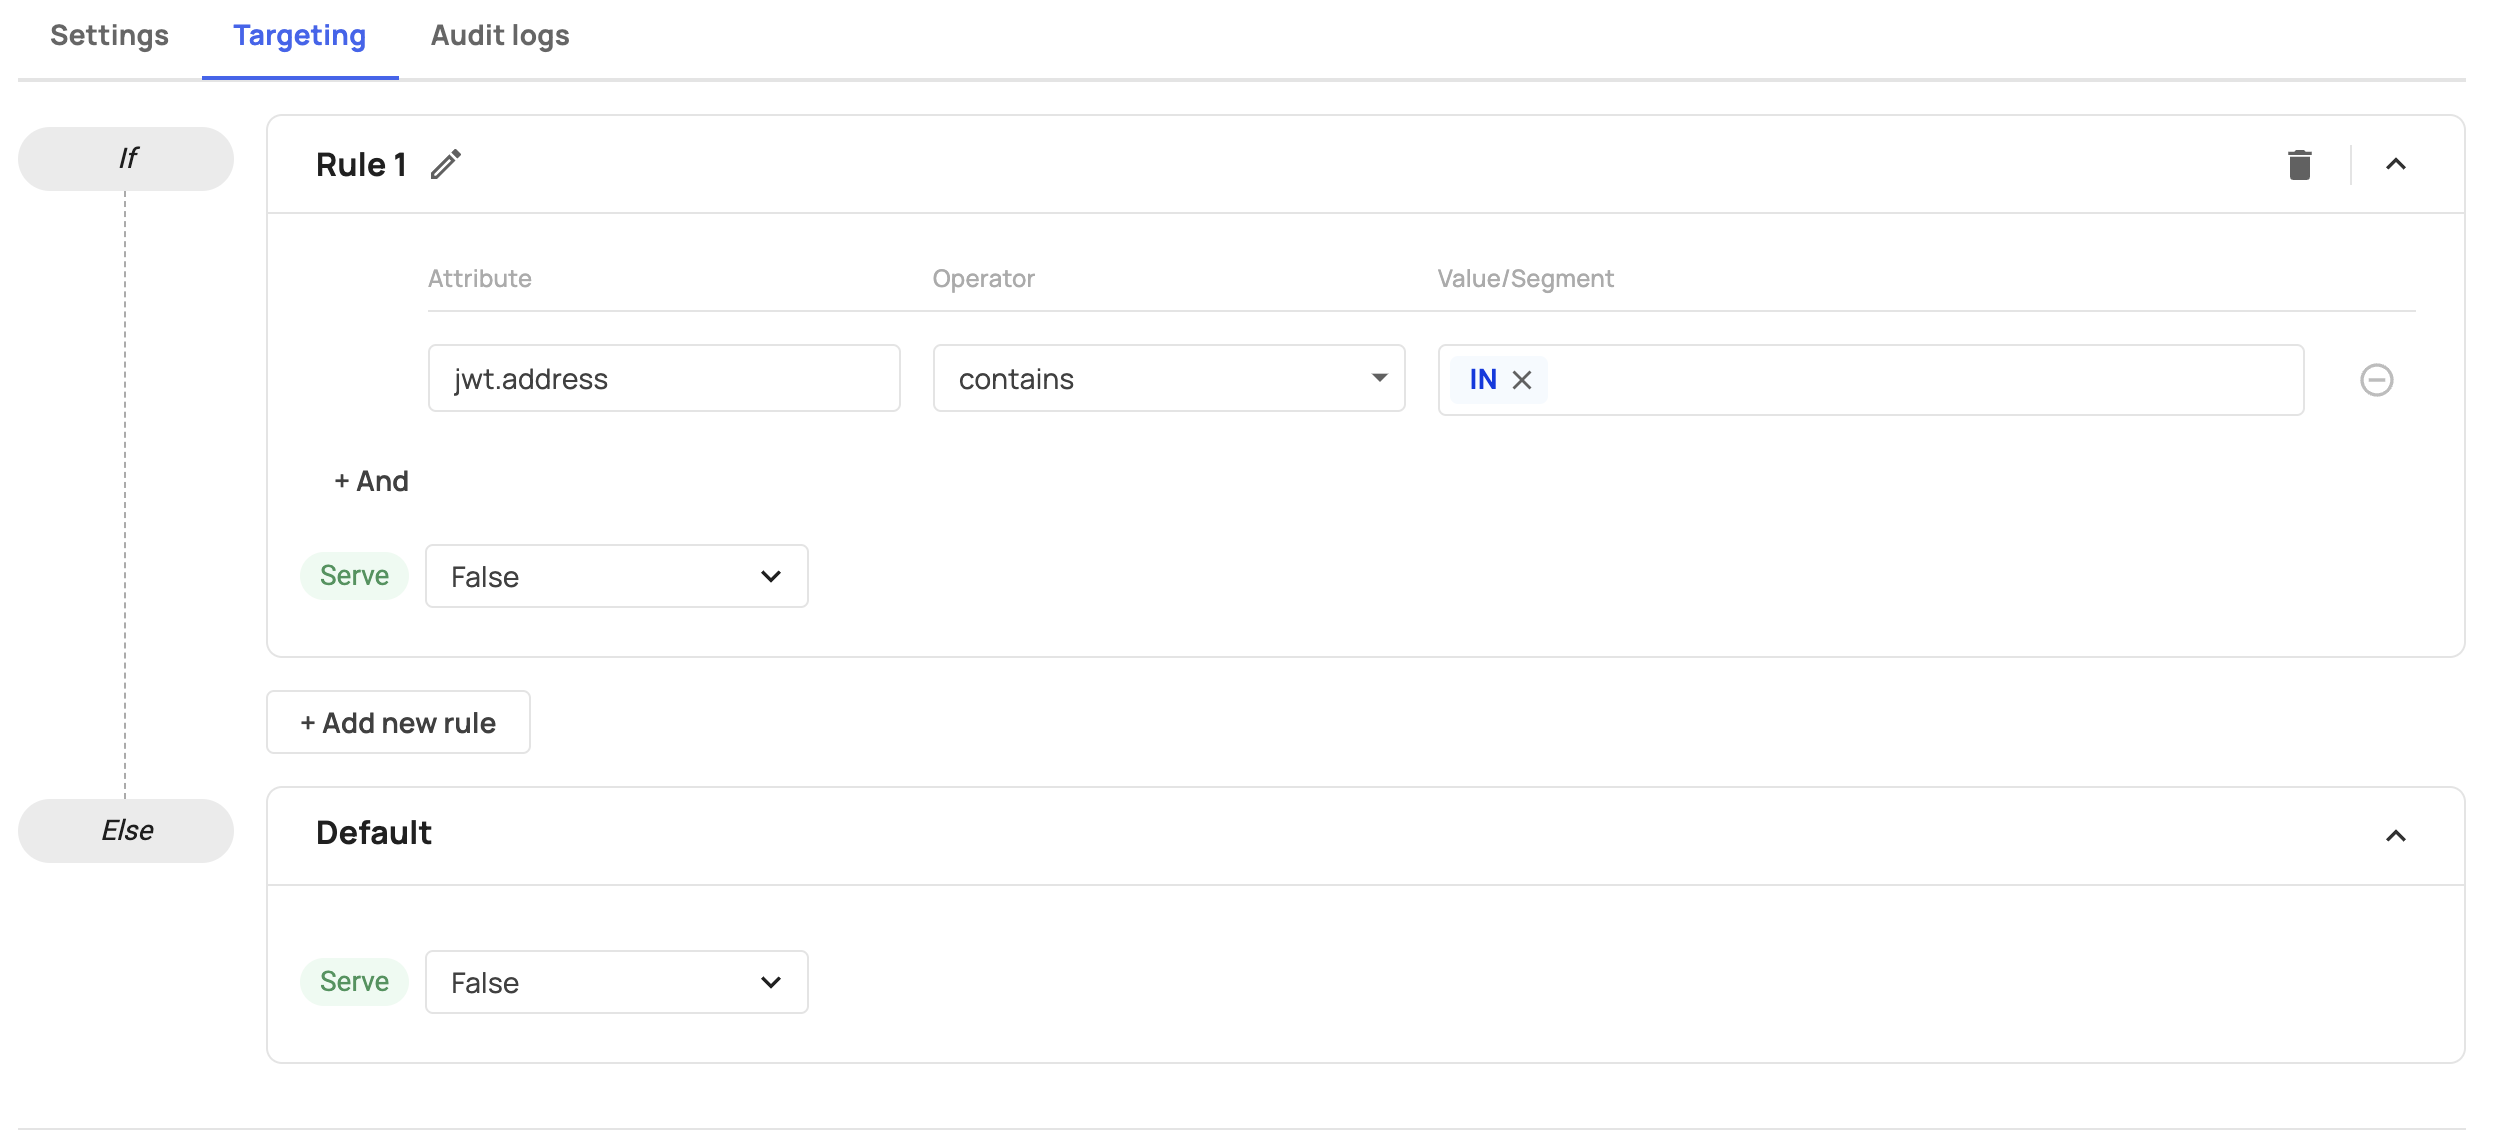
In addition to custom attributes and Frontegg's default attributes, you can target attributes from the user's JWT. Since we flat the jwt object, you can access its nested properties, including arrays. For example, if you store information such as the user's date of birth as dateOfBirth, you can target this attribute in your feature flagging engine by inserting a jwt.dateOfBirth in the attribute field. For JWT attributes, you need to use the jwt prefix.
Feature flag limitations
The ability to create Feature Flags has the following limitations:
- Each environment (developing/staging/production) is limited to 500 feature flags (Contact us if you need to set more flags).
- Each Feature Flag is limited to up to 10 Rules
- Each Rule is limited to up to up to 10 conditions
- The Attribute field is limited to up to 100 characters
- The Value/Segment field can contain up to 25 items
- Each Value/Segment is limited to up to 50 characters
Updated 2 days ago