Backoffice management
Your Backoffice is the control hub of your operation, allowing you to manage account performance, and user access and adjust the settings and configurations to maximize performance. In the context of multi-apps, you can assign your accounts with applications for their users' access, and control which users within those accounts will have access to which application(s). Let's see how to utilize this functionality.
Creating New Accounts and Dashboard
Account management is performed via yourAccounts tab in every environment. Here, you can create an account, edit its settings, performance, users, and assign/remove applications. Go to the Accounts sections to learn more about account management.
Single Account Management
Each of your accounts will have its own dashboard complete with data, KPIs, and configuration options. Upon creating an account, it will not have applications associated with it other than the default app you set in the Creating Multiple Applications step before. You will need to go to the Applications tab and choose which applications will be assigned to that account. Note that you can assign applications even if they haven't been integrated yet (they will be marked as inactive in this case), but should you want your users to access it, you will have to integrate it via the app configuration tab. Go to Creating Multiple Applications to learn more.
More Single Accounts Configurations
Learn more about additional settings and configuration for single accounts such as creating SSO, Security Policy and more, here.
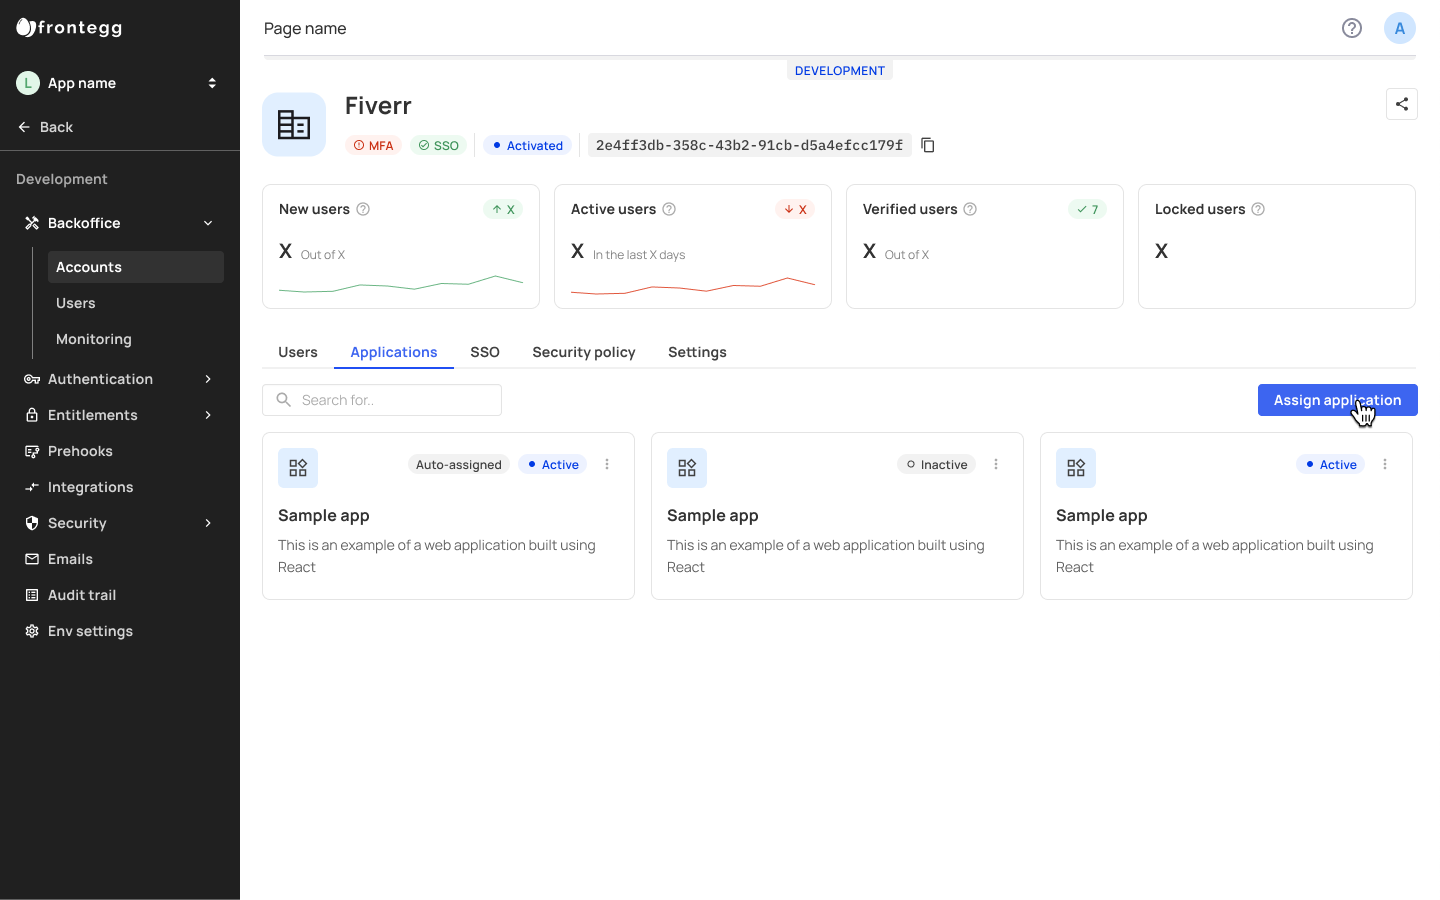
Applications Tab
The Applications tab within your backoffice allows you to assign applications to that specific account. To assign new applications, press the Assign application button.
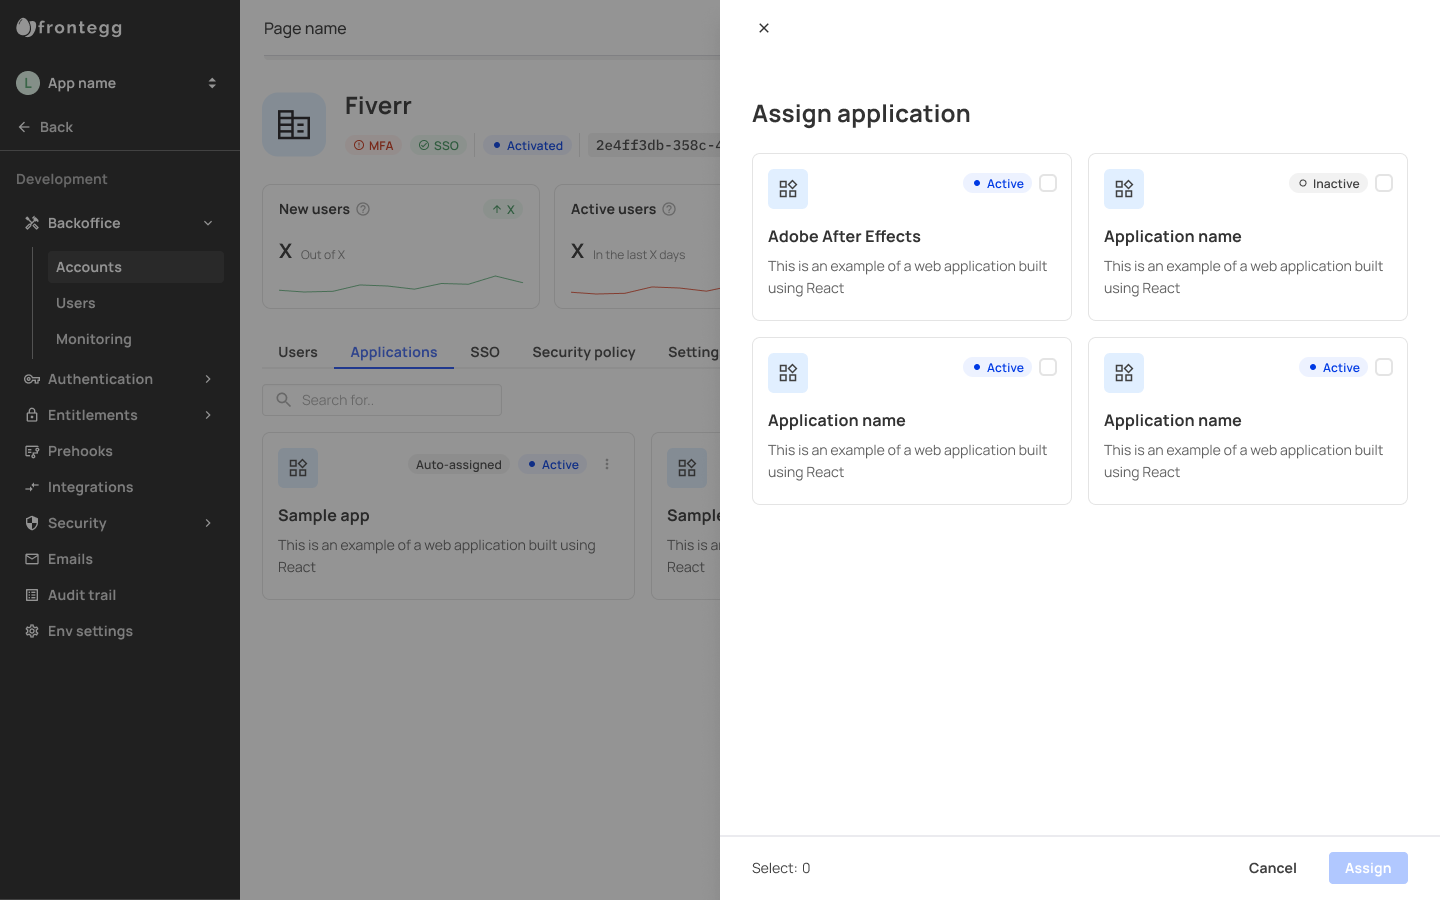
A drawer listing all of the available applications will be opened to the right. You can choose the applications you want to assign to that account and then press Assign.
You can add applications even if they are not yet set to Active (i.e., not integrated).
Check the relevant applications you wish to assign to the account. Press Assign.
Auto-assigned applications
If application is marked as auto-assigned, then all accounts and users will be assigned with it automatically. This is relevant whether the application was created prior or post to the creation of the accounts/users.
Users and Application Access
Prerequisites
Note that users cannot be invited to applications which haven't been assigned to accounts first.
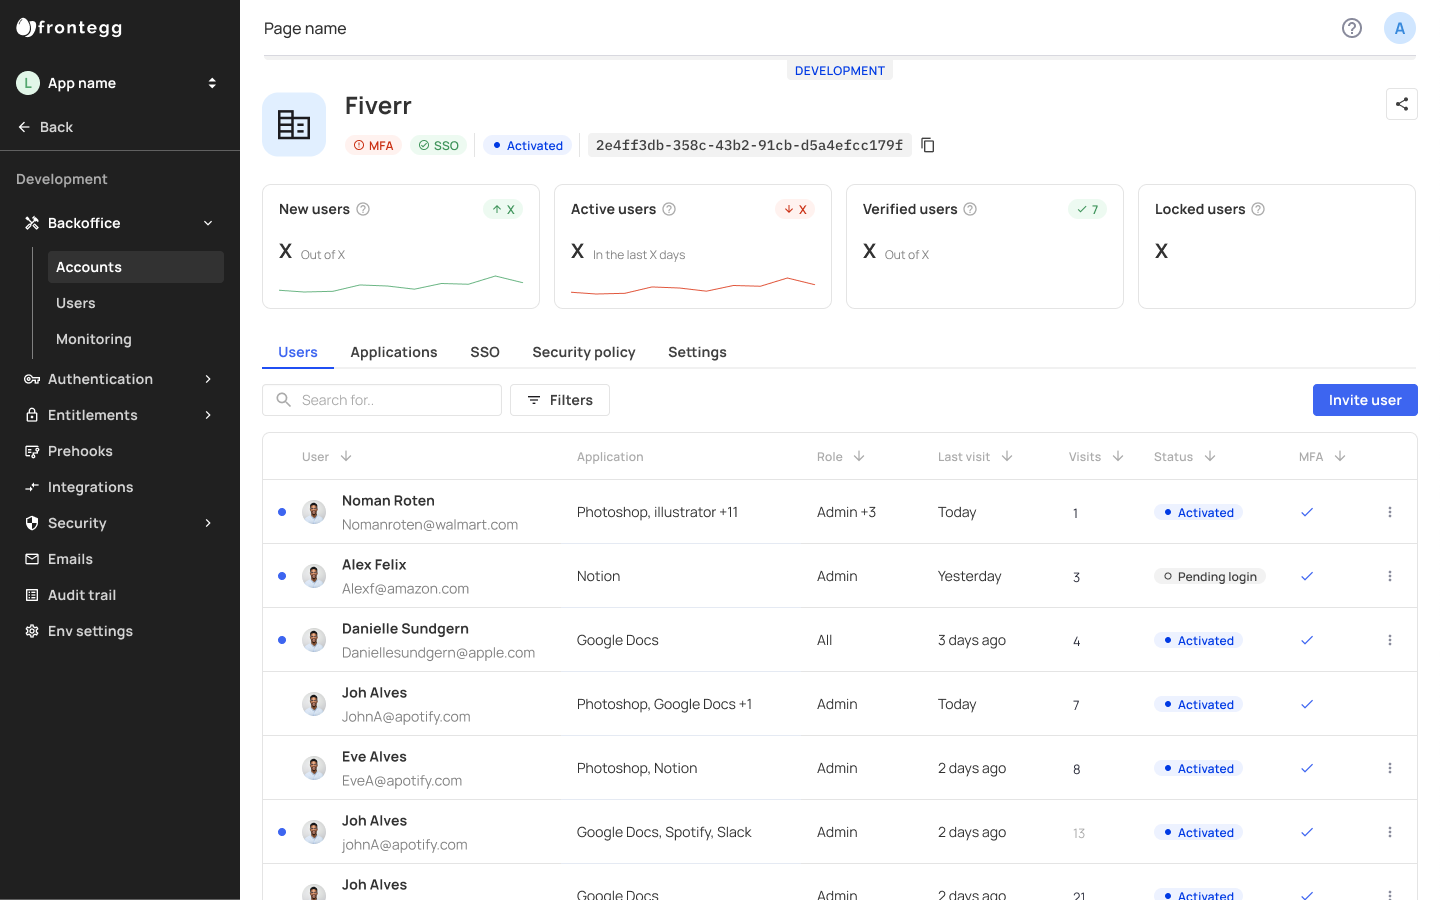
The Users tab showcases the users' data in the specific account and a breakdown of their data, including categories such as Role, their account Status, the Application(s) they have access to, and more. Note that users who are assigned multiple application access will have their applications listed under the Application column.
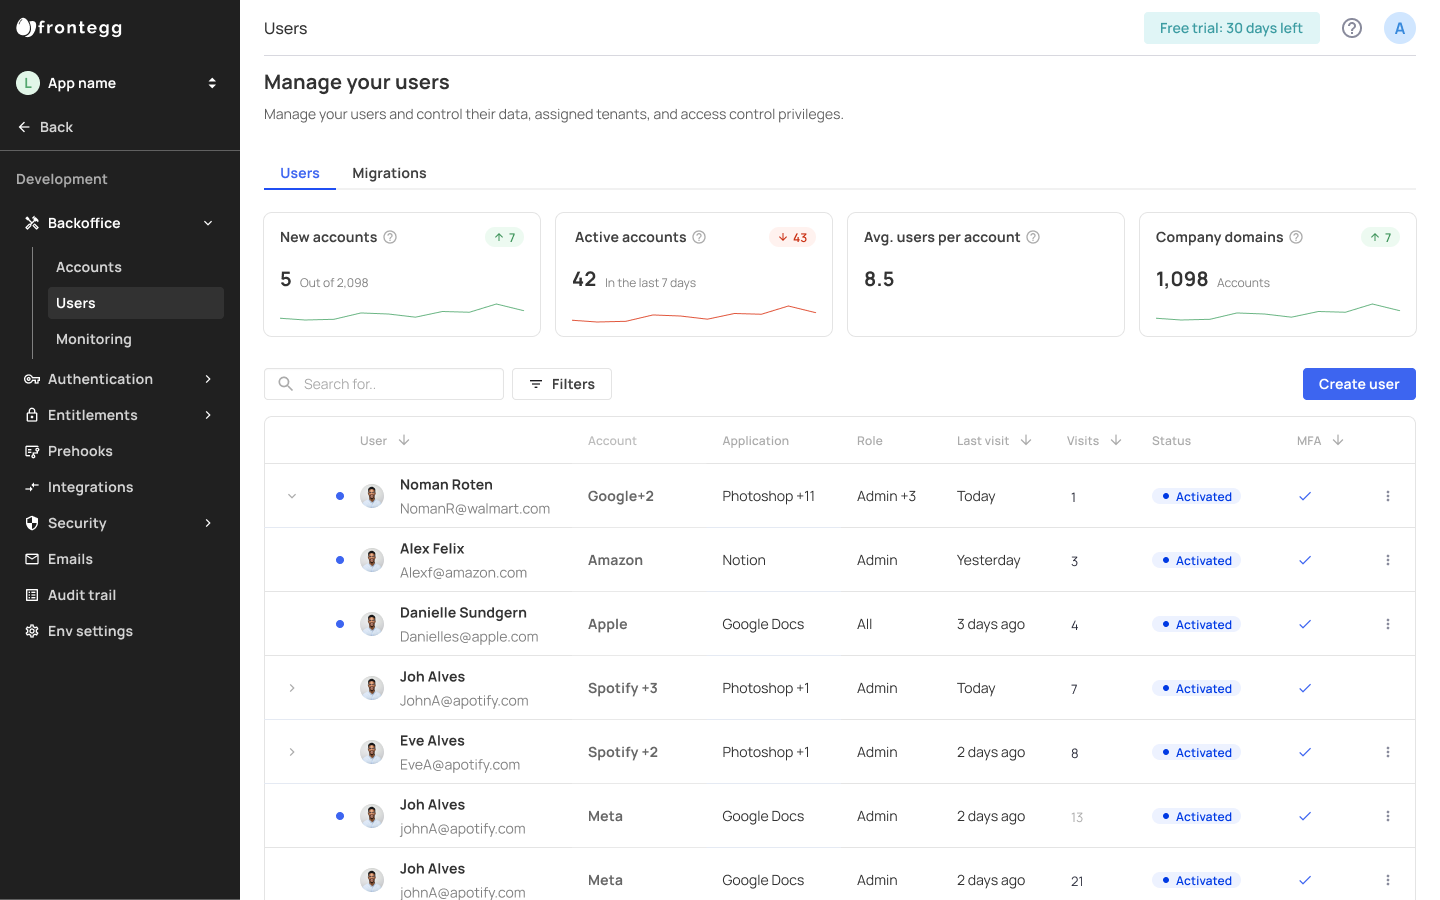
Backoffice Users (all accounts)
Your Backoffice -> Users view breaks down all of your users across all accounts. If users are assigned to more than one application, you will be able to see all of the applications they can use in the Application column.
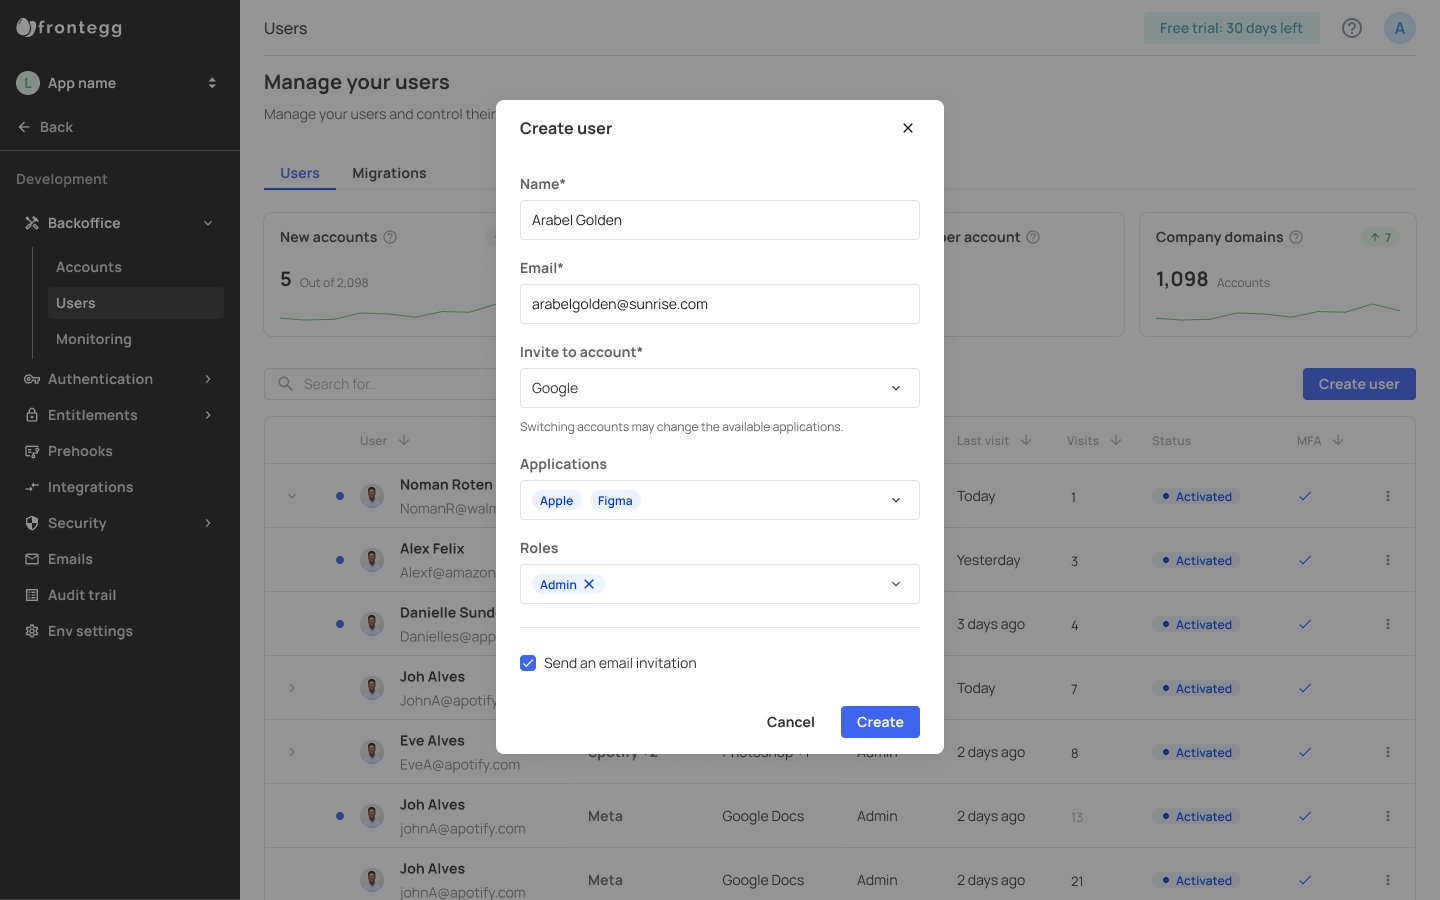
When creating a new user and inviting them to a specific account, you can choose from the drop-down Applications field which applications the user can access as part of their login. If the account you invite the user to has applications that were set to auto-assigned, then those will be assigned to the user by default. You can add more applications according to what's available in the account to which you invite the user.
Applications API Reference
You can perform multiple actions like assigning users to multiple applications via our Applications API collection.
User Roles for Specific Apps
Roles are not application specific. Still, you can create roles with specific Permissions in a way that they would contain permissions required in specific applications only, and then assign the users in that account to that specific role.
No-default app
While you can set a default app for users to be allocated with when managing multiple applications, this setting is optional, in case you have at least one application per environment. Note that to ensure users can login to an app, you will need to add an appID in your integration's contextOptions (see note).
Possible errors when you don't set a default app
If a user navigates directly to the login URL without you specifying the
appIdin the path, they won't be able to log in and will be redirected to an error page instead. To solve this issue, ensure you provide anappIdwithin yourcontextOptions.When there is no default nor auto-assigned application, you will need to assign users to an application manually, either via our APIs or via the backoffice.
SSO (SAML and OIDC)
Login with Single Sign-On is not supported when an application is not auto-assigned and there is no default application. New users that do not have explicit assignments to an application will not be able to login.
Updated about 2 months ago