Slack Login
Overview
Adding Slack social login to your login page allows users to sign in to your website or application using their existing Slack account. This can make the login process faster and more convenient for users, as they don't have to create a new account or remember a separate username and password.
To enable Slack social login to your login page, you will need to
- Enable Slack as a social login in the builder
- Create Slack App
Prerequisite
Enable Slack login in the Builder
- On the Homepage click “Go to Builder”
- Toggle on the Slack social login placed in the left panel (please note - you can have up to four social logins on your login page)
- Click “Review to Publish” button and “Publish to Dev”
.png")
Create Slack App
Follow the steps to below to configure Slack login.
Step 1: Open Project
To create your Slack application, go to Slack api, log in and select Create an app.

Step 2: Register Your Application
Click on Create New Appat the top of the page.

A dialog will appear, now choose From Scratch

Pick a name and a Workspacefor your app, and click on Create App.

Now, in order to get the credentials required for the social login you need to configure your app properly. In order to do that follow these steps:
- On the Side navigation bar on the left click on “OAuth & Permissions”
- Go to the Redirect URLs section and add the redirect url to which the user will be redirected to upon a successful login.
- Click on Save URLs to save the url you just entered

- Next, Add Scopes for getting user information from slack
Go to the Scopes→ User Token Scopes*, and add the following scopes:
Email
Profile
Openid

- Now, we have to install the app to the Slack Workspace.
Go to the top of the current page (OAuth & Permissions) and click on Install to Workspace
You will be prompted to allow your app access permission to your Slack workspace.
click Allow.

- On the sidenav on the left click on Settings → Manage Distribution
Under Public Distribution at the bottom of the page, approve the removal of any hard coded information under the Remove Hard Coded Information section
Finally, click on Activate Public Distribution

Great, you have now configured a Slack App.
Now follow these steps to get the credentials that will be used in Frontegg.
- Go to Settings → Basic Information page
- Under App Credentials write down the Client ID and Client Secret that were generated for you. You will need those two credentials for the next step.

Step 3: Configure Slack in Frontegg
We are almost done!
Now all that is left is to copy the credentials to Frontegg’s portal.
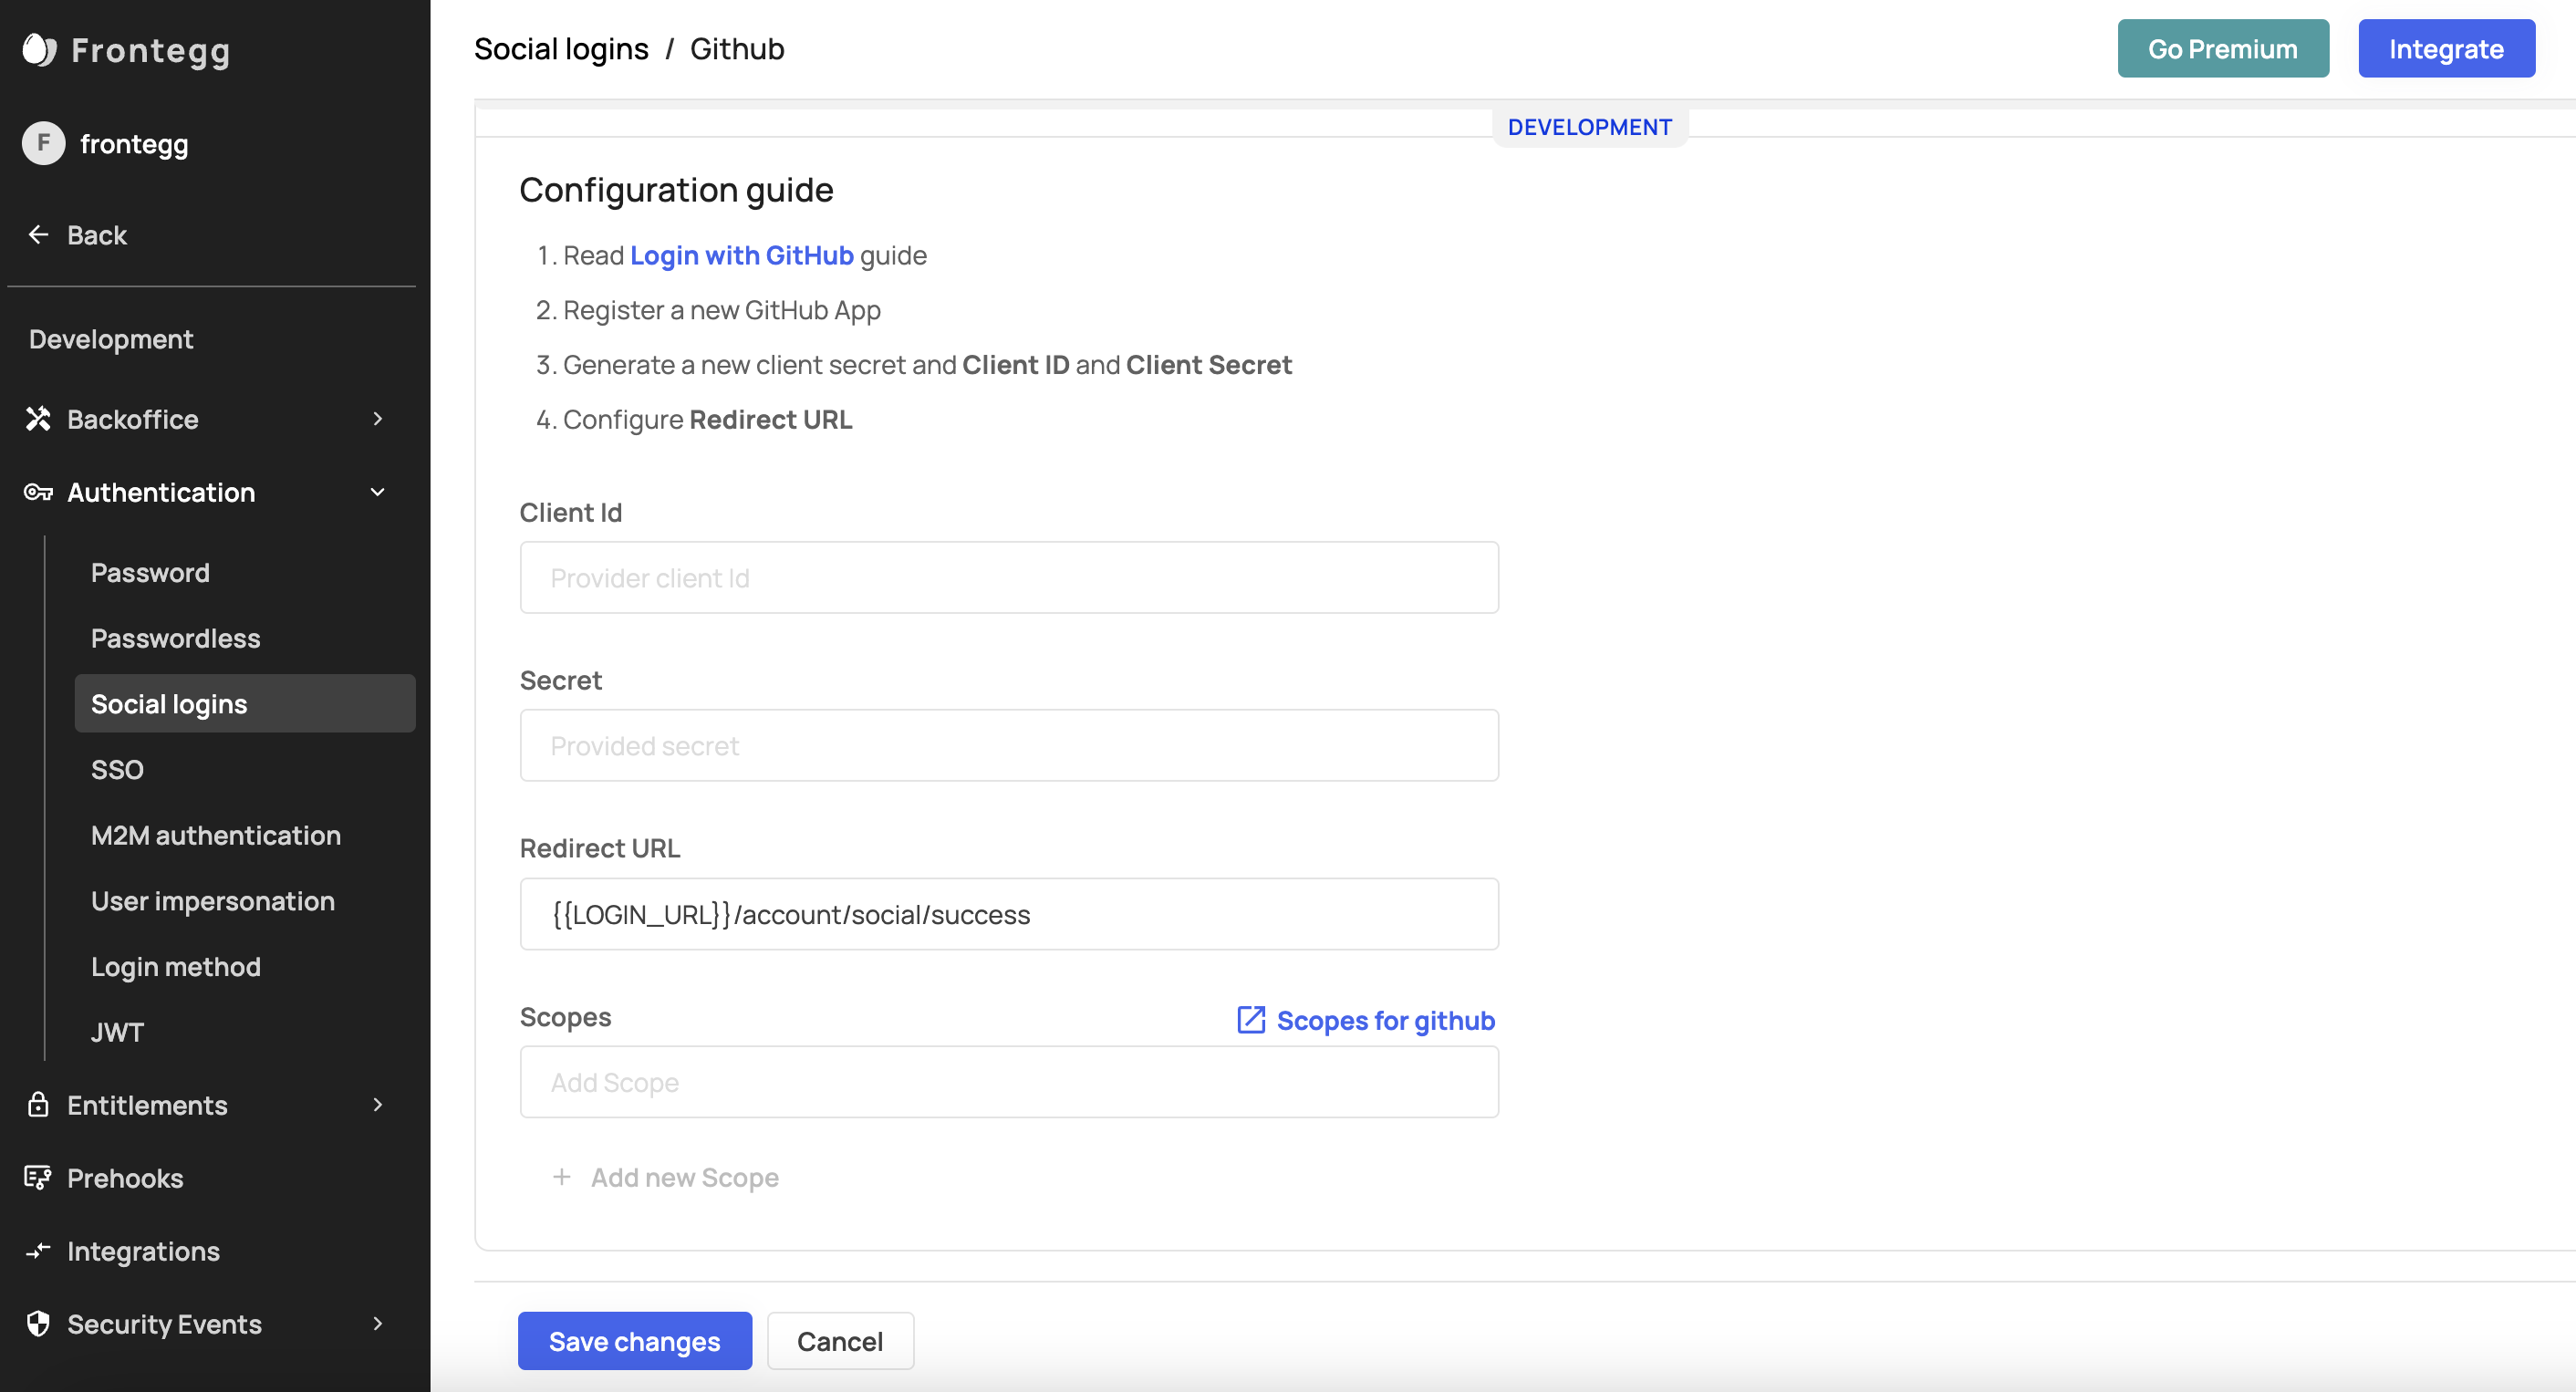
- Go to the social logins page in Frontegg’s portal under Authentication → Social-Logins, and click on Manageon the Slack card.

- Choose Customand start copying the credentials from your Slack app
- Back in your slack app, go to Settings → Basic Information page in your Slack app, and under App Credentialscopy the Client ID and Client Secret and paste them in the proper fields in Frontegg’s Portal
Don’t forget to save your changes!

Congrats! you just enabled slack as a social login, and your users can now use their slack account to login into your app
Test your integration
- Go to your application
- Login/Sign-up using Slack
Customizing Authentication Scopes for Slack
Customizing Scopes for Slack Social Login
Scopes let you specify exactly what type of information your application can fetch from your users after they grant it access— and the generated access token includes these approved scopes. Frontegg currently fetches a user profile and user email as default scopes when users authenticate via their Slack account. You can add additional, custom scopes to your social login via your Frontegg portal. To do so, go to [Environment name] > Authentication > Social login > Custom > Scopes. You can check Slacks's supported scopes here.
Updated 10 months ago