Tenant configuration
Security is a critical component of any application and it comes with a lot of responsibility. But all that responsibility shouldn't fall only on you, the vendor. It can also be passed on to the customer.
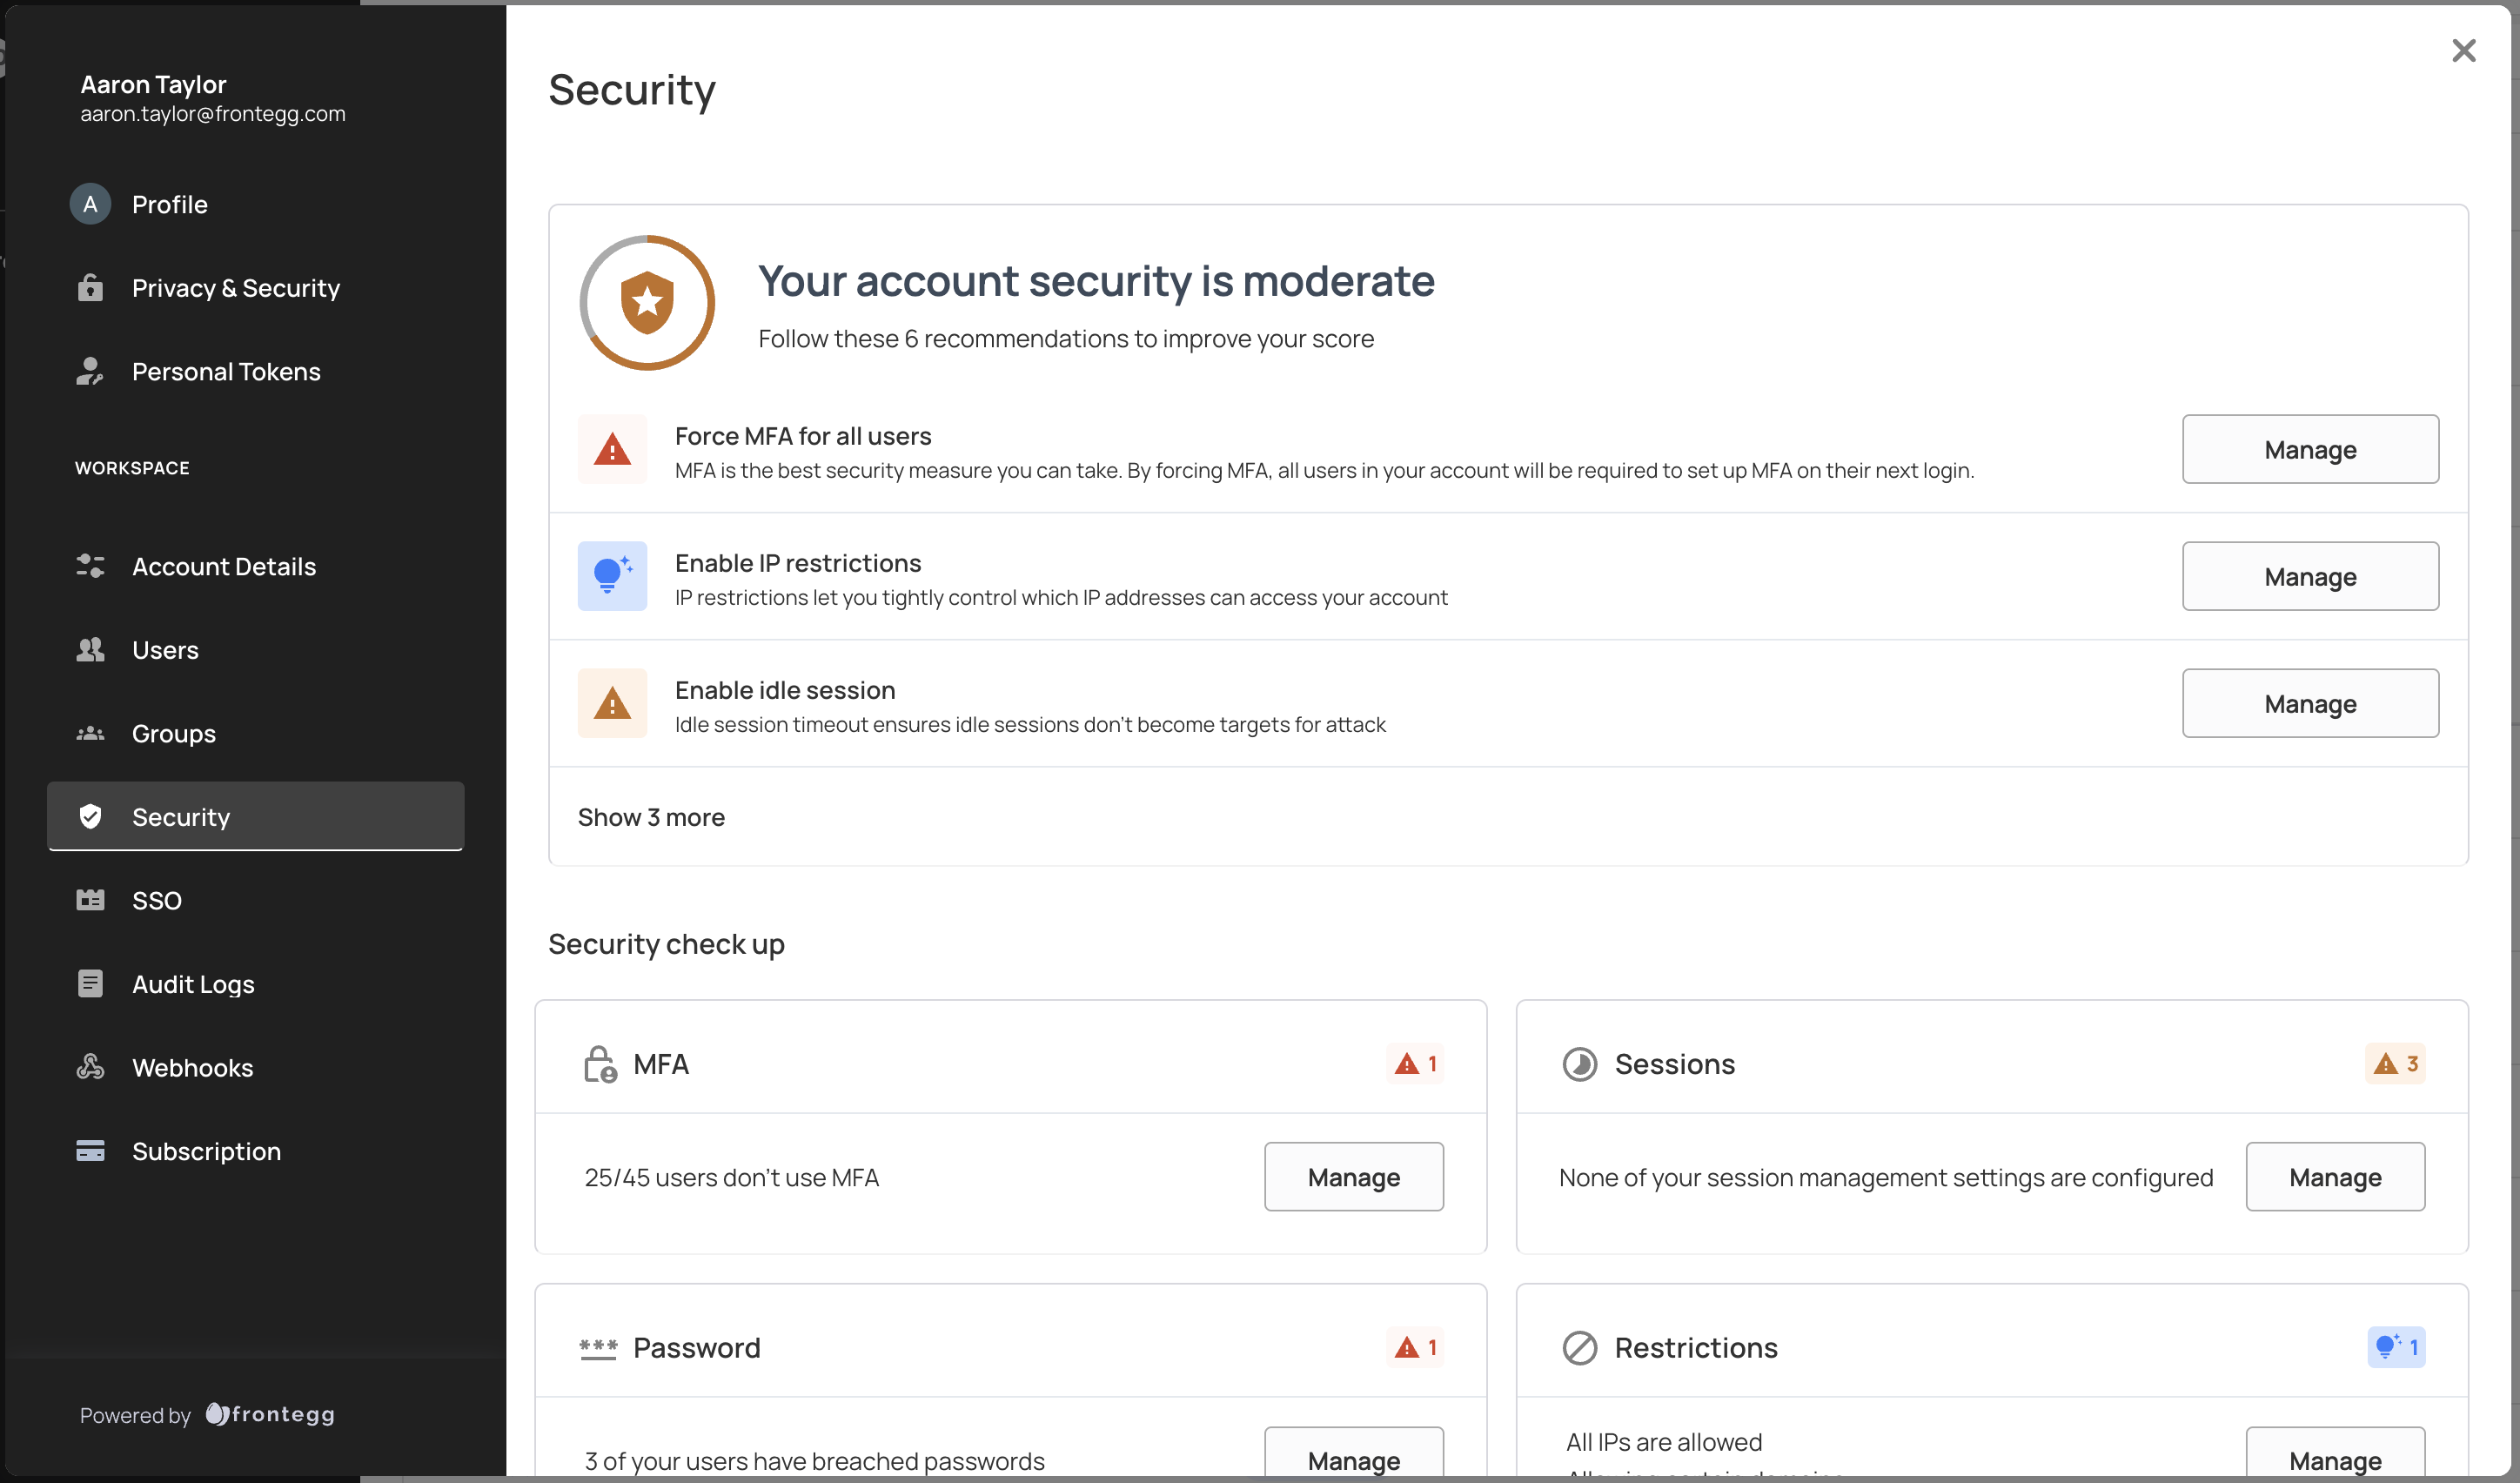
The new Security tab of the Frontegg Admin Portal offers a way for your accounts to see how secure their accounts are and how to improve them.
Getting Started
Required versions
Required versions:
@frontegg/react v6.0.4
@frontegg/angular v6.4.0
@frontegg/vue v3.0.4
@frontegg/nextjs v8.0.4
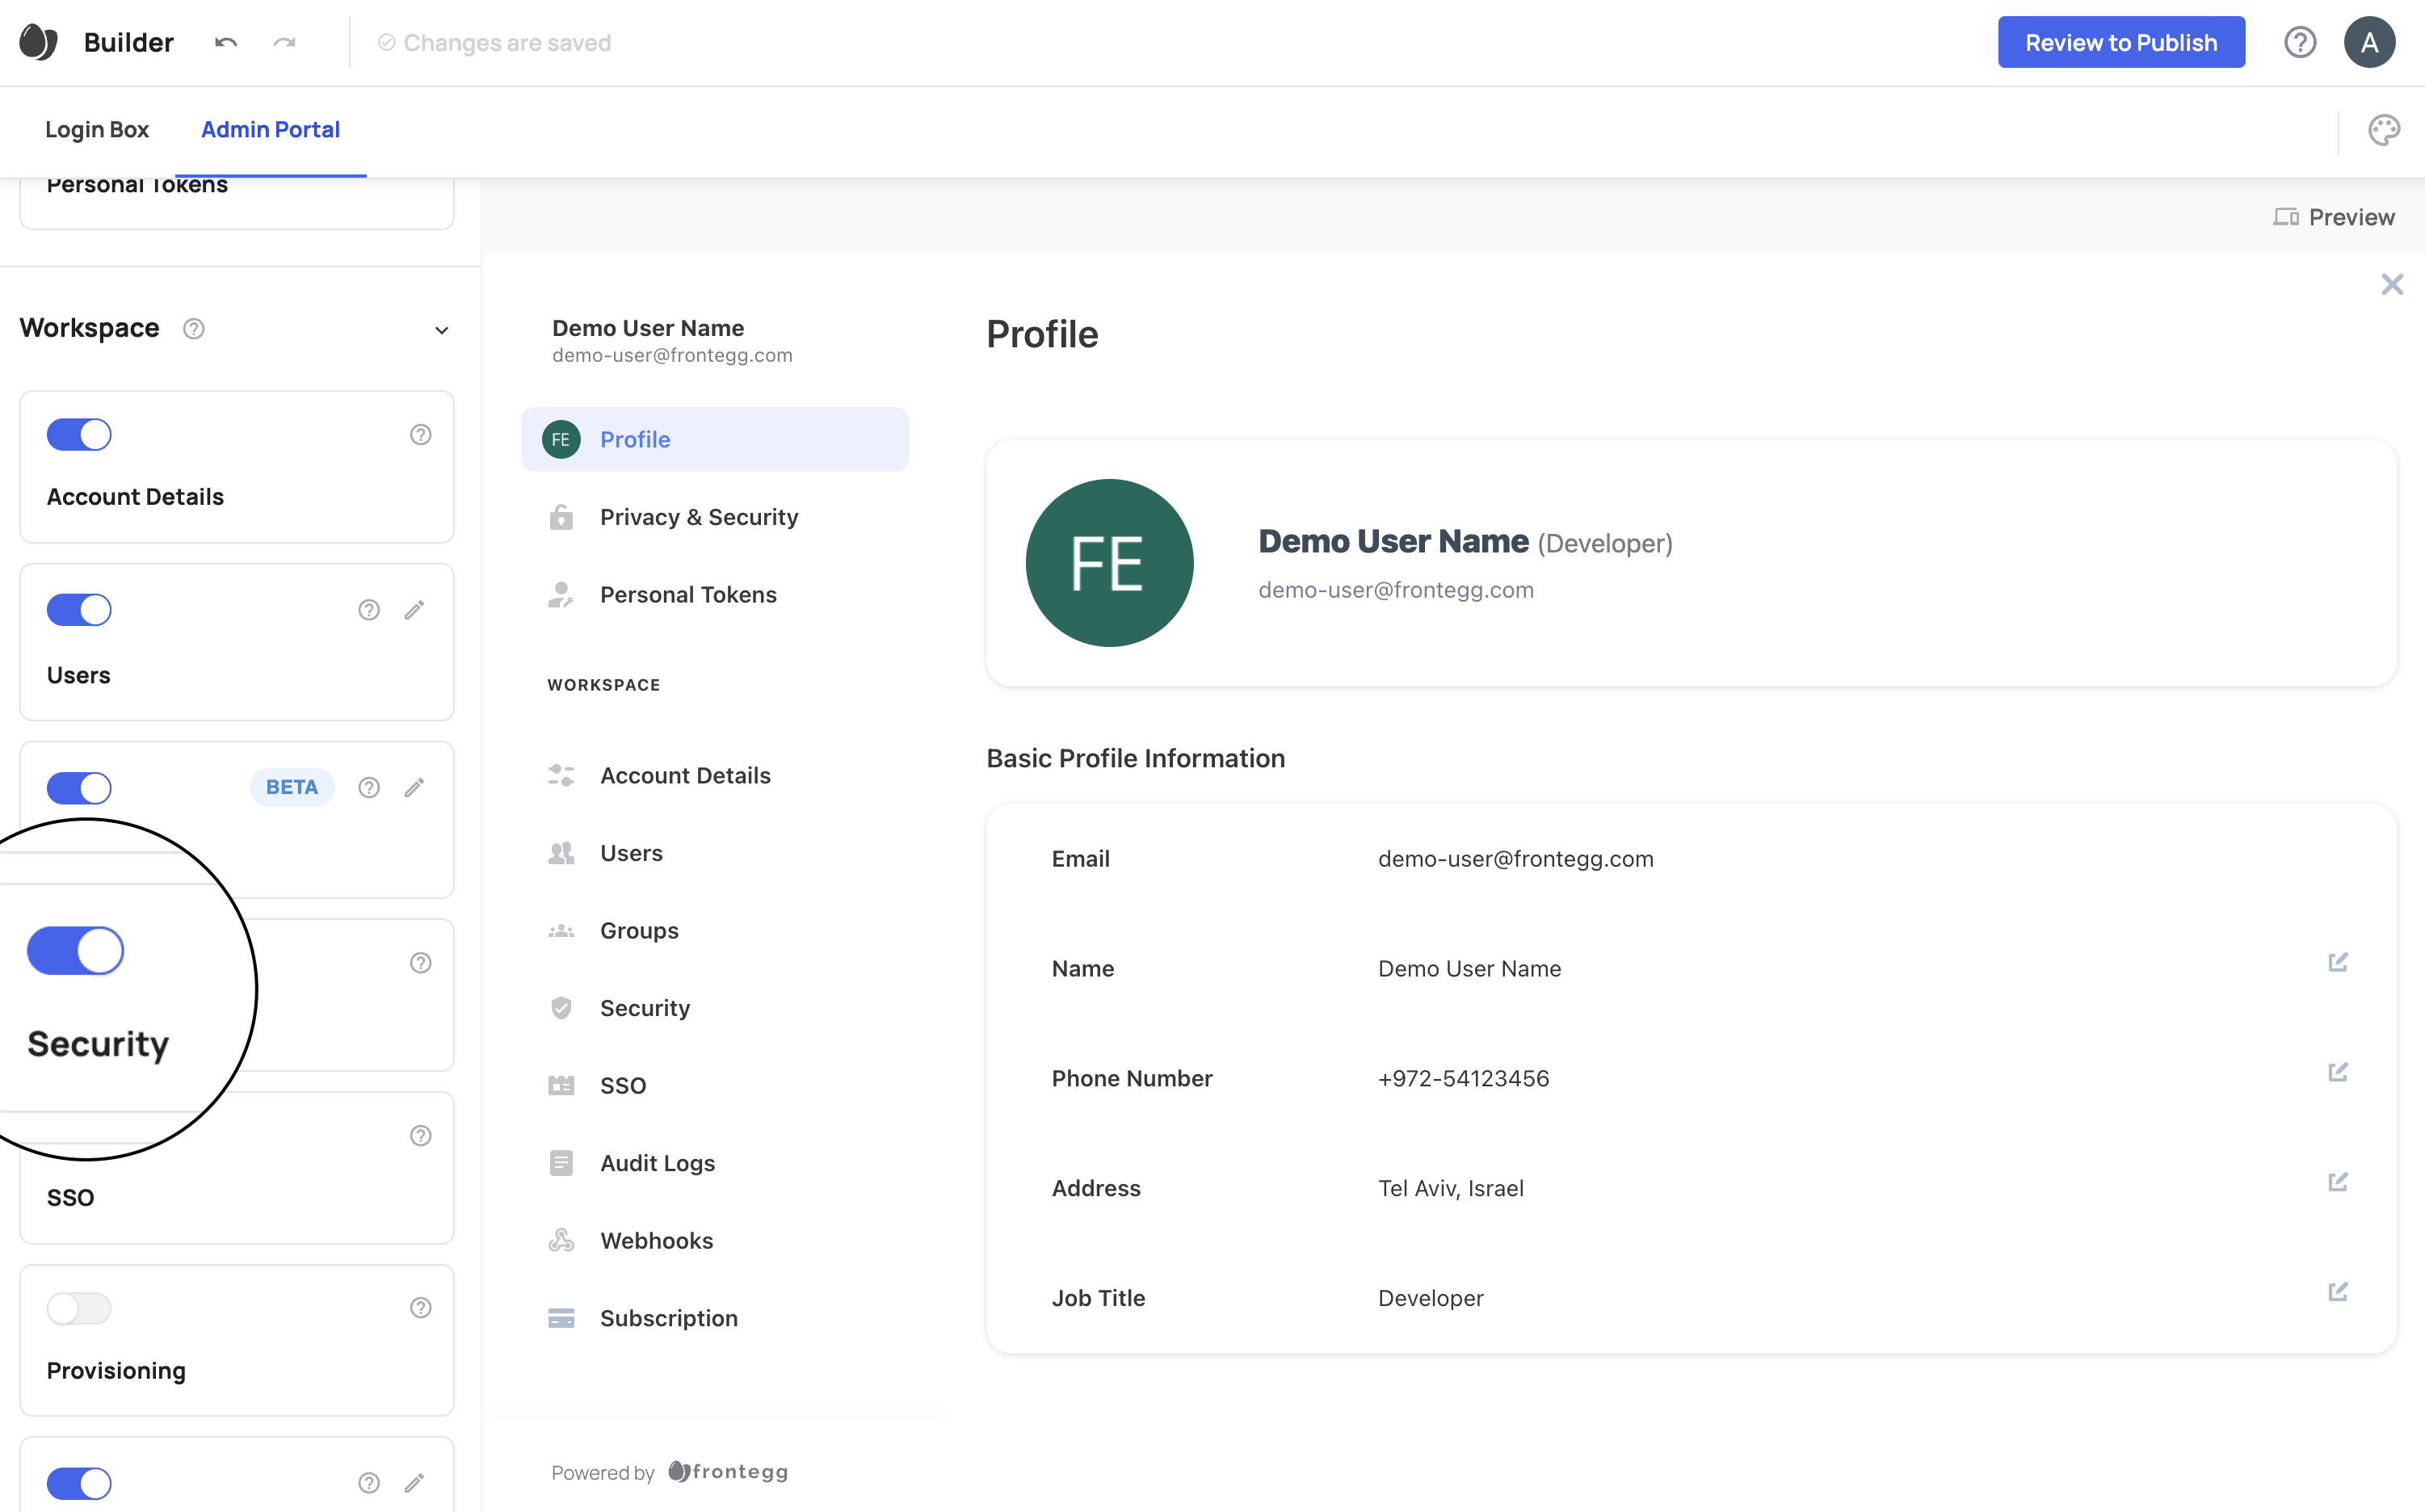
Enable Security in the Admin Portal
Go to Builder ➜ Admin Portal ➜ Workspace.
Find Security and toggle its switch on. Your accounts should now see a new tab in their Admin Portal called Security.
Assign Permissions
In order for your users to have permission to view and edit security features, you'll have to give permissions to certain roles. You can grant these permissions in any environment by going to Environments ➜ [NAME OF ENVIRONMENT] ➜ Permissions
Look for the Security Policies category and check the checkboxes where you want roles to have security permissions.
For example, if you want to let users see the Security tab of the Admin Portal, give them a role with permission fe.secure.read.securityPolicy
How it works:
Each account gets rated on the following scale:
Vulnerable
Weak
Moderate
Strong
Fortified
In addition to the security levels, each account gets specific recommendations about what to improve. These improvements are either based on Frontegg recommendations or your (vendor) settings.
How the security level is calculated
| Feature | Calculation | Full Points |
|---|---|---|
| MFA | # of enrolled users/Total users x 5 | 5 |
| Idle session | Full points for less than vendor or frontegg value | 1 |
| Force relogin | Full points for less than vendor or frontegg value | 1 |
| Maximum concurrent sessions | Full points for less than vendor or frontegg value | 1 |
| User lockout | Full points for less than vendor or frontegg value | 1 |
| Password history | Full points for less than vendor or frontegg value | 1 |
| Users with breached passwords | # of users with non-breached passwords/Total users x 5 | 5 |
Security Settings
MFA
For more information about MFA in the Admin Portal, visit MFA in the Admin Portal
Password
User Lockout
For apps that use a password, customers can define how many incorrect password a user can try before they get locked out. For this feature, vendor settings override customer settings.
Password History
For apps that use a password, customers can define how many unique passwords a user can set before setting one that was already used. For this feature, vendor settings override customer settings.
Sessions
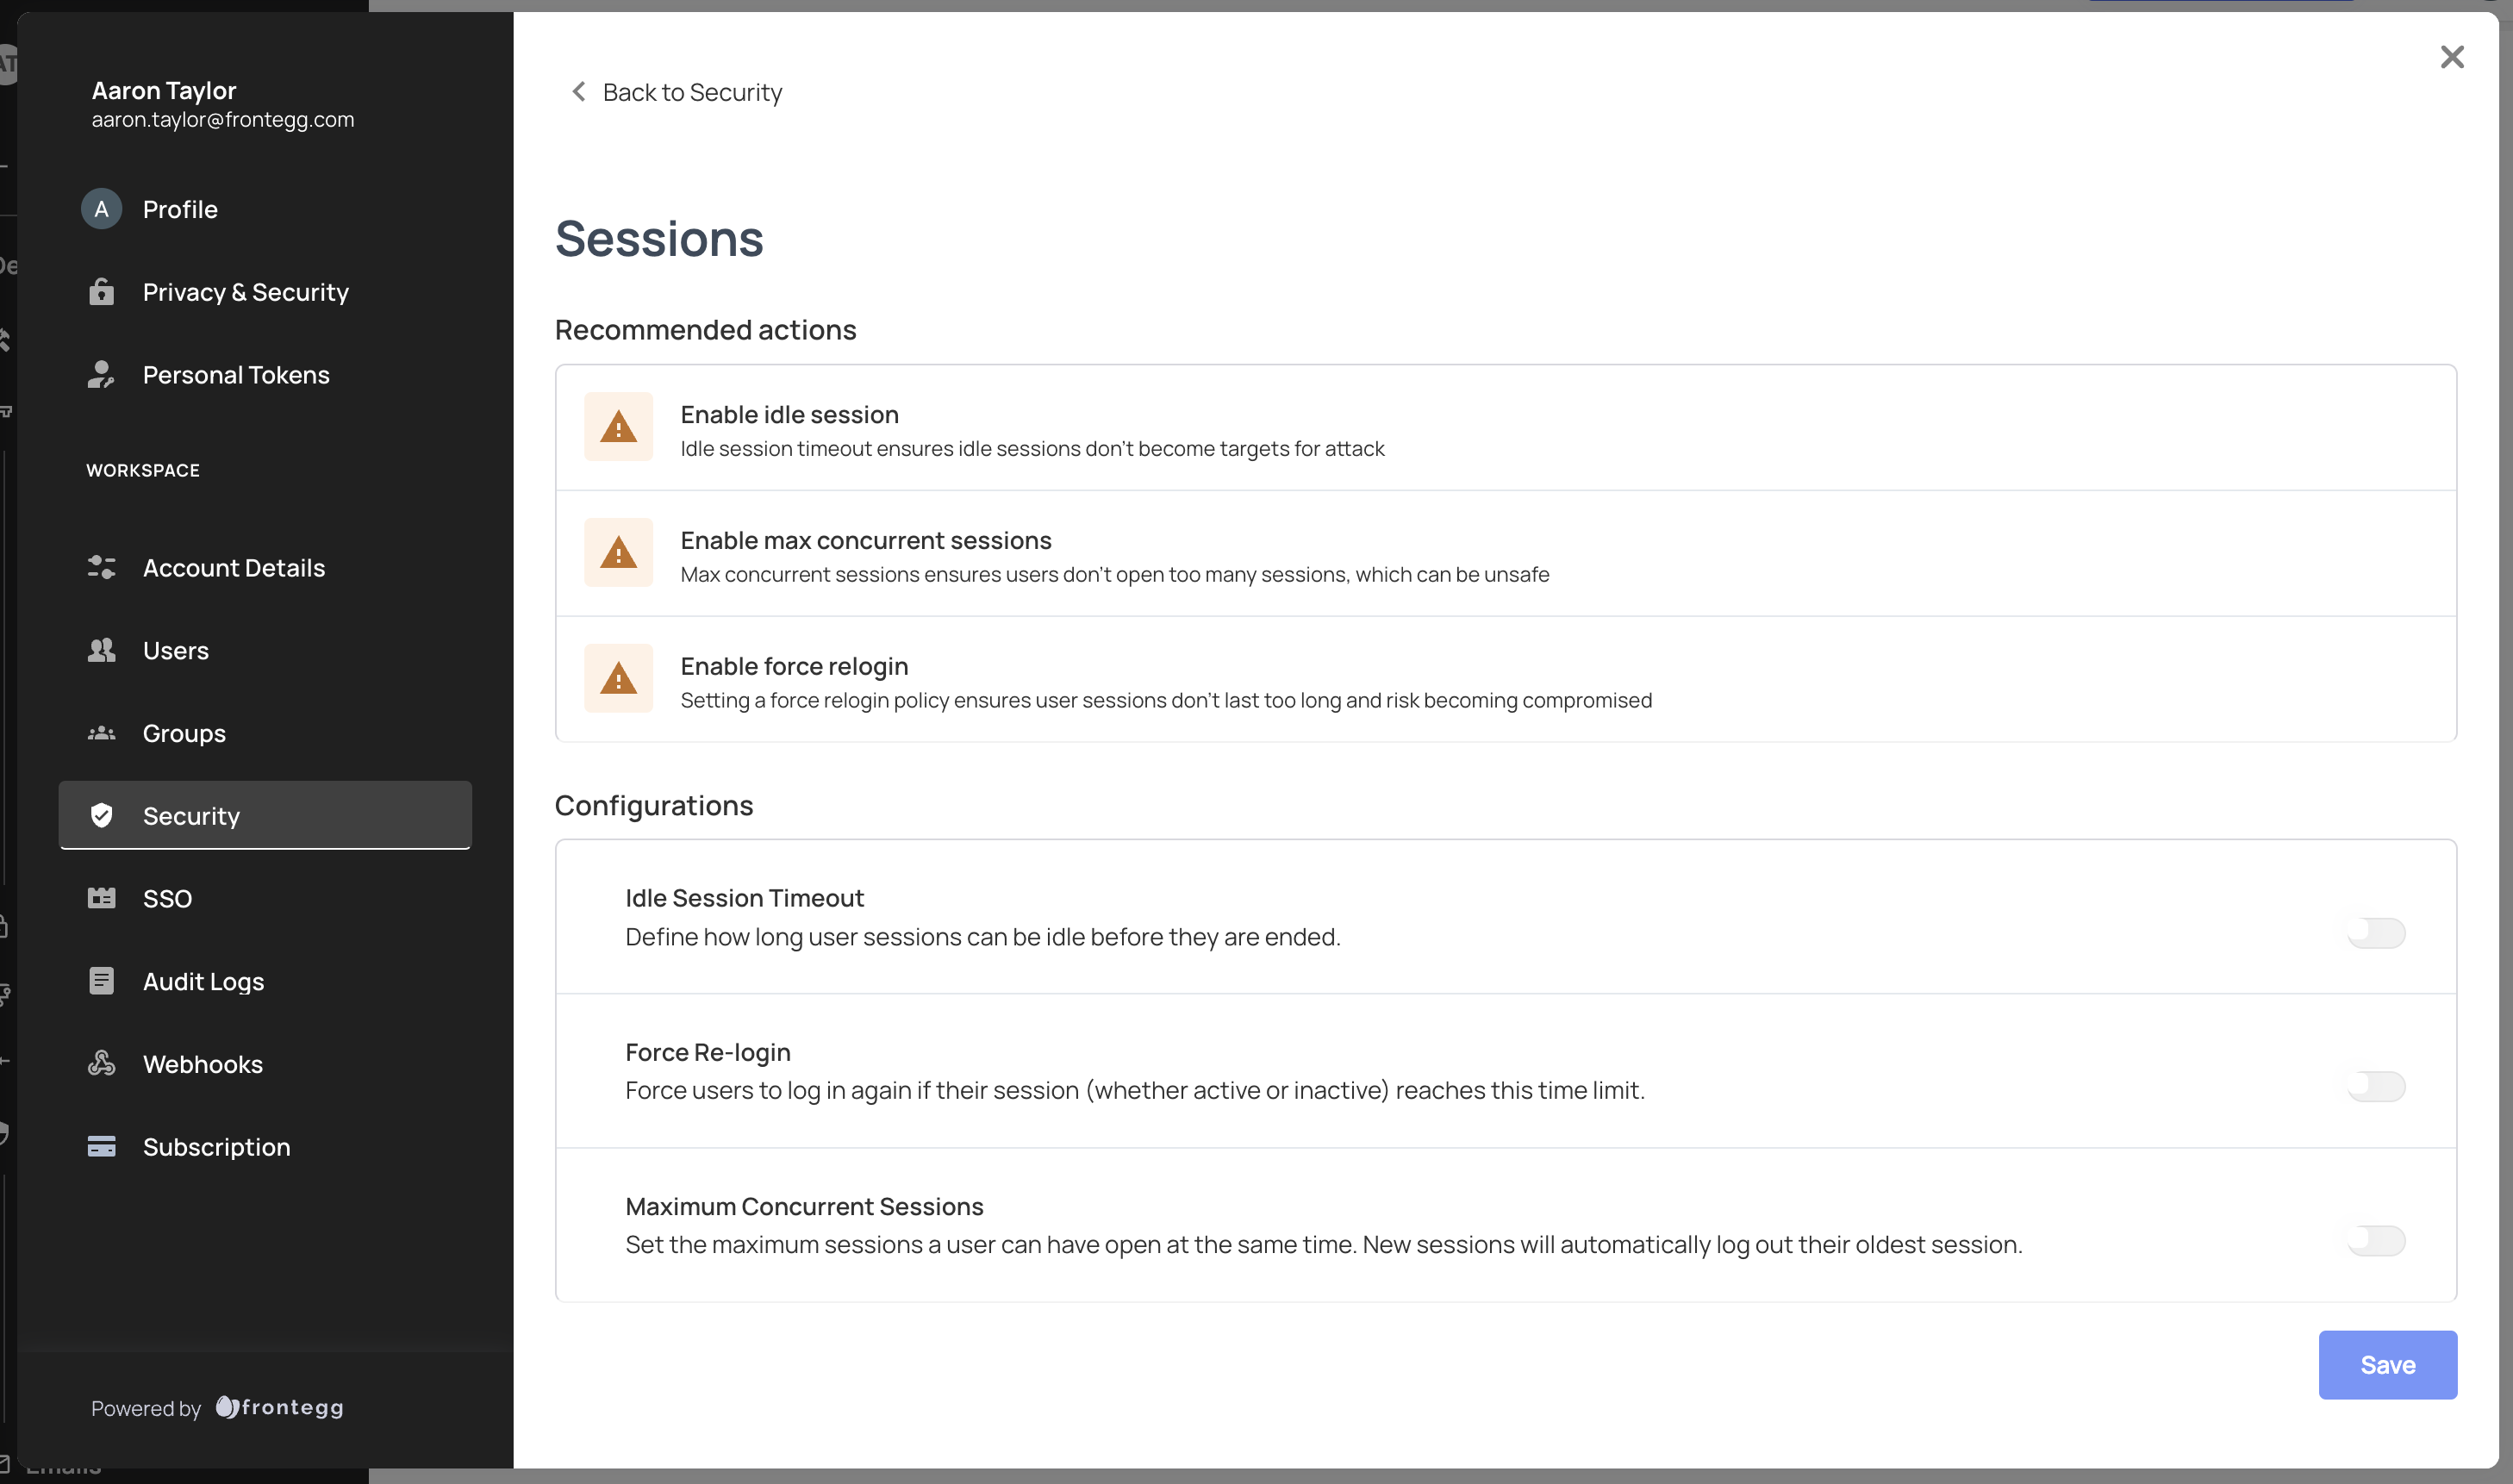
In addition to the session management configurations you've made in App Settings, you can also allow your customers to configure their own session management settings.
Idle Session Timeout
Your customers can define how long their users can have idle sessions before they are terminated.
Force Re-login
Your customers can force users to log in again periodically, whether sessions are active or inactive.
Maximum Concurrent Sessions
Your customers can decide how many sessions users can have open at the same time. If users reach their limit, new sessions replace older sessions automatically.
Restrictions
IP Restrictions
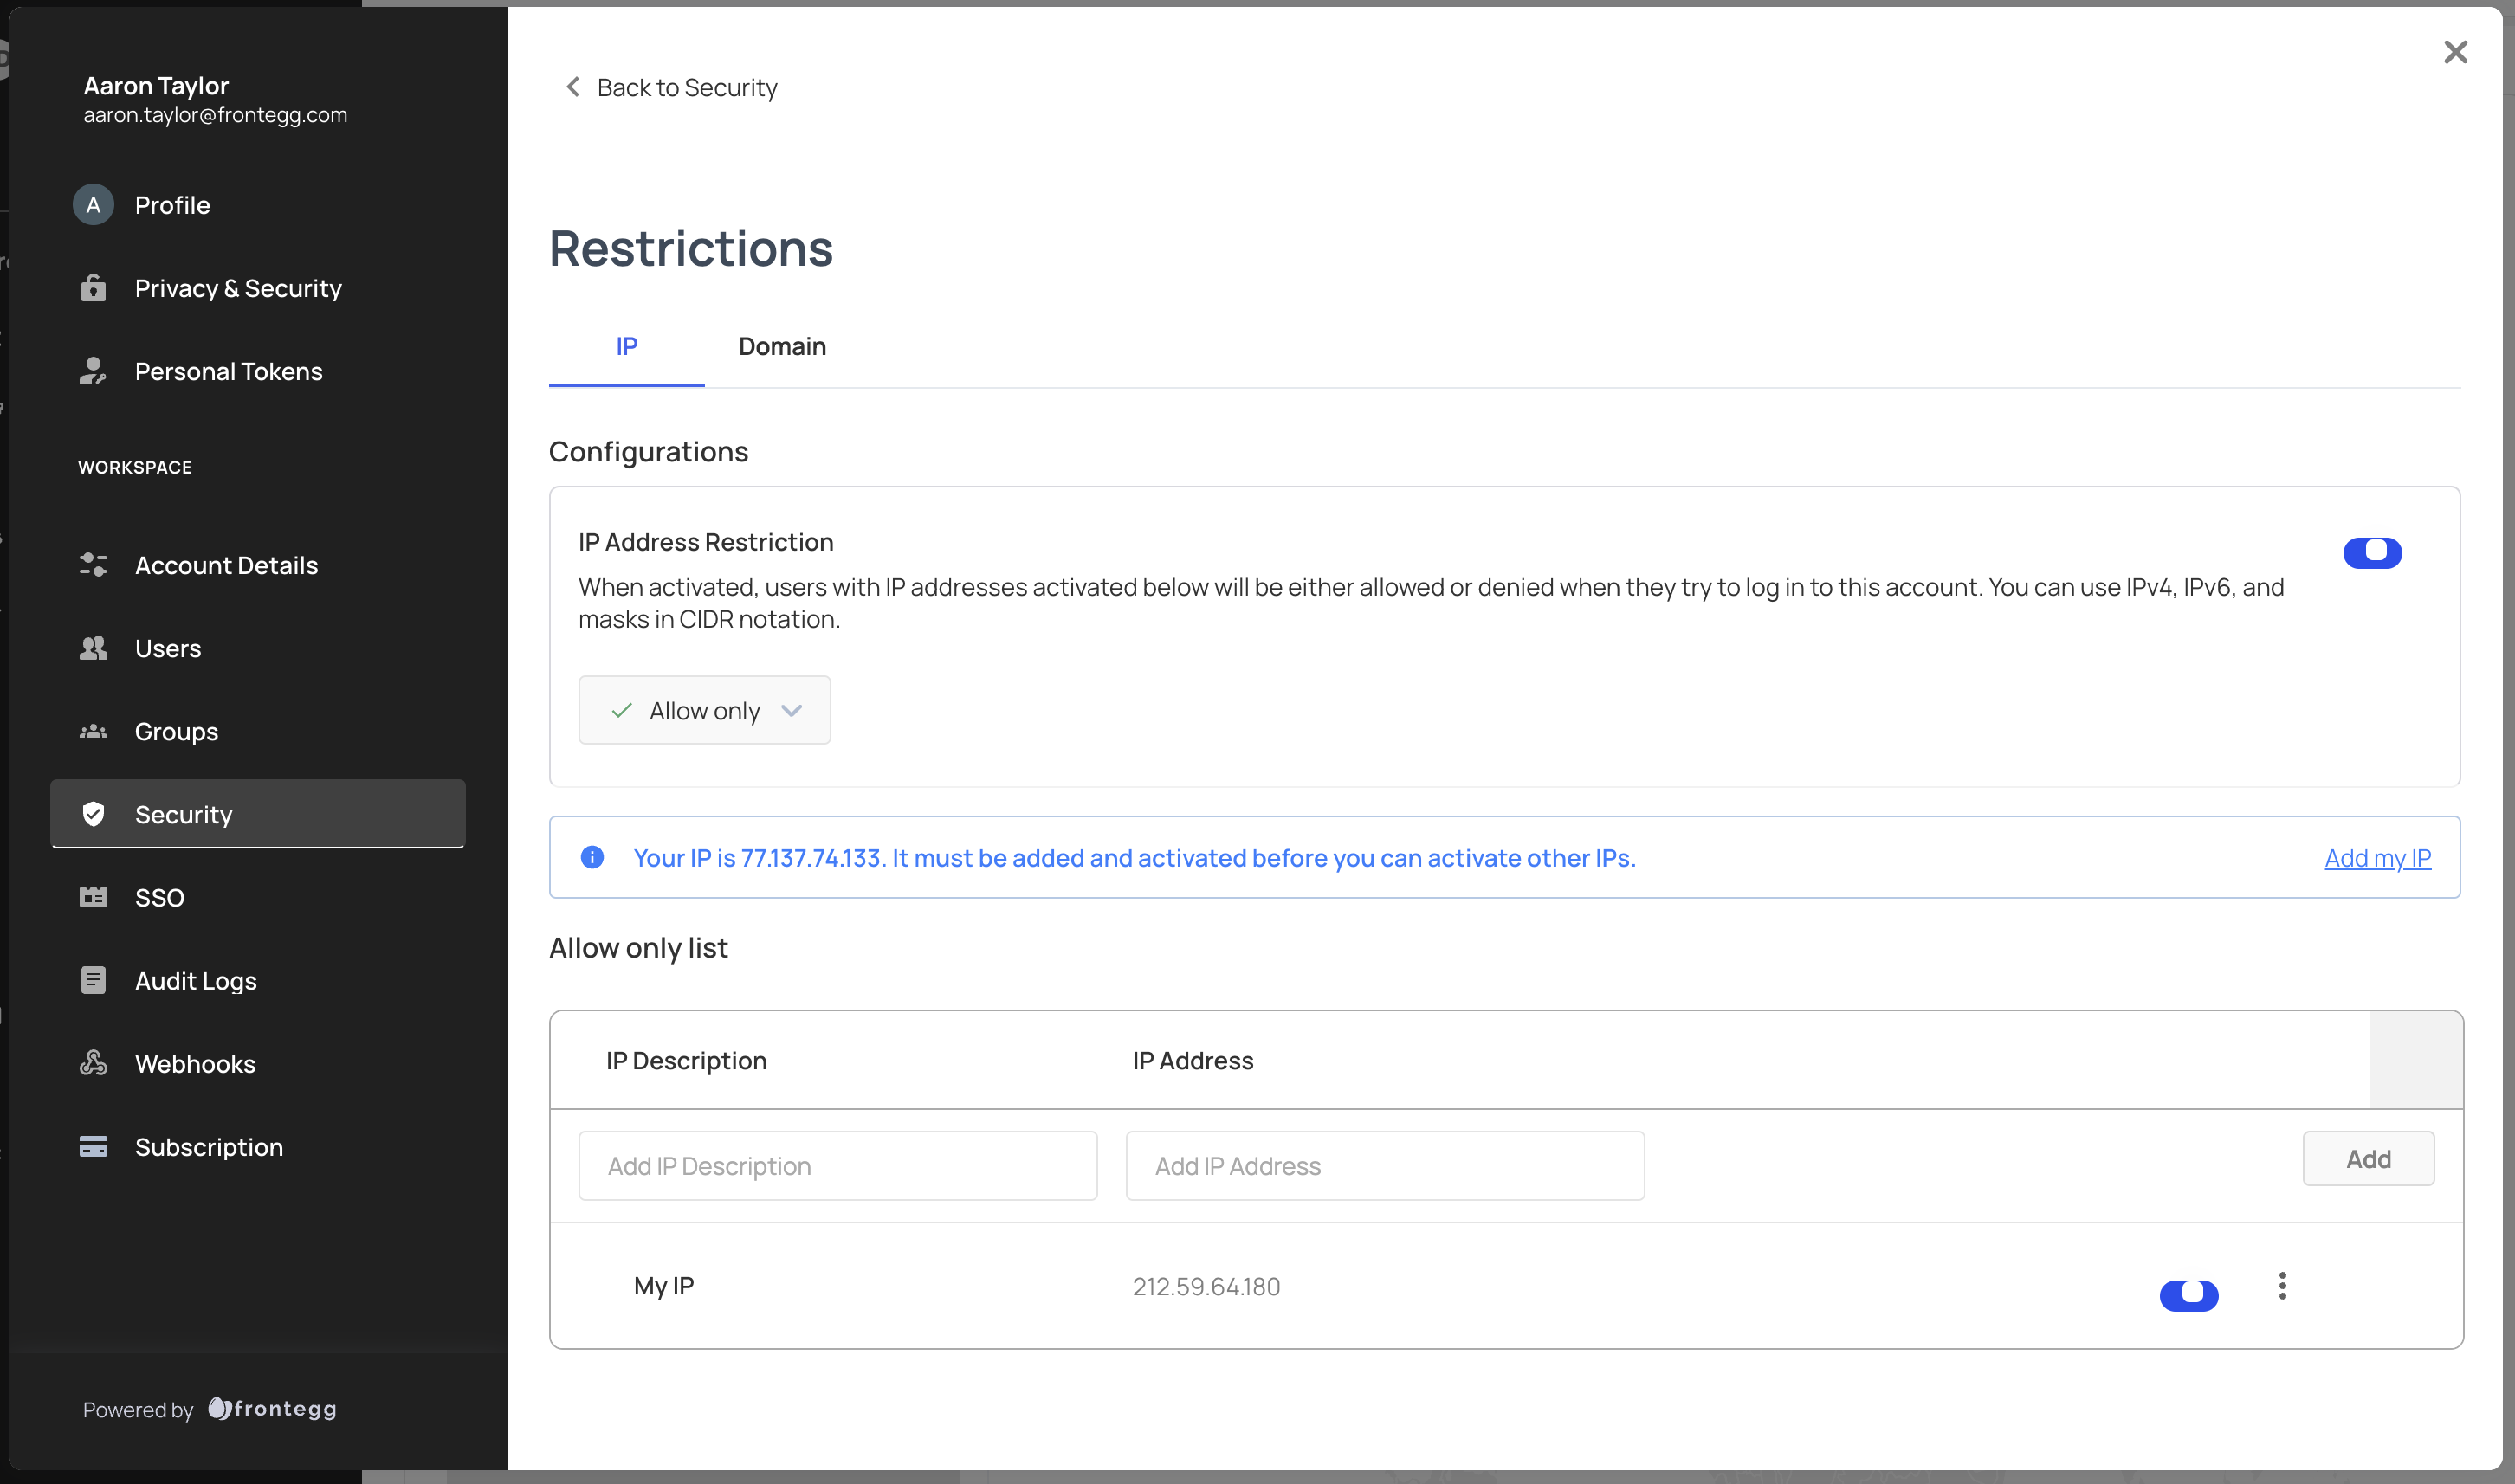
IP Restrictions give your customers the ability to restrict login or signup to certain IP addresses. The rules can contain IPv4 (e.g 255.255.255.255), IPv6 (e.g. 2345:0425:2CA1:0000:0000:0567:5673:23b5), and masks in CIDR notation (e.g. 192.0.2.0/24 or 2002:🔢abcd:ffff:c0a8:101/64).
Frontegg offers allowlists as well as denylists.
Allowlist: Only allow the following IPs and deny all others
Allowlists must contain the IP address of the user (otherwise the user configuring it could get locked out of their account).
Denylist: Only block the following IPs and allow all others
Denylists can't contain the IP address of the user (otherwise the user configuring it could get locked out of their account).
Enabling IP Restrictions
In order for IP restriction rules to be enforced, the toggle in the top-right corner of the feature must be enabled.
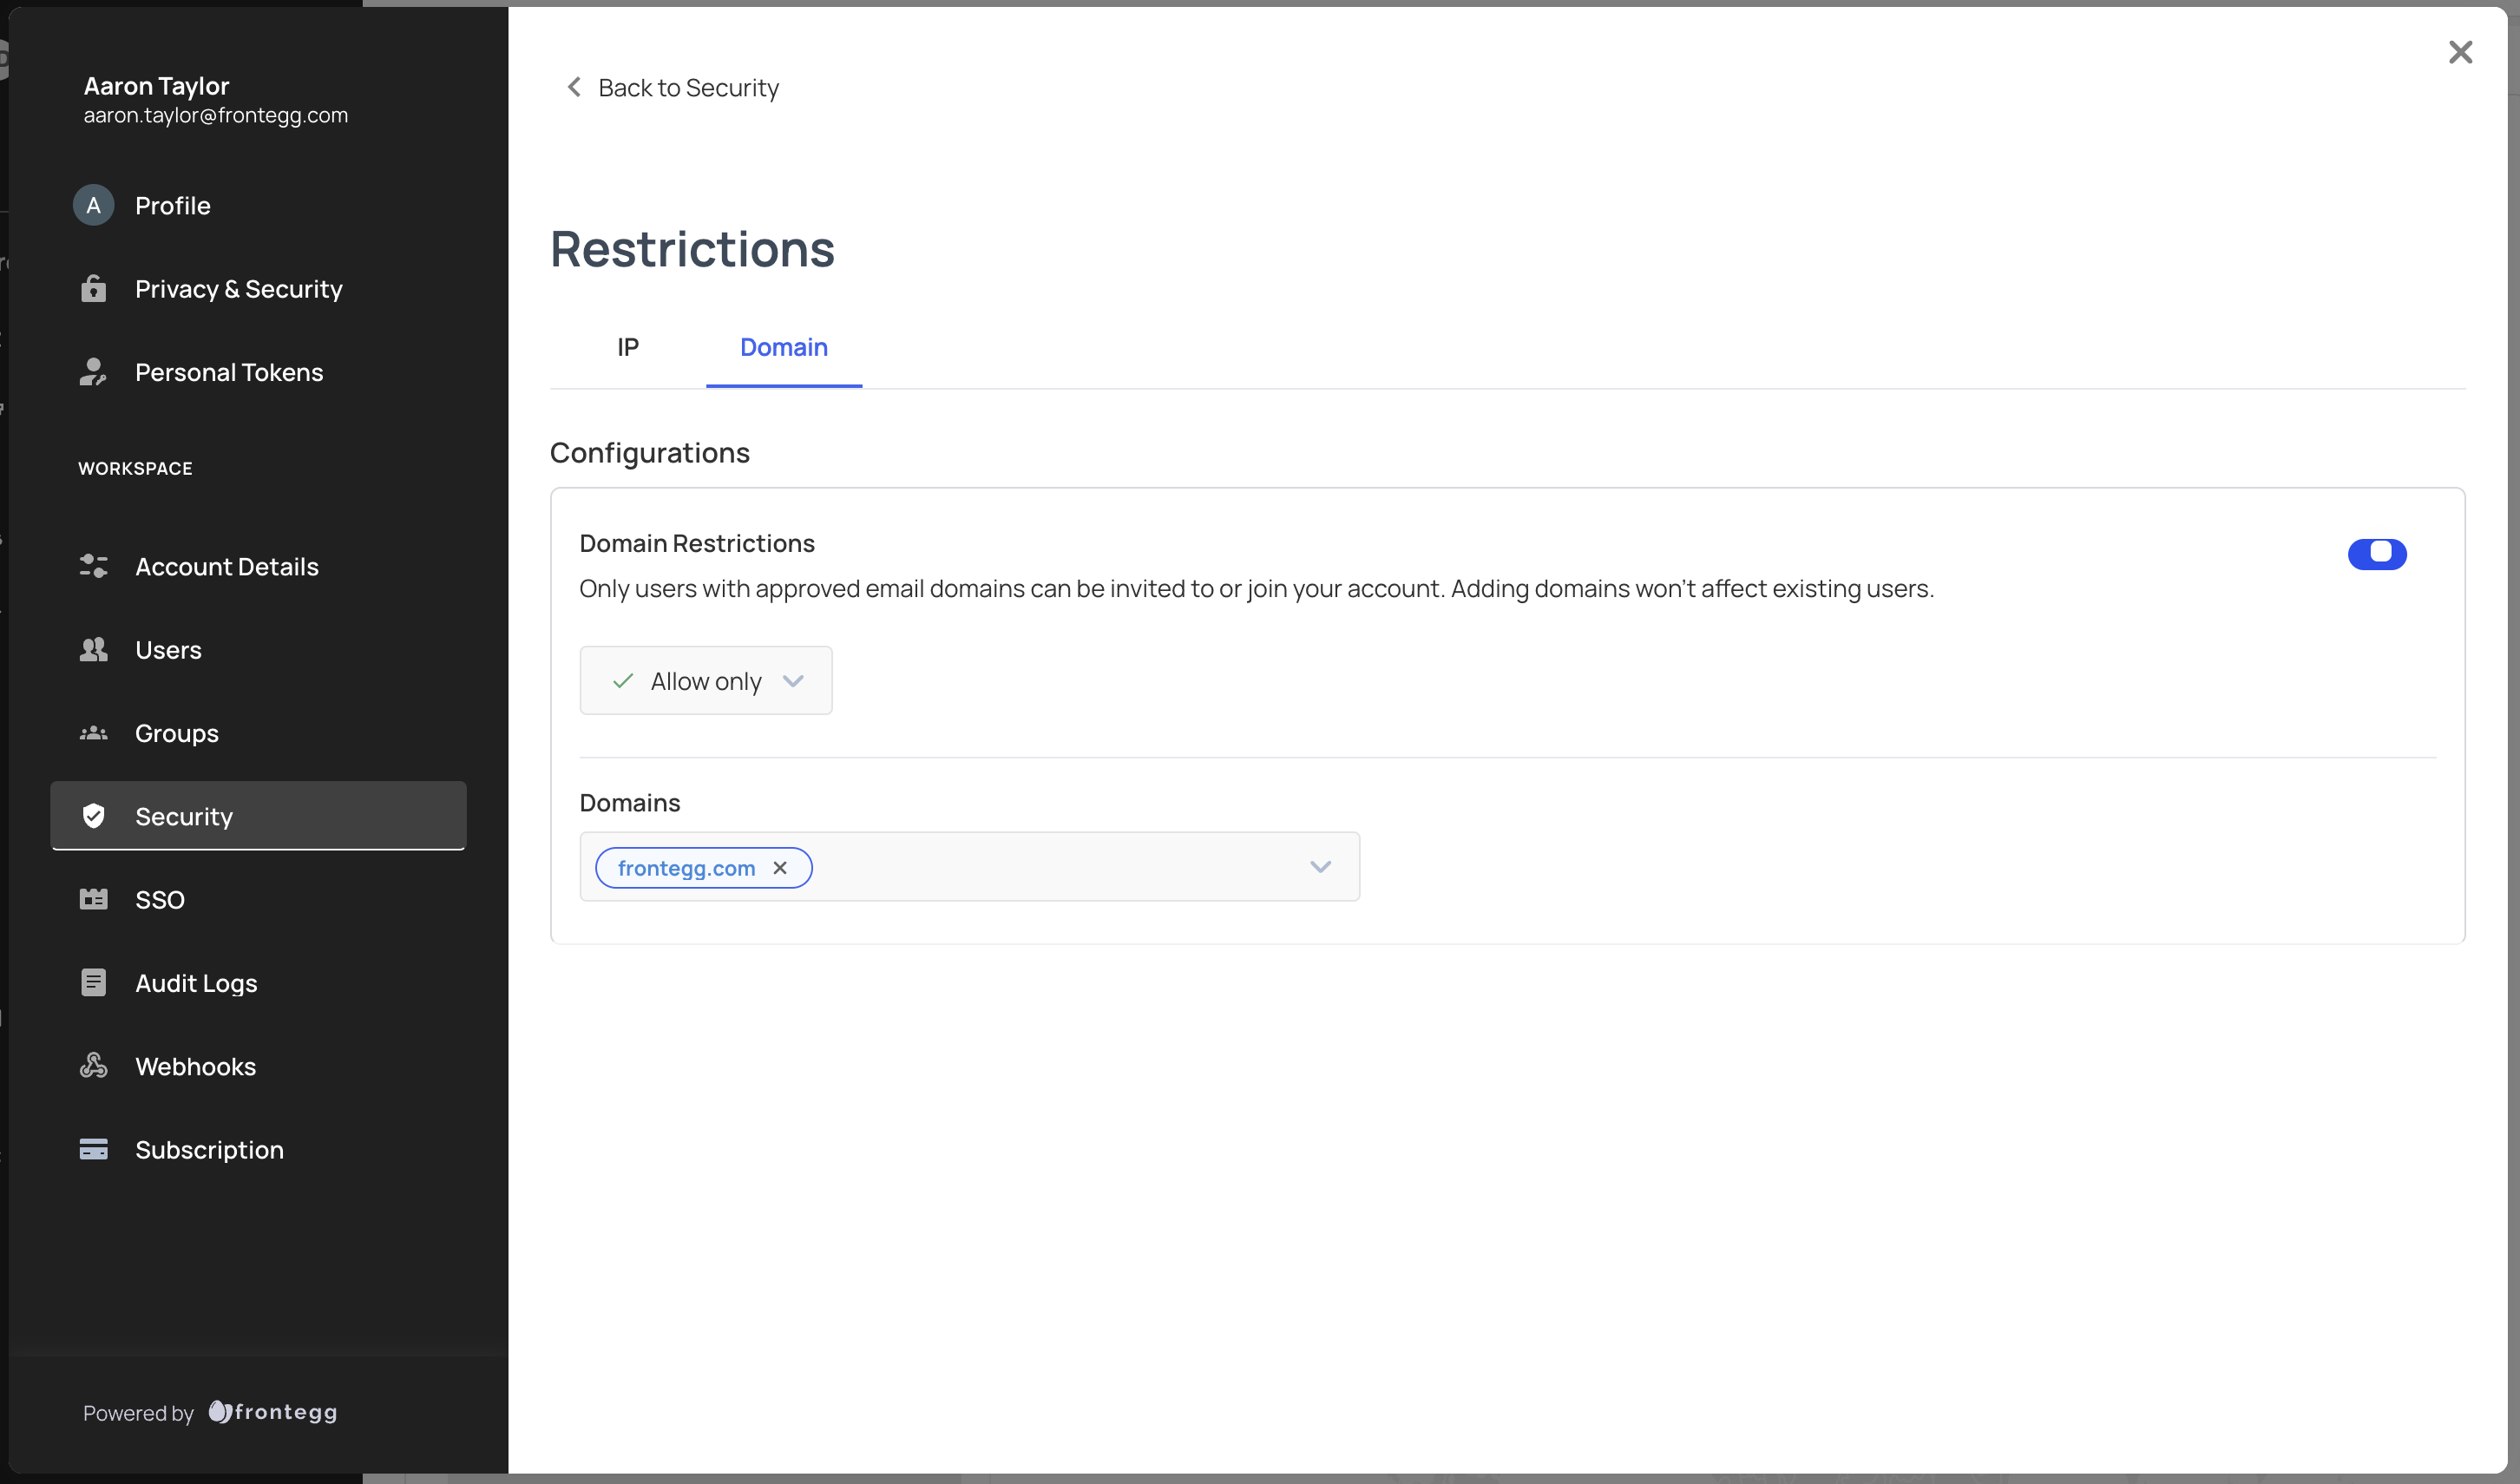
Domain Restrictions
Your customers want to let users invite other users to their account, but they may not want to let them invite anyone. By configuring email domain restrictions, they can restrict signup to specific email domains.
Frontegg offers allowlists as well as denylists.
Allowlist: Only allow the following domains and deny all others
Denylist: Only block the following domains and allow all others
Both methods apply in 2 places:
- On user invitation by email
If a user tries to invite a user with a domain that isn't allowed, they won't be able to invite them.
- On user signup after clicking an invite link
If a user tries to join your account with a domain that isn't allowed, they won't be able to join.
Note: Configuring domain restrictions doesn't affect existing users.
Updated about 2 months ago