Apple Login
Adding social login to your login page allows users to sign in to your website or application using their existing social media accounts, such as Facebook, Google, or Apple. This can make the login process faster and more convenient for users, as they don't have to create a new account or remember a separate username and password.
To enable Apple social login to your login page, you will need to
- Enable Apple as a social login in the builder
- Create Apple Credentials in the environments
Enable Apple login in the Builder
- Toggle on the Apple social login placed in the left panel (please note - you can have up to four social logins on your login page)
- Click “Review to Publish” button, review your changes and “Publish to Dev”

Create Apple Credentials
First, Login to your Apple developer account at https://developer.apple.com/account
This page will be referred to as the Home Page throughout this tutorial.

Now, follow the steps below to configure Login with apple.
Step 1: Create an Application
To create your Apple application, go to the Home Page of your developer account, and under Certificates, Identifier & Profiles click on Identifiers

Then follow these steps:
- Make sure you are viewing App IDs (can be seen at the top right corner of the table)
- Click the blue Plus Button to add a new App ID

- Select App IDs and click Continue

- Select App as the type for the Identifier and click Continue

- Pick a Description and a Bundle ID for the App
- Bundle ID should be a reverse-domain name style string, for instance: com.example.myapp
- Bundle ID must be set explicitly, and so, please make sure that Explicit option is selected
- Description can be any string
.png")
- Scroll down on the list called Capabilities, and select Sign In with Apple

Make sure the app is enabled as the Primary App ID (as seen in the screenshot above)
You can also group this App ID with other App IDs by clicking on the Edit button on the same row of Sign In with Apple
- Click Continue
- Click Register
You should now be able to see the newly created App ID in the list of App IDs

Step 2: Register Your Service ID
To create your Apple Service ID, go to the Home Page of your developer account, and under Certificates, Identifier & Profiles click on Identifiers
Then follow these steps:
- Make sure you are viewing Service IDs (can be seen at the top right corner of the table)
- Click the blue Plus Button to add a new Service ID

- Select Services IDs and click Continue

- Pick a Description and Identifier for you Service ID.
This Identifier will be used later as your Client IDin Frontegg, so make sure you save it

- Click Continue → Register
- Go back to the list of the Services IDs and click on the row with your newly created Service ID

- Select Sign In with Apple, and click Configure
A dialog called Web Authentication Configuration will open
The next two steps are done under the same place which is the Web Authentication Configuration dialog, and can be seen in the screenshot below
This is also where you will need your Domain in Frontegg that you retrieved at the beginning of this step
- Select The App ID you created earlier as the Primary App ID
- Configure the allowed Website URLs for the allowed redirect URLs
- Under Domains and Subdomains enter: {YOUR_DOMAIN_IN_FRONTEGG}
- Under Return URLs enter https://${YOUR_DOMAIN_IN_FRONTEGG}/identity/resources/auth/v2/user/sso/apple/postlogin

- Click Next → Done in the dialog
The dialog will close and you will be back in the Service ID Edit page (Step 8) - Click Continue → Save
Great, You have now configured a service that will be used later in the process.
Don’t forget to write down your Service ID for later.
Step 3: Register a Private Key
In this step you will create a Private Key that will be used for communication with Apple.
Make sure to save the key and the Key ID that you will be given
To create your Apple Service ID, go to the Home Page of your developer account, and under Certificates, Identifier & Profiles click on Keys

- Click on the blue Plus Button to add a new Key

- Enter a Key name
- Select Sign In with Apple and click Configure

- Select the App ID you created earlier as the Primary App ID, and click Save.
You can only create two keys per App ID.

- Click Continue
- Click Register
At this point the Private Key will be given to you, and you will be able to download it Only Once!
So male sure you save it in a secure location.
You will also be given a Key ID Make sure to write this down as well, together with the Service ID you created in Step 2

Step 4: Retrieve your Team ID
To retrieve your Apple Team ID, go to the Home Page of your developer account, and click on Membership details.
Details regarding your account will show up, along with the Team ID. Write it down along with the Service ID and Key ID you created in steps 2 & 3 respectively
Step 5: Configure Apple Provider in Frontegg
We are almost done!
Now all that is left is to copy the credentials to Frontegg’s portal.
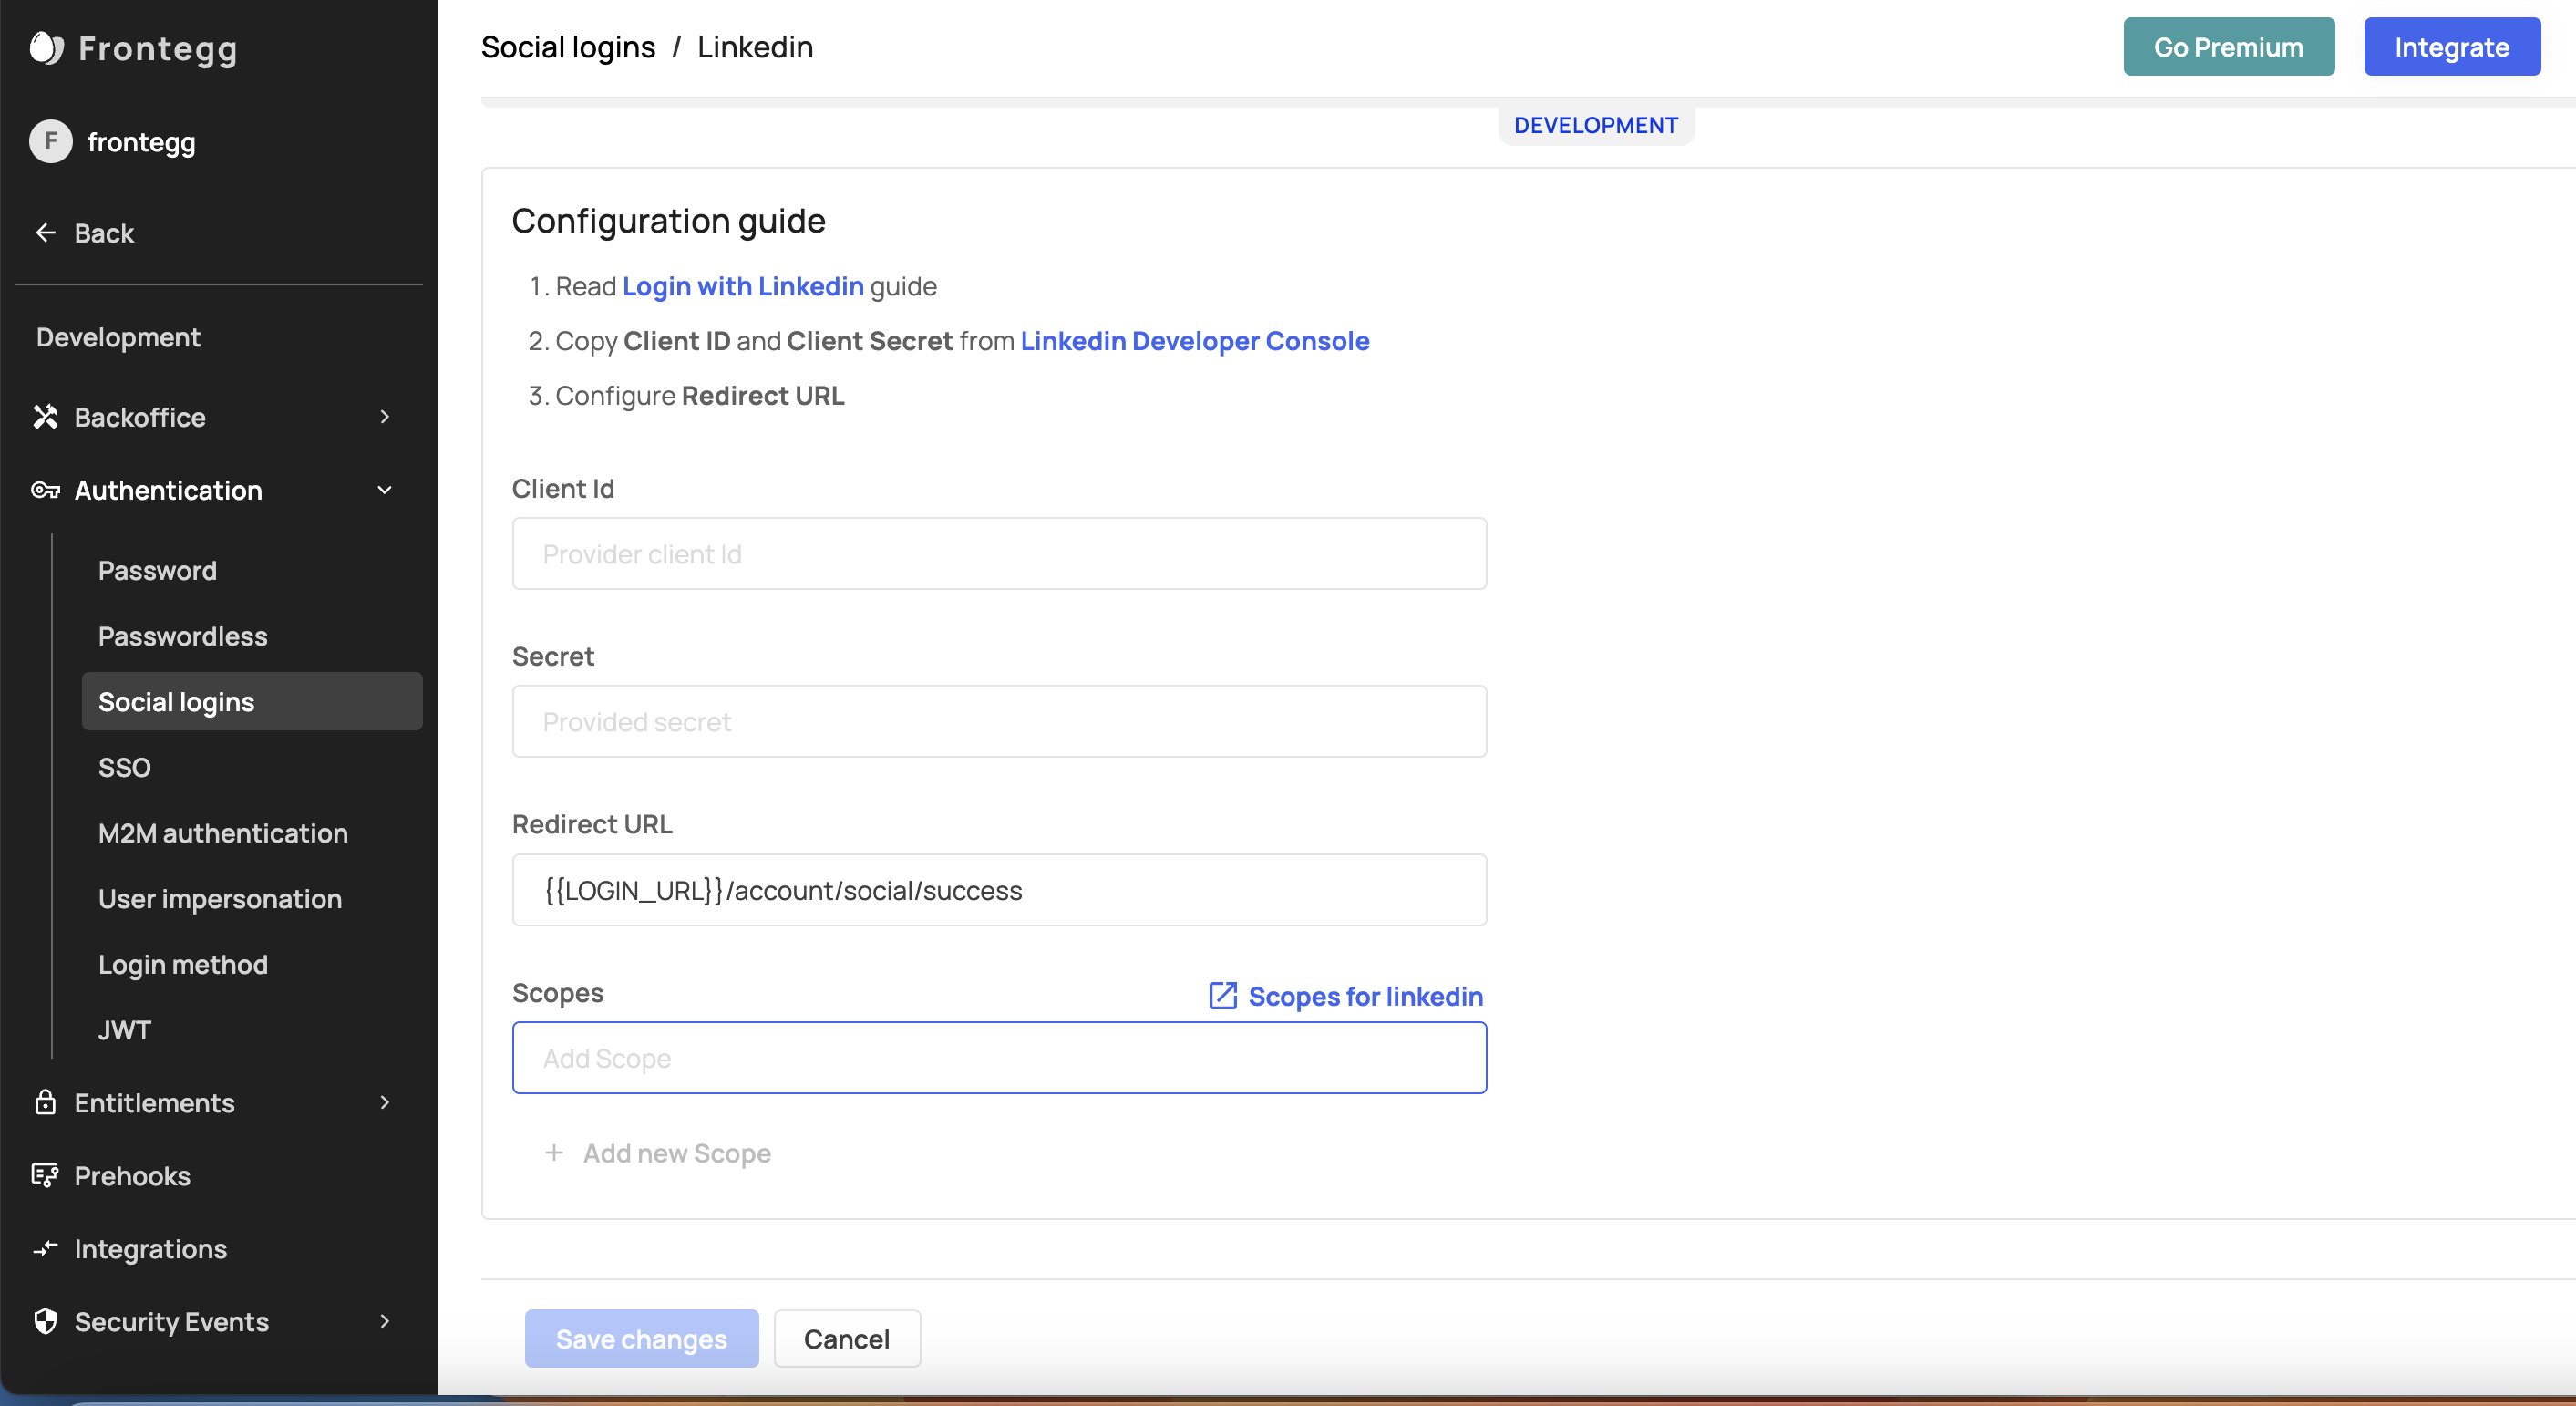
- Go to the social logins page in Frontegg’s portal under Authentication → Social-Logins, and click on Manage on the Applecard.

-
Choose Custom and start copying the credentials you wrote down
-
Under Client ID paste the Service ID you created in Step 2
-
Under Private Key paste the contents of the private key you downloaded from Apple in step 3
-
Under Team ID paste the team id from step 4
-
Under Key ID paste the key id from step 3
-
Under Redirect URLpaste the redirect url to which you want the user to be redirected to after a successful login
Don’t forget to save your changes!
-

Congrats! you just enabled Apple as a social login, and your users can now use their Apple ID to login into your app
Test your integration
- Go to your application
- Login/Sign-up using Apple
Customizing Authentication Scopes for Apple
Customizing Scopes for Apple Social Login
Scopes let you specify exactly what type of information your application can fetch from your users after they grant it access— and the generated access token includes these approved scopes. Frontegg currently fetches a user profile and user email as default scopes when users authenticate with their Apple account. You can add additional, custom scopes to your social login via your Frontegg portal. To do so, go to [Environment name] > Authentication > Social login > Custom > Scopes.
Updated 9 months ago