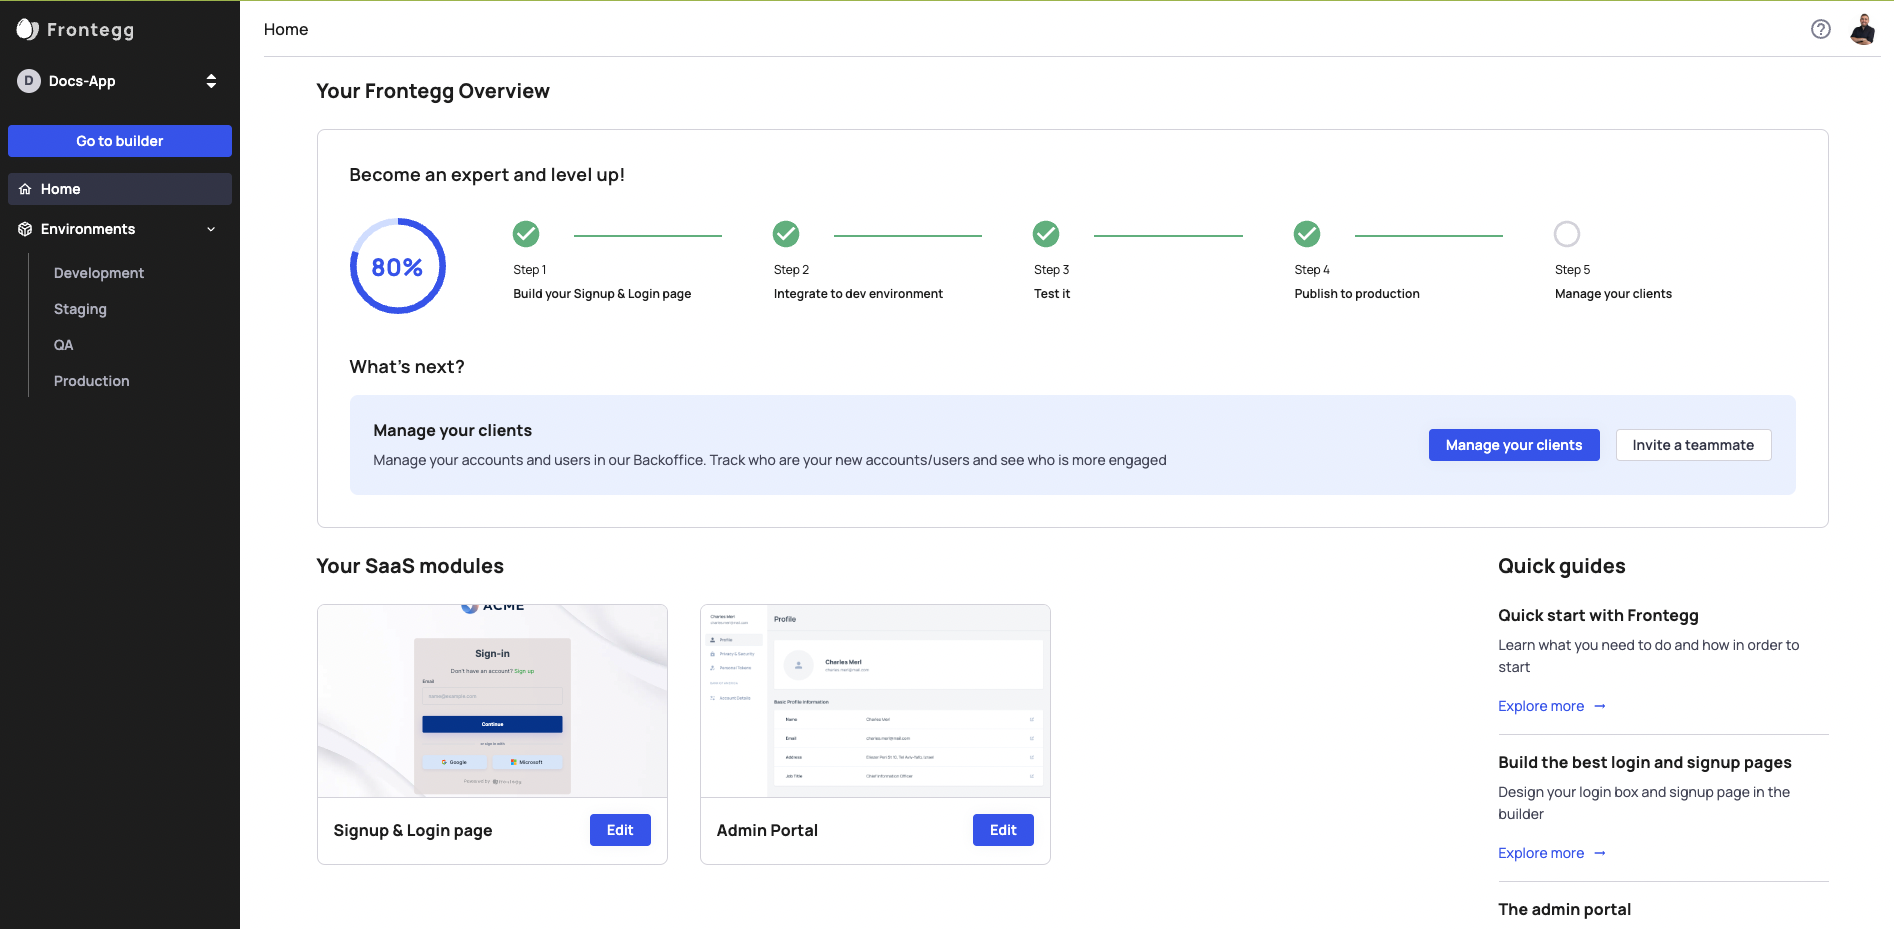
After signing up to Frontegg and opening an account, you will soon get to know The Frontegg Portal, which serves as your gateway to the Frontegg ecosystem. Within this portal, you have the power to finely tune the appearance and configurations of your login box and admin portal. Additionally, it provides real-time control over user and account management within your applications. Read on to gain insight into the rich array of features awaiting you in the Frontegg Management Portal.
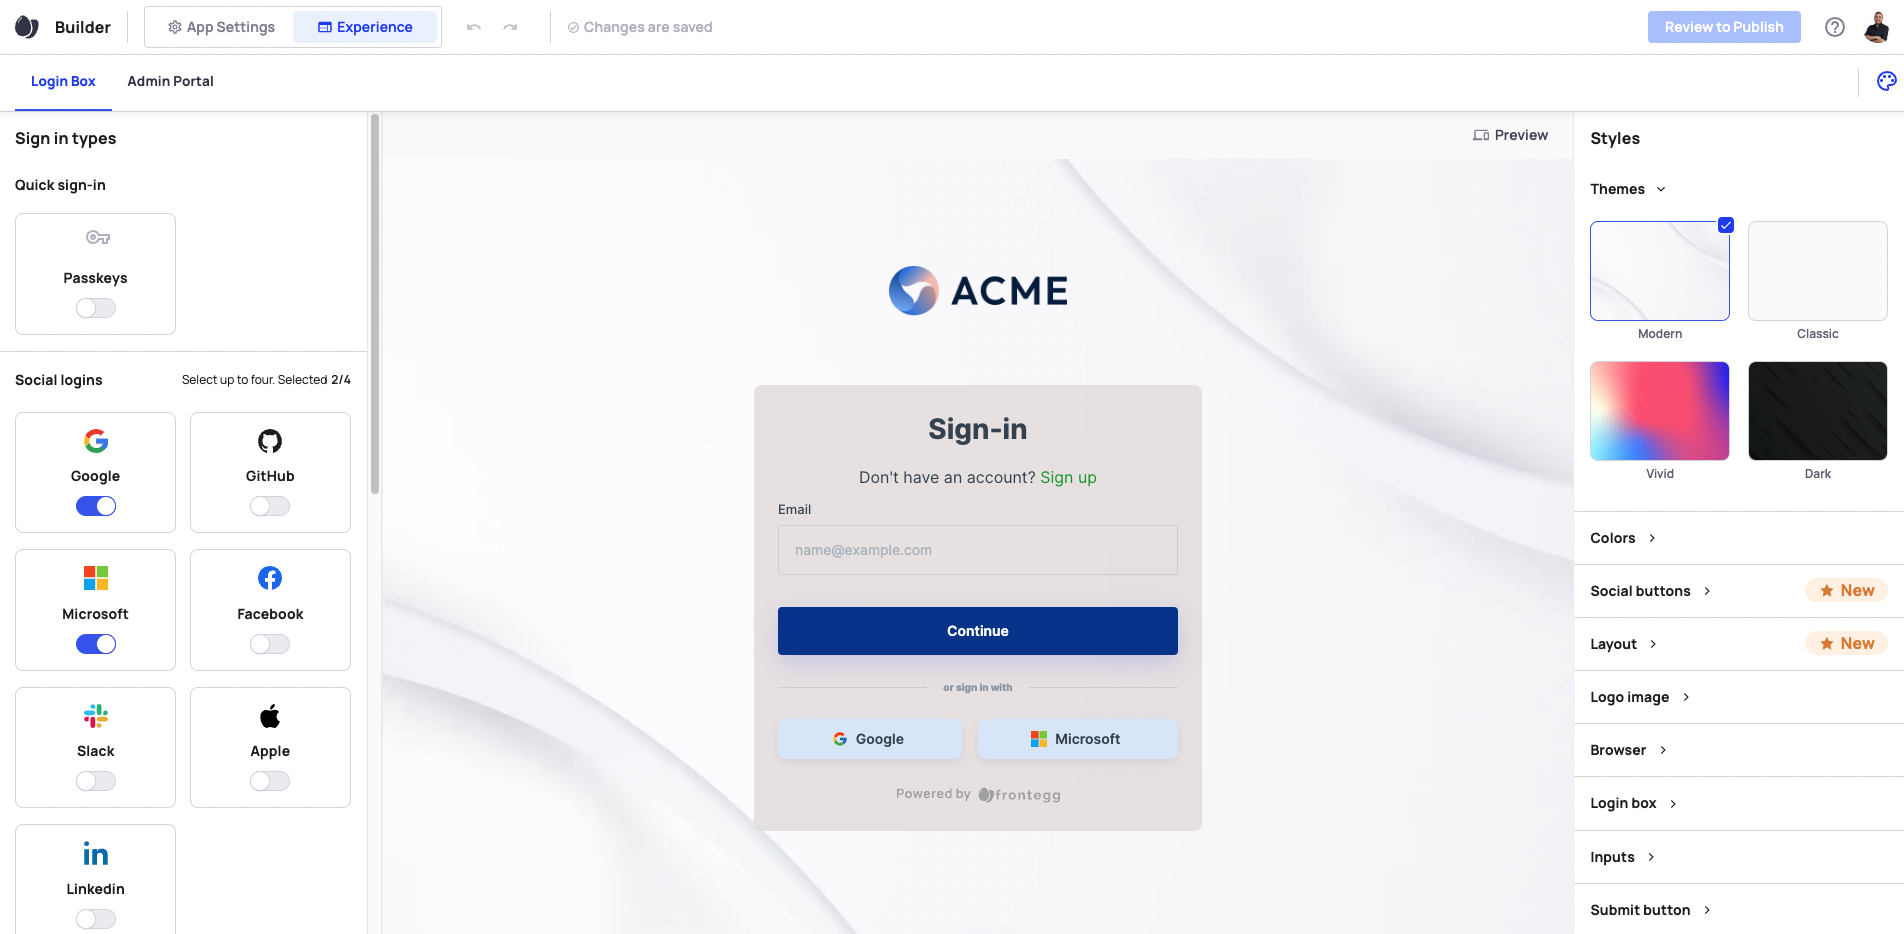
The Builder
The Builder is where you start your Frontegg journey. The Builder allows you to enable features and control their settings and visual appearance. Check our advanced guides on The Login Box and Admin Portal, here.
App Settings
In this section, you'll be able to enter the more nitty gritty aspects of your authentication principles. The settings you put here are the default for all of your accounts - some of them, can be made more strict by the accounts as part of the admin portal.
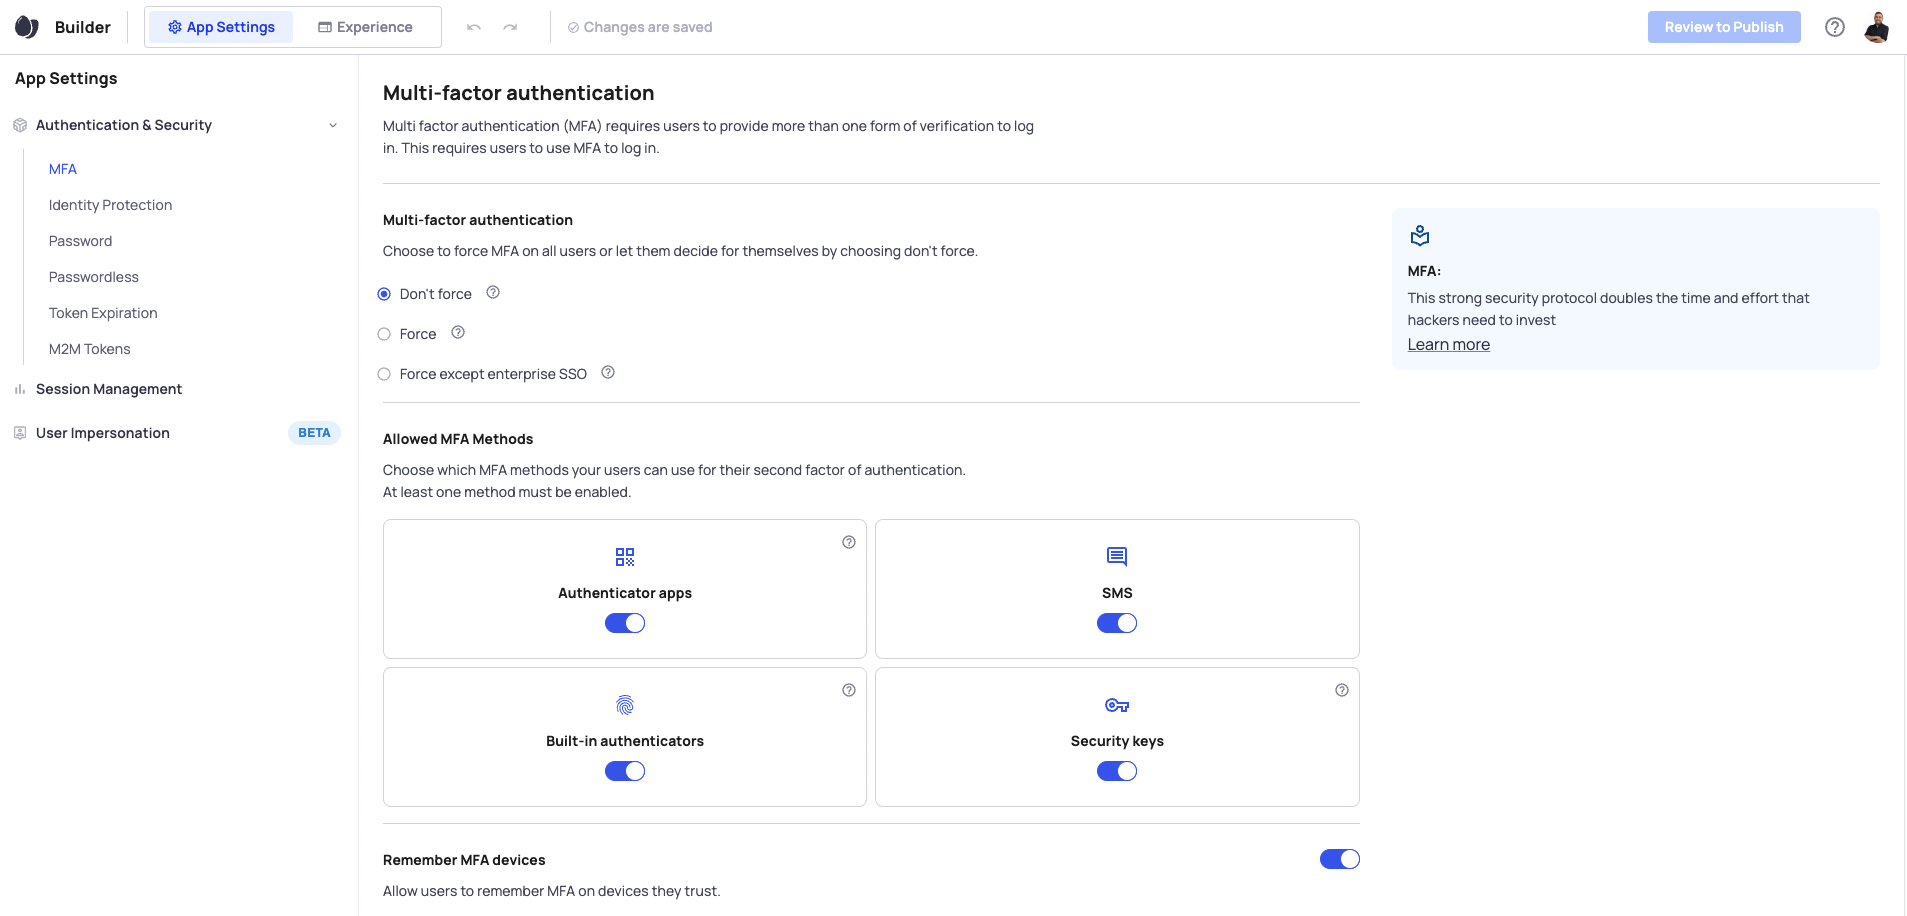
The authentication settings here include:
- MFA - if you'd like to force it, how long you remember MFA, and what kinds of MFA you'd like to enable
- Identity Protection - email verification, re-captcha, and device fingerprinting
- Password settings - complexity, password history, and attempt lockout
- Passwordless - how long a OTC or Magic Link is valid for
- Token Expiration times - how long you'd like your JWT and refresh tokens to be active for
- M2M token - what kind of tokens you'd like, single long lasting tokens, or a clientId and secret pair
- Session management - idle session timeout, force a user to login after x days, or a max number of concurrent sessions
- User Impersonation - if you'd want to allow your team to impersonate your users in your app
Environments
The environments module is where you will manage your development flow, your users and accounts. There are up to 4 environments available with Frontegg - you choose which ones to enable. When you make changes in the builder, they are published directly to the development environment, and then you can publish it to the next enabled environment. Each environment has the same basic blocks, as seen below. Learn more about your Environments.
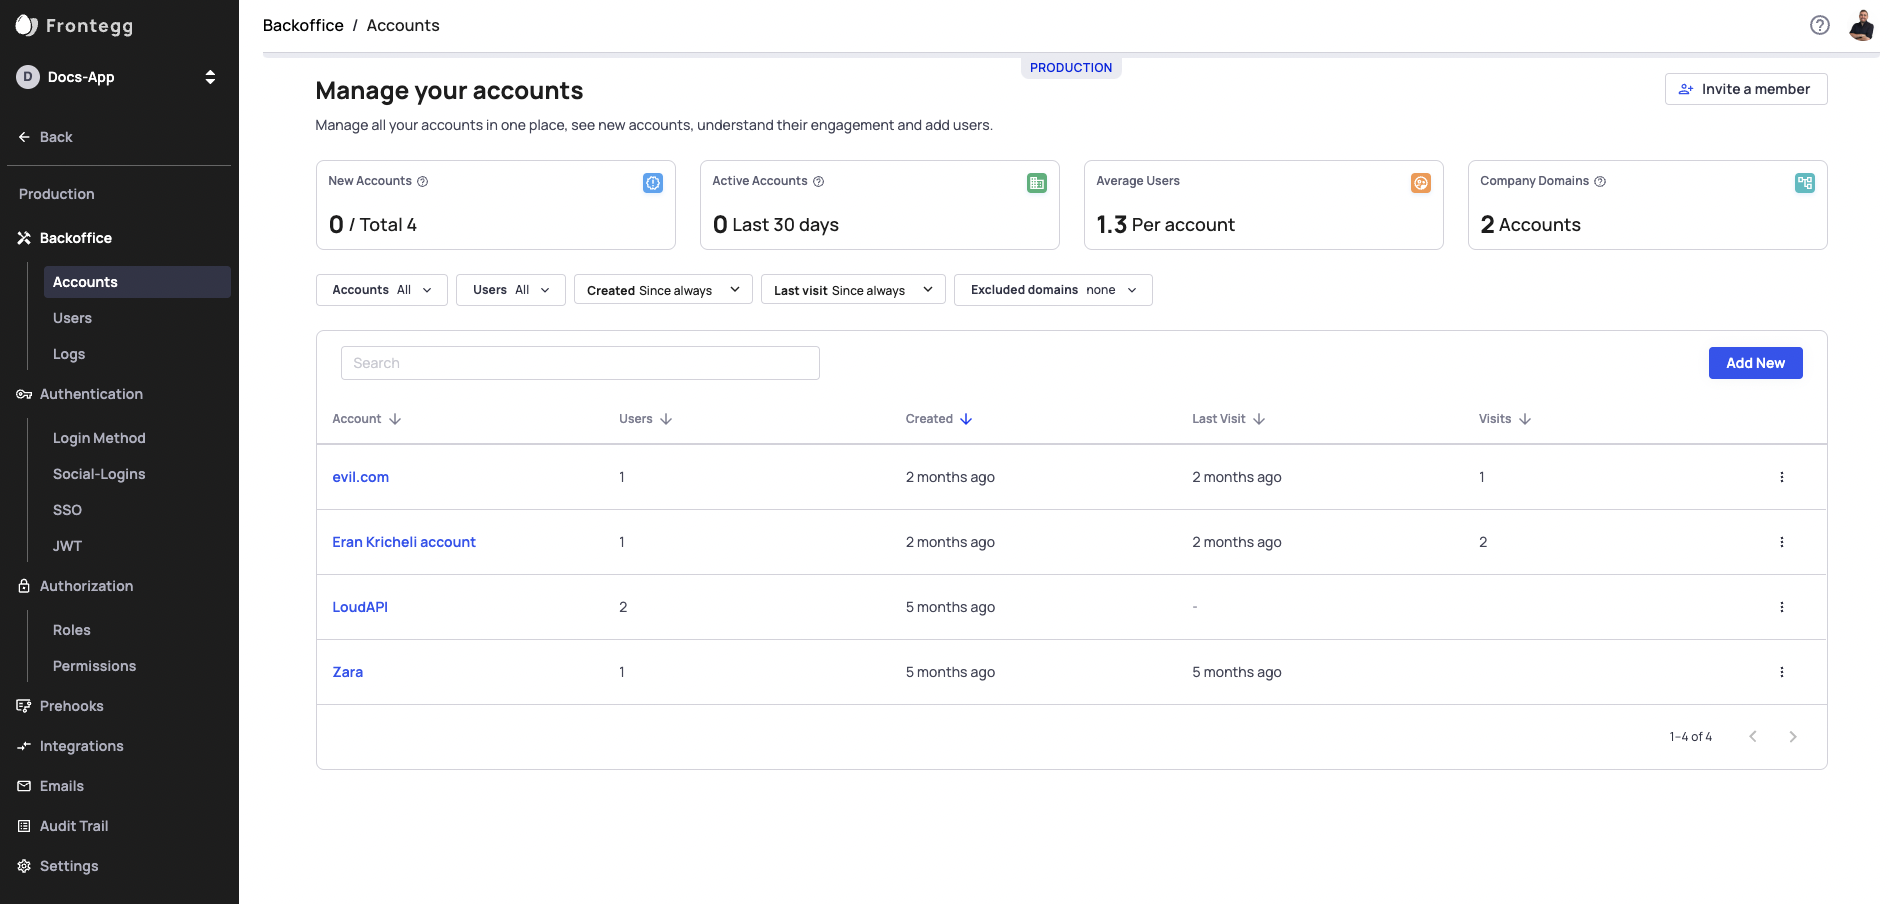
Backoffice
The backoffice is where you manage the users and accounts of your application. The users and accounts are separate for each environment. There are three main sections to the backoffice:
- Accounts - create and manage your accounts. Inside an individual account you can:
- Manage the users in the account
- Edit the account details
- Edit the specific account security policy
- Edit SSO configurations of the account
- Delete the account
- Customize the login box for this account
- Users - create and manage individual users
- You can see all of the accounts a user is a part, and check their active account
- Edit a users details
- Edit the users roles, per tenant
- Assign the user to additional accounts
- Impersonate the user
- Lock the user from logging in
- Delete the user
- Logs - see developer logs of users authentication actions
- You can check the individual events
- See error codes for failed log ins
- Get relevant raw data to investigate user issues
Authentication
This section contains a few key tabs for completing your setup with frontegg
- Login Method
- Choose between hosted and embedded login
- Add callback urls for hosted login
- Social Login
- Configure each social login
- Switch between Frontegg Dev Credentials, or your own social app
- SSO
- Set up your SP settings for SSO
- Manage your OIDC redirect url
- JWT
- Edit your cookie policy
- Copy your JWT Public Key (per environment)
Authorization
This is where you will manage roles and permissions. On the roles tab you can:
- add additional roles and assign permissions to them
- add a role level
- determin which accounts a role is assigned to
On the permissions tabs you can edit the different permission categories and add new permissions.
Roles and permissions are always returned on the JWT, so you can add your own custom roles and permissions for conditional rendering by role on your frontend, or to protect different backend APIs.
Prehooks
In this section you can set hooks for events, before the event finishes. The event will be sent to your server, where you can perform any custom logic you'd like, and determin if you'd like to complete or fail the event.
Integrations
The integrations section contains webhooks, as well as integrations with a number of 3rd party tools. Here, you will be able to take custom frontegg events and create integrations to follow the events on the tool of your choice.
Emails
Frontegg has a number of emails available to be sent on specific Frontegg events, such as user activation, passwordless login, new device recognition and more. Each of these emails can be completely reformatted with custom HTML. You can also choose which emails you'd like to enable or disable.
Audit Trails
The audit trail here shows you audits for your Frontegg Management portal - similar to the audits your users have access to in their admin portal.
Settings
The settings here are per environment, and have a number of key fields per environment. Here you can:
- Find your clientId and secret
- Change your App Url and Login Url
- Change your personal frontegg domain
- Create a custom domain
- Add additional allowed origins
- Find customized Fronted docs with your account information
That covers the Frontegg Management portal in a nutshell! If you want to learn more about any of the aformentioned sections, you can find links to them below.
Stay Sunny Side Up!
Updated 2 months ago