Integration
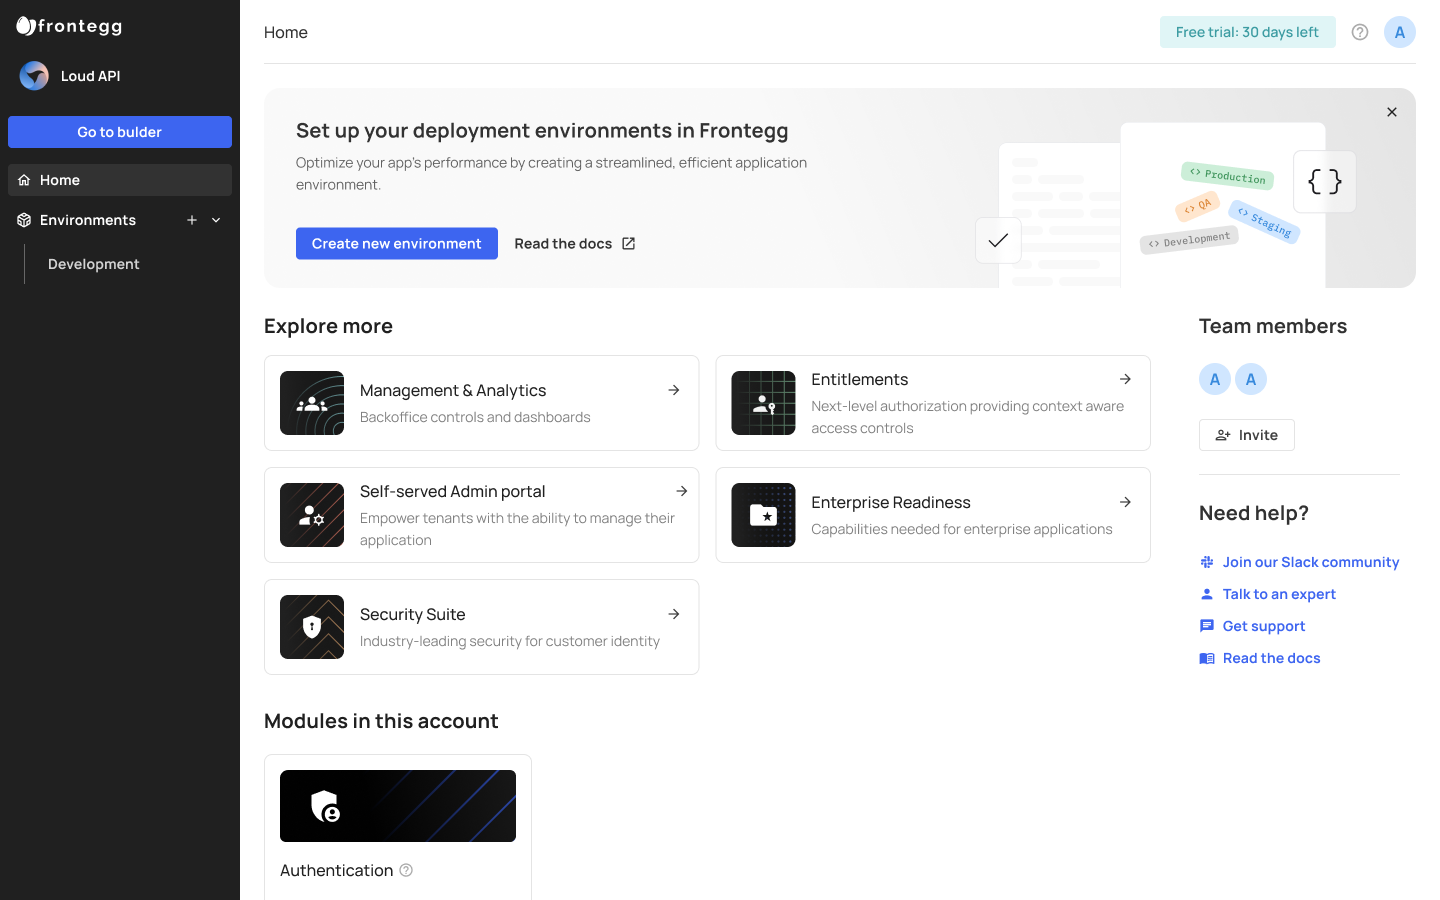
Frontegg offers the option to add multiple environments and test the Platform's capabilities and features in a development setting before deploying it live to production. By following these industry best practices, you create and thoroughly test Frontegg's features and configurations, add applications, and manage your users. You gain confidence and familiarity with the platform before making configurations live in your production environment.
Creating a New Environment
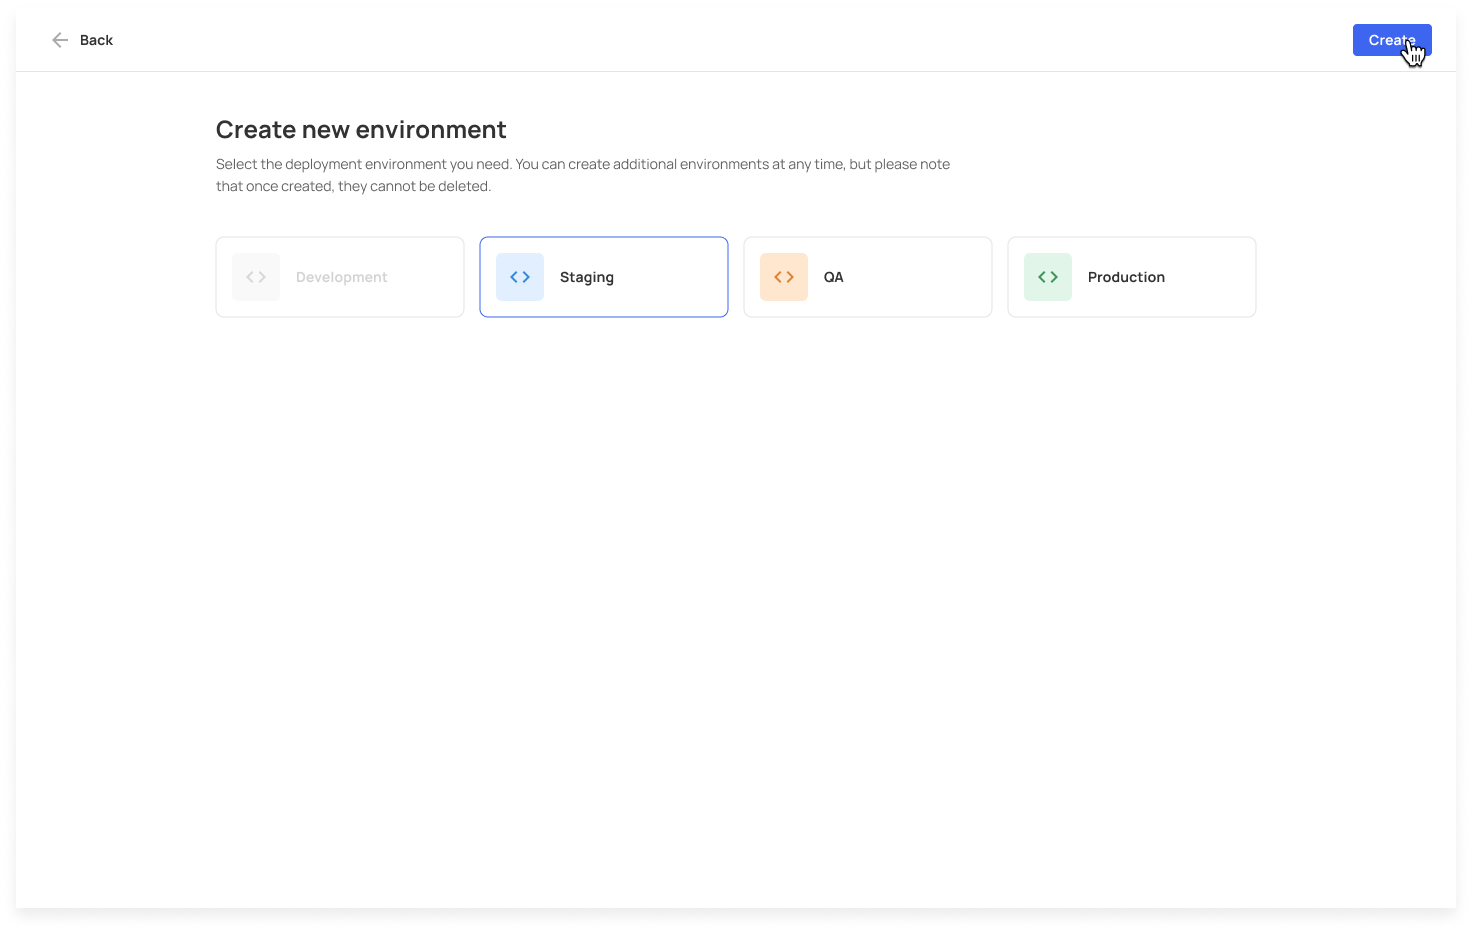
When you open your Frontegg portal, you will see a banner with a Create new environment button.
After clicking the button, a Create new environment window will open. You can go ahead and choose the environment you wish to open for your account. Note that you won't be able to create environments that were already created.
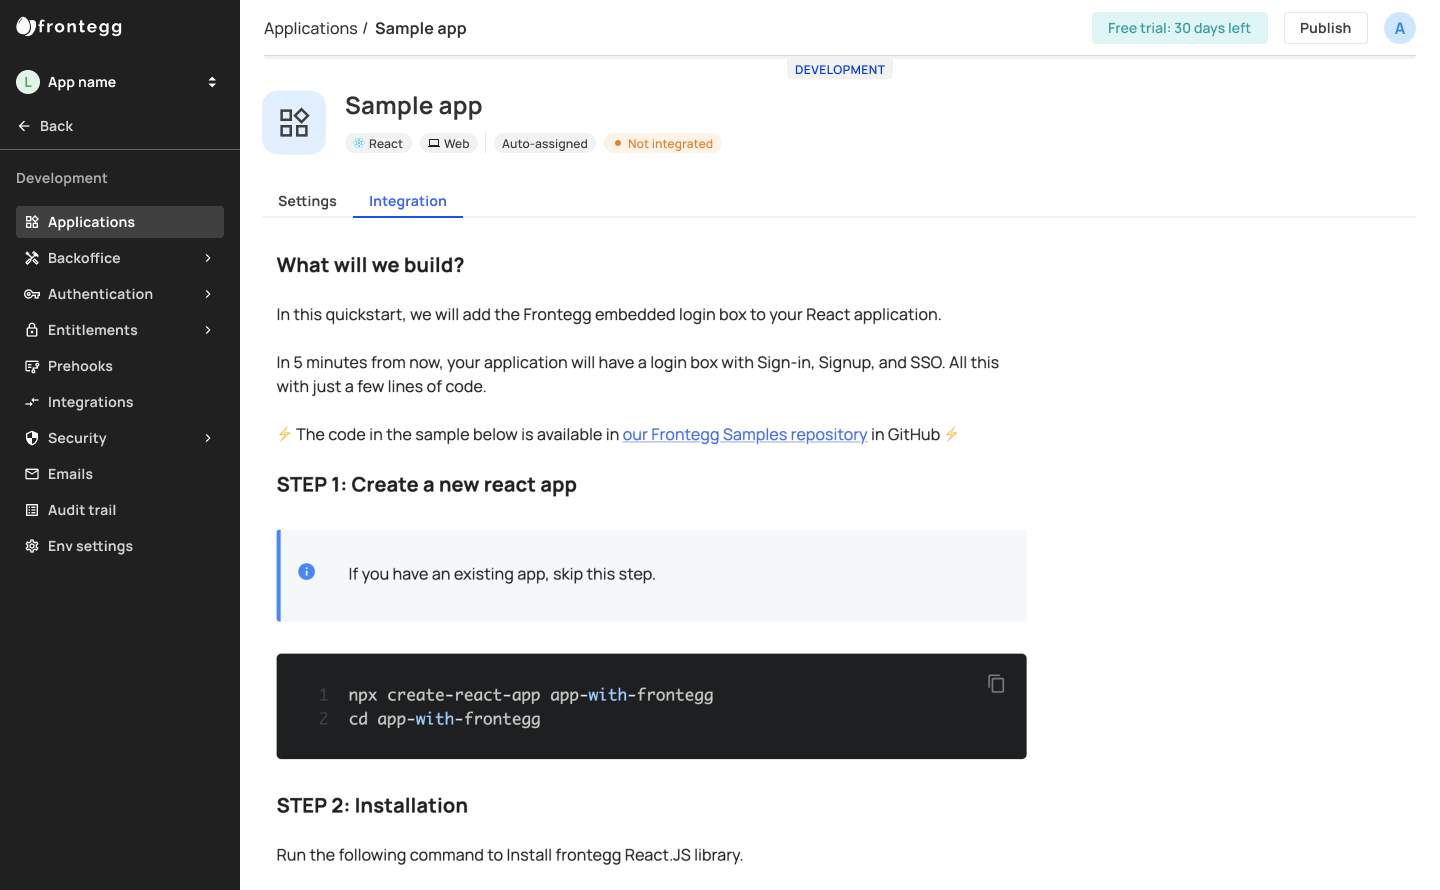
Your Environment's Sample App
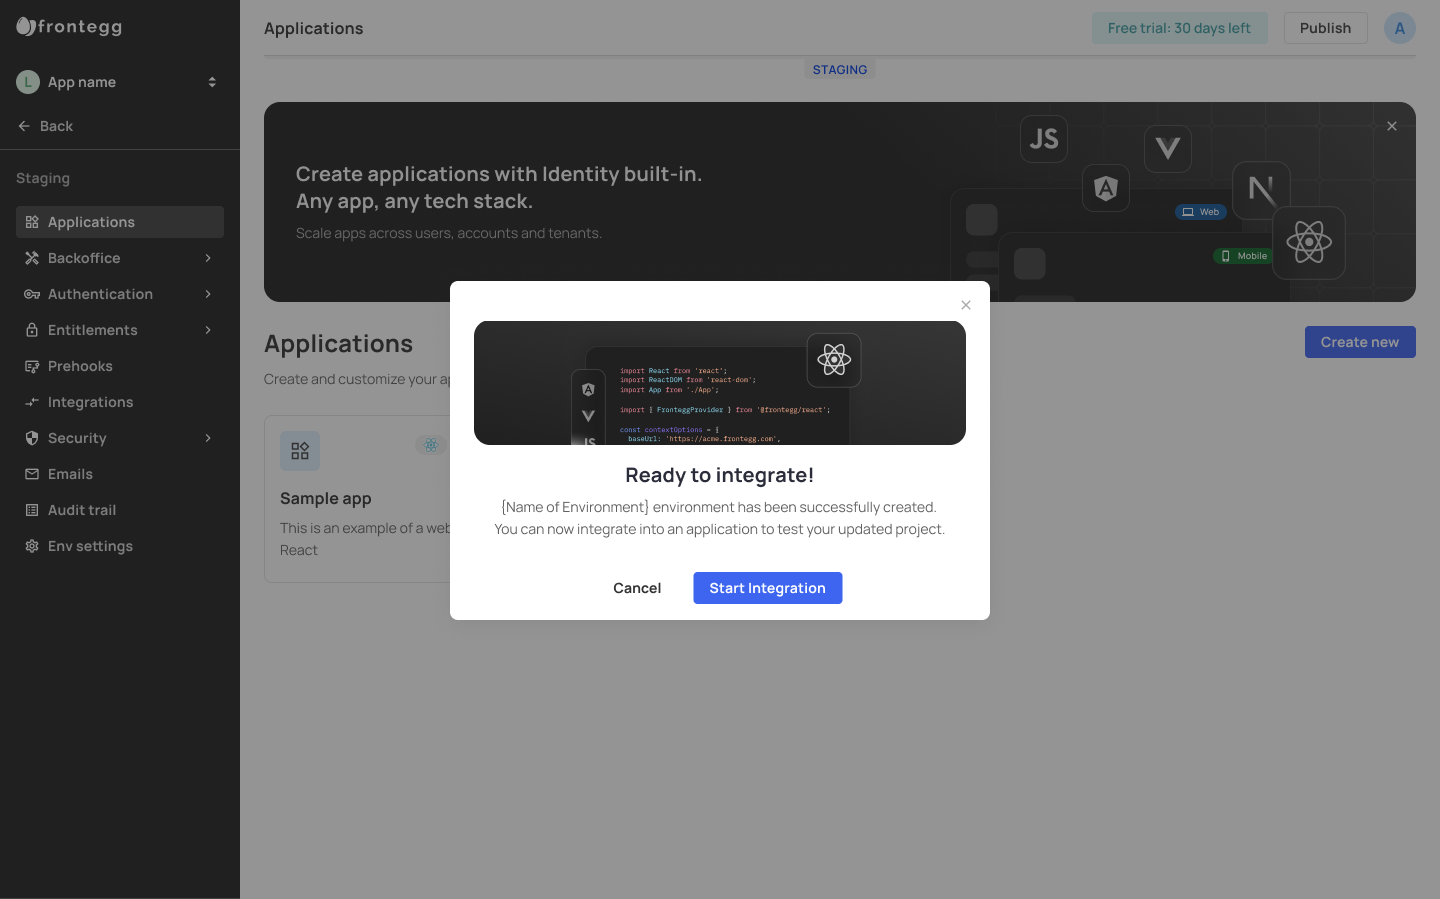
Once you've opened a new environment, head over to your environment's Applications page. A Sample app will is already created by default— you can start to edit its settings and eventually integrate it so your users can use it. Note that the sample app is not integrated with your environment automatically— you must integrate it via your app's Integration tab.
Adding multiple applications to your environment
Should you need to add multiple applciations to your environent, head over to the Creating Multiple Applications topic.
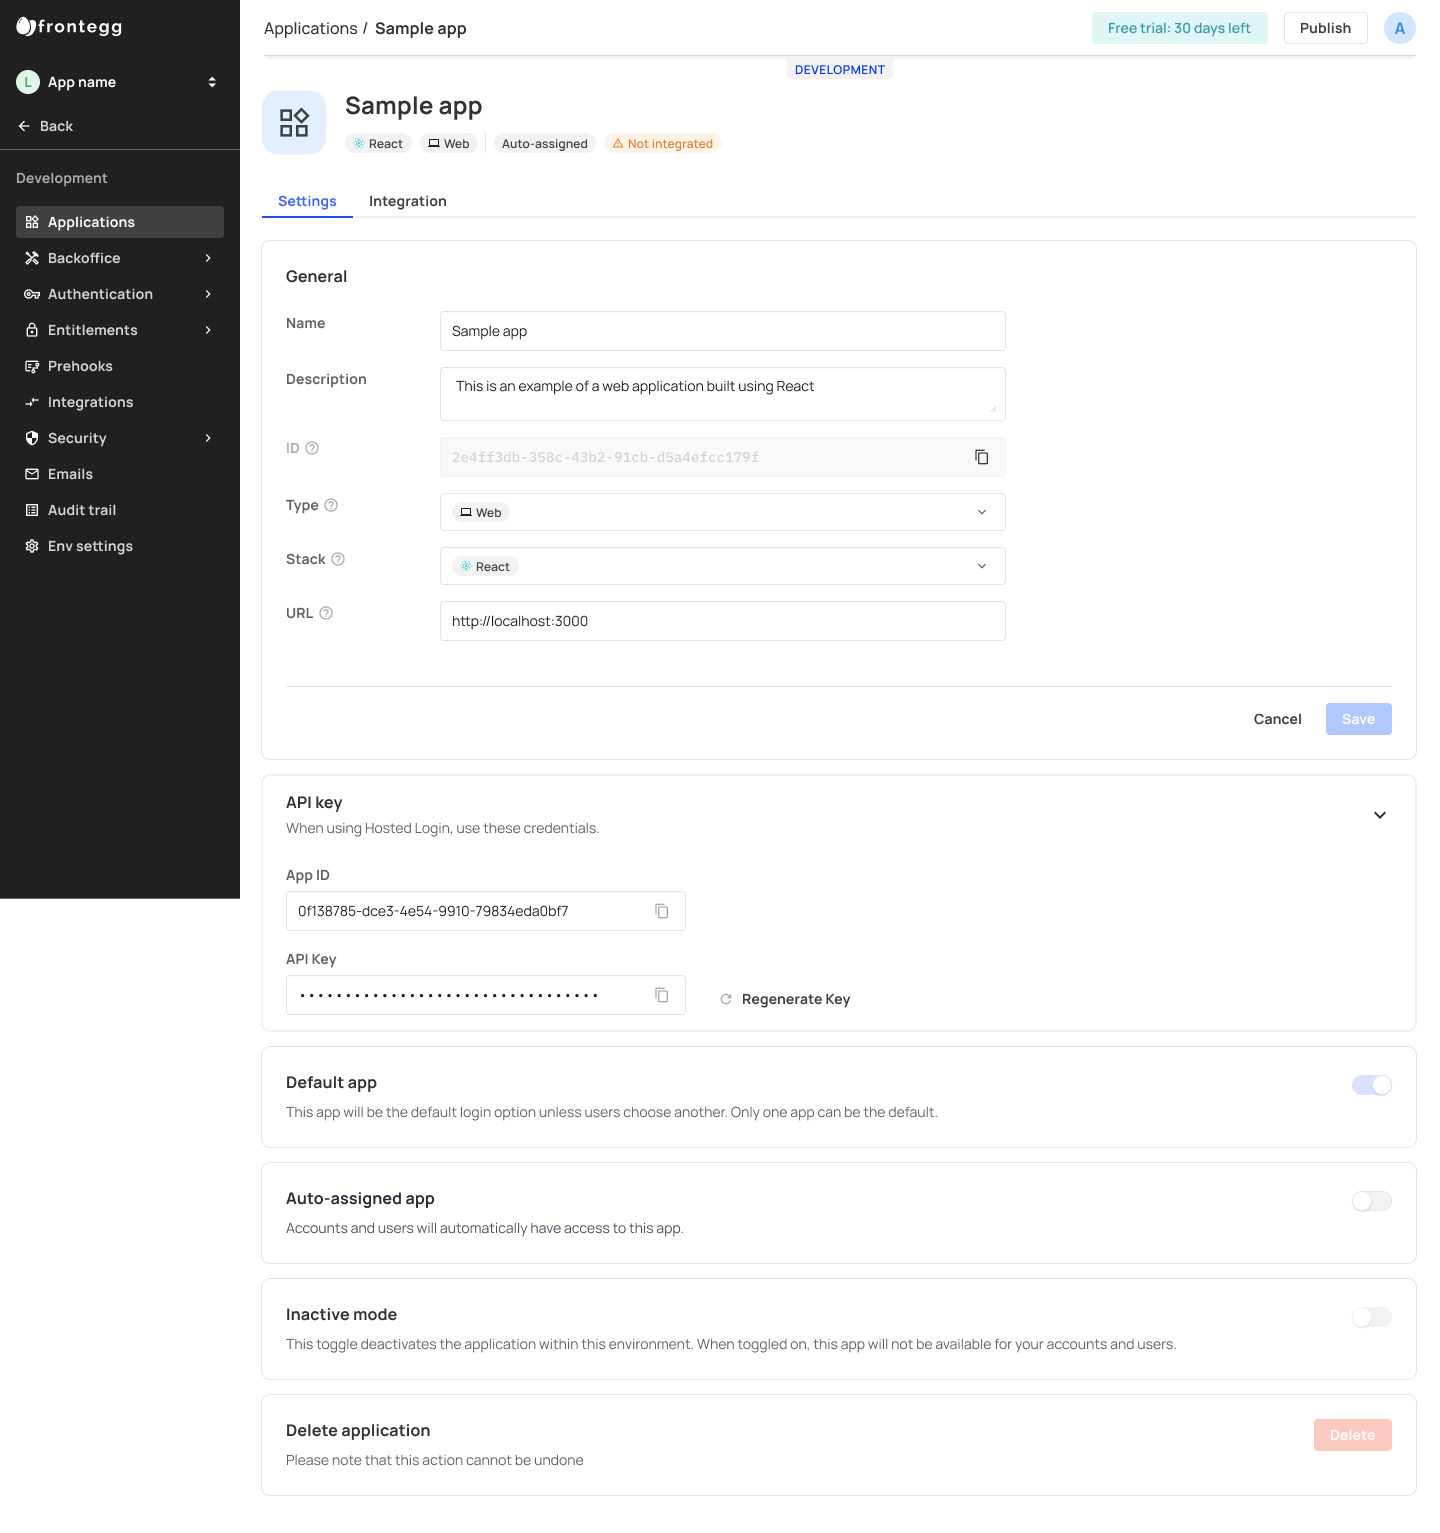
App Settings
Your app settings tab will showcase your app's settings, including the relevant information you need to perform API calls, such as your App ID and API Key. Via this tab, you can set more actions relevant to your app's performance, such as Auto-assigned App, Default App, Delete app, and more. Note that the status of your app (Active, Not integrated, etc.) will be shown at the top of the page.
Default App
If using a single application in your environment, that app would be the default app for your users, since there is no fallback. Should you wish to add more applications to your account, head over to our Creating Multiple Applications sections to learn more.
App integration
Once you are ready to integrate your app, go to the Integration tab of your Sample app and follow the instructions.
After integration, the app will be marked as active in your Applications view. You can always return to this page to check its status.
Updated 2 months ago