Privacy & Security Settings
Admin portal
The Privacy and Security section allows users to control various aspects of their own account's privacy and security.
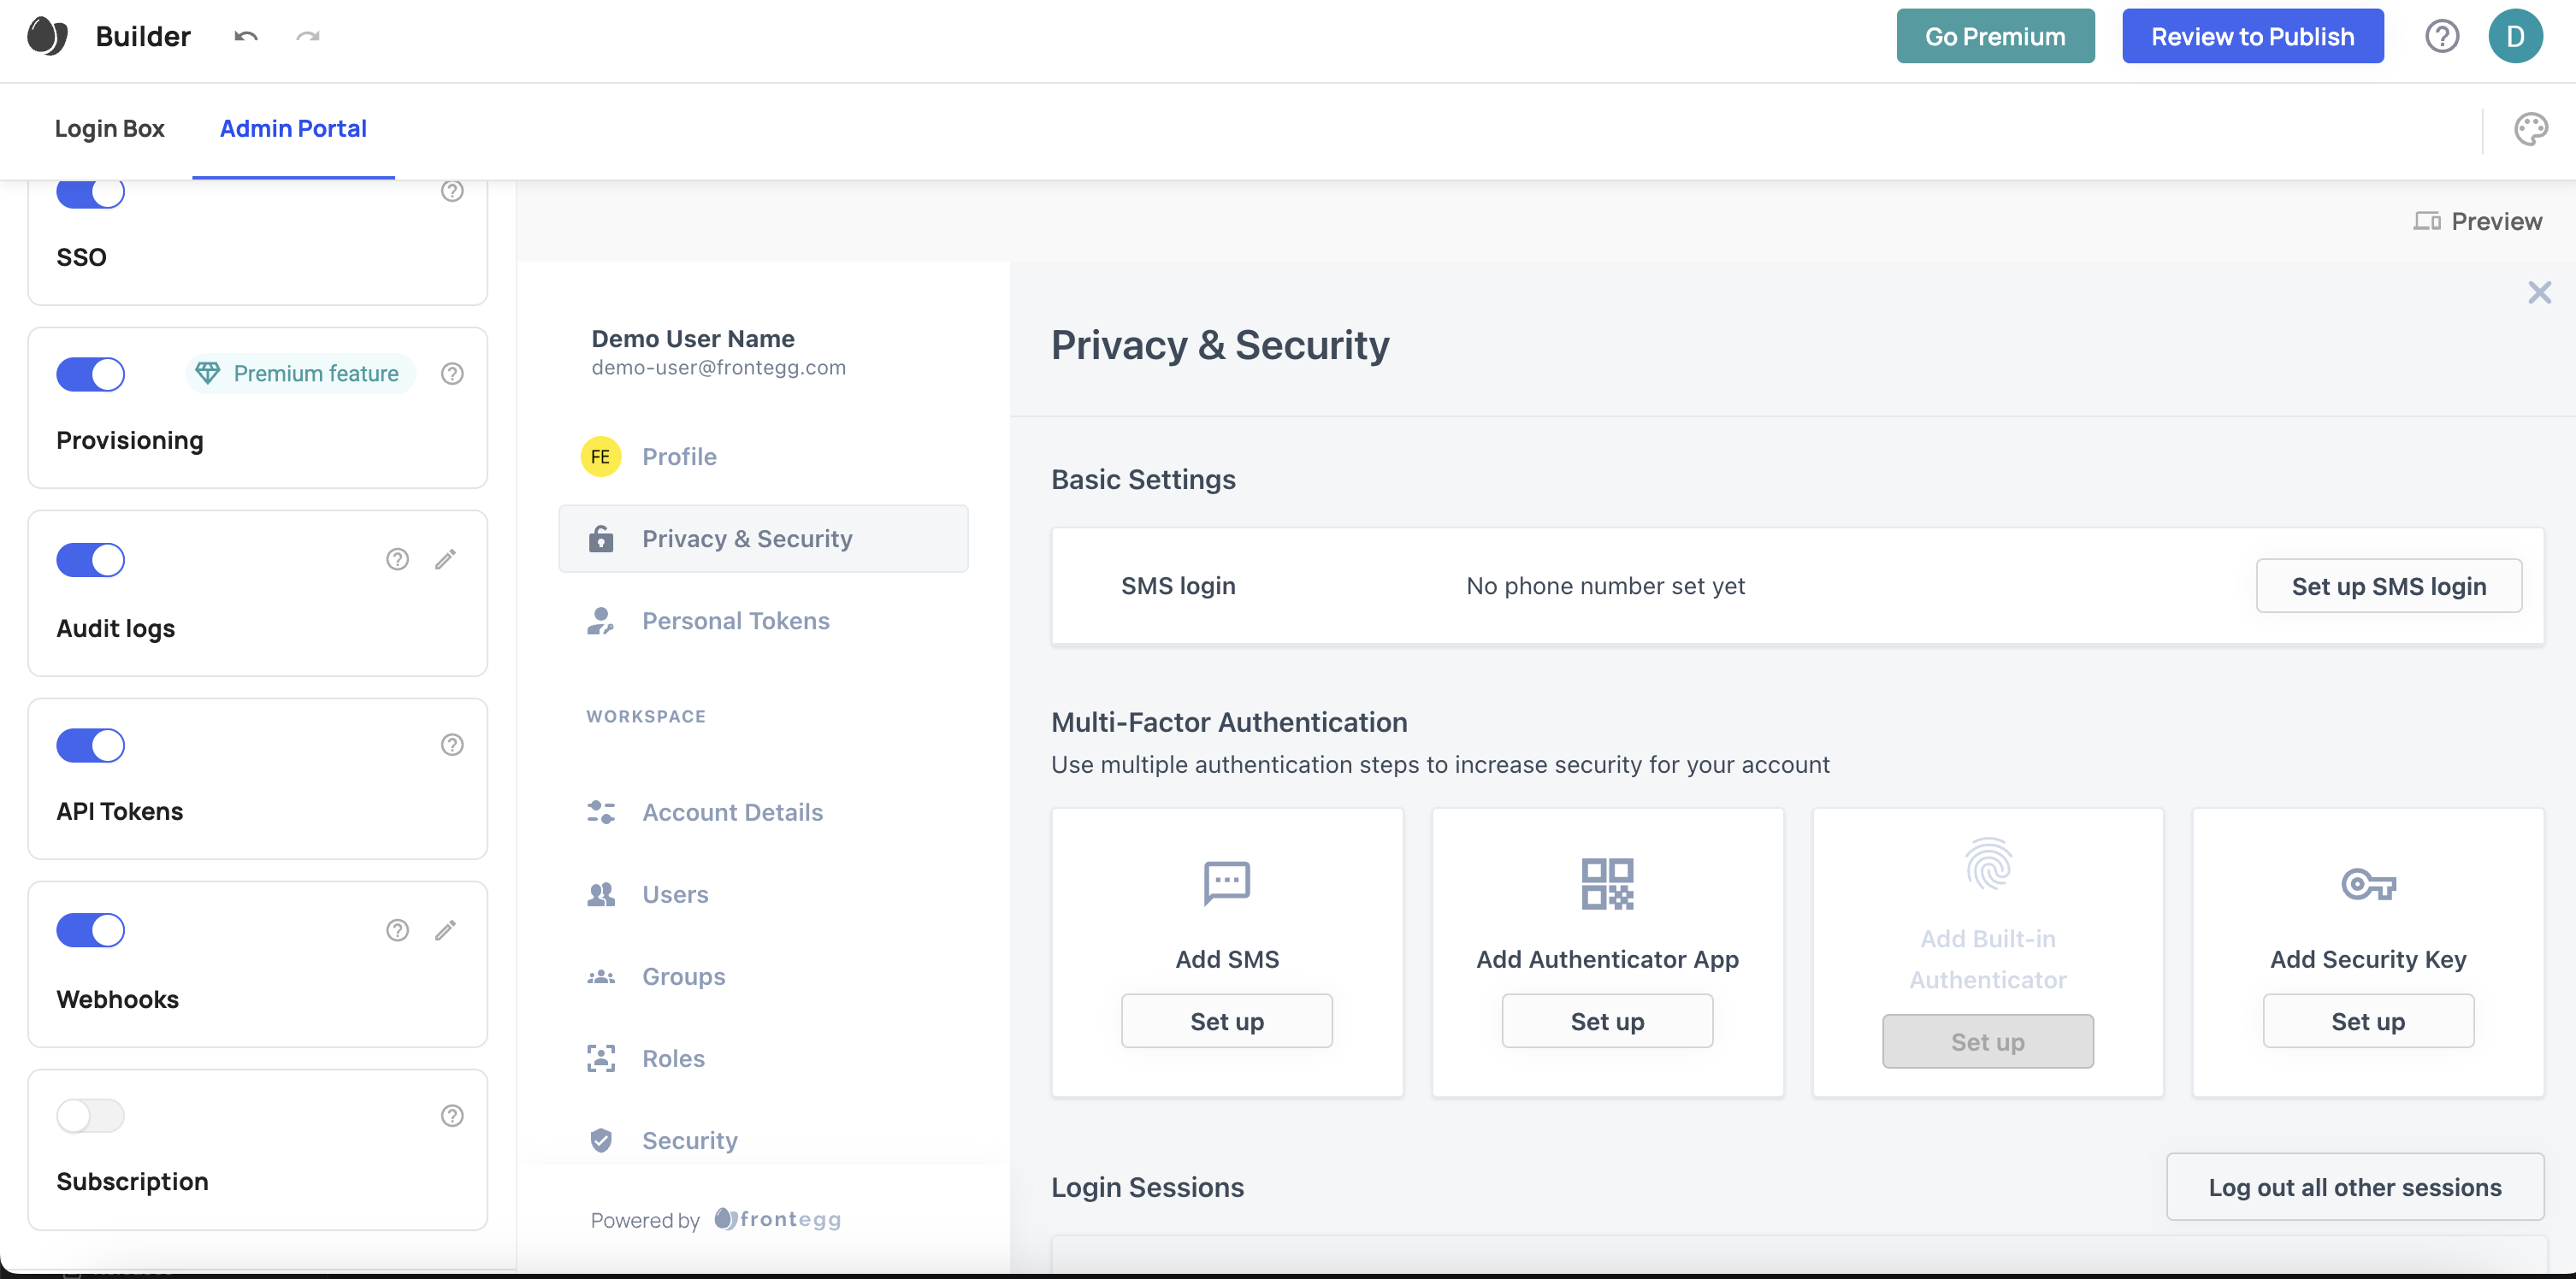
Users can change multiple settings such as SMS Login, Authenticator App, Security Key, and more.
Note that you still have control over the options presented to the user via your backoffice. Explore our Security Features to learn more.
Add More Security
Check out more security options and configuration in the Security Management section.
Read below to learn how a user can set their password and connect their Frontegg user account to popular multi-factor authenticator applications
Set and Change Password
A user can change their password by clicking the _edit _button on the right side of the table. A dialog appears where a user can change their password by following the requirements in the dialog.
 The user will have to ensure that their password meets all of the requirements that you set for their account in advance.

Implement MFA Verification
A user can configure multi-factor authentication for their account. MFA adds an extra layer of security to a user account by requiring more than one proof of identification to log in.
A common MFA scenario is when a user has to provide for sign in (1) a username and password and (2) also a time-sensitive code generated by an authentication app connected to the user's mobile phone.
By default, a user account is capable of MFA but the user does not need to put it into effect. You or a tenant, however, may force all users to configure MFA. In that case, not only is the user account capable of MFA but the user has to configure and use it.
Regardless of whether by choice or force, it is the user who needs to set it up in their account.
Global Forced MFA
Global forced MFA means that you require all users to put into effect multi-factor authentication for their account regardless of the tenant or tenants they are part of. Read more about global forced MFA.
For a user to configure MFA, they need go to their Frontegg Dashboard and find Privacy & Security.
The user can enable MFA for their own account by toggling the switch to on.
.gif")
The user then needs to follow the instructions in the Two-Step Verification dialog.
.gif")
Those steps are:
- Scanning the QR code with the Google Authenticator app (or any other authenticator) and
- Filling in the 6-digit code

The user needs to copy and save their recovery code in case they need it later to unenroll.

By following those simple steps, the user now should have enabled MFA for their account.
Removing MFA
Two ways exist for removing MFA from a user account. The user can do it for themselves and you can do it for the user.
If a user wants to disable MFA, they can turn the toggle off.
The user will be required to enter their recovery code from their authenticator application in order to disable MFA.
You can unenroll a user from MFA.
You may need to do this if, for instance, a user loses or replaces their phone and is unable to find their recovery code or somehow otherwise loses their ability to authenticate using MFA.
To unenroll a user from MFA, Go to Manage ➜ Users.
Find the user for which you want to unenroll from MFA. Right click on that user, and choose Unenroll MFA.
Updated 8 months ago