Builder
Your Login Box and Admin Portal
Once you access your Frontegg Portal and click the Builder section, you will see that it encompasses two important tabs representing your Login Box and your Admin Portal . The Login box is the visual authentication element (box) that your users will see, and you can control the elements that will be presentable to your users via this tab— social login options, single sign-on, as your business branding elements like your logo and color palette.
The Admin Box will help you control the behind-the-scenes aspects of your login box, such as permissions and user management, security and privacy settings, and more.
Whenever you edit the Builder, be sure to commit and publish your changes to see that they take effect!
Step 1: Go To Builder
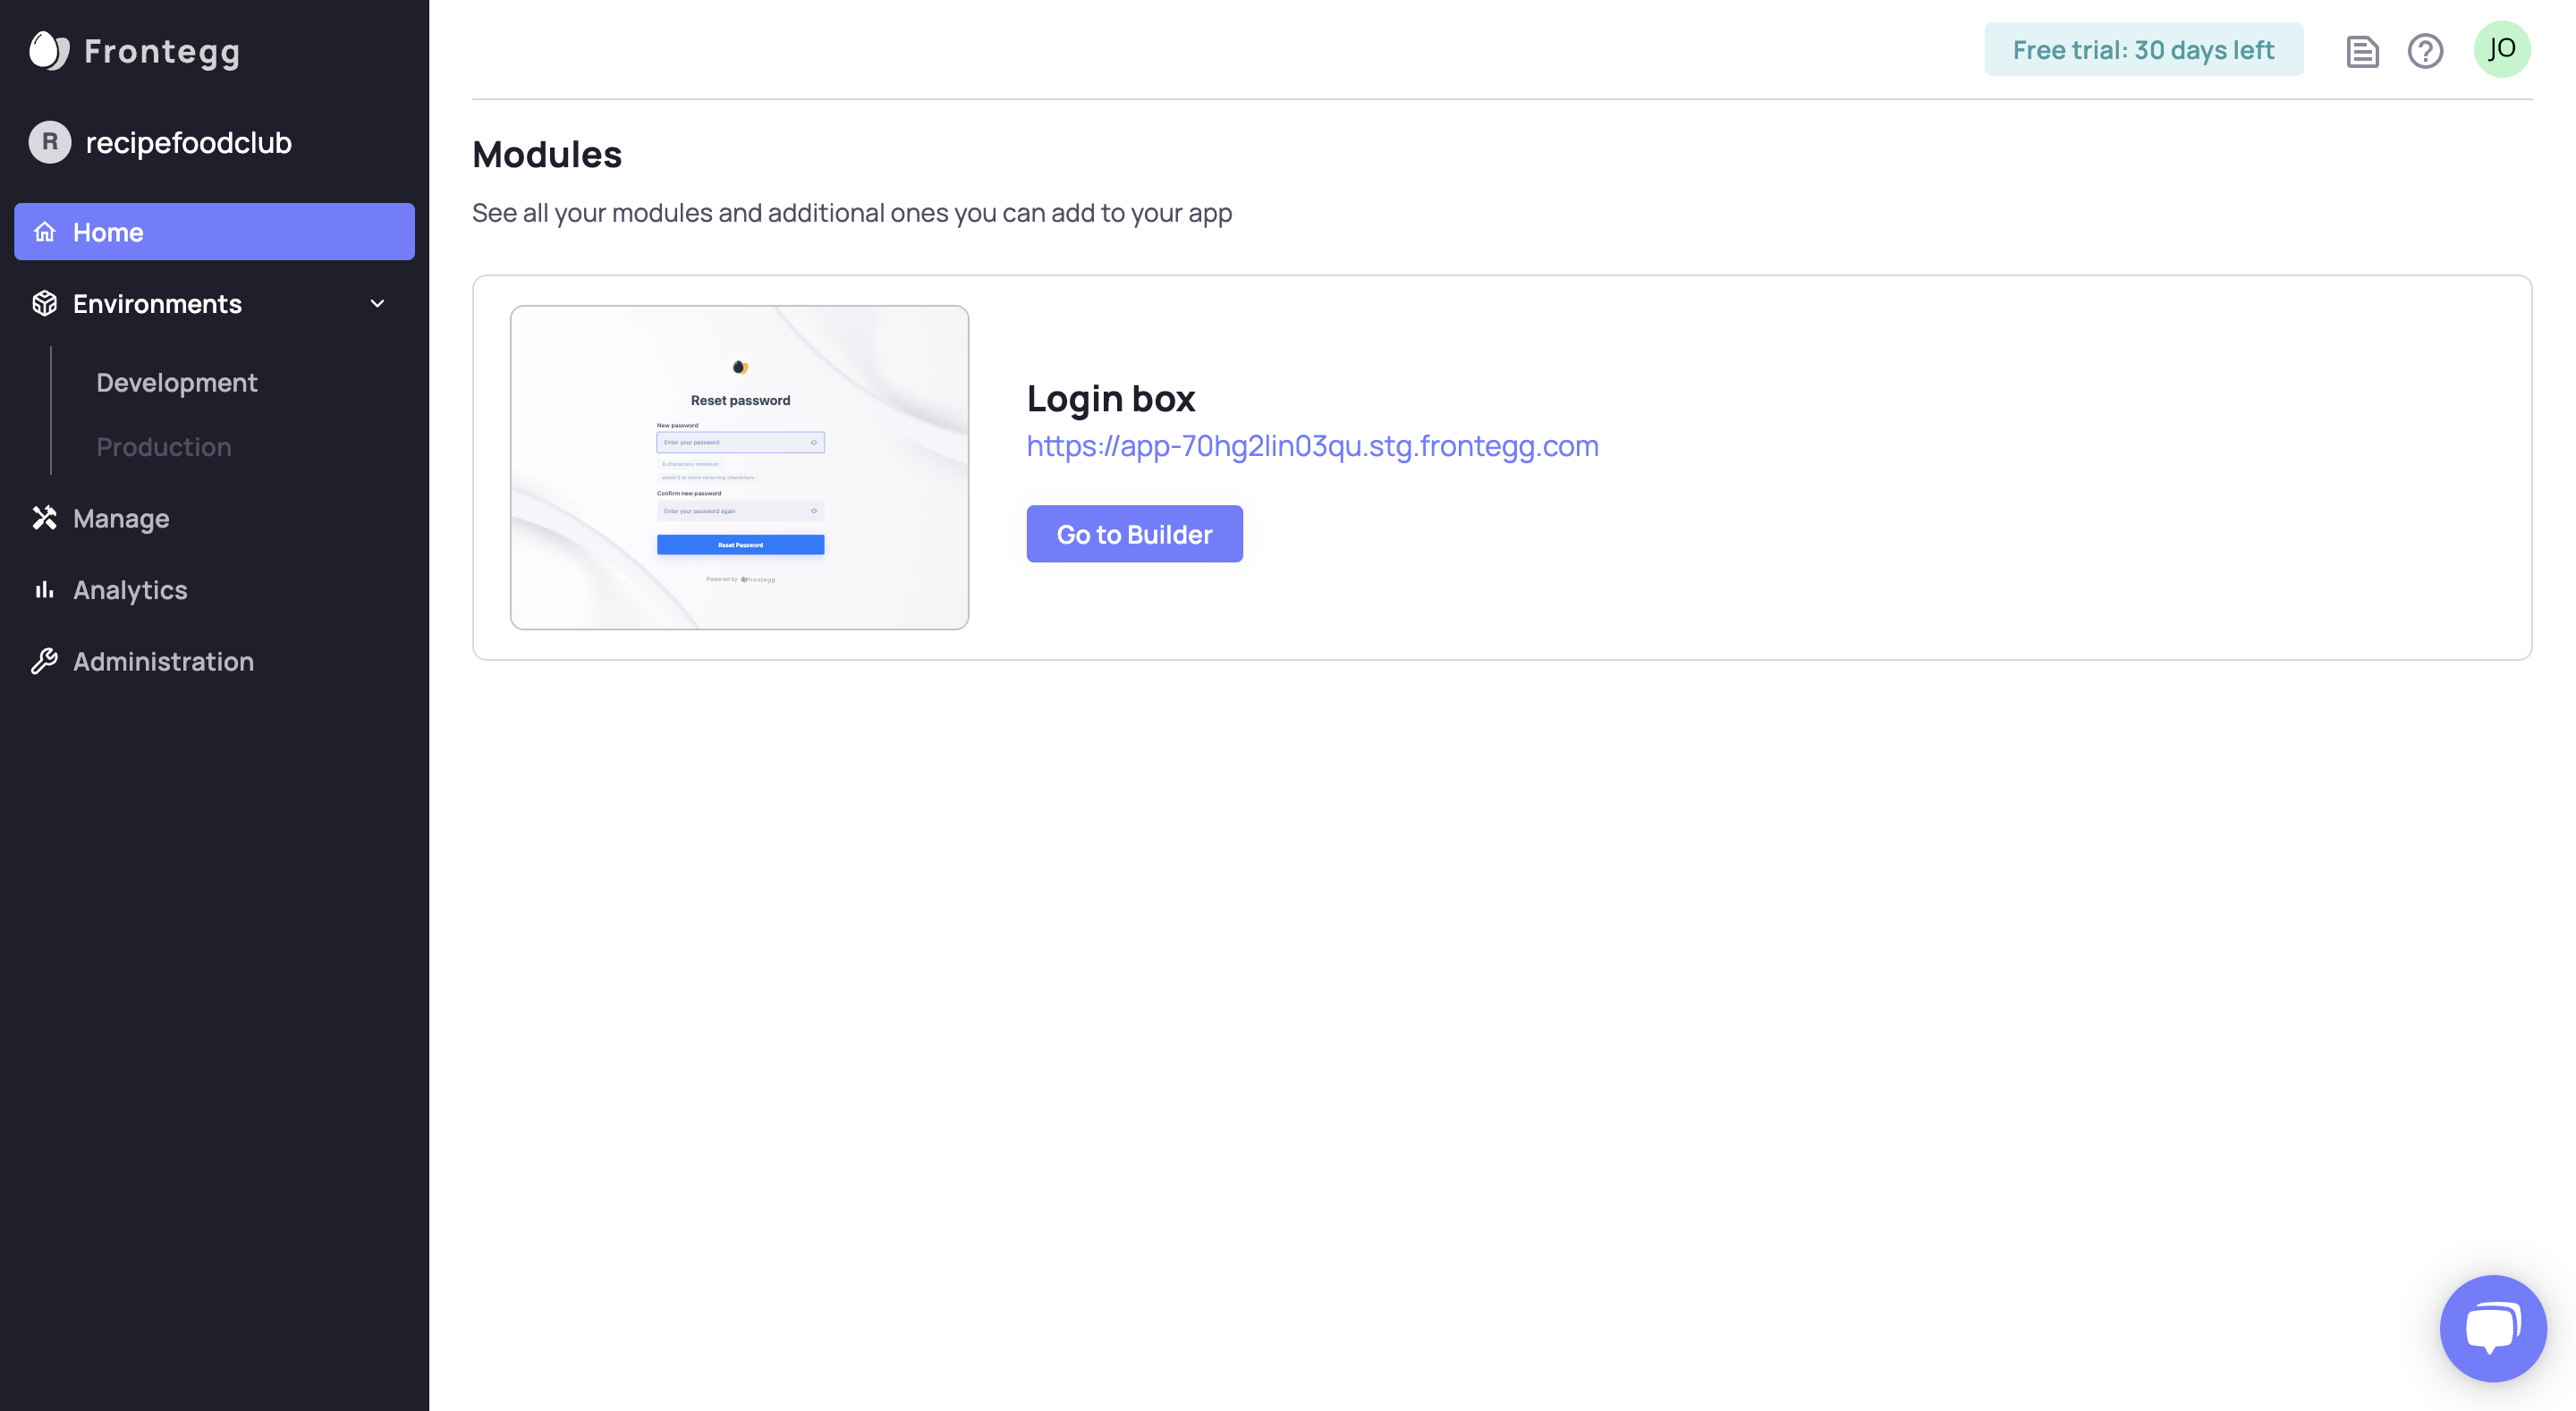
Go to Home and click on the button to visit the Builder.
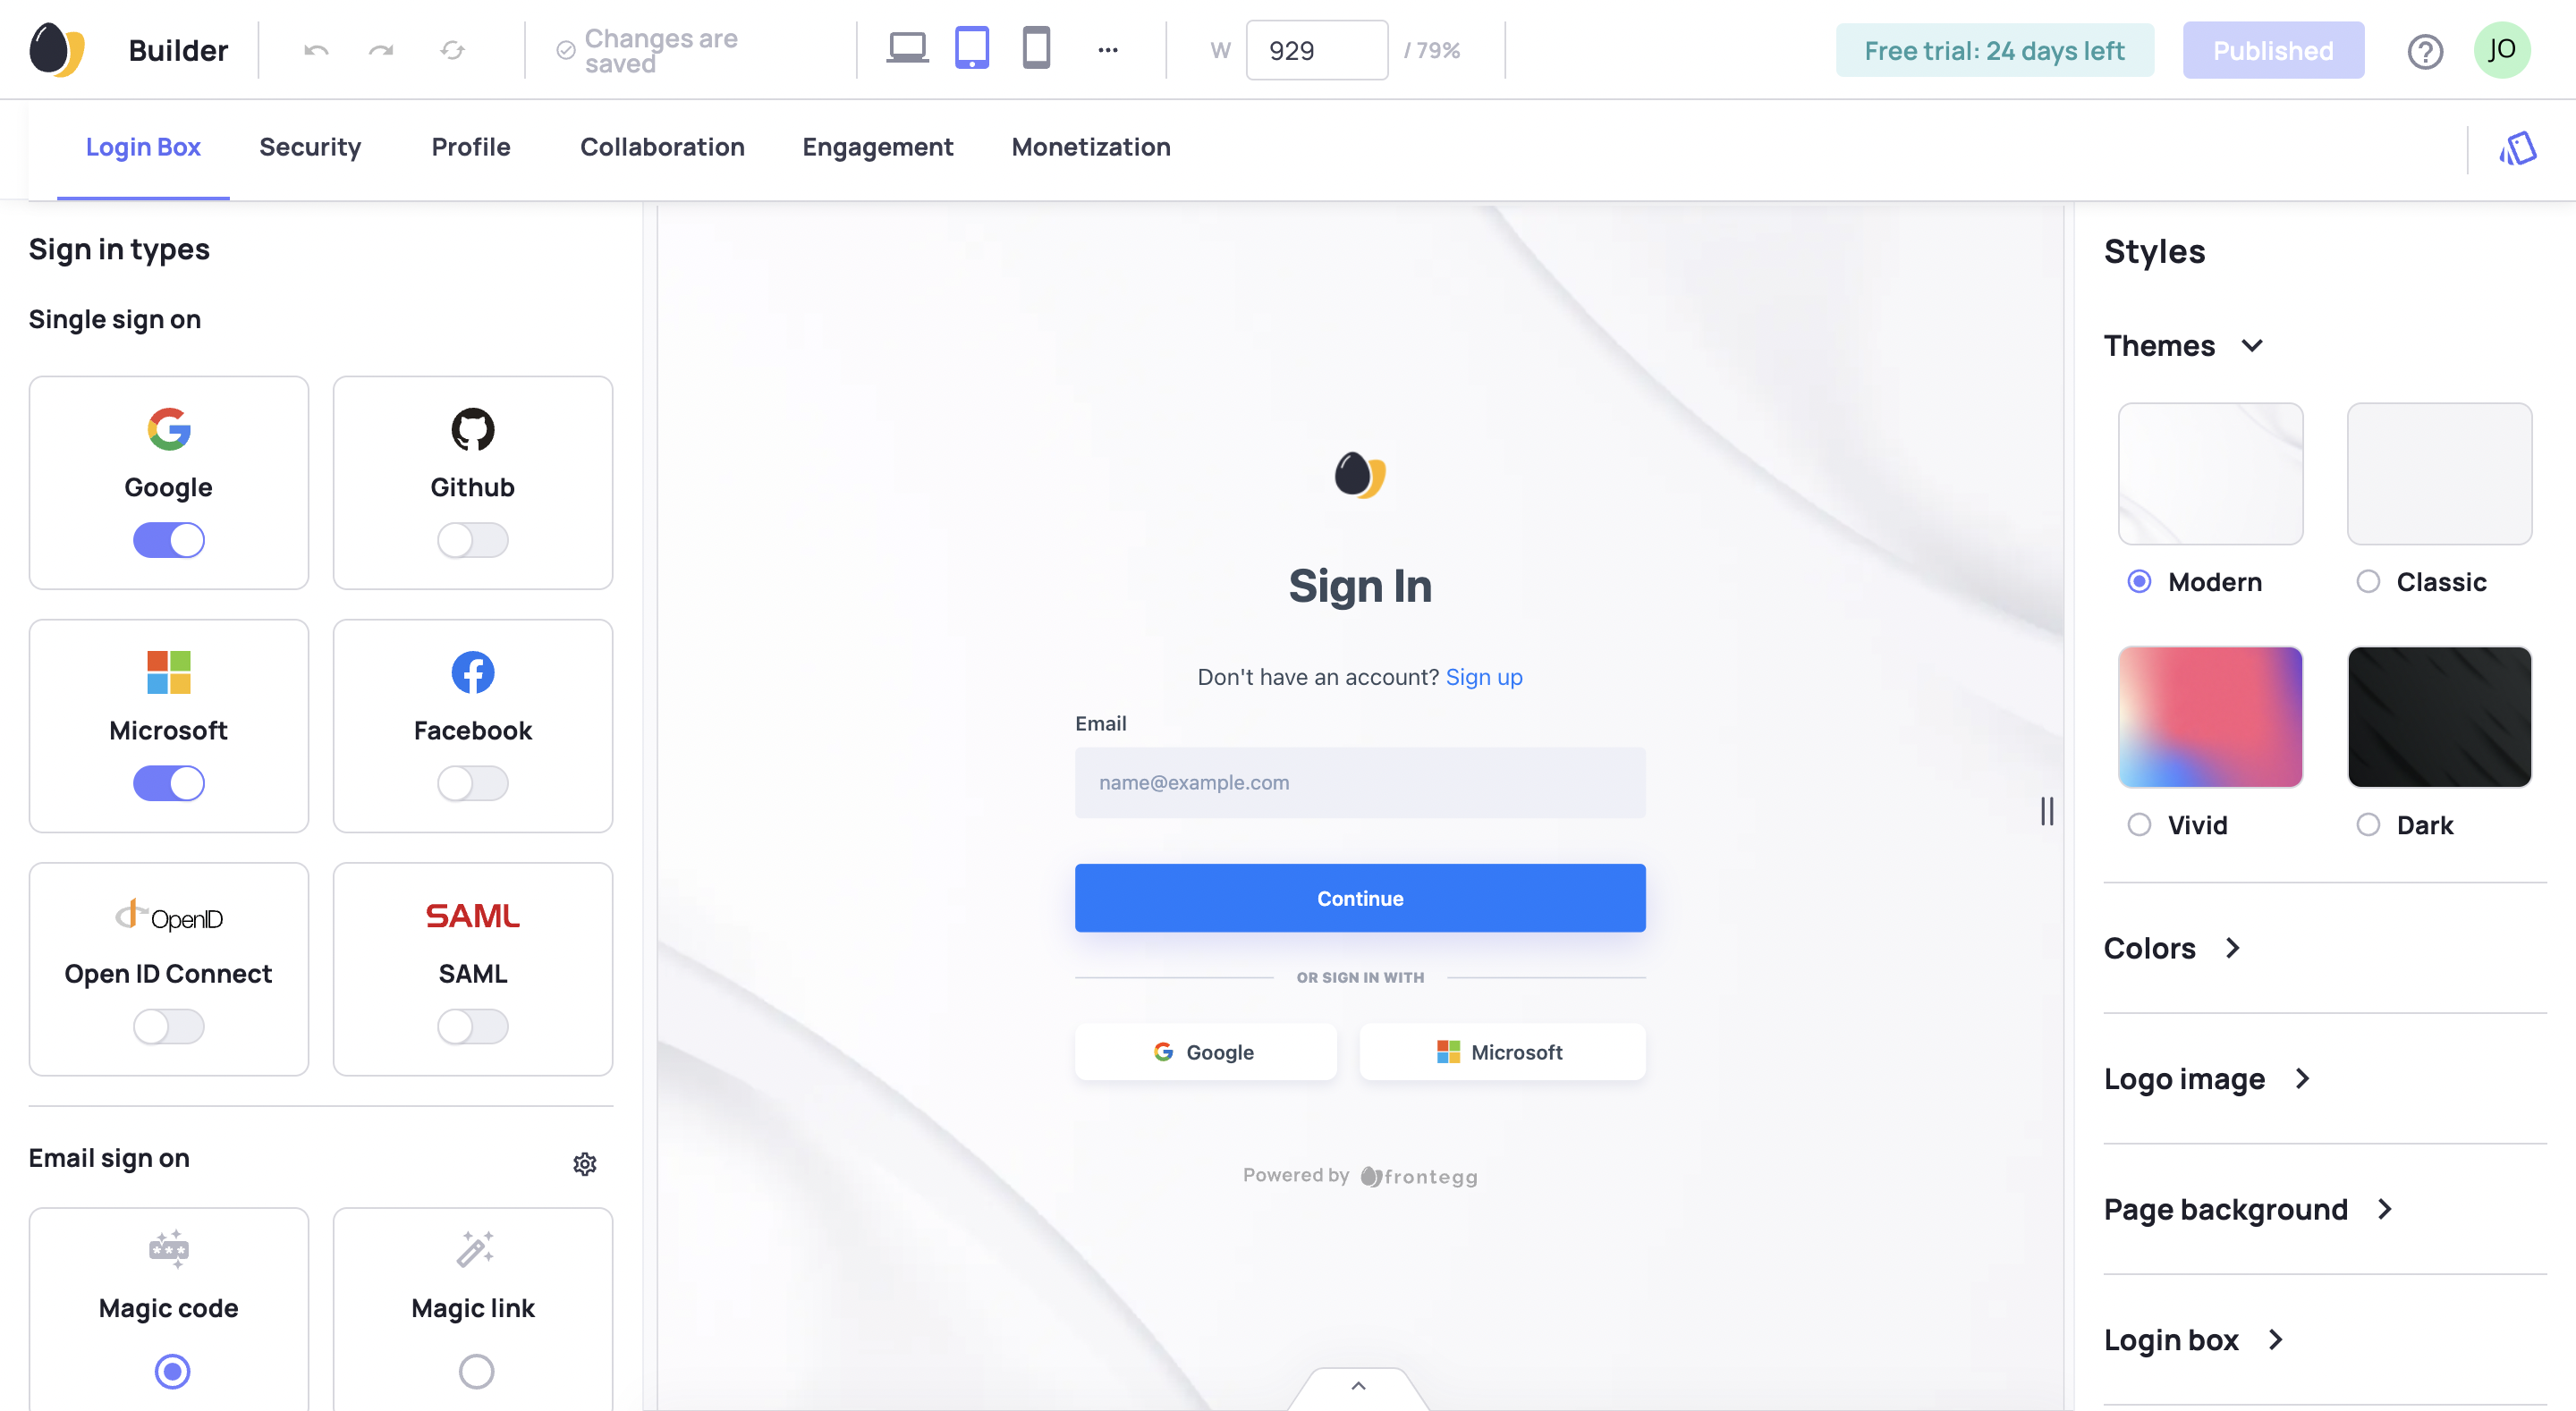
There you will see many features that you can manage in the tabs and side panels.
Step 2: Make Changes
Make whatever changes you want to make here in the Builder. Toggle features on or off, change values, and more.
Before you make changes, you see a disabled publish button.
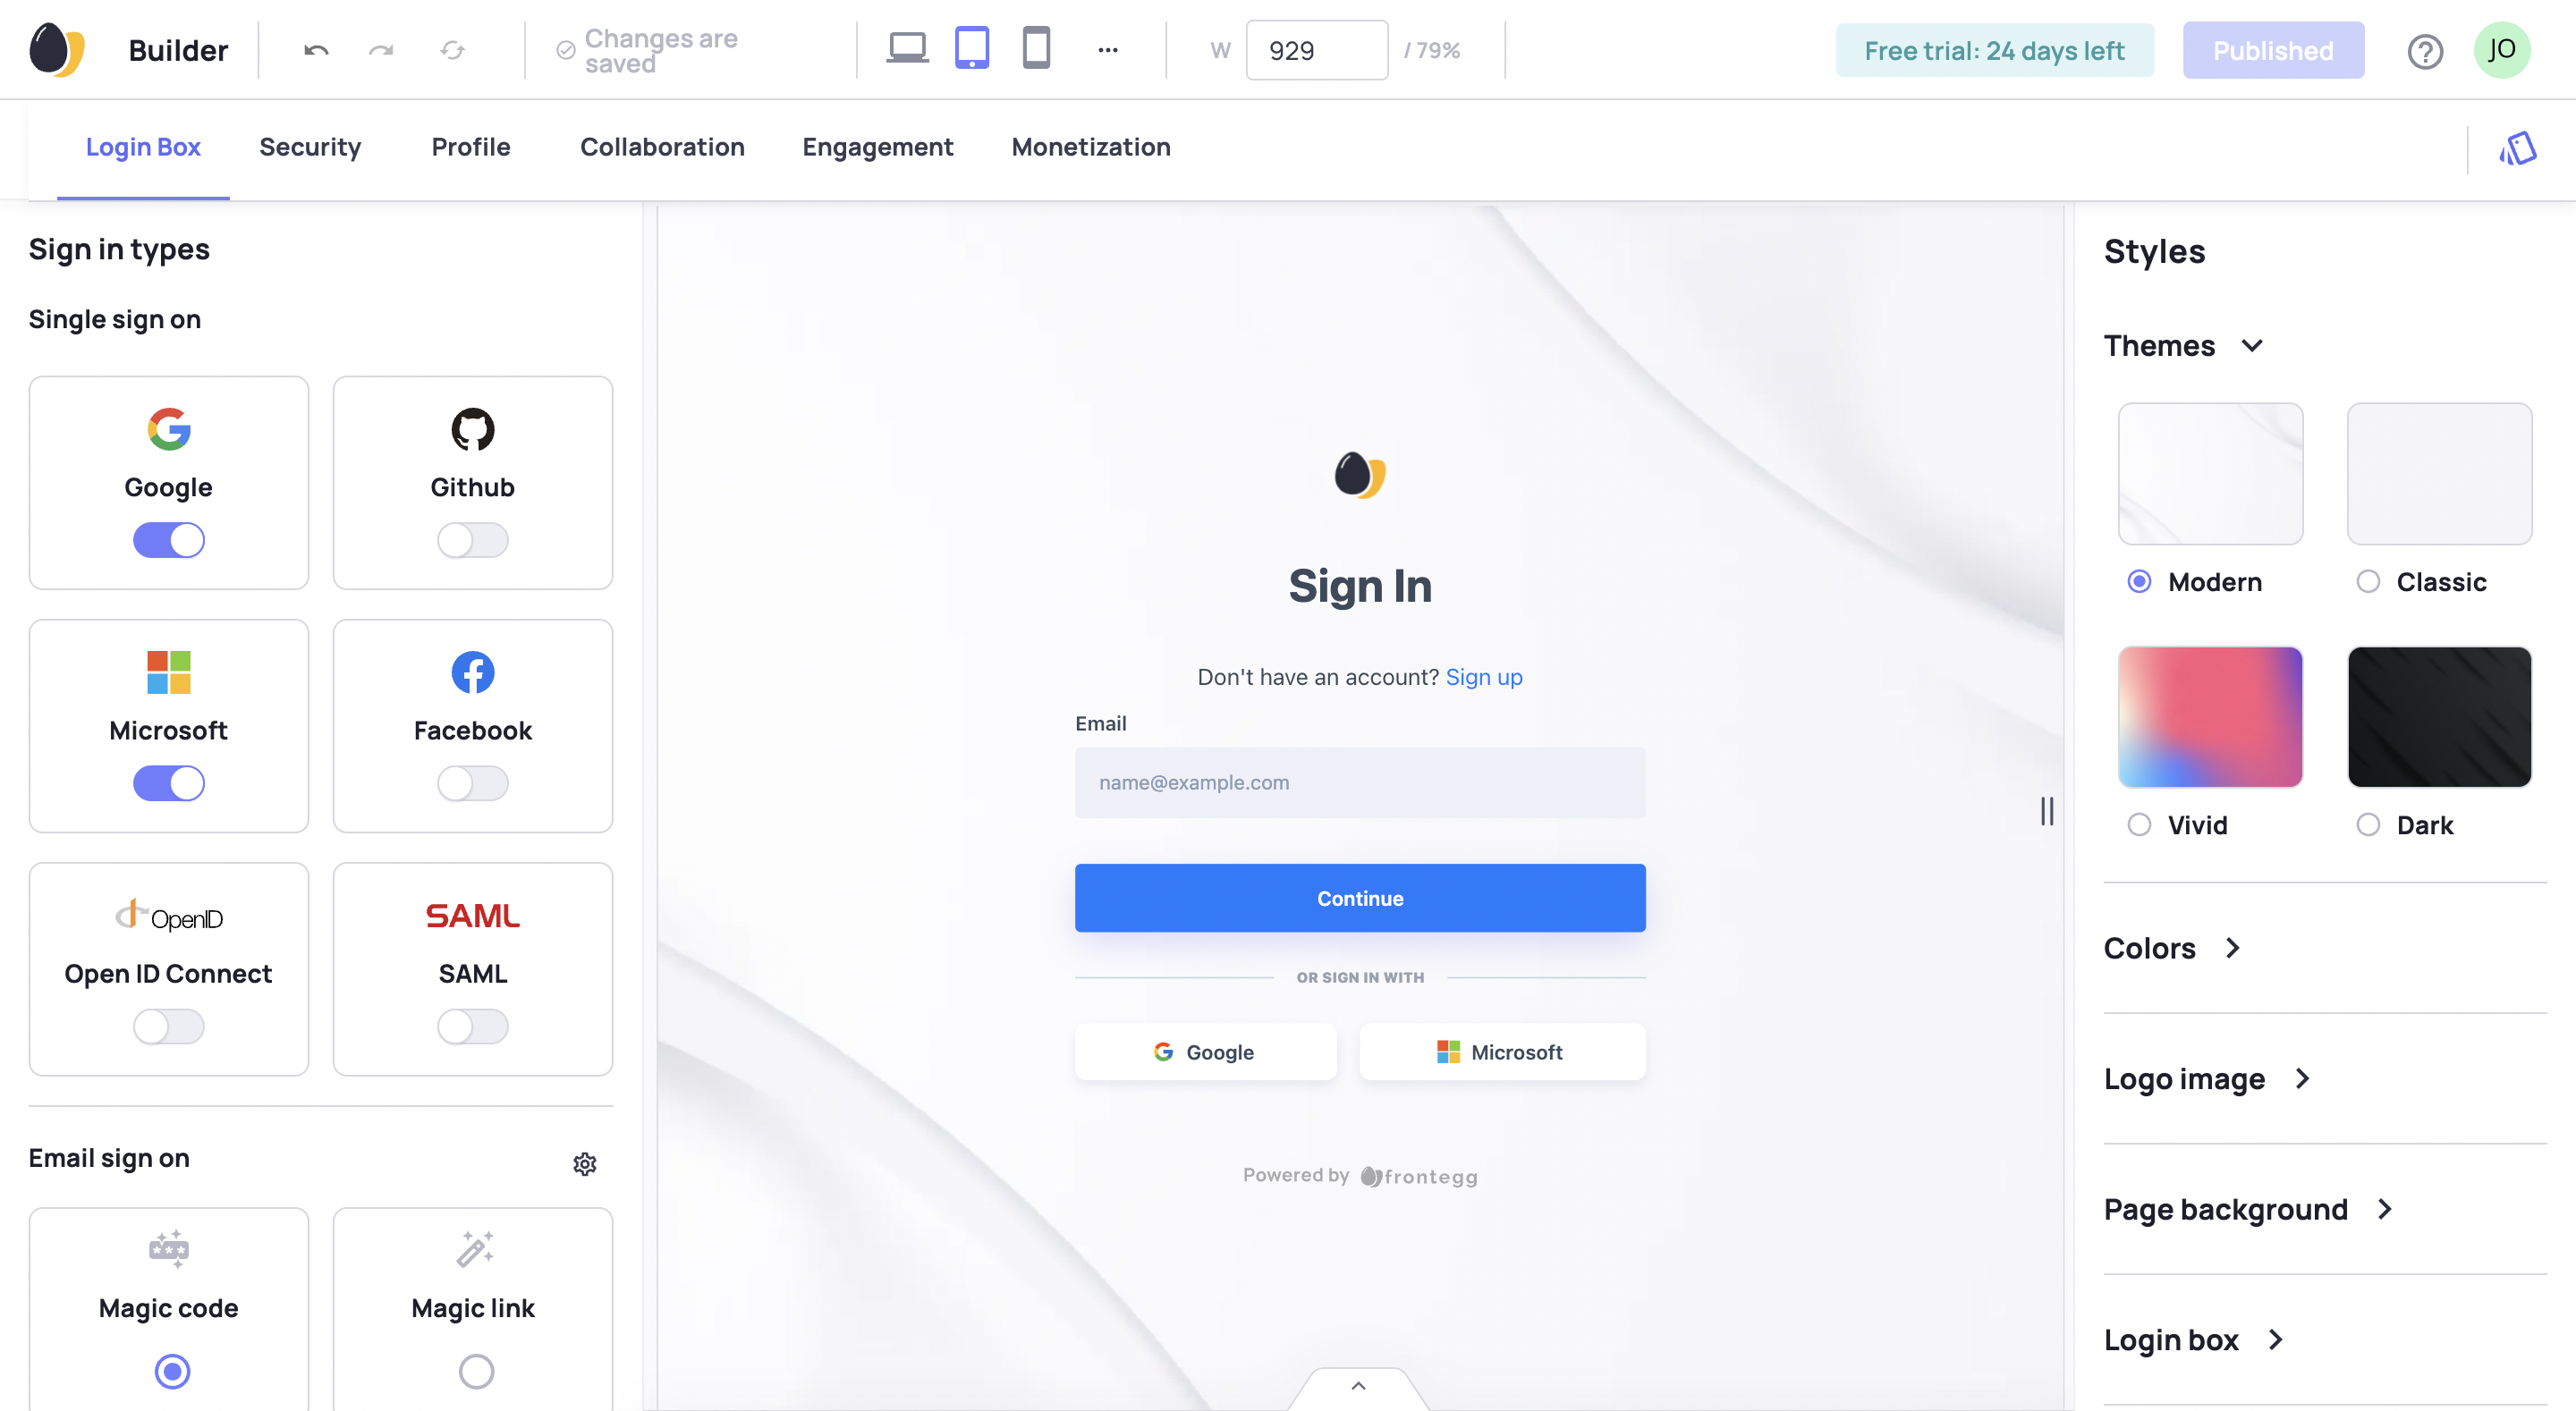
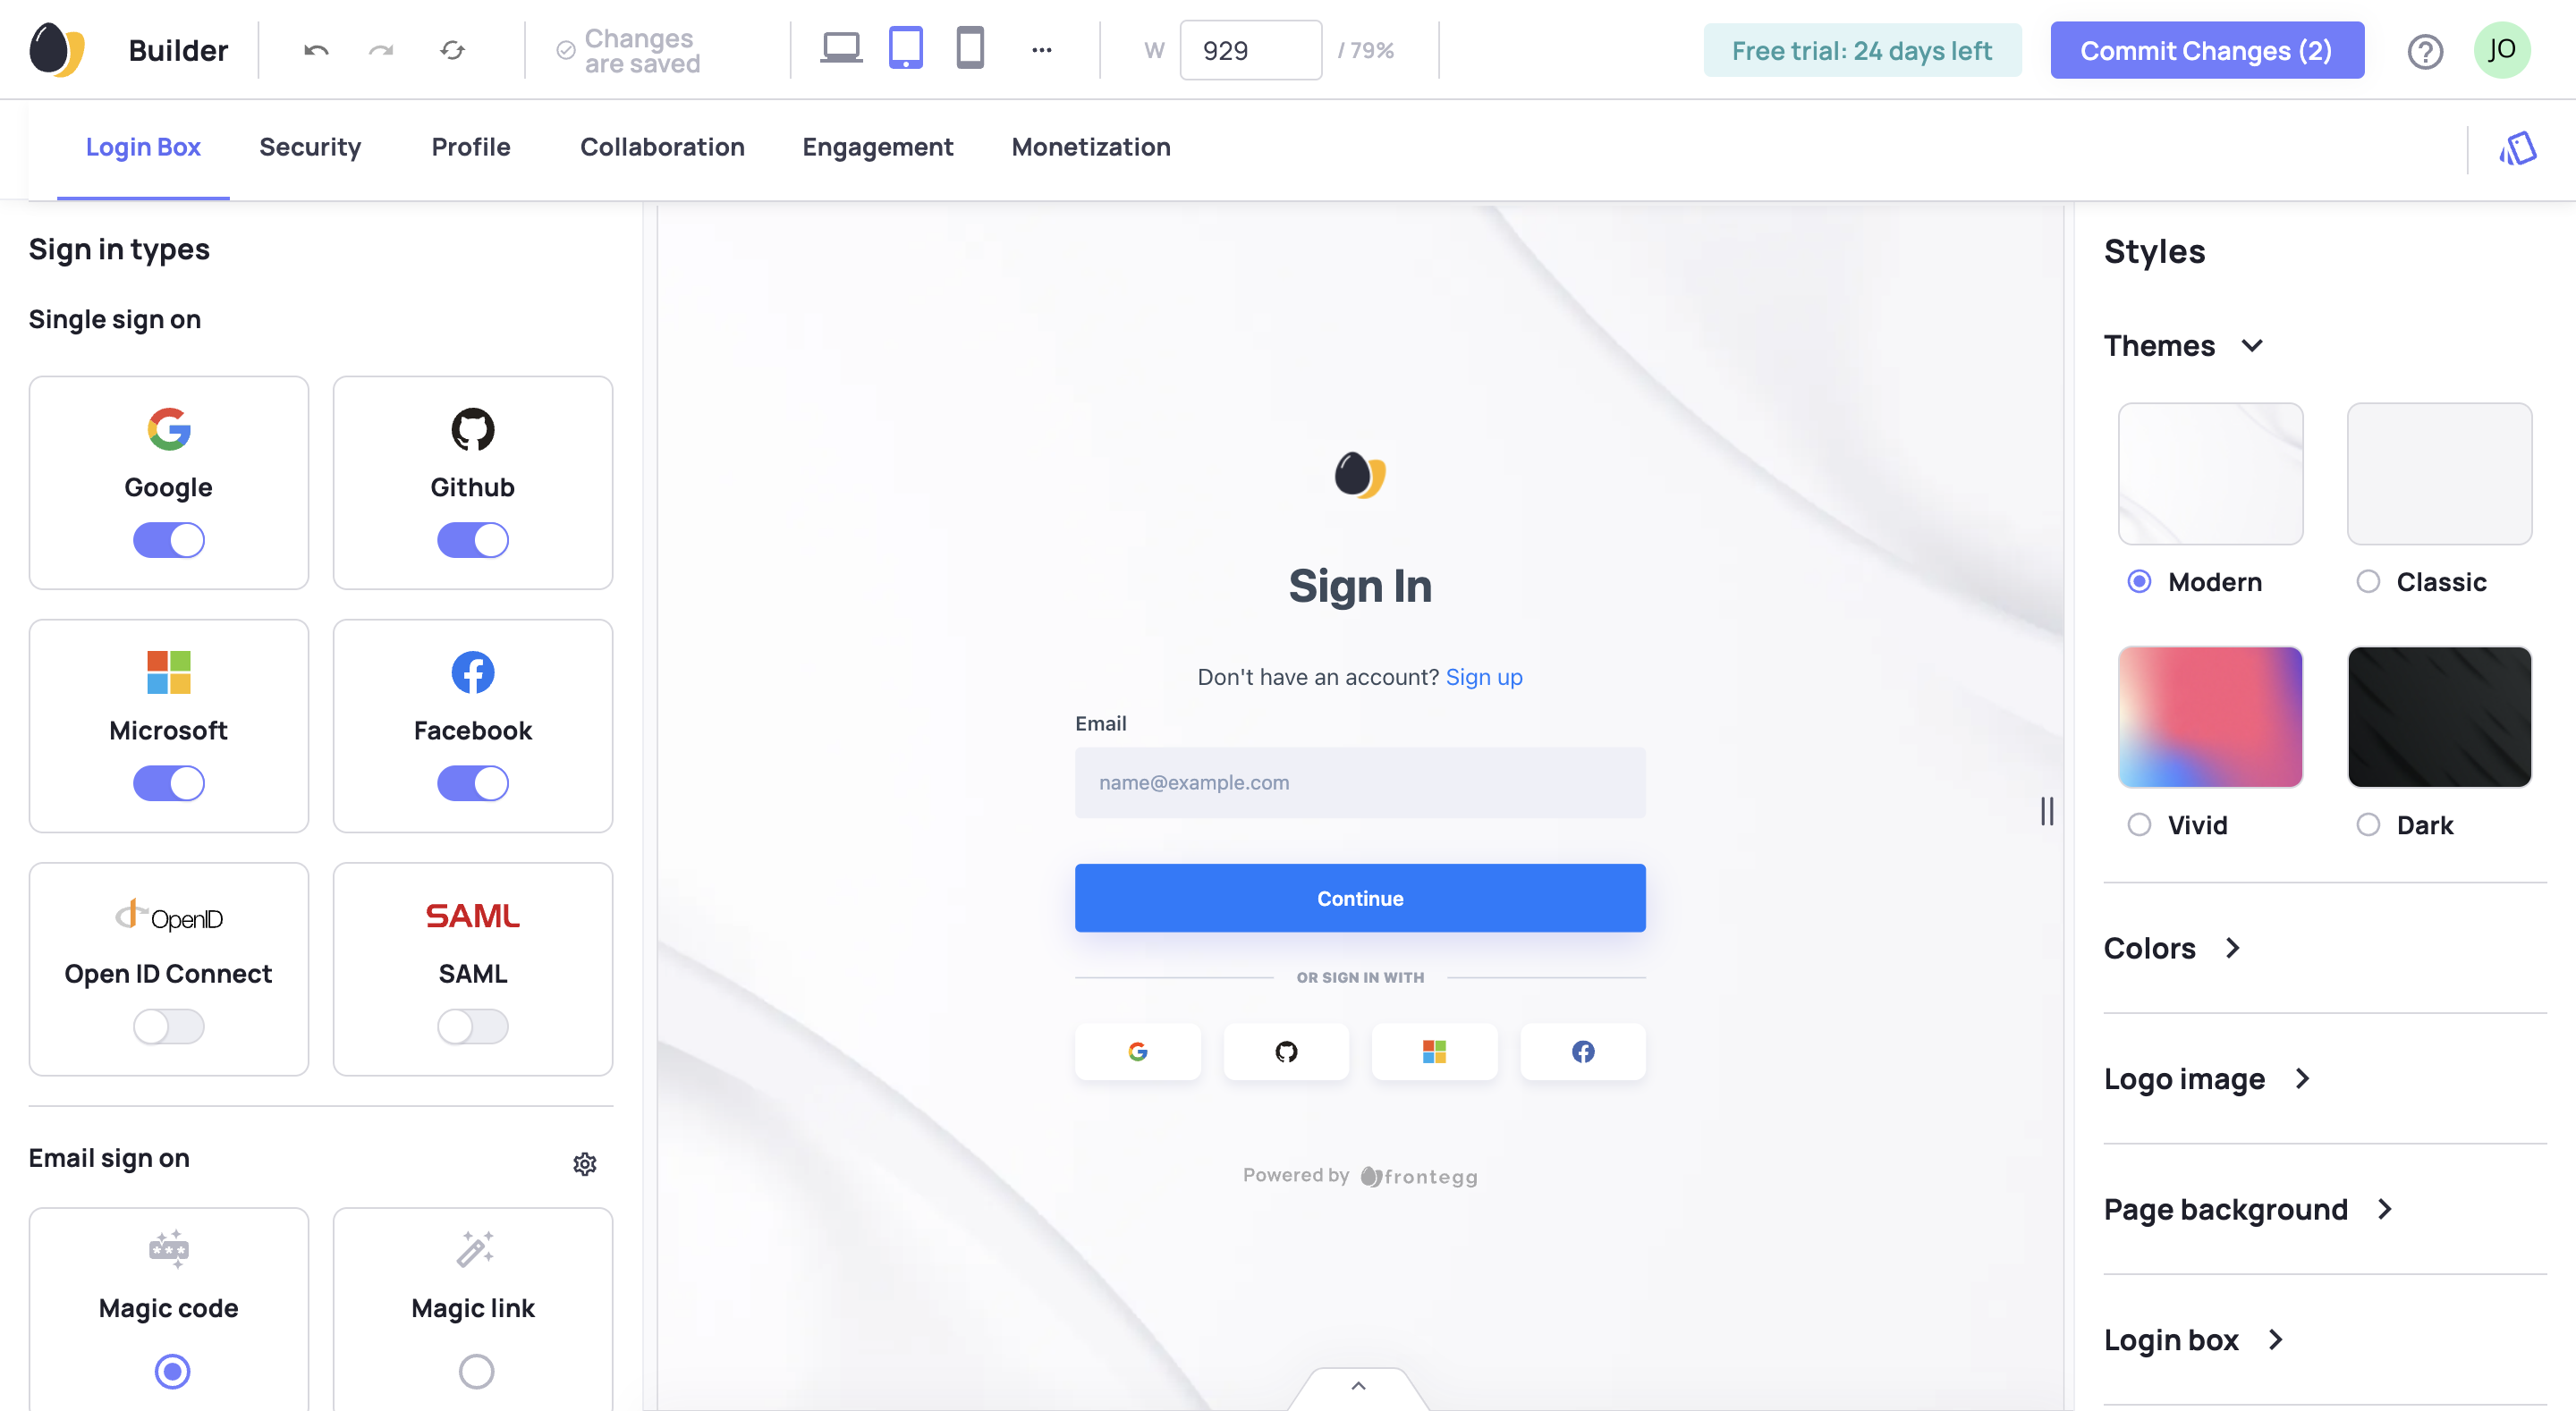
After you make the changes, you see the button enabled with the number of changes you made and need to commit.
In the example below, you see two changes because GitHub and Facebook logins are changed from off to on.
Step 3: Commit Changes
Click the commit changes button. You should see a prompt where you can explain the changes you made to the environment.
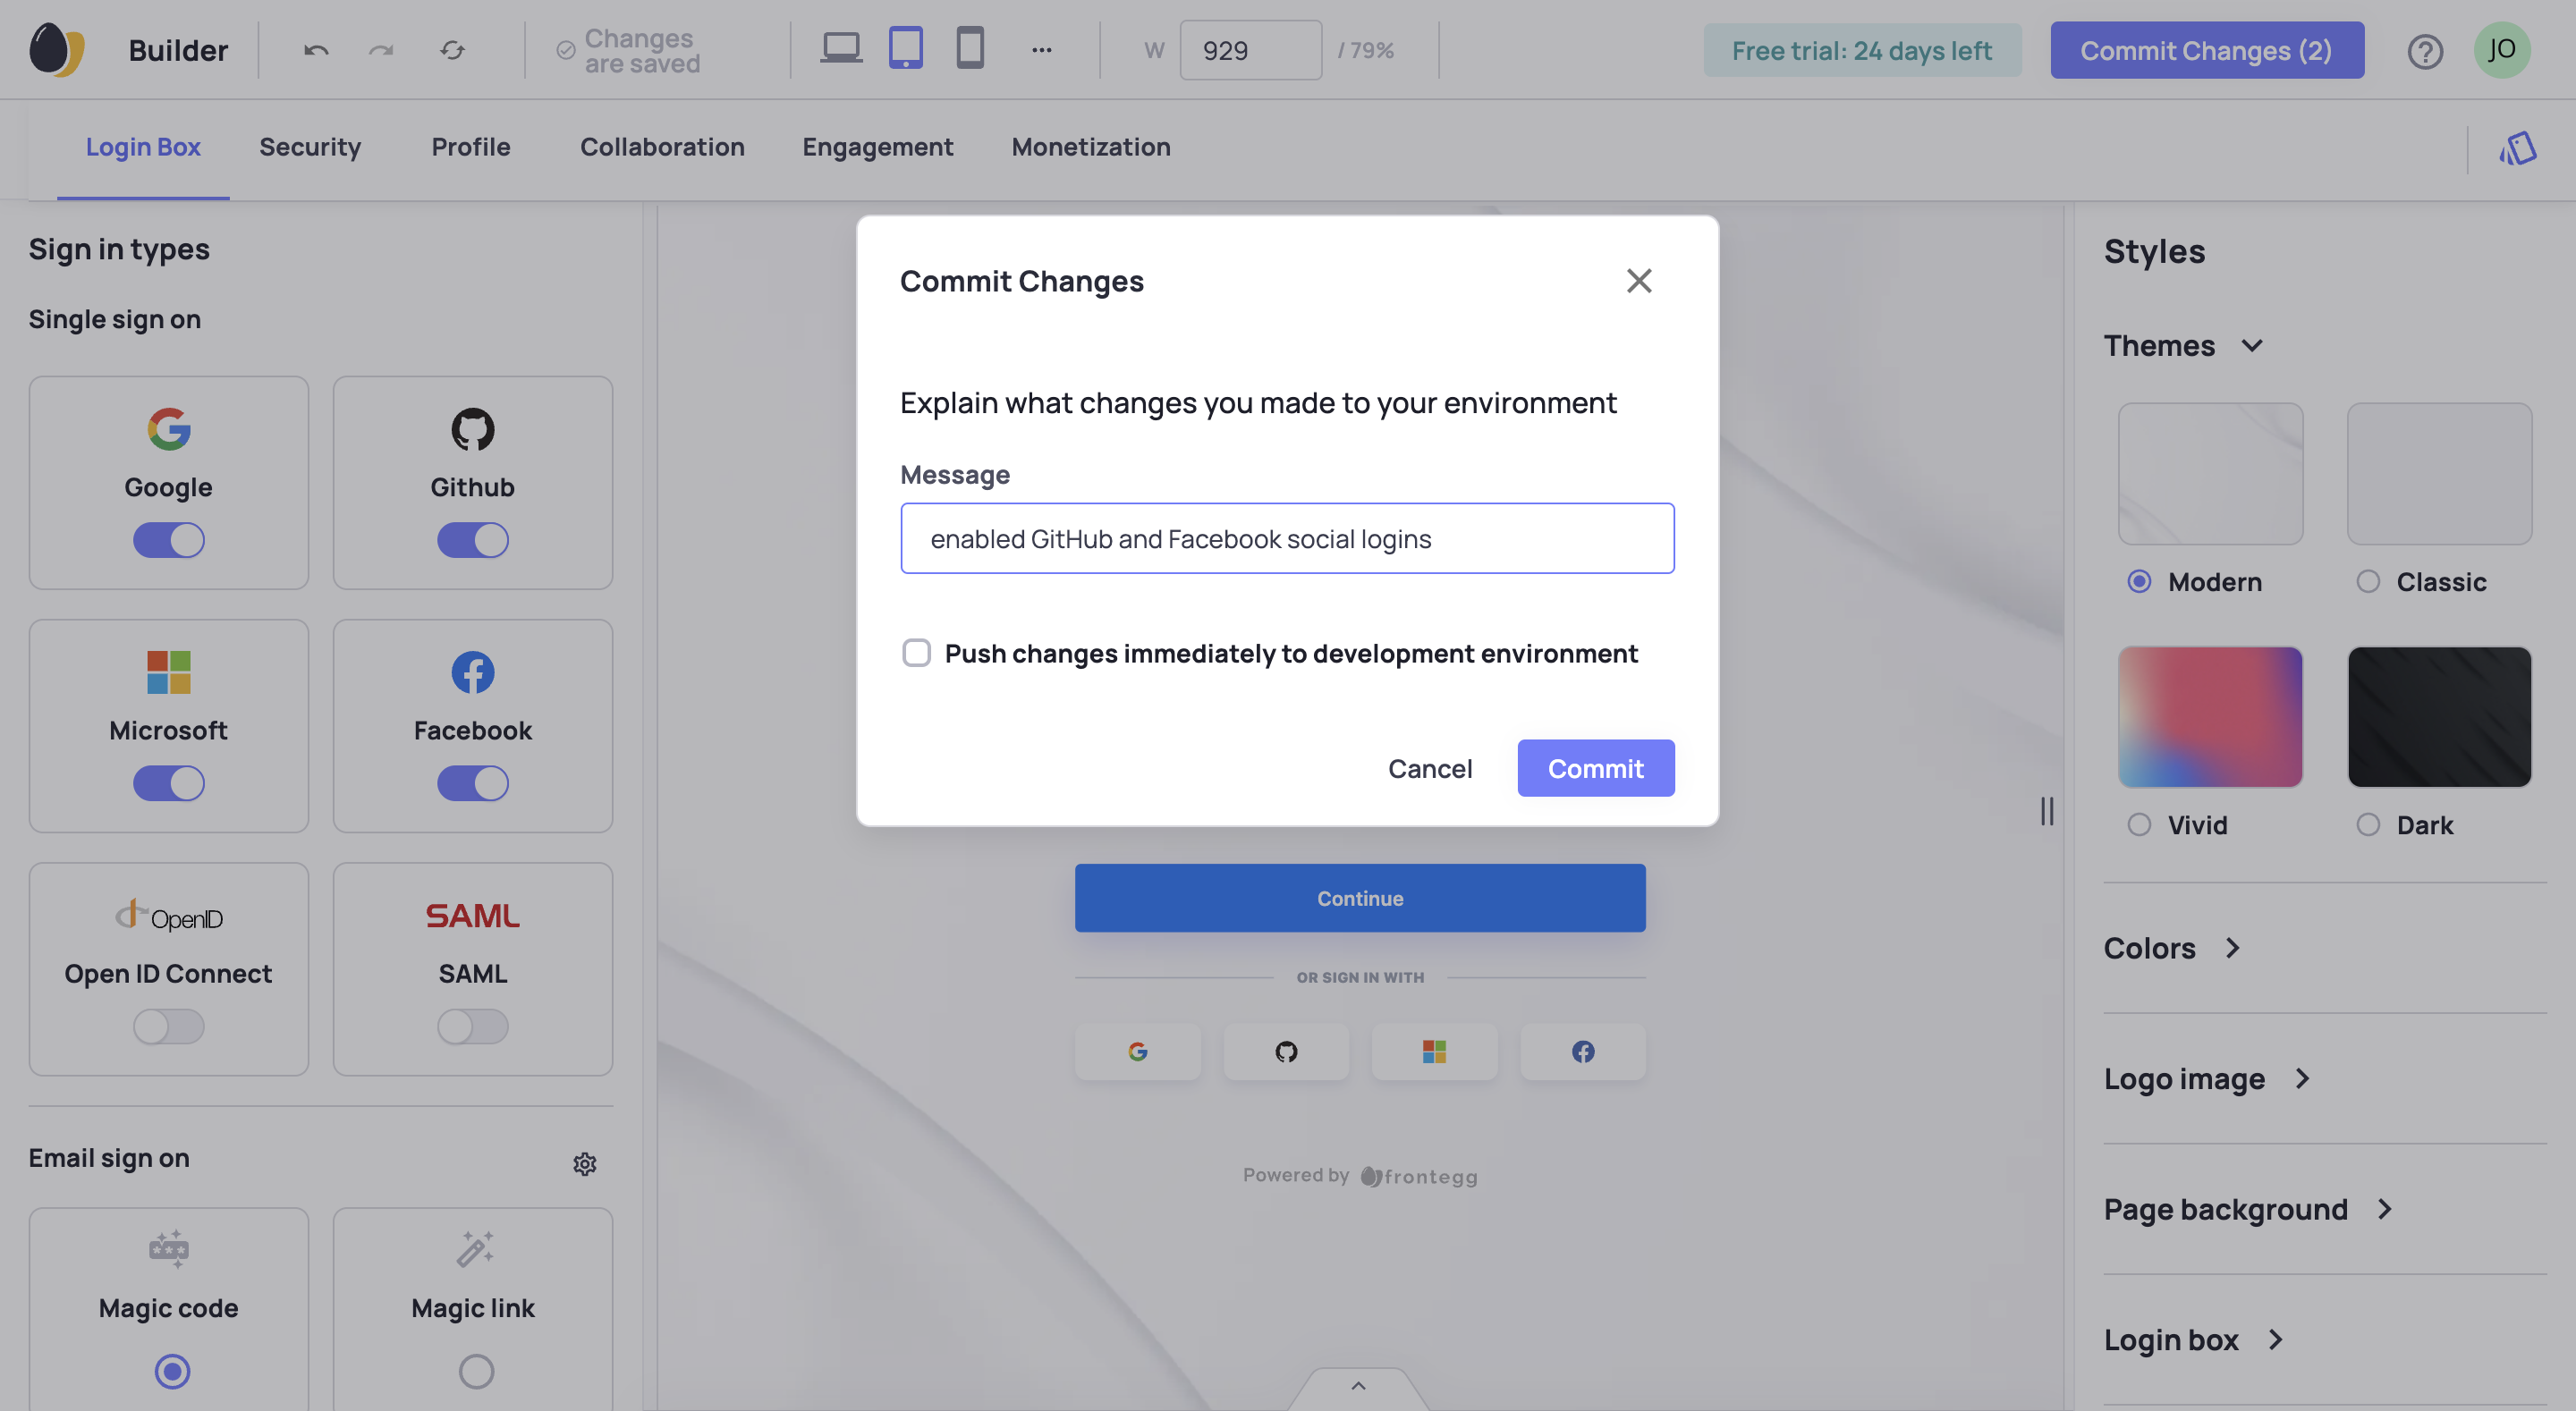
Enter your explanation and click commit. You should see the button change to an enabled publish button.
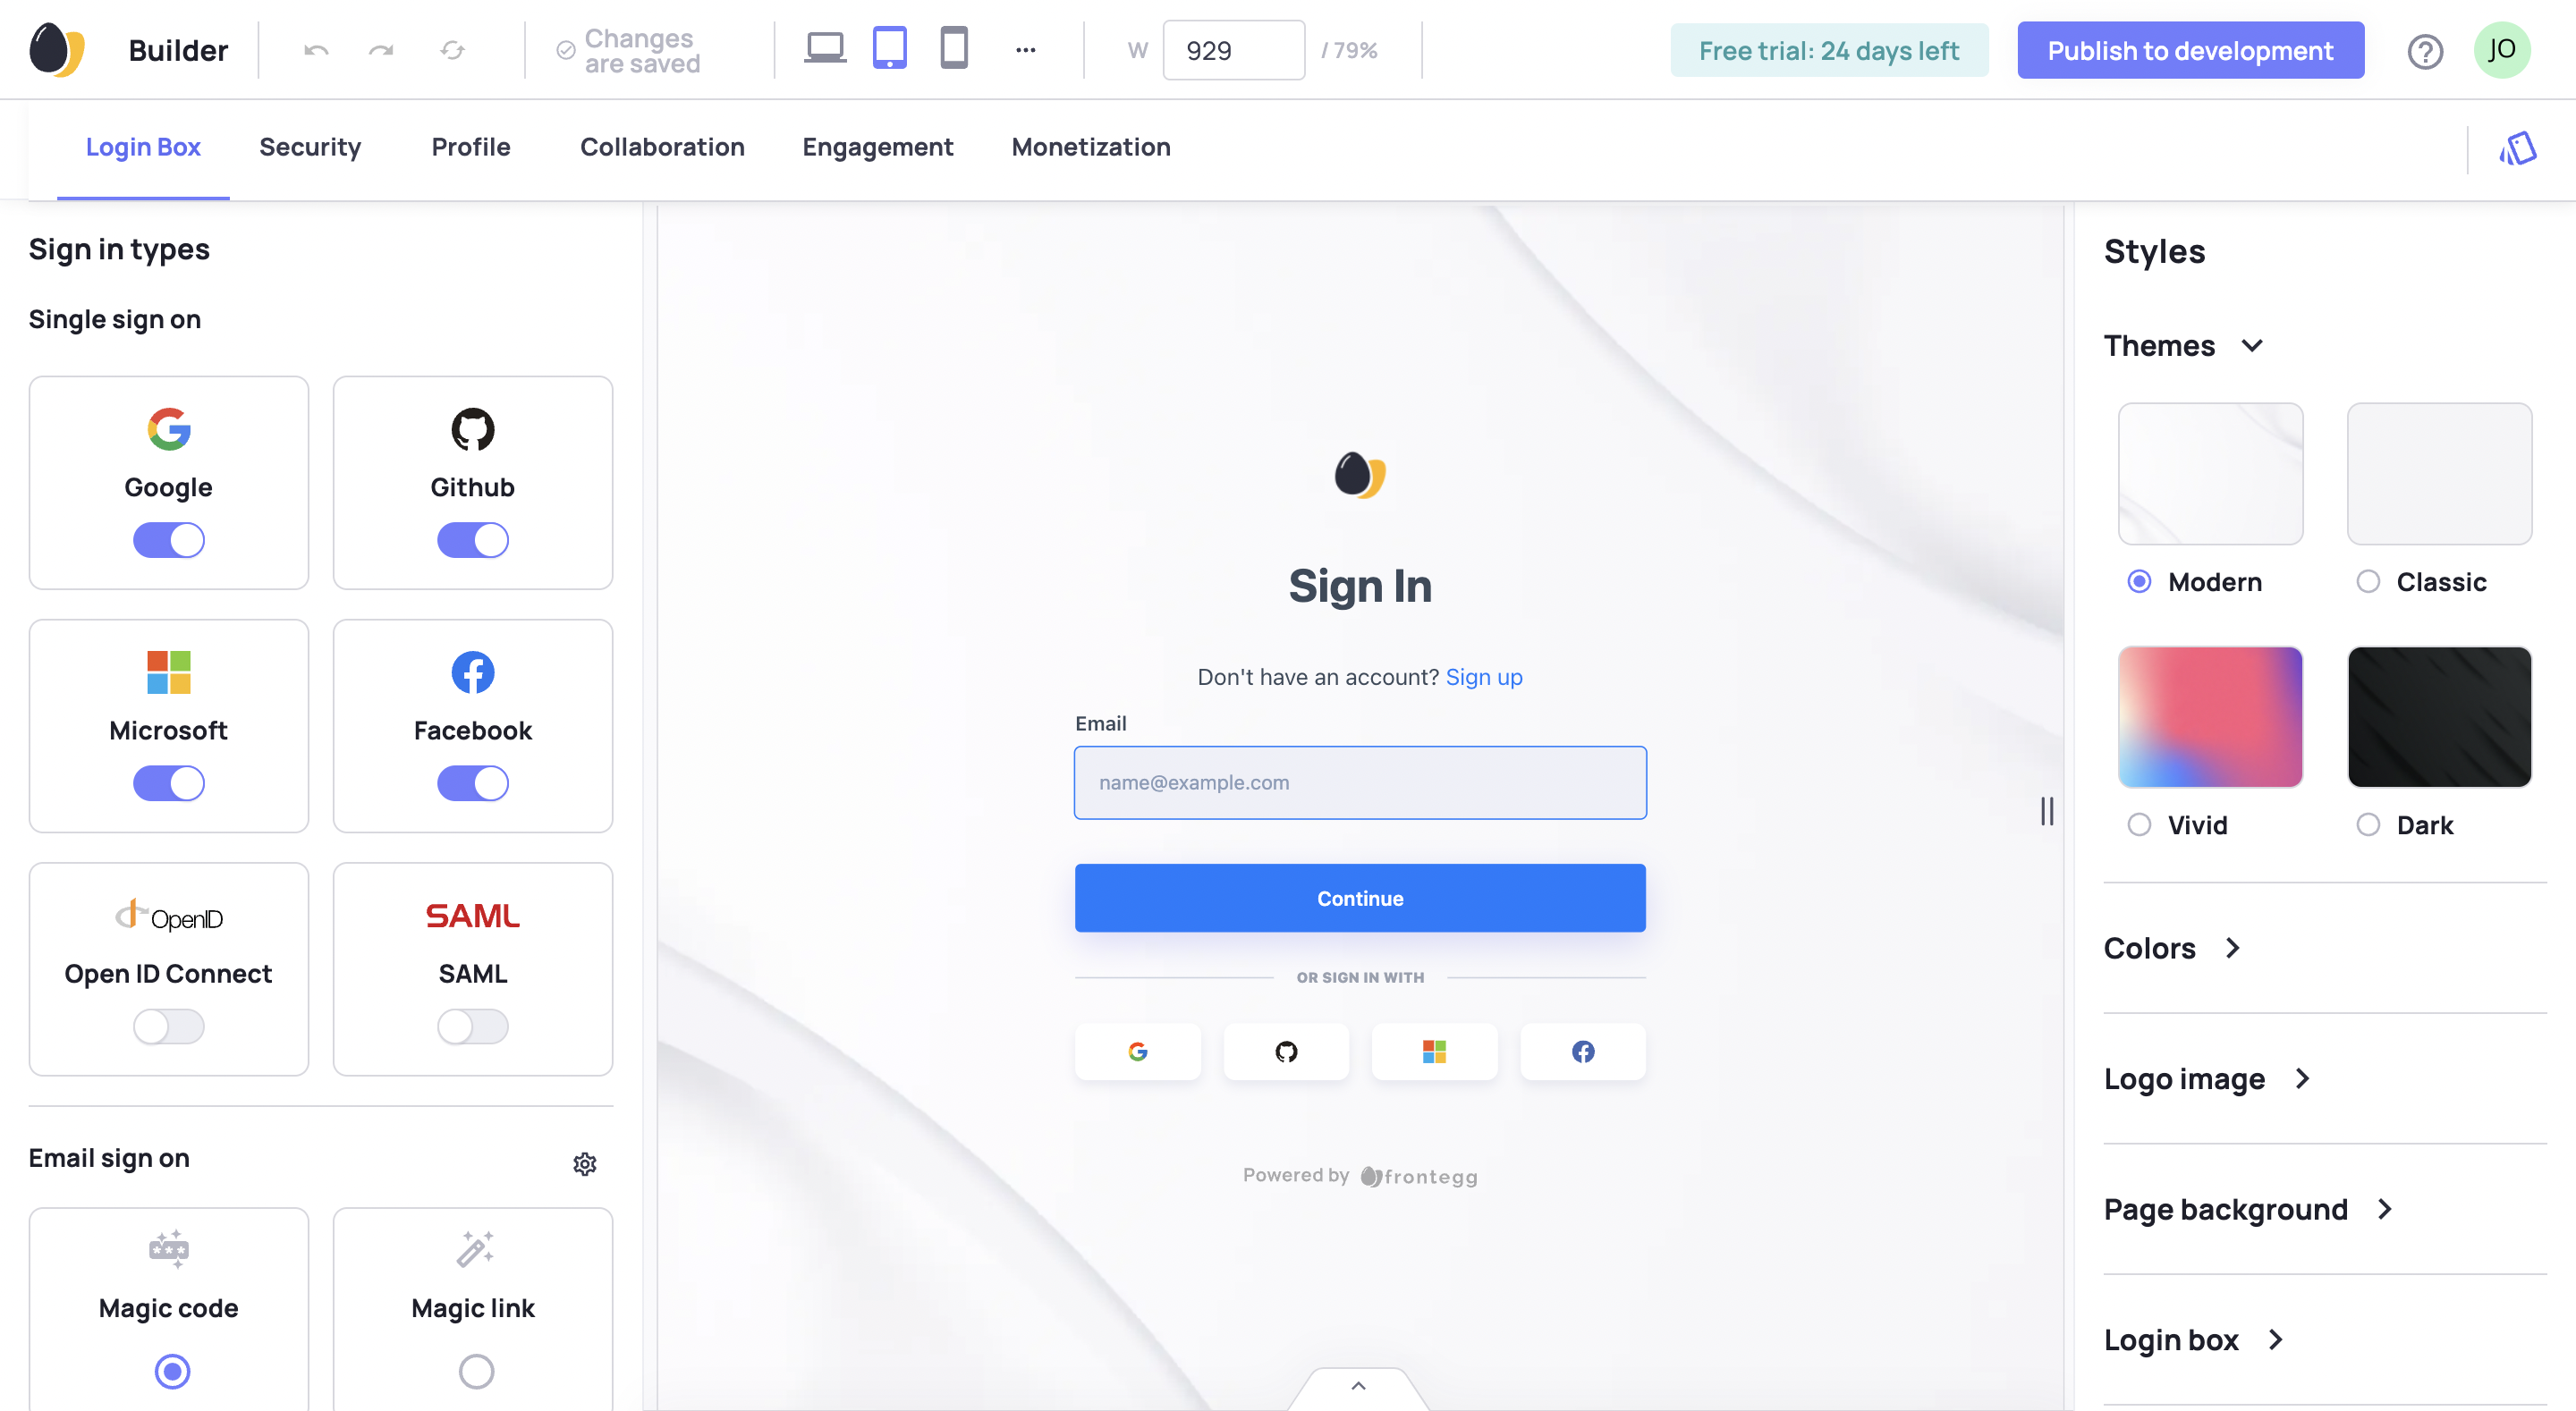
You need to publish your commits for them to be live in the environment.
Step 4: Publish Changes
Click the publish button, enter a publish message in the ensuing form, and the submit.
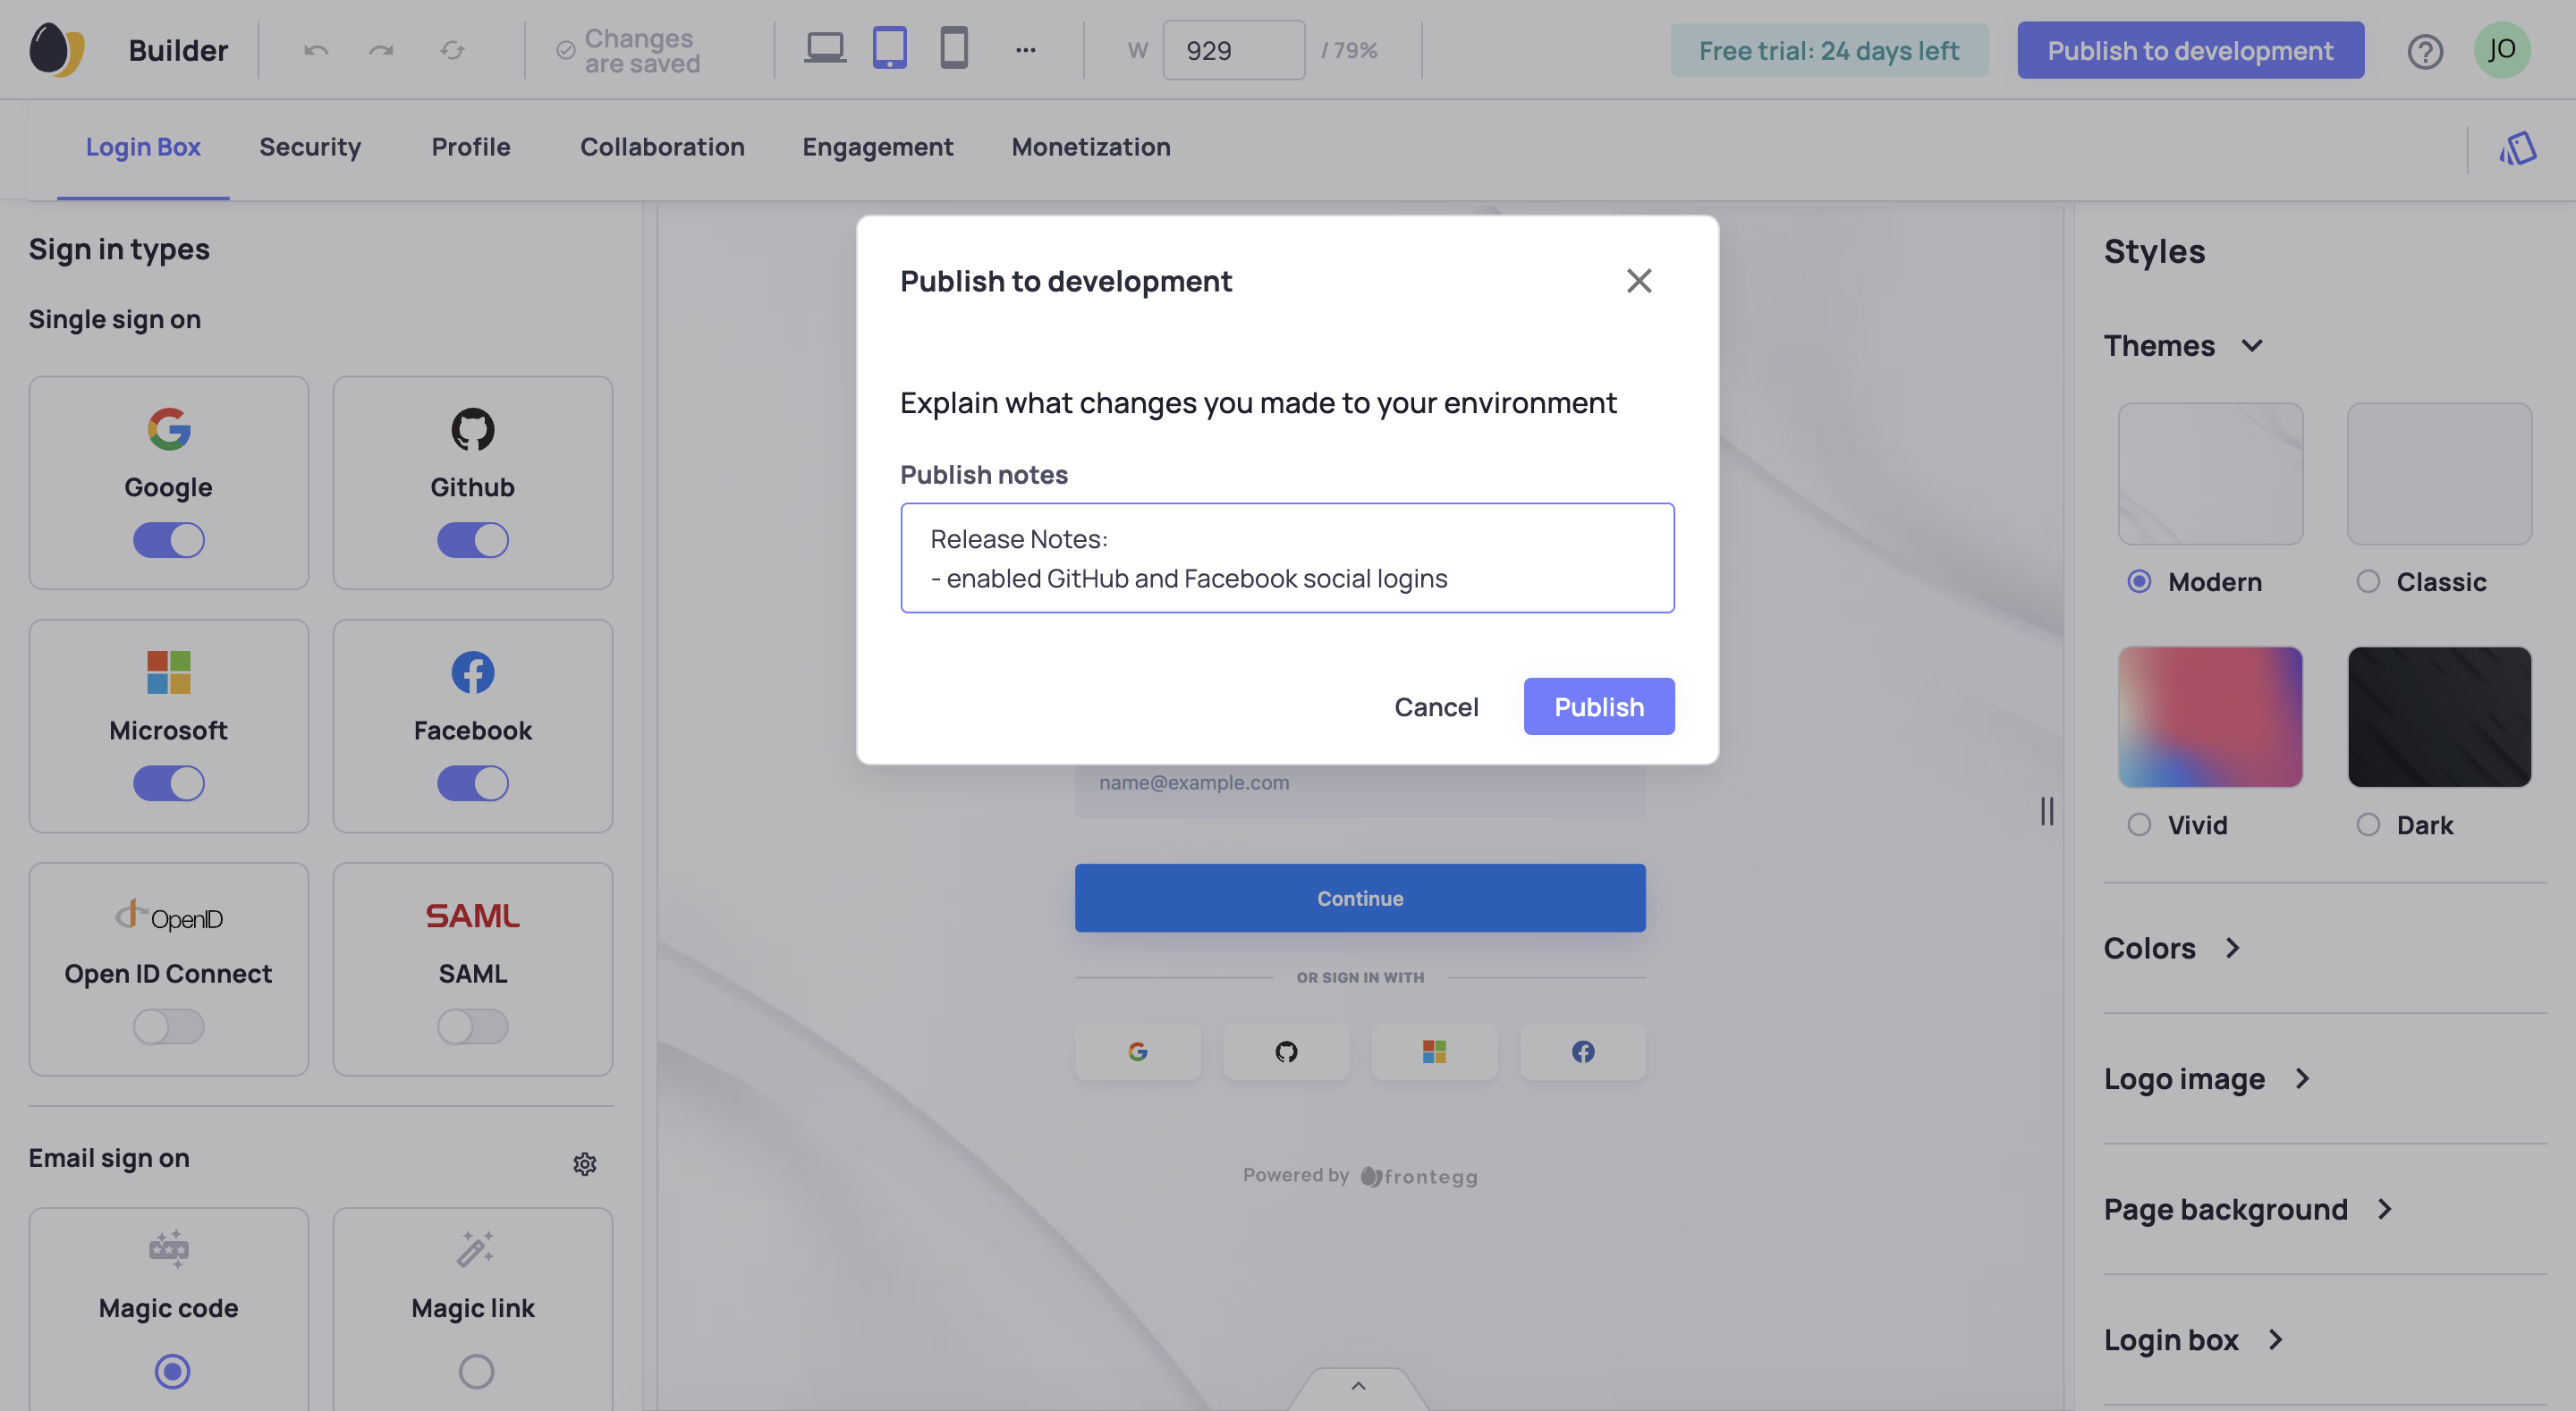
That is it.
Configure
Some features require only a toggle in the builder.
However, other features require more than just toggling on or off. They require additional configuring.
To configure a feature, you need to enable it in the Builder to see the option to configure it.
The configuration pages are in the Environments section of the Frontegg Portal. Each environment has its own configuration settings.
For instance, go to Environments ➜ Development to manage the development configurations.
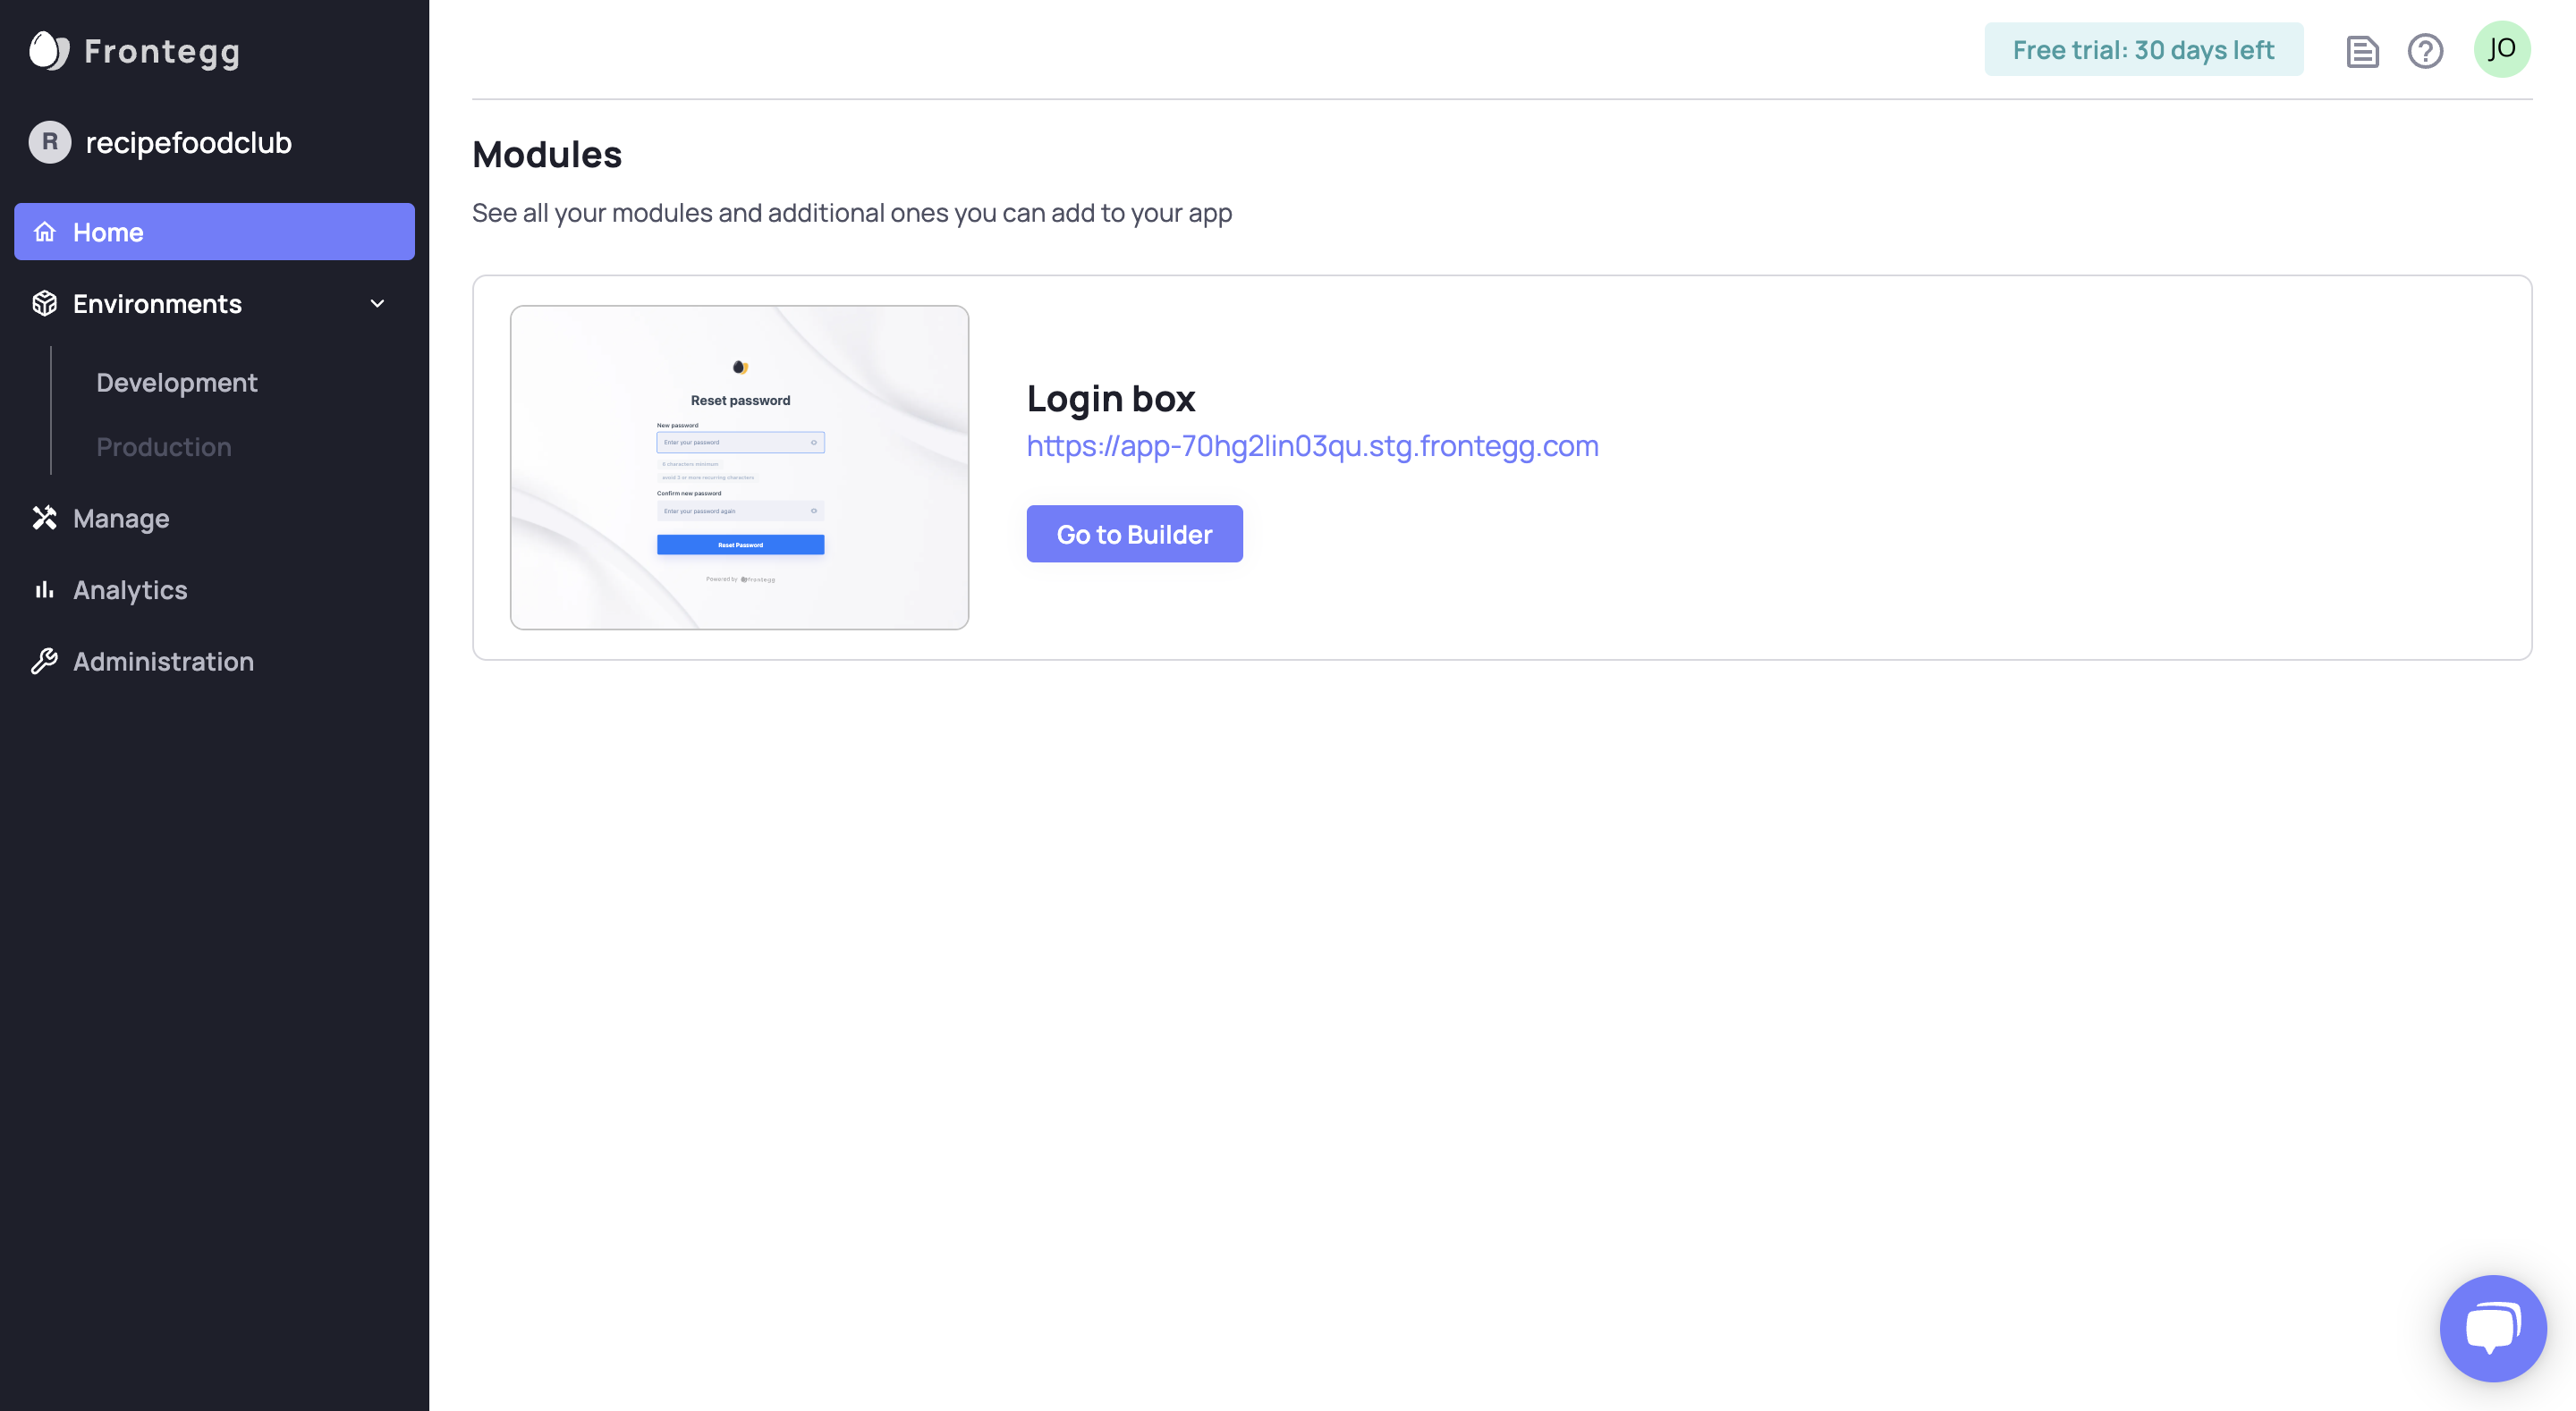
See the Development and Production Environments in the left panel.
Click an environment to see its configurations. Here is an example for the development environment.
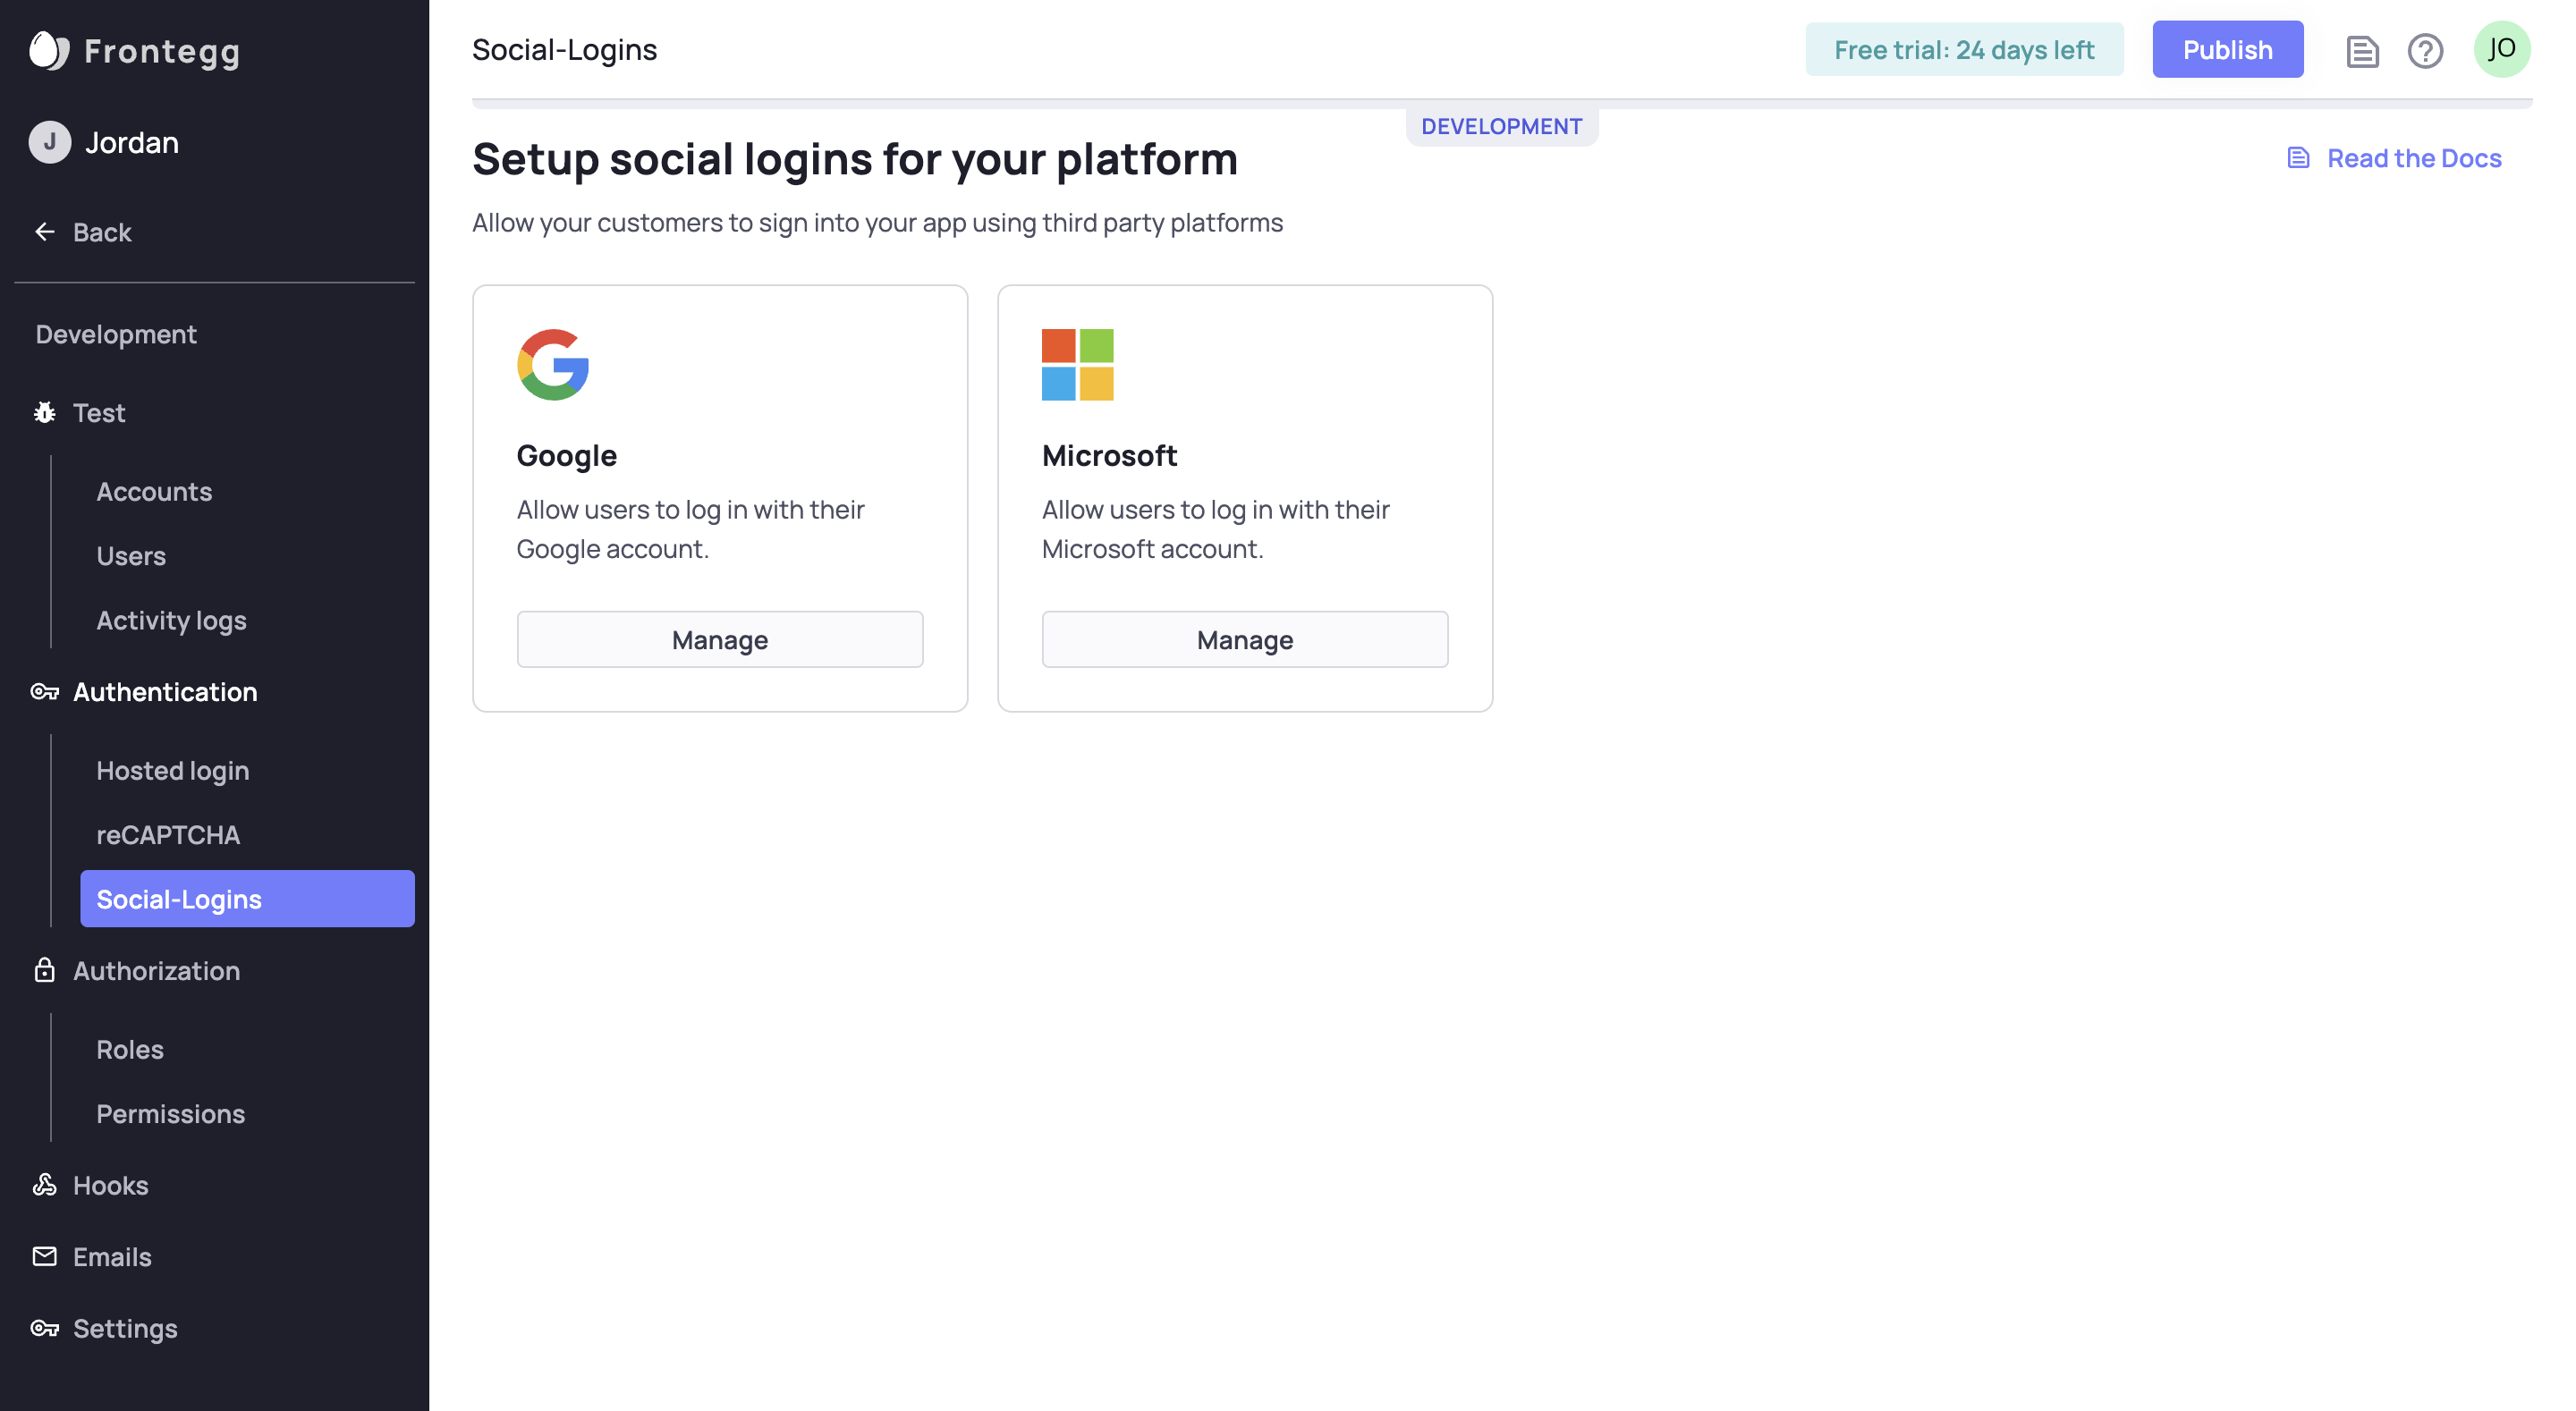
The example above displays the Social Logins configuration options in the development environment.
The only two social logins available to configure are those that are enabled—Google and Microsoft.
Notice the absence of GitHub and Facebook options. GitHub and Facebook do not appear in Environments in this example because they are not enabled in the builder.
The feature needs to be on in the Builder to see the option to configure it in Environments. The example uses social logins but applies generally to the Builder.
To see the other social login options for configuring, you need to enable them in the Builder, commit, and publish as described above.
Now you should see the option to configure those features in the environment.
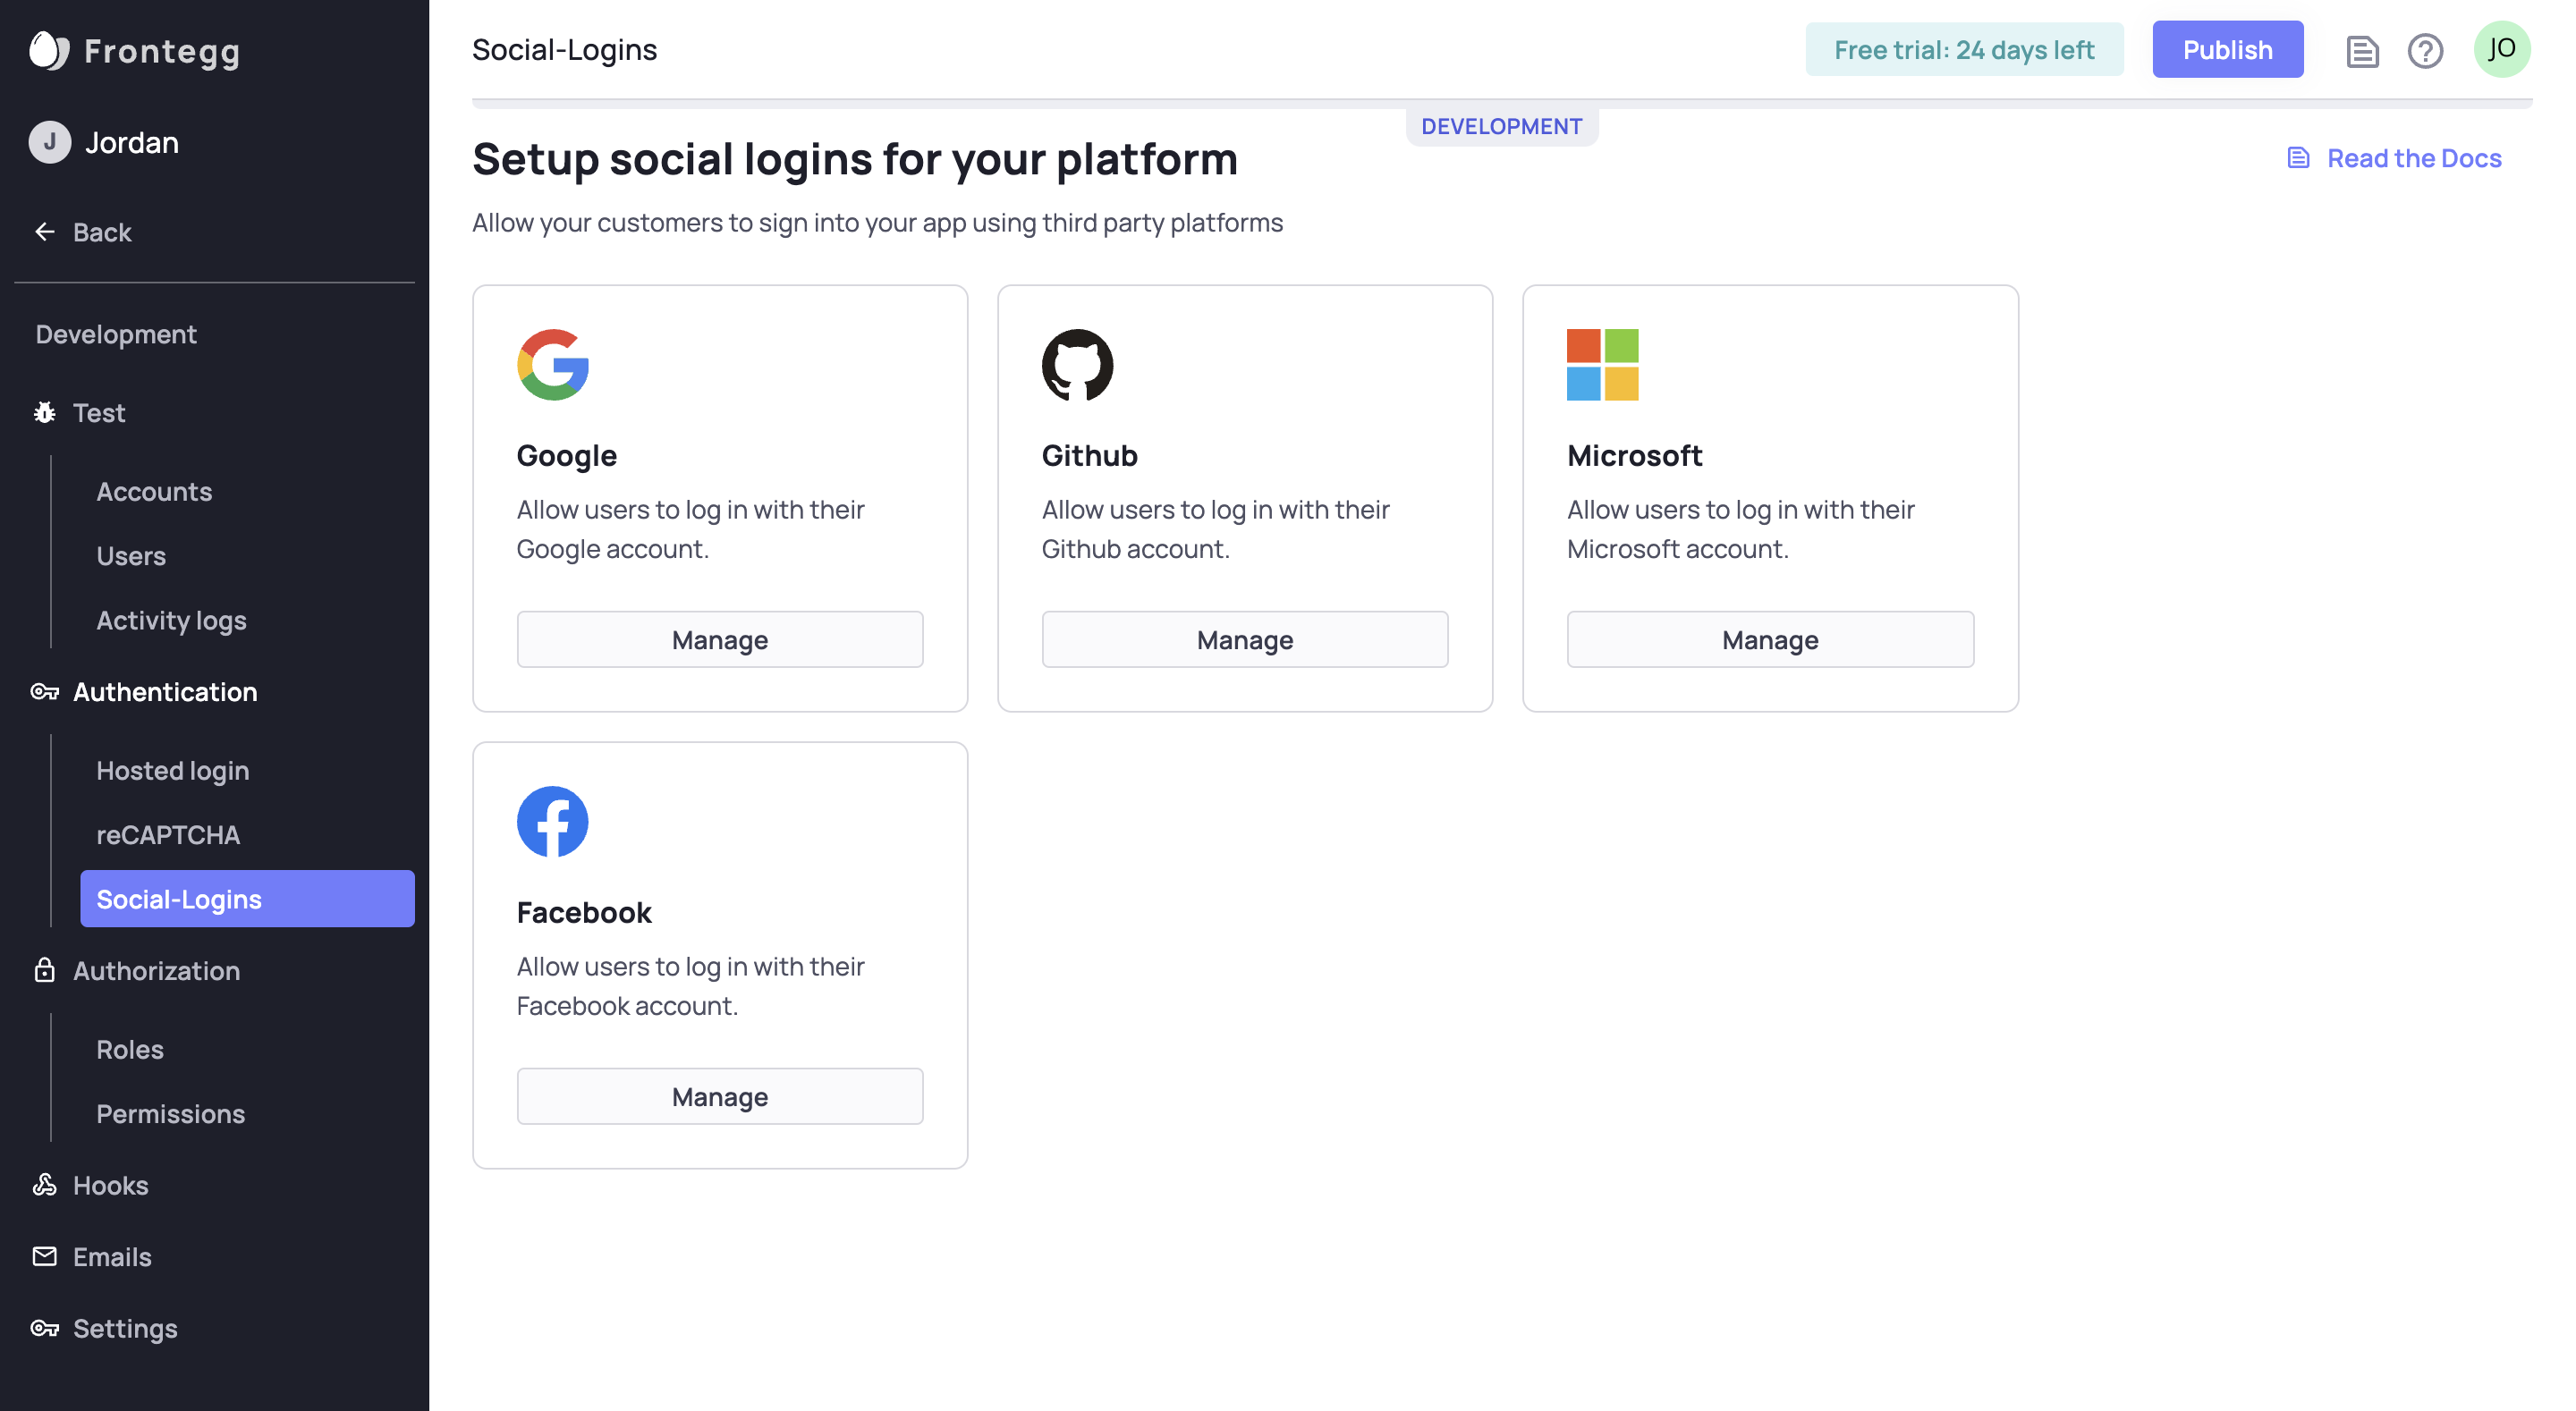
Whenever you edit the Builder, be sure to commit and publish to see your changes take effect!
Updated 5 months ago