Next.JS
What will we build?
In this quickstart, we will add the Frontegg hosted login box to your Next.JS application.
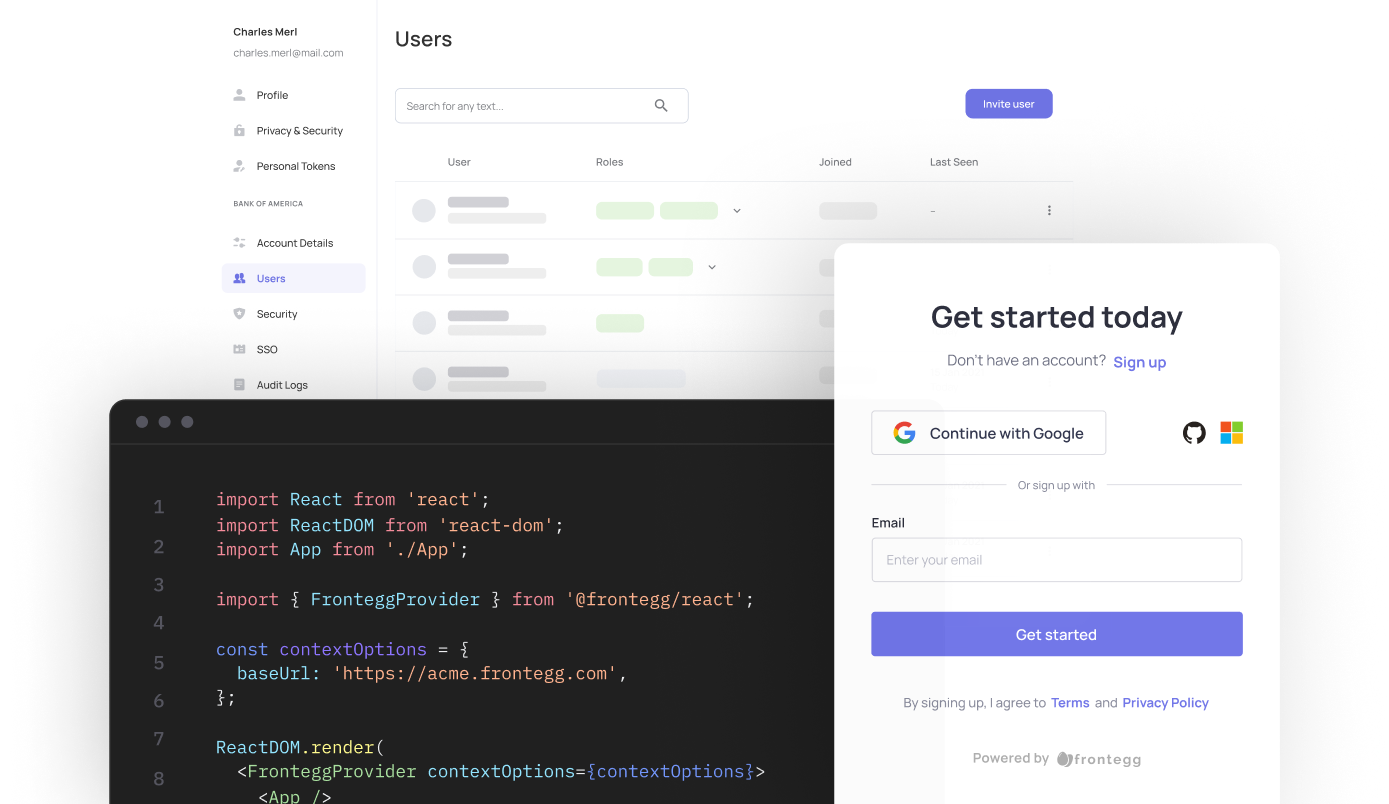
In 5 minutes from now, your application will have a login box with Sign in, Sign up, and SSO. All this with just a few lines of code using redirects, Open Id Connect, and OAuth2.


Ready to start?
⚡ Before you start: ⚡
Getting your Frontegg subdomain and clientId
Frontegg creates a unique
subdomain
andclient id
for every workspace created on the account. In order to retrieve theclientId
subdomain
that will act as thebaseUrl
in the integration, navigate to your workspace administration menu, and copy theworkspace domain
andclientId
.You will need them for this guide.
STEP 1: Create Next.JS app
If you have an existing app, skip this step.
To create a new app, use the following script.
npx create-next-app app-with-frontegg
cd app-with-frontegg
STEP 2: Install
Run the following command to install the Frontegg Next.JS library.
npm install @frontegg/nextjs
yarn add @frontegg/nextjs
Breaking Changes from v5
@frontegg/nextjs
v5 and above have been updated to support nextjs SSR, and thus have breaking changes. Scroll to the bottom of this guide for instructions on v4.17 and below
Note - the files in this guide are in typescript - if you are working in js, simply change the file types and remove the typing
STEP 3: Configure
Wrap the default export with withFronteggApp
in ./pages/_app.tsx
:
import { withFronteggApp } from '@frontegg/nextjs';
function CustomApp({ Component, pageProps }: AppProps) {
return <Component {...pageProps} />;
}
export default withFronteggApp(CustomApp, {hostedLoginBox: true});
If you did not set http://localhost:3000 as your app url during integration, in the frontegg portal under hosted login configuration add http://localhost:3000/oauth/callback as the allowed redirectUrl
Create files for frontegg middleware under ./pages/api/frontegg/[...frontegg-middleware].ts
:
./pages/api/frontegg/[...frontegg-middleware].ts
:export { fronteggMiddleware as default } from '@frontegg/nextjs';
Create placeholder pages for frontegg router under ./pages/[...frontegg-router].tsx
:
./pages/[...frontegg-router].tsx
:export {
FronteggRouter as default,
FronteggRouterProps as getServerSideProps,
} from '@frontegg/nextjs';
Setup Environment
To setup your Next.js application to communicate with Frontegg, you have to create a new file named .env.local
under your root project directory, this file will be used to store environment variables that will be used, configuration options:
Remember to replace the relevant fields in this file with your personal information!
# The AppUrl you set during integration - this is to tell Frontegg your application hostname
FRONTEGG_APP_URL='http://localhost:3000'
# The Frontegg domain is your unique URL to connect to the Frontegg gateway
FRONTEGG_BASE_URL='https://[YOUR_SUBDOMAIN].frontegg.com'
# Your Frontegg application's Client ID
FRONTEGG_CLIENT_ID='[YOUR_CLIENT_ID]'
# The statless session encruption password, used to encrypt
# jwt before sending it to the client side.
#
# For quick password generation use the following command:
# node -e "console.log(crypto.randomBytes(32).toString('hex'))"
FRONTEGG_ENCRYPTION_PASSWORD='[SESSION_ENCRYPTION_PASSWORD]'
# The statless session cookie name - you should not change this
FRONTEGG_COOKIE_NAME='fe_session'
STEP 4: Redirect to login
You can use the Frontegg withSSRSession
, you can automatically redirect users to the login screen if they are not authenticated.
note - in the
getServerSideProps
method you can get data from an external service to pull relevant data for a logged in user, we used the propproducts
. See the commented code for an example:
import { GetServerSideProps } from 'next';
import { withSSRSession, useAuth } from '@frontegg/nextjs';
export default function MyPage({ products }) {
const {user} = useAuth();
return (
<div>
<h1>My Page</h1>
{products}
<div>
<img src={user?.profilePictureUrl} alt={user?.name}/>
</div>
<div>
<span>Logged in as: {user?.name}</span>
</div>
</div>
);
}
export const getServerSideProps: GetServerSideProps = withSSRSession(
async (context, session) => {
// const { data } = await fetch('{external}/product', {
// headers: {
// Authorization: 'bearer ' + session.accessToken,
// },
// });
return { props: { } };
}
);
Great, Frontegg is now integrated with your app!
Try it now!
Run your app and you should be automatically redirected to your hosted login box.
STEP 5 (optional) getSession
getSession
As an extension of step 4, for any page that requires an AccessToken on the server side (e.g. you'd like to load the data only if a user is logged in), you can use the getSession
method. Remember to replace external
with the link to your external service.
import { GetServerSideProps } from 'next';
import { getSession } from '@frontegg/nextjs';
export default function MyPage({ products }) {
return (
<div>
<h1>My Page</h1>
{products}
</div>
);
}
export const getServerSideProps: GetServerSideProps = async (context) => {
const session = await getSession(context.req);
if (session) {
const { data } = await fetch('{external}/product', {
headers: {
Authorization: 'bearer ' + session.accessToken,
},
});
return { props: { products: data } };
}
return { props: { products: [] } };
};
v4
Continue below for the integration guide of v4 and below
STEP 3: Configure
Wrap your root component with FronteggProvider
.
import '../styles/globals.css';
import { FronteggProvider } from '@frontegg/nextjs';
const contextOptions = {
baseUrl: 'https://[YOUR_SUBDOMAIN].frontegg.com',
clientId: '[YOUR-CLIENT-ID]'
};
function MyApp({ Component, pageProps }) {
return (
<FronteggProvider
contextOptions={contextOptions}
hostedLoginBox={true}
>
<Component {...pageProps} />
</FronteggProvider>
);
}
export default MyApp;
On the frontegg portal, verify under the hosted login configuration, http://localhost:3000/oauth/callback
is listed as the allowed redirectUrl
.


STEP 4: Redirect to Login
Using the Frontegg useAuth
hook, you can determine whether a user is authenticated or not. If the user is not authenticated, you can redirect the user to login via the useLoginWithRedirect
hook as shown below.
import { useAuth, useLoginWithRedirect } from '@frontegg/nextjs';
const Home = () => {
const { user, isAuthenticated } = useAuth();
const loginWithRedirect = useLoginWithRedirect();
return (
<div className="App">
{isAuthenticated ? (
<div>
<div>
<img src={user?.profilePictureUrl} alt={user?.name} />
</div>
<div>
<span>Logged in as: {user?.name}</span>
</div>
<div>
<button onClick={() => alert(user.accessToken)}>
What is my access token?
</button>
</div>
</div>
) : (
<div>
<button onClick={() => loginWithRedirect()}>
Click me to login
</button>
</div>
)}
</div>
);
};
export default Home;
Great, Frontegg is now integrated with your app!
Try it now!
Run your app and click on the Click me to login
button.
Updated 11 days ago