Integrating Your Data
In the Integrate stage you can first test your report by sending it to an email address.
Sending Test Reports
You can then proceed to configure any of the three following methods for generating API calls to your report.
You can easily test your report by entering one or more email addresses and clicking Send Now. Open the report in your mail program to verify the contents.
You can test how your report looks with different data, by clicking See Full Data, updating the JSON in the Report Data Modal, and clicking Send Now.
Viewing Data Structure
For each report you wish to generate, you need to provide Frontegg with appropriate report data. The report data structure to the right displays the required structure for the report.
Exploring the Data Structure
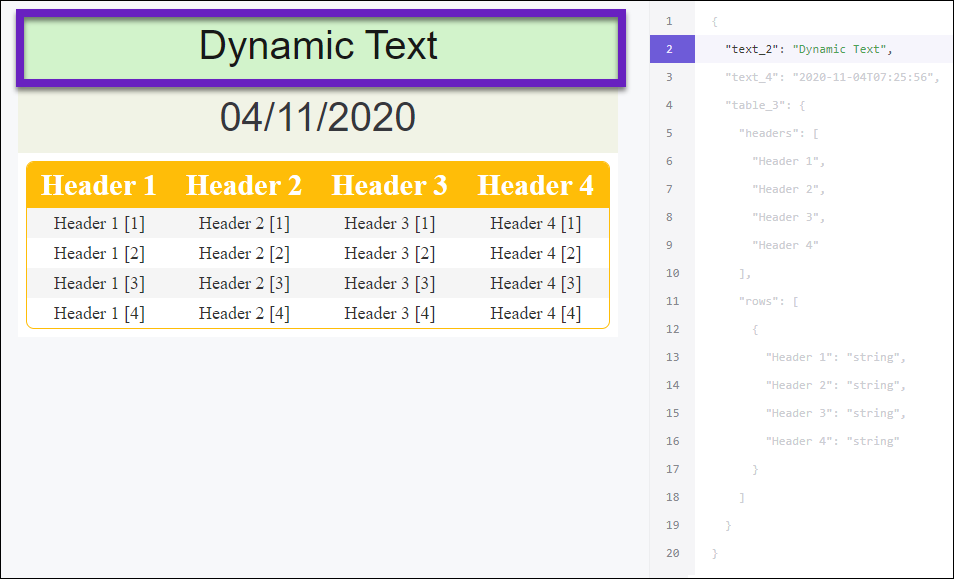
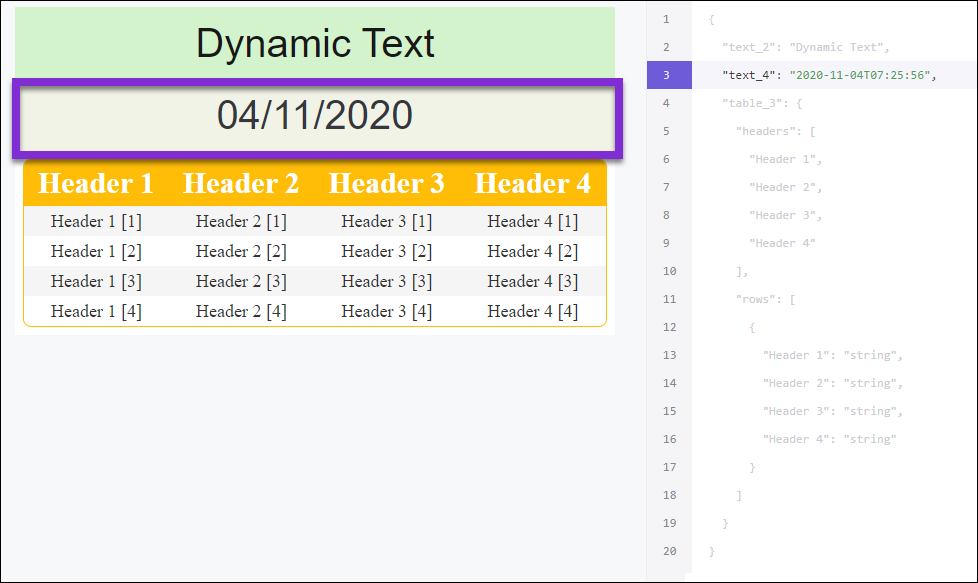
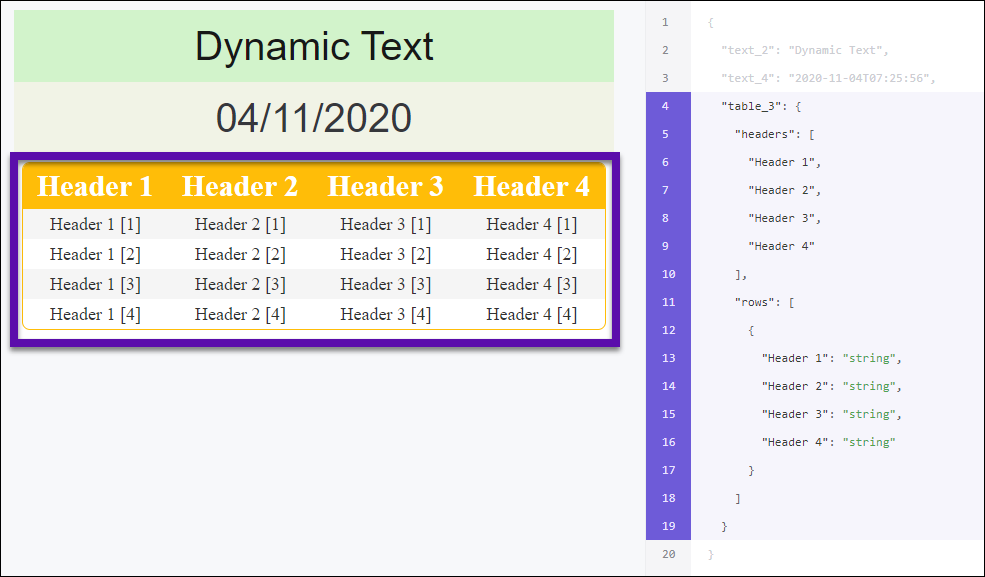
When you click an object in the report, the relevant JSON code will be highlighted to the right. This will help you to understand quickly each part of the data structure.
The sample report below contains three sections. When we click on a section, we can view the relevant JSON code for that section.
Section 1 (Dynamic Text)
Section 2 (Dynamic Text/Date)
Section 3 (Dynamic Table)
Triggering API
In Triggered Report Mode, a report template is rendered and reports are sent to your customers by means of a REST API call. In this mode, your product is responsible for supplying data and triggering the report generation.
If you are familiar with Postman and have an account, click Run in Postman to import the Trigger Report API collection.
if you are not familiar with Postman, please see Frontegg's report API documentation to learn about report triggering.
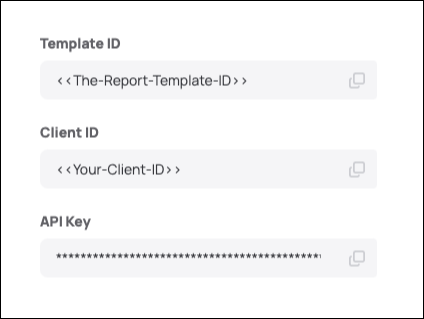
Parameters for API Calls
Use the following parameters to execute API calls for your Frontegg report.
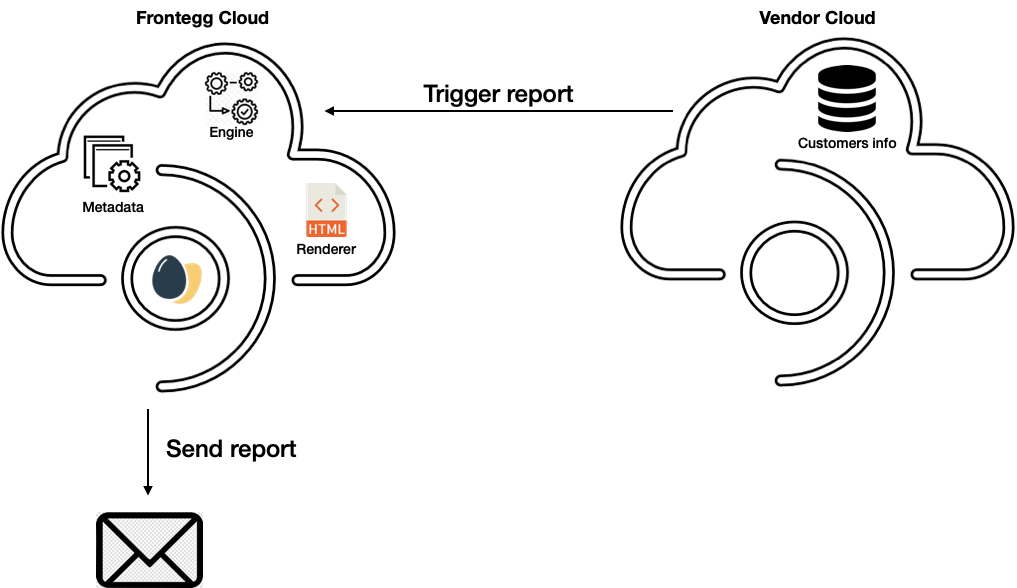
Trigger API Architecture
In Trigger API mode, the vendor triggers the report, the report is rendered on the Frontegg side, and the report is finally sent to the recipients specified in the REST API.
Scheduling Reports
With scheduled reports, you can define the schedule of the reports to be sent, such as daily, weekly or monthly.
Integrating Your Data with Frontegg Report Scheduler
You need to maintain two REST API endpoints and provide them in the report scheduler.
- Customer List API (list of customers)
- Report Data API (to fetch data for report)
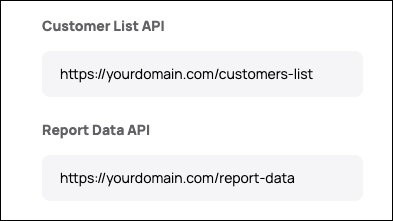
Customer List API
Frontegg uses this API to request a list of customers to which to send reports. You need to provide a response with the following structure.
[
  {
    tenantId: string;
    emails: string[];
  },...
]
Here is an example response for:
https://<yourdomain.com>/<customer-list-endpoint>
[
  {
    "tenantId": "t1",
    "emails": ["[email protected]"]
  },
  {
    "tenantId": "t2",
    "emails": ["[email protected]", "[email protected]"]
  },
  ...
]
Report Data API
Frontegg uses this API to fetch the relevant data for the report. Frontegg will send a separate API request for each customer received in the Customer List API call.
{
     tenantId: "<THE-DATA-TO-DIGEST>"
}
For the customer data in the previous example, Frontegg will send two separate HTTP requests.
https://<yourdomain.com>/<report-data-endpoint> ?tenantId=t1
https://<yourdomain.com>/<report-data-endpoint> ?tenantId=t2
Sample Response for T1
Here is a sample response for the first tenant.
https://<yourdomain.com>/<report-data-api-endpoint> ?tenantId=t1
{
  "t1": {
    "report_title": "Hi t1 this is your report",
    "donut_chart": [
      {
        "name": "Vector 1",
        "value": 100
      },
      {
        "name": "Vector 2",
        "value": 200
      },
      {
        "name": "Vector 3",
        "value": 300
      }
    ]
  }
}
Sample Response for T2
Here is a sample response for the second tenant.
https://<your-domain>/<report-data-api-endpoint> ?tenantId=t2
{
  "t1": {
    "report_title": "Hi t2 this is your report",
    "donut_chart": [
      {
        "name": "Vector 1",
        "value": 400
      },
      {
        "name": "Vector 2",
        "value": 500
      },
      {
        "name": "Vector 3",
        "value": 600
      }
    ]
  }
}
API Bearer Token (optional)
You can choose to protect your endpoints by adding an API Bearer Token. If you do add a Bearer Token restriction to your API endpoints, please provide it here to allow the Frontegg report engine access to the API endpoints you have provided.

Validating Your API Endpoints
Click Validate Now to verify that the endpoints you provided are working properly. Only after you validate the endpoints will you be able to activate the scheduler.

Activating Scheduler
After you have validated the API endpoints, you can set the reports scheduler status to be Active. And then you need to click Save to save the report. (Note that the report will send AFTER you click both Active and click Save.)
Updated 5 months ago