Home


Frontegg's User Management and Identity Documentation
Welcome to Frontegg's docs. Here you'll find the information to manage all aspects of your customer's identity— authorize, authenticate and mange your users easily via Frontegg's portal or via API.
Step-by-step Integration Starts HereUser Management and Identity Solutions
Transform your applications with Frontegg's advanced identity platform. Our complete user identity and management solutions streamline user management across various identity providers while providing them with a seamless, branded signup and login experience. Exercise fine-grained authorization meeting the highest security demands.
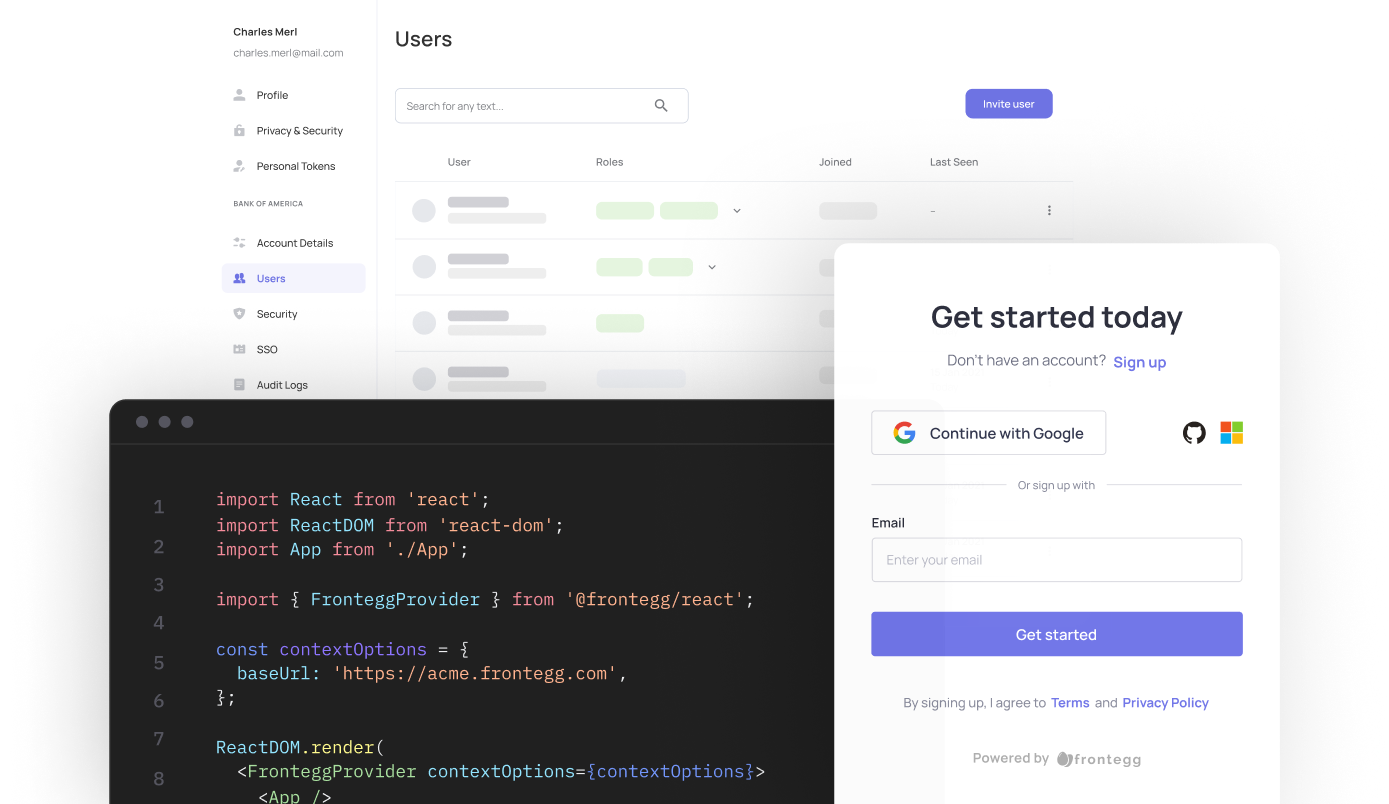
Explore our SDK libraries
Choose from a wide range of SDK libraries to easily integrate Frontegg into your application.


Updated about 1 month ago